
Chocolate Haunted Cookie House: How to Make a Cute Halloween Cookie House
Halloween is one of our favorite holidays around here—besides Christmas, of course!
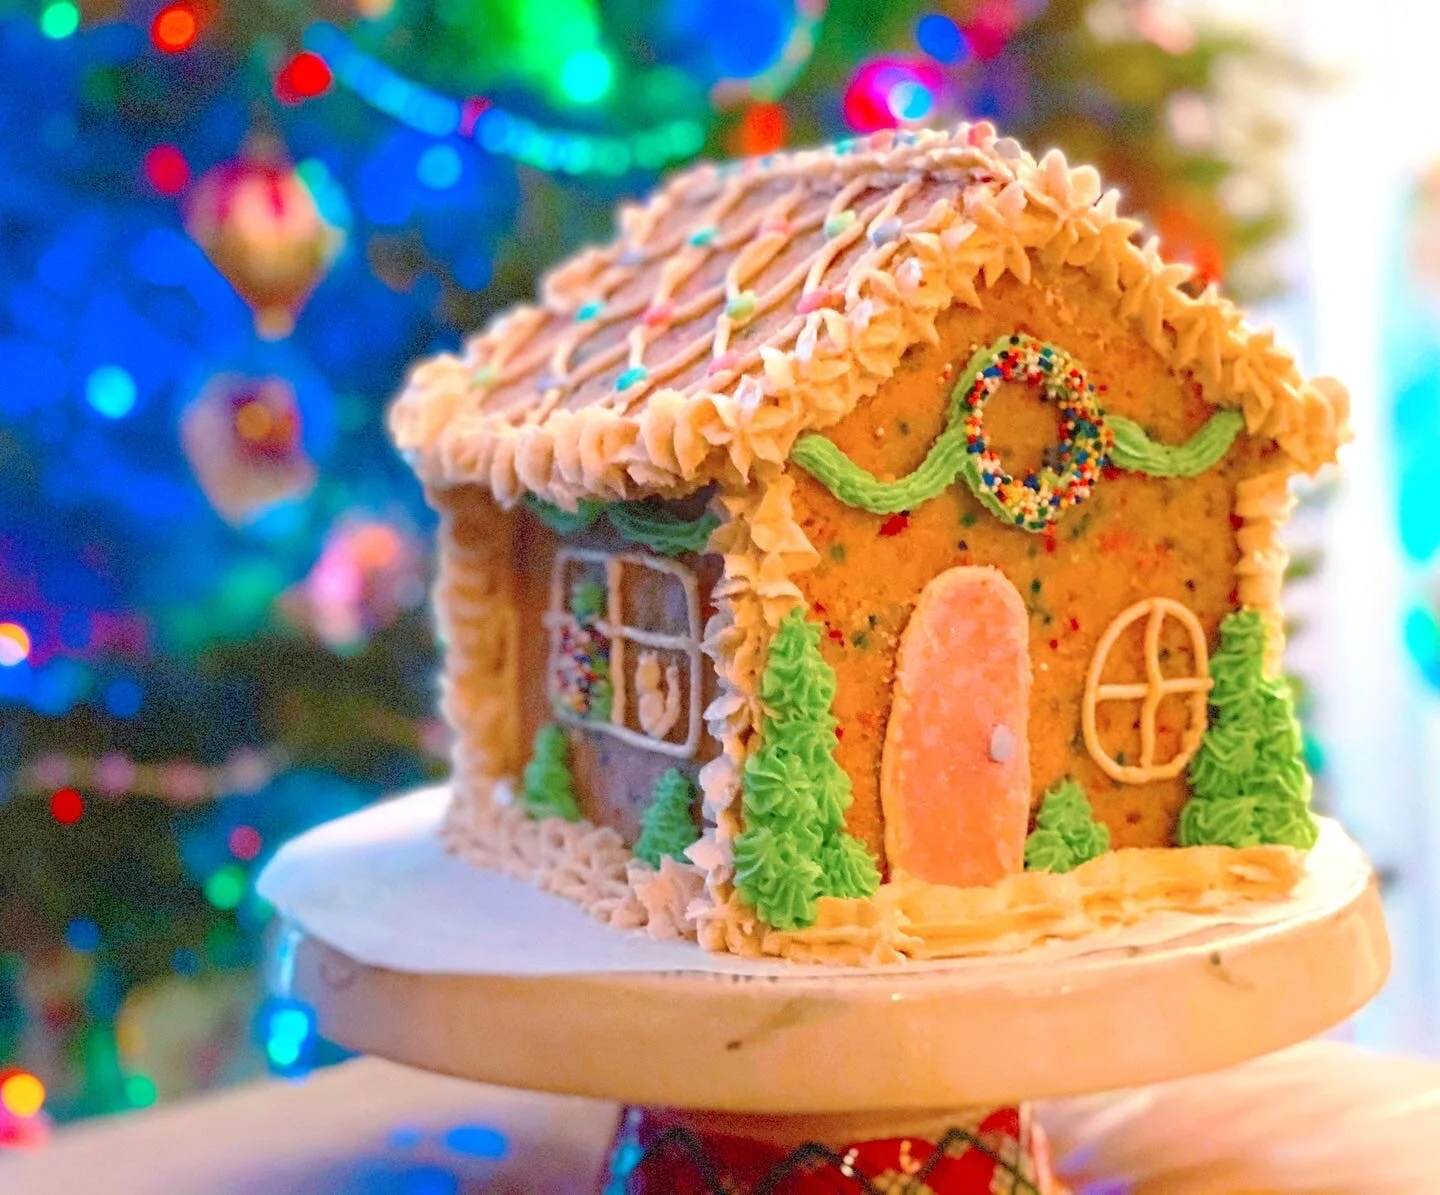
If you’ve been here before, you probably know that I have a thing for cookie houses. It all started because I don’t really like gingerbread, but I LOVE decorating gingerbread houses. So I made my own version using a sugar cookie house and buttercream frosting instead.
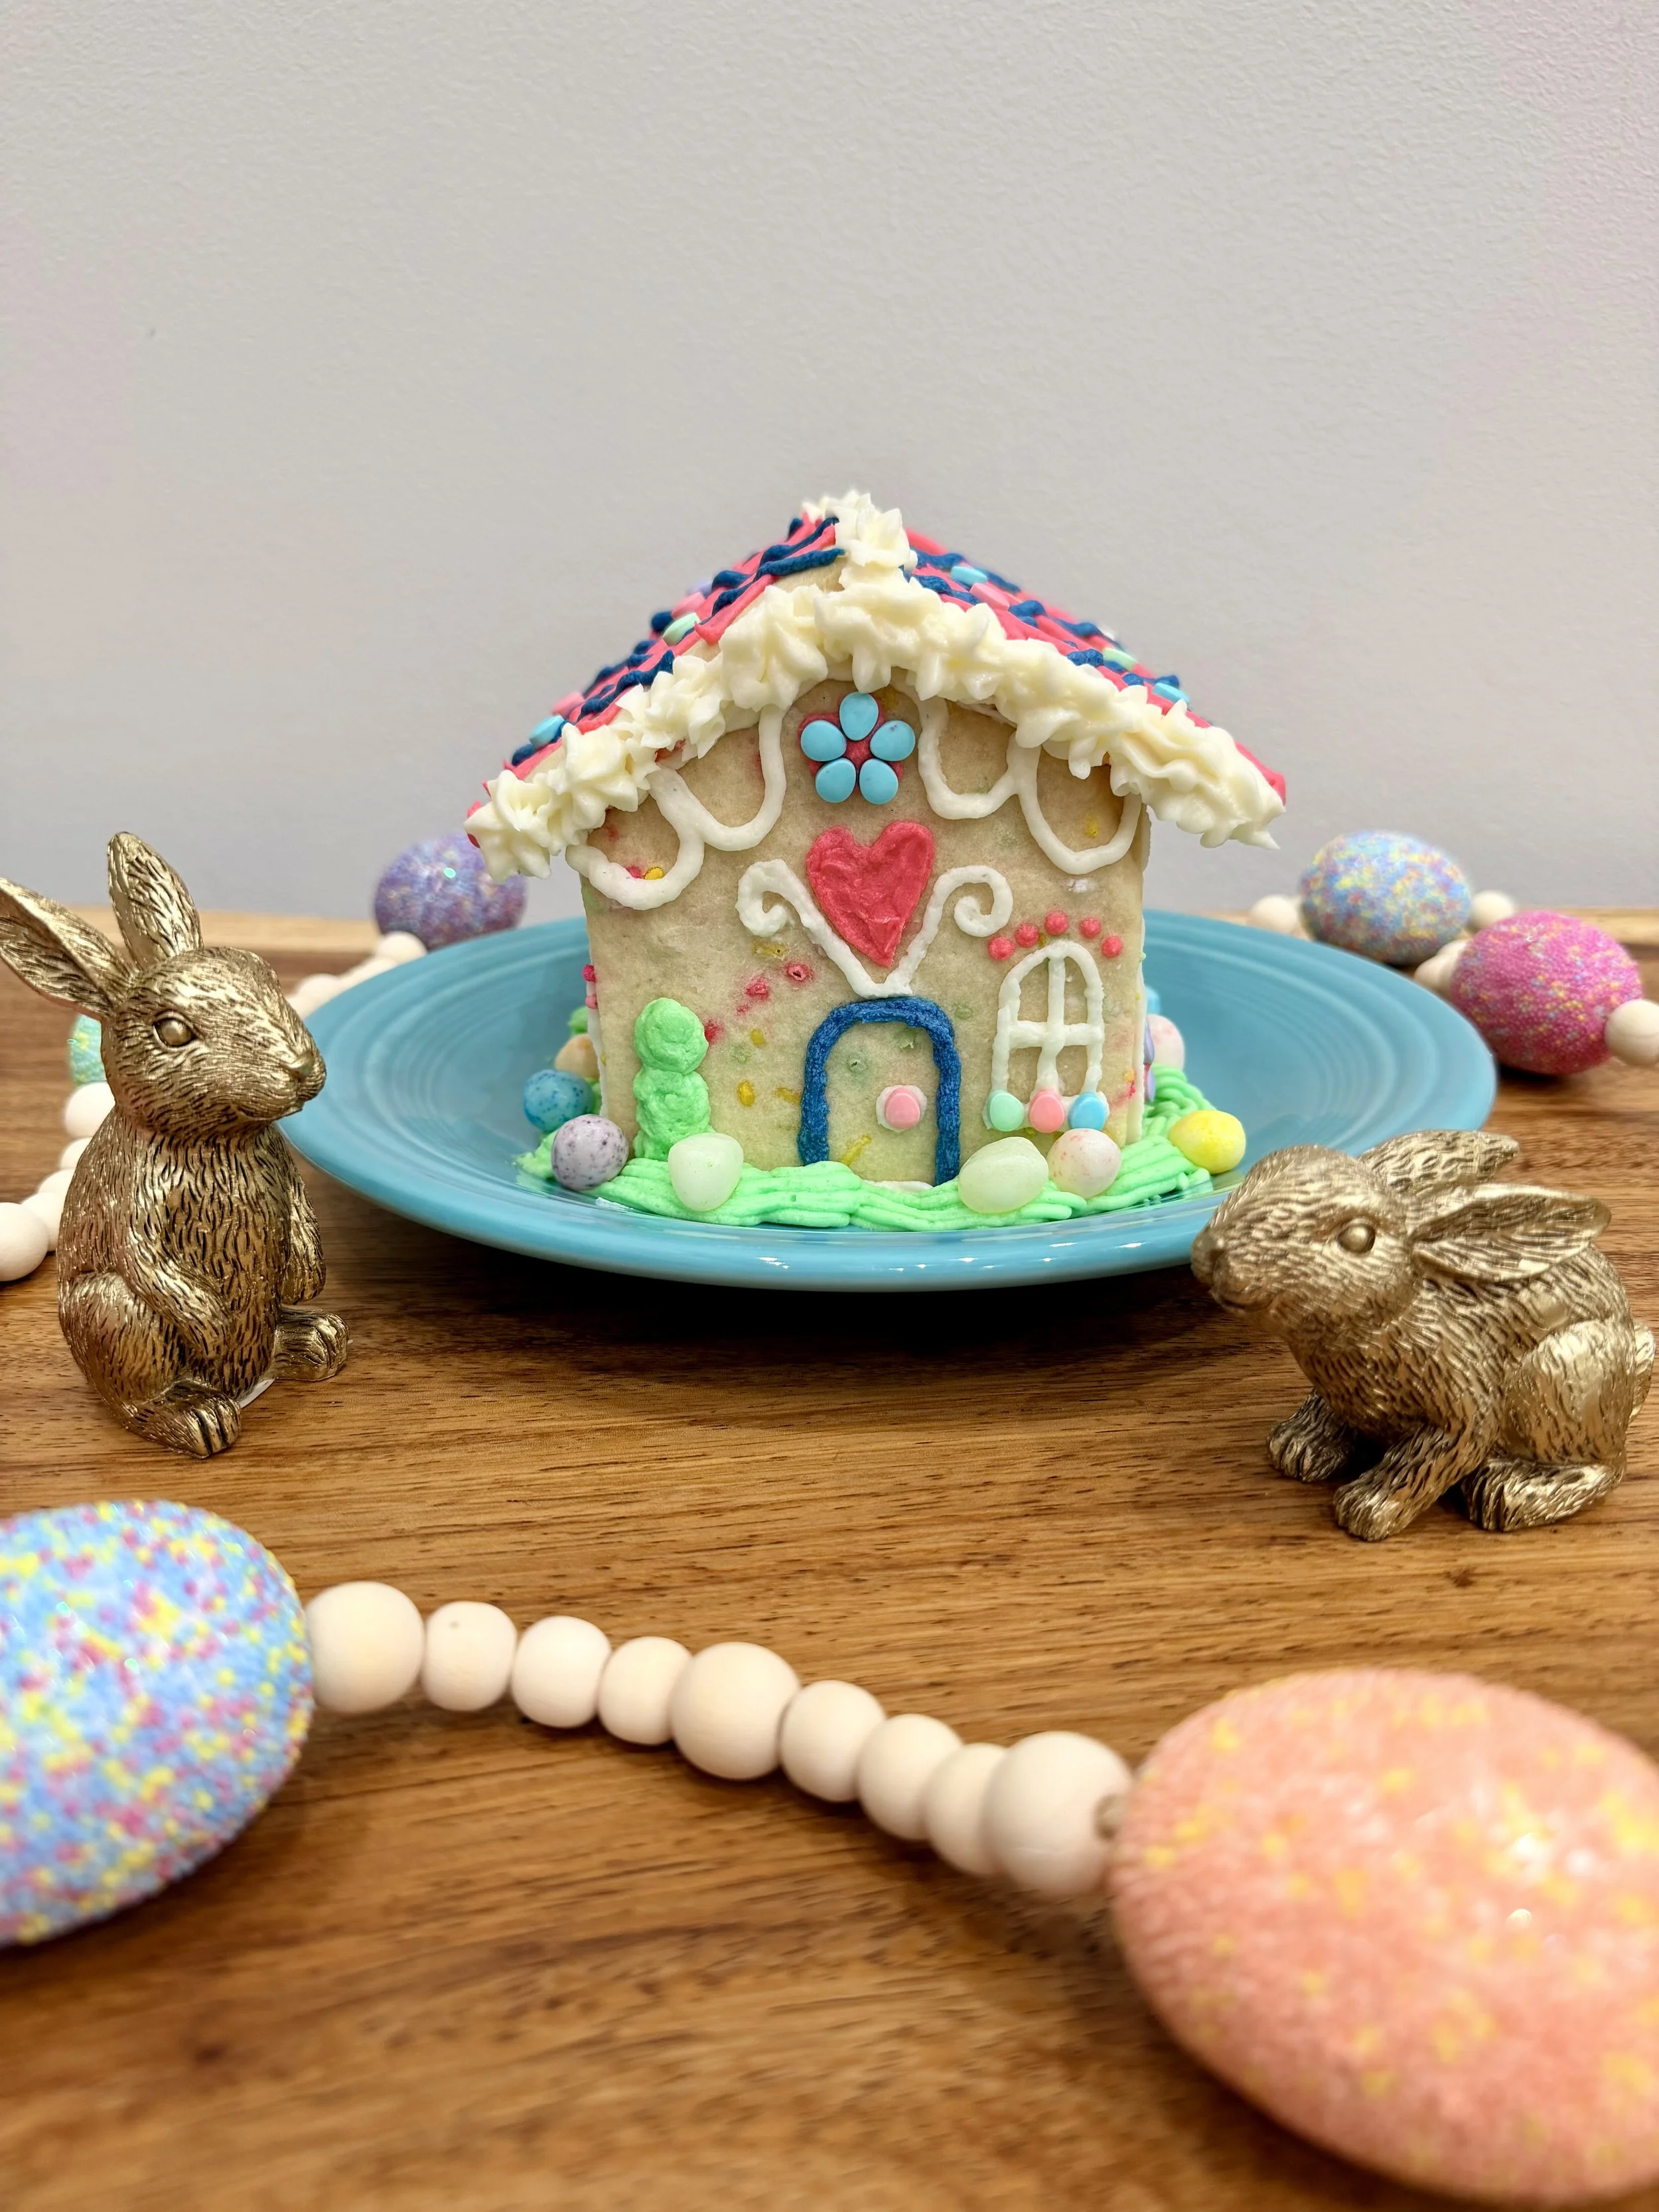
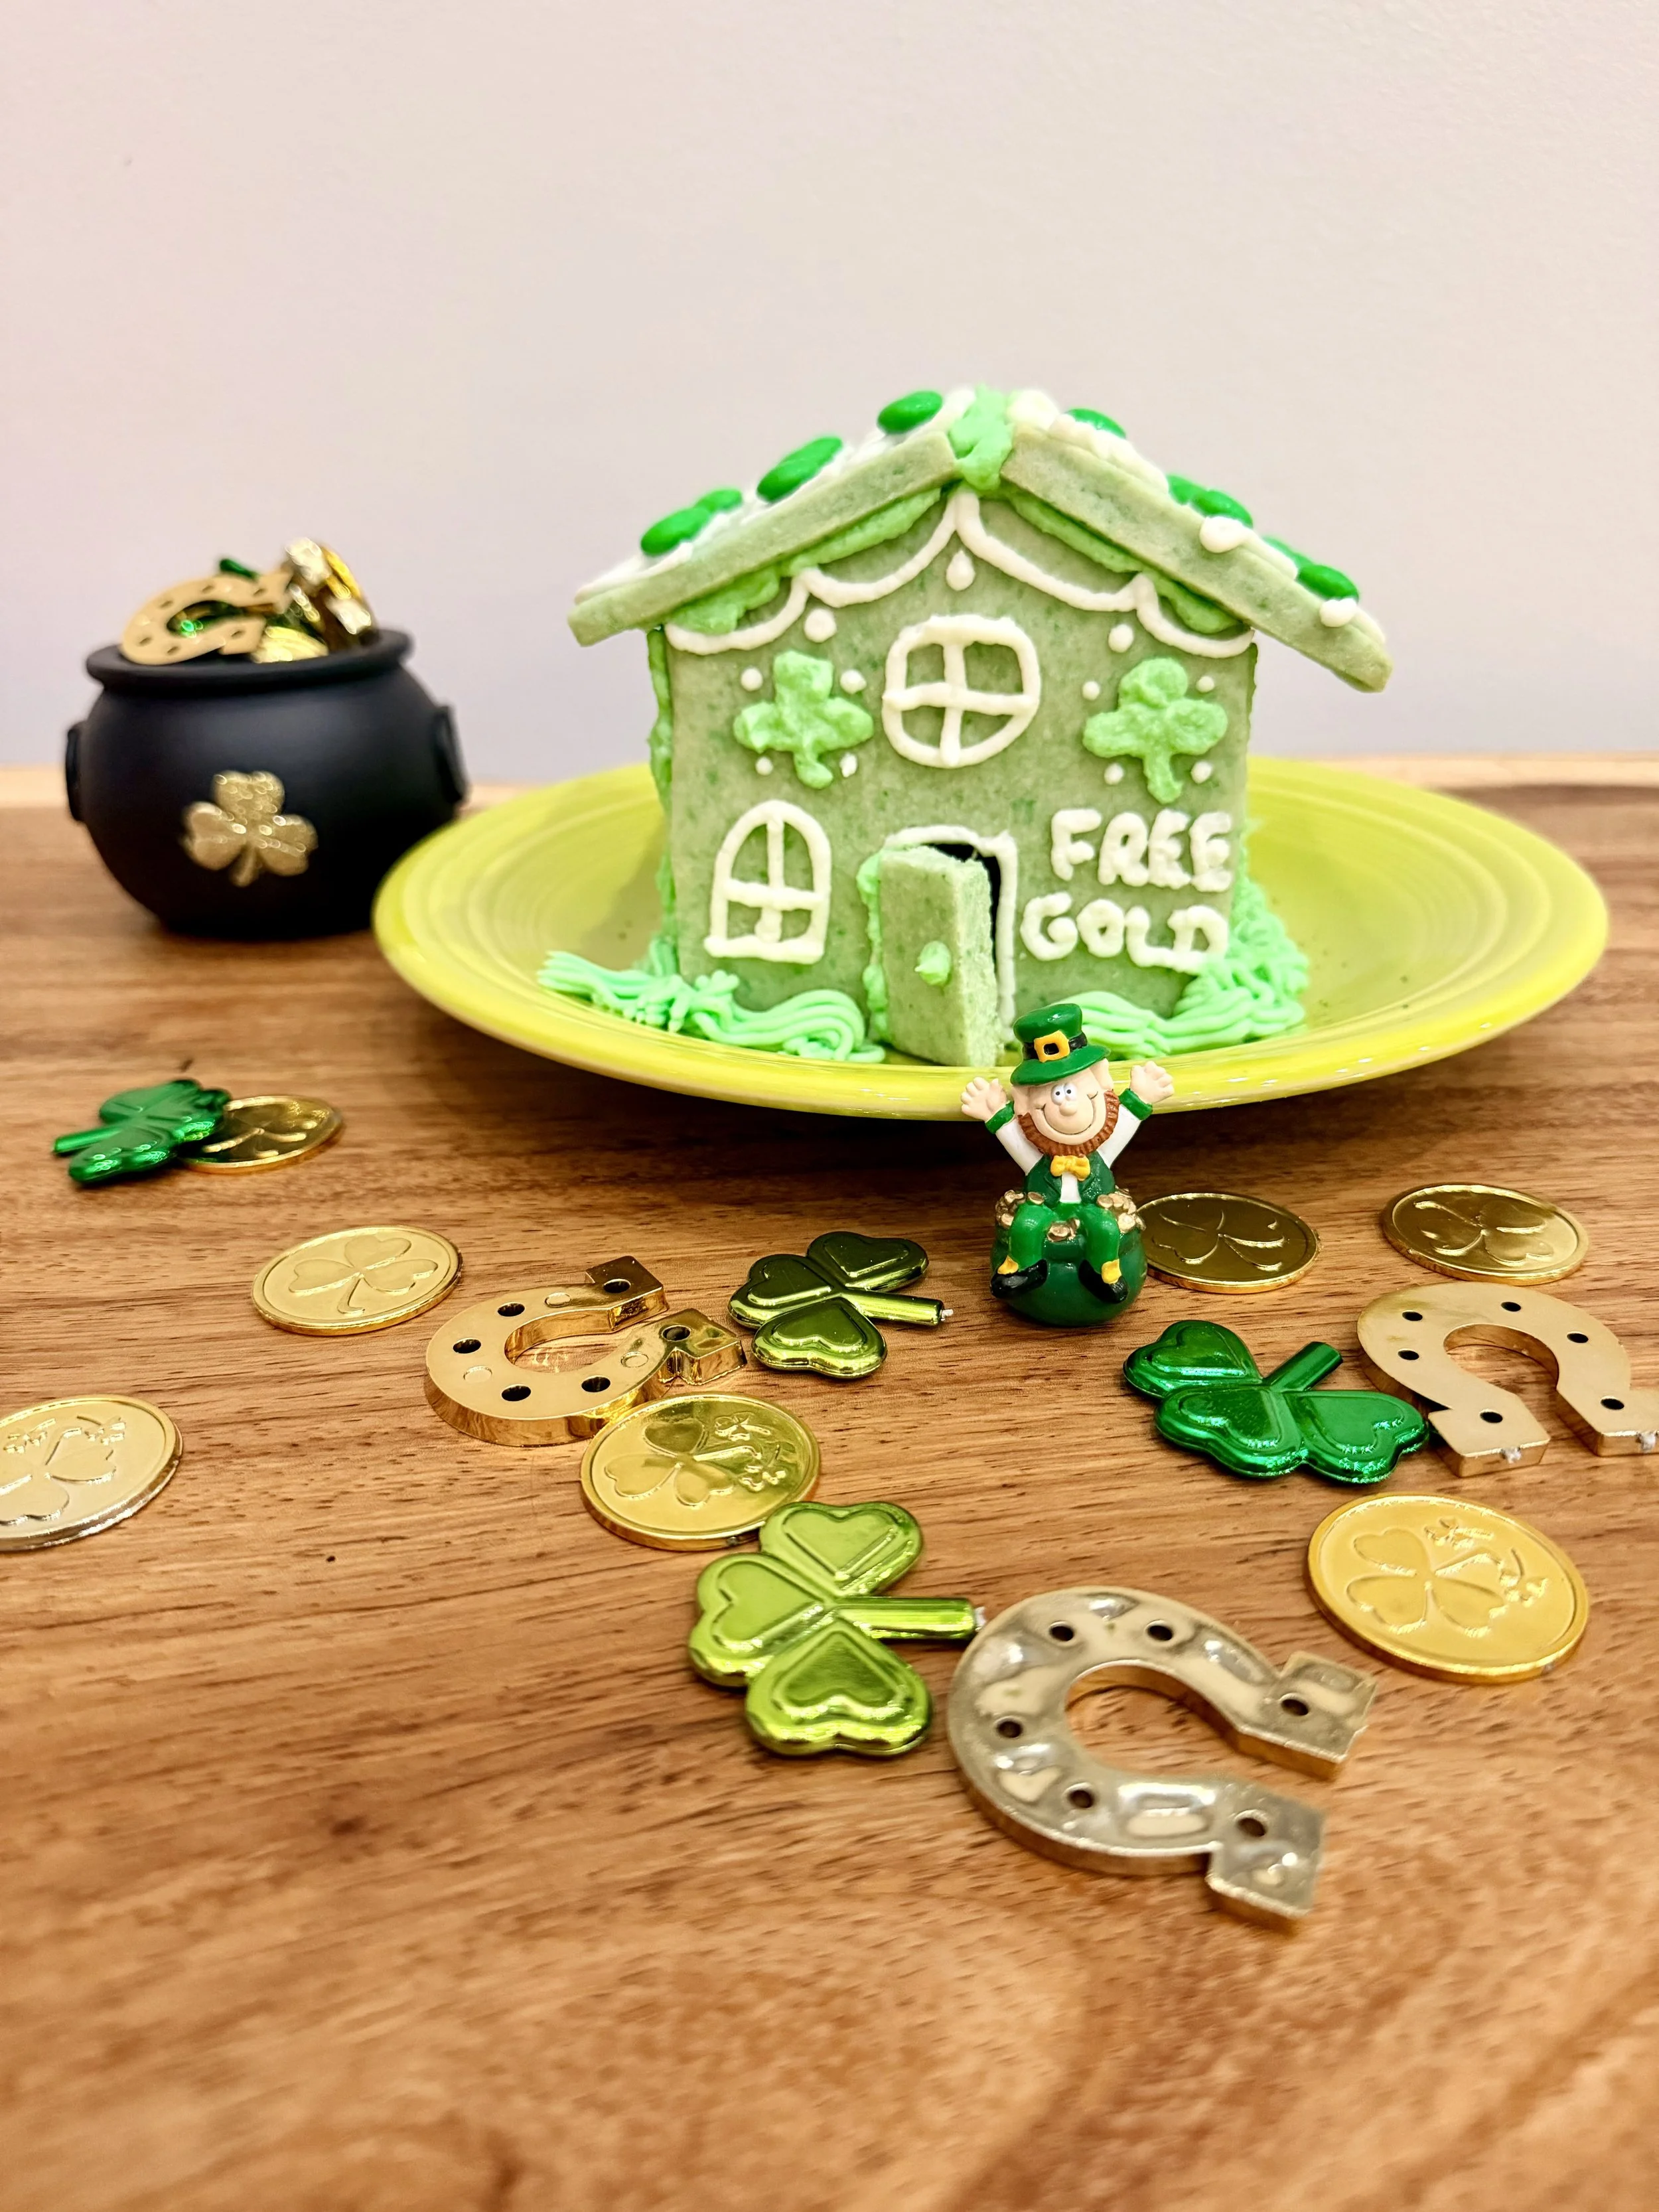
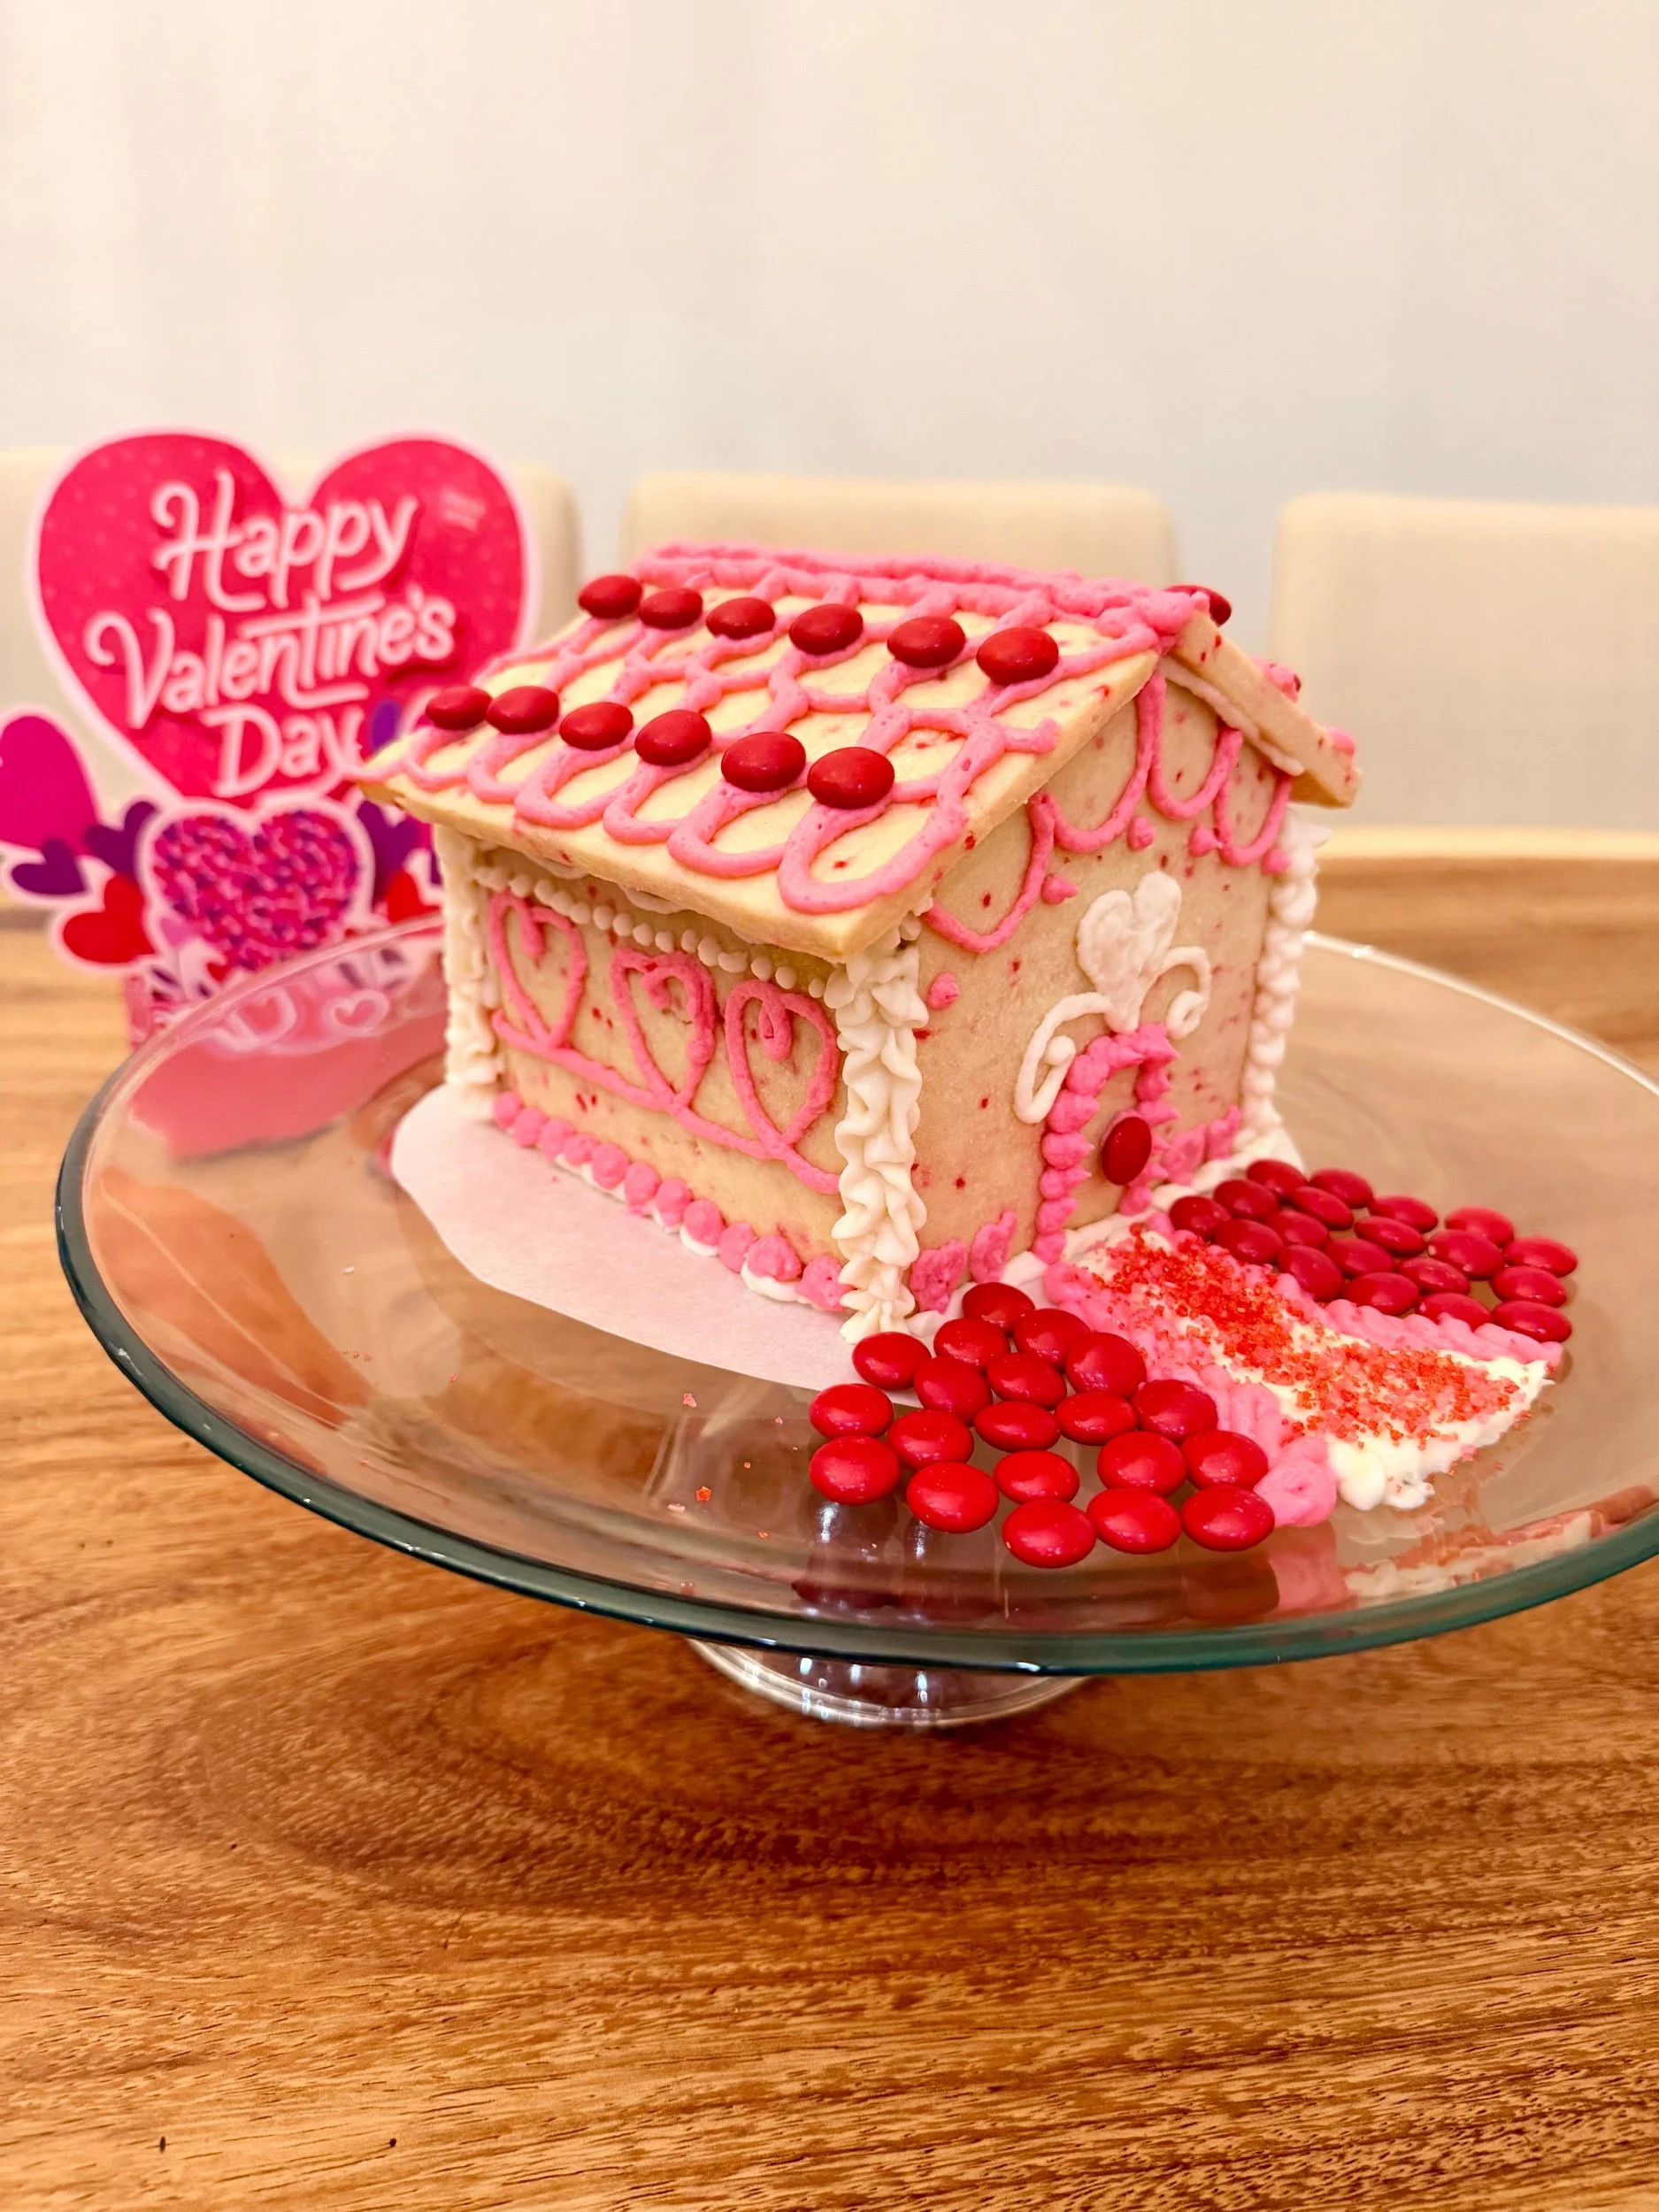
Since then, I’ve turned that same basic idea into houses for Valentine’s Day, St. Patrick’s Day, Easter and more.
So naturally, we needed a Halloween house!
Because I have little guys, though, I didn’t want our haunted house to be too haunted. I wanted something cute, colorful and just spooky enough to feel like Halloween without actually being scary.
And for the first time, I decided to make the house itself chocolate.
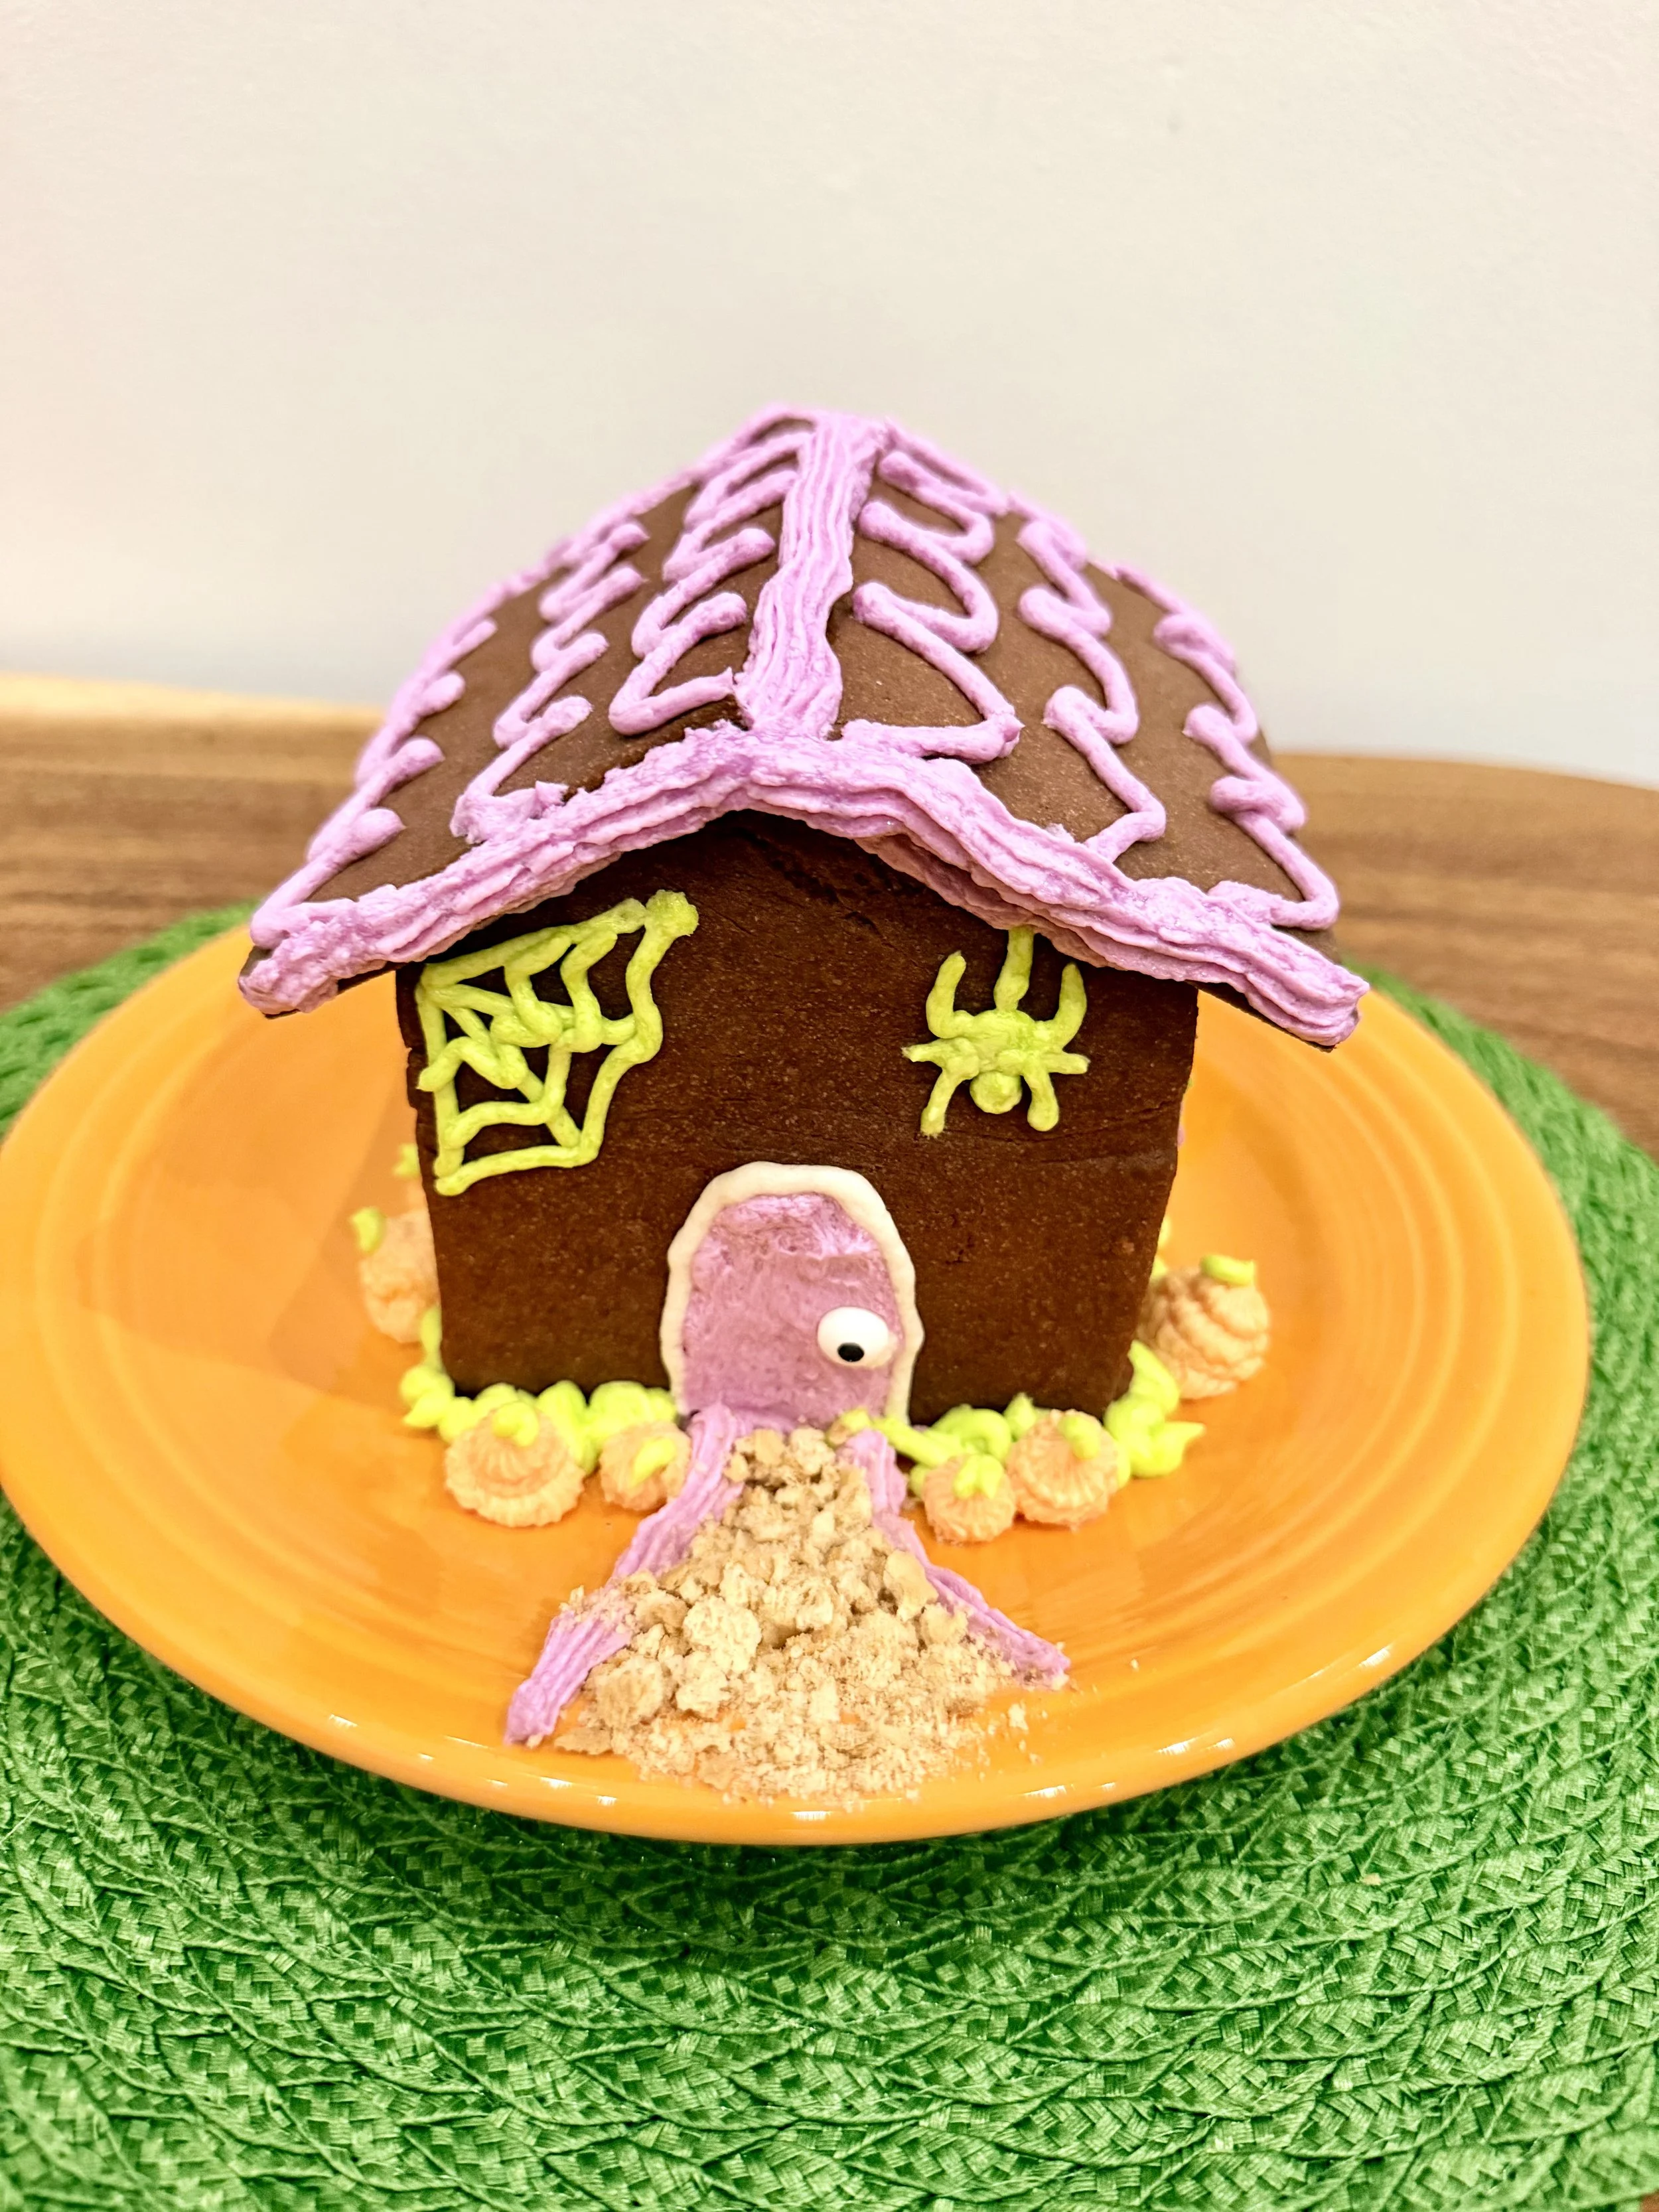
Chocolate Halloween Cookie House
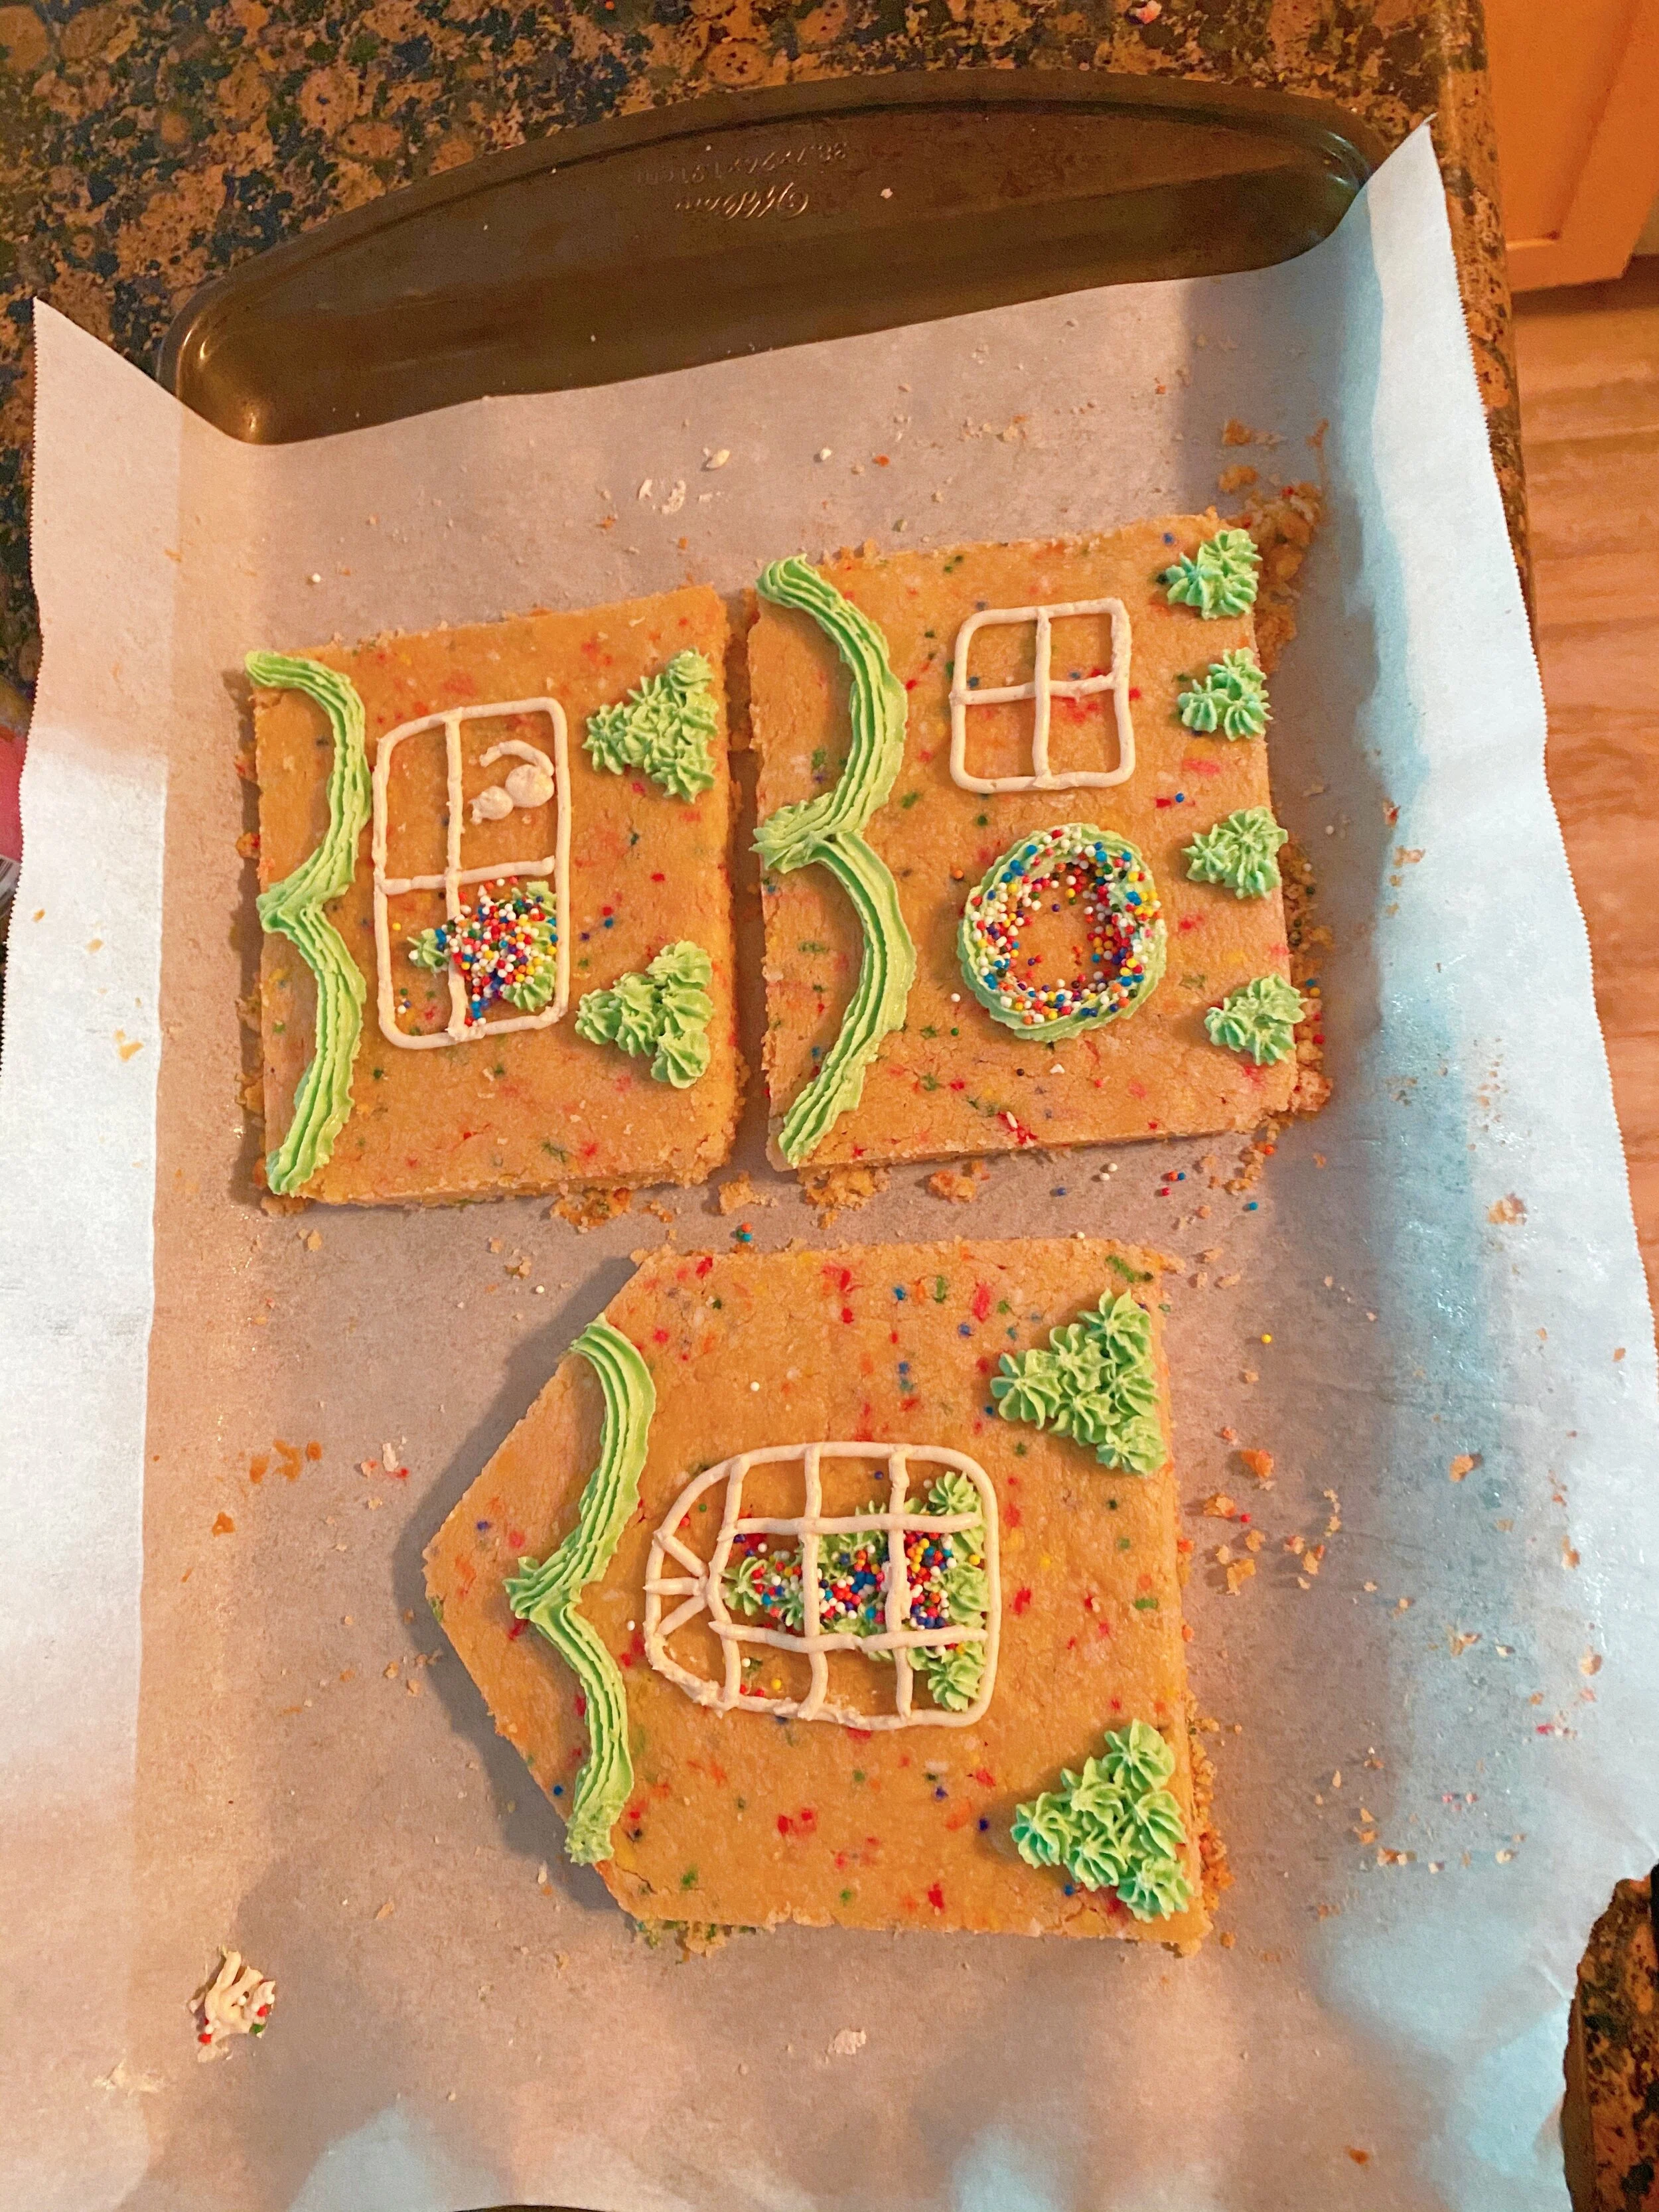
If you’d like to see all of the different houses I’ve made, start with my Sugar Cookie House Guide, where I’ve collected my favorite ideas, tips and designs.
Why I Made a Chocolate Haunted Cookie House
I LOVE chocolate, but somehow I had never thought about making a chocolate cookie house before.
Which is funny, because the entire reason I started making sugar cookie houses in the first place is that I don’t like gingerbread!
When I started planning the Halloween version, I knew exactly what colors I wanted:
💜 Purple
🧡 Orange
💚 Green
I pictured those bright Halloween colors against a dark house.
At first, I thought I’d make my regular sugar cookie house and use black frosting.
But black frosting and I aren’t always friends.
I’m not a professional baker, and even when I use black gel food coloring, I’ve found that sometimes I get black…and sometimes I get a really dark gray.
I also LOVE buttercream frosting and knew I wanted to use it for this house. I didn’t want to add so much black food coloring that I was fighting with the frosting when the whole point of these houses is to make something that’s fun to decorate and tastes good enough to eat.
Then it hit me:
Why not make the HOUSE dark instead?
A chocolate cookie house would give me that dark Halloween backdrop while letting the purple, orange and green buttercream really pop.
Plus…chocolate.
Decision made.
A Cute Haunted House for Little Kids
Since I’m making this with my kids in mind, I wasn’t going for a creepy abandoned haunted mansion.
We’re going for cute haunted house.
Think bright frosting, colorful pumpkins, candy and a friendly ghost rather than anything genuinely frightening.
That’s generally how we like to do Halloween around here—festive and silly with just enough spooky thrown in.
I actually wanted the ghost on the house to have the same happy, friendly feeling as the ghosts in my newest children’s book, The Trucks That Saved Halloween. I wanted the book to make Halloween feel magical and fun for little kids without being scary, and that seemed perfect for our cookie house too.
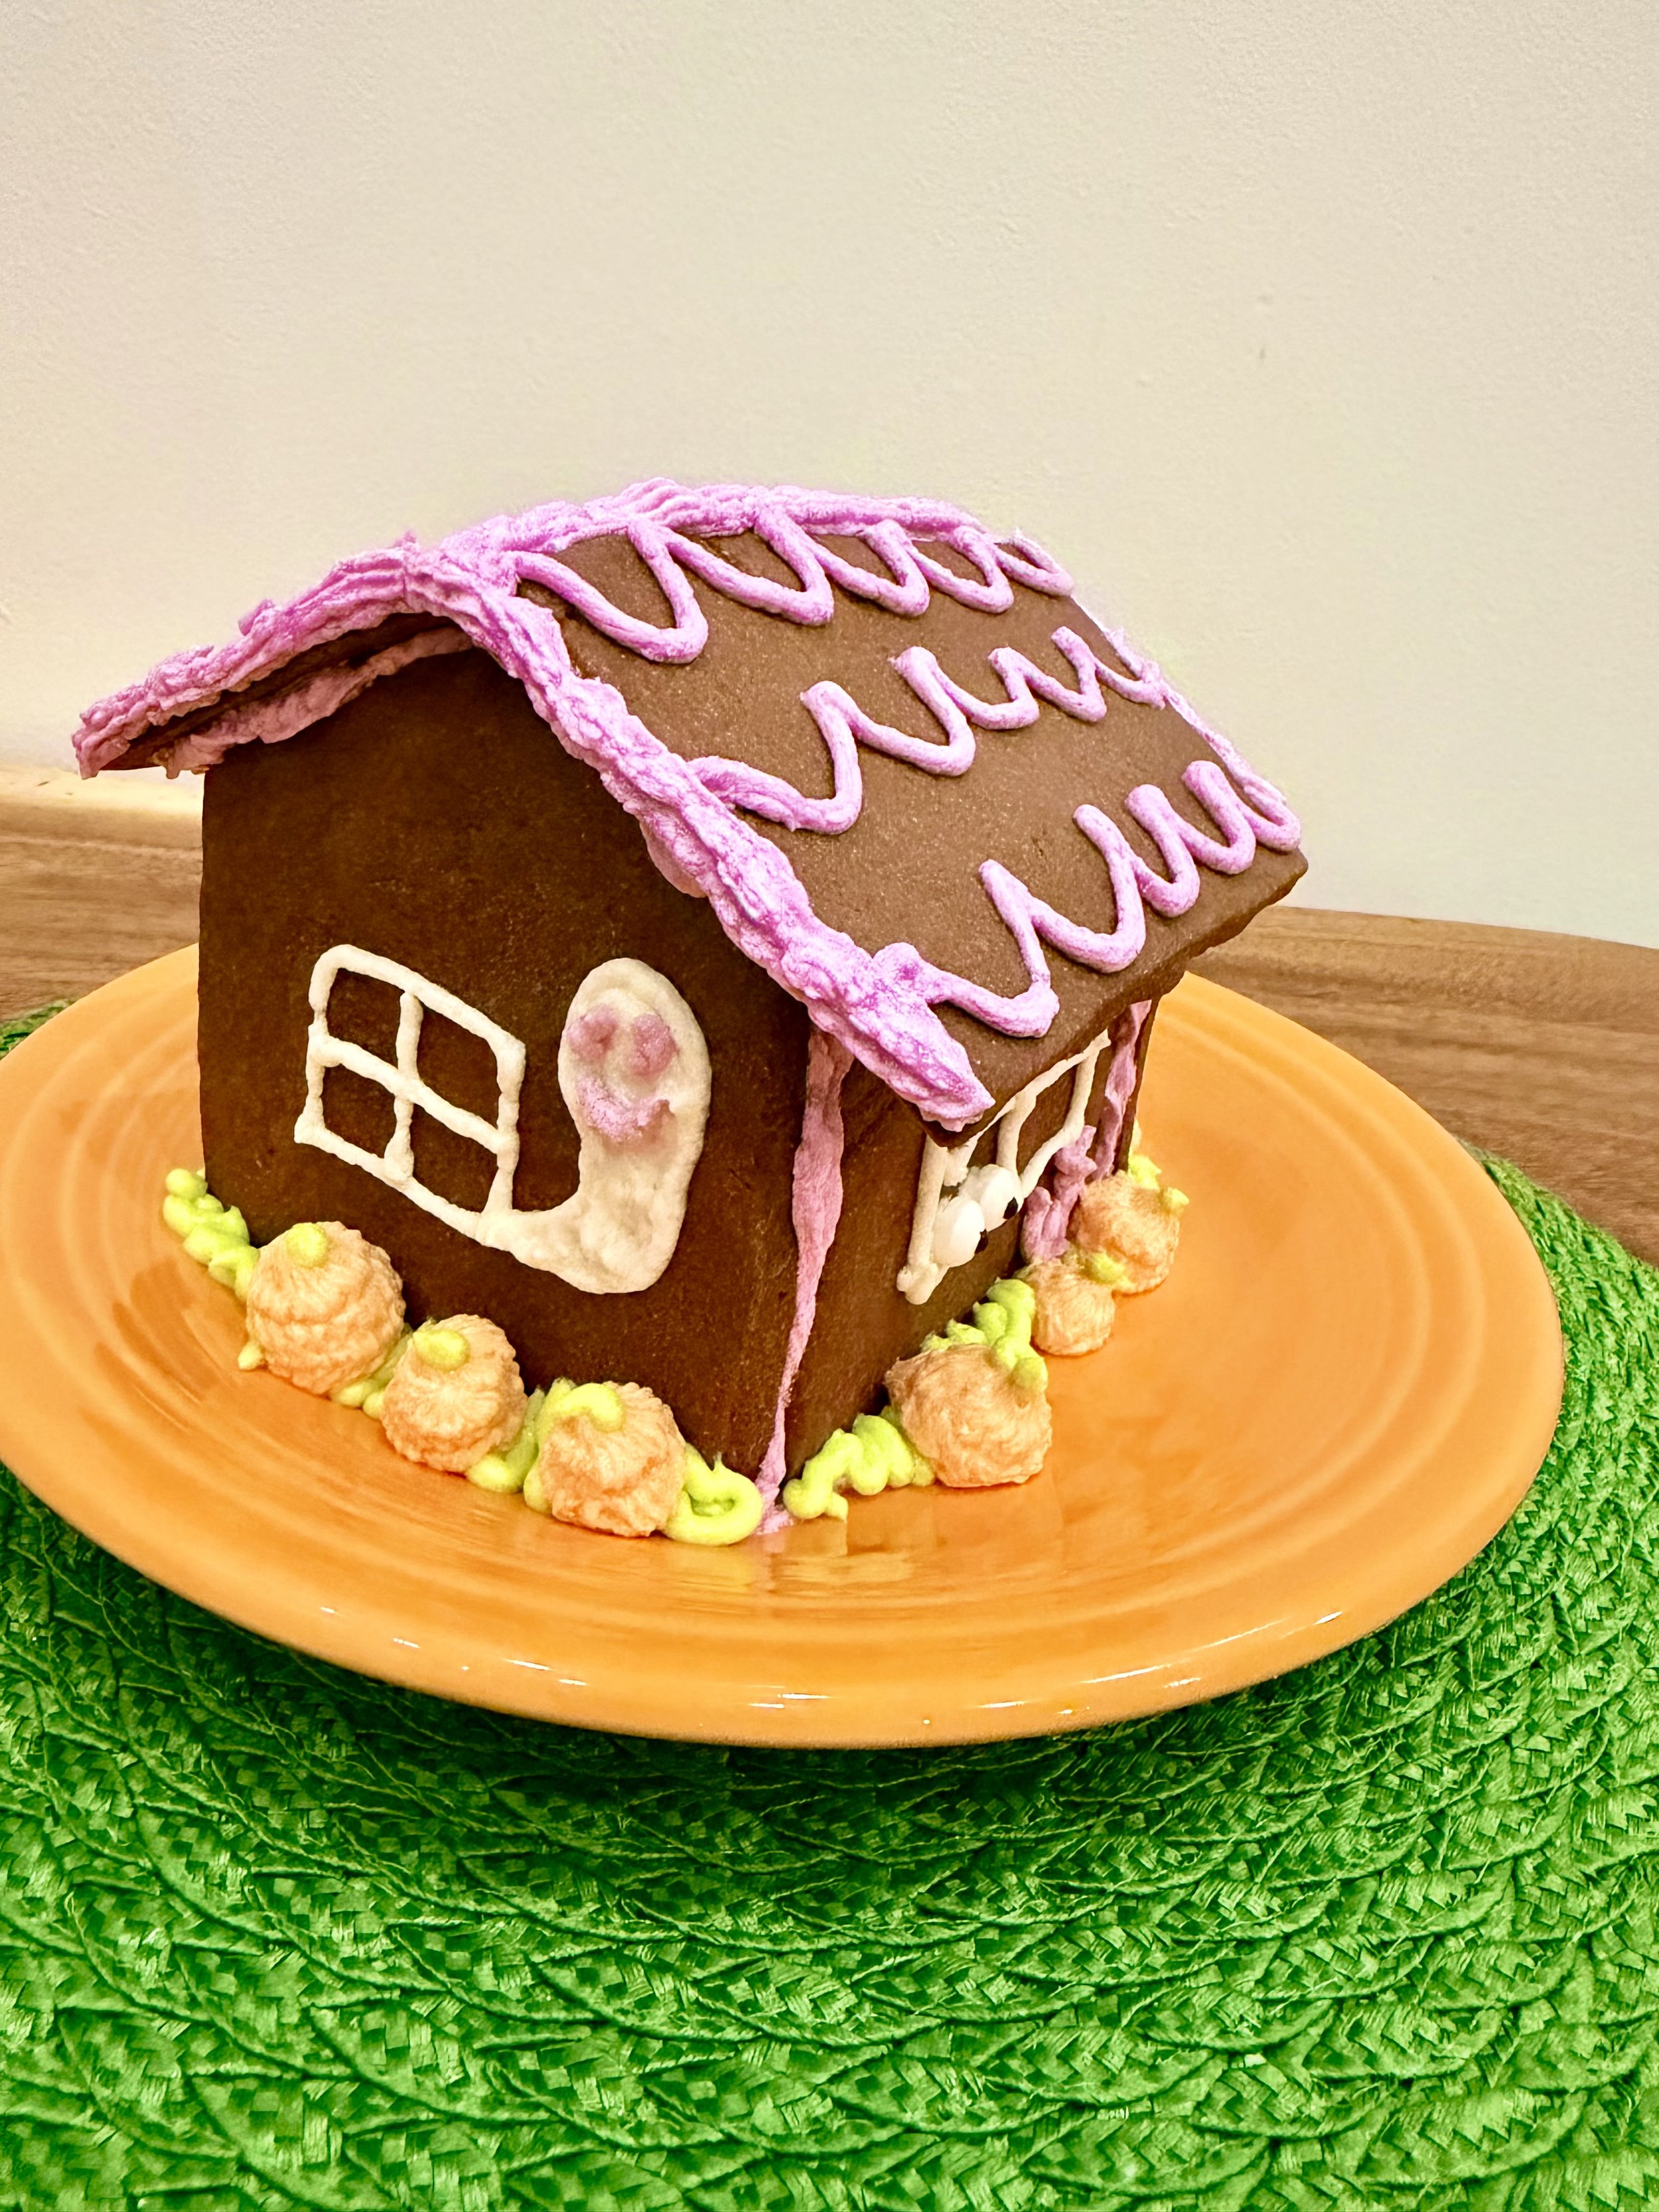
Frosting Friendly Ghost on Chocolate cookie house
Use My Cookie House Template
You don’t have to figure out how to engineer a cookie house from scratch!
I use the same basic house template for my different holiday cookie houses and change the dough, colors and decorations depending on what I’m making.
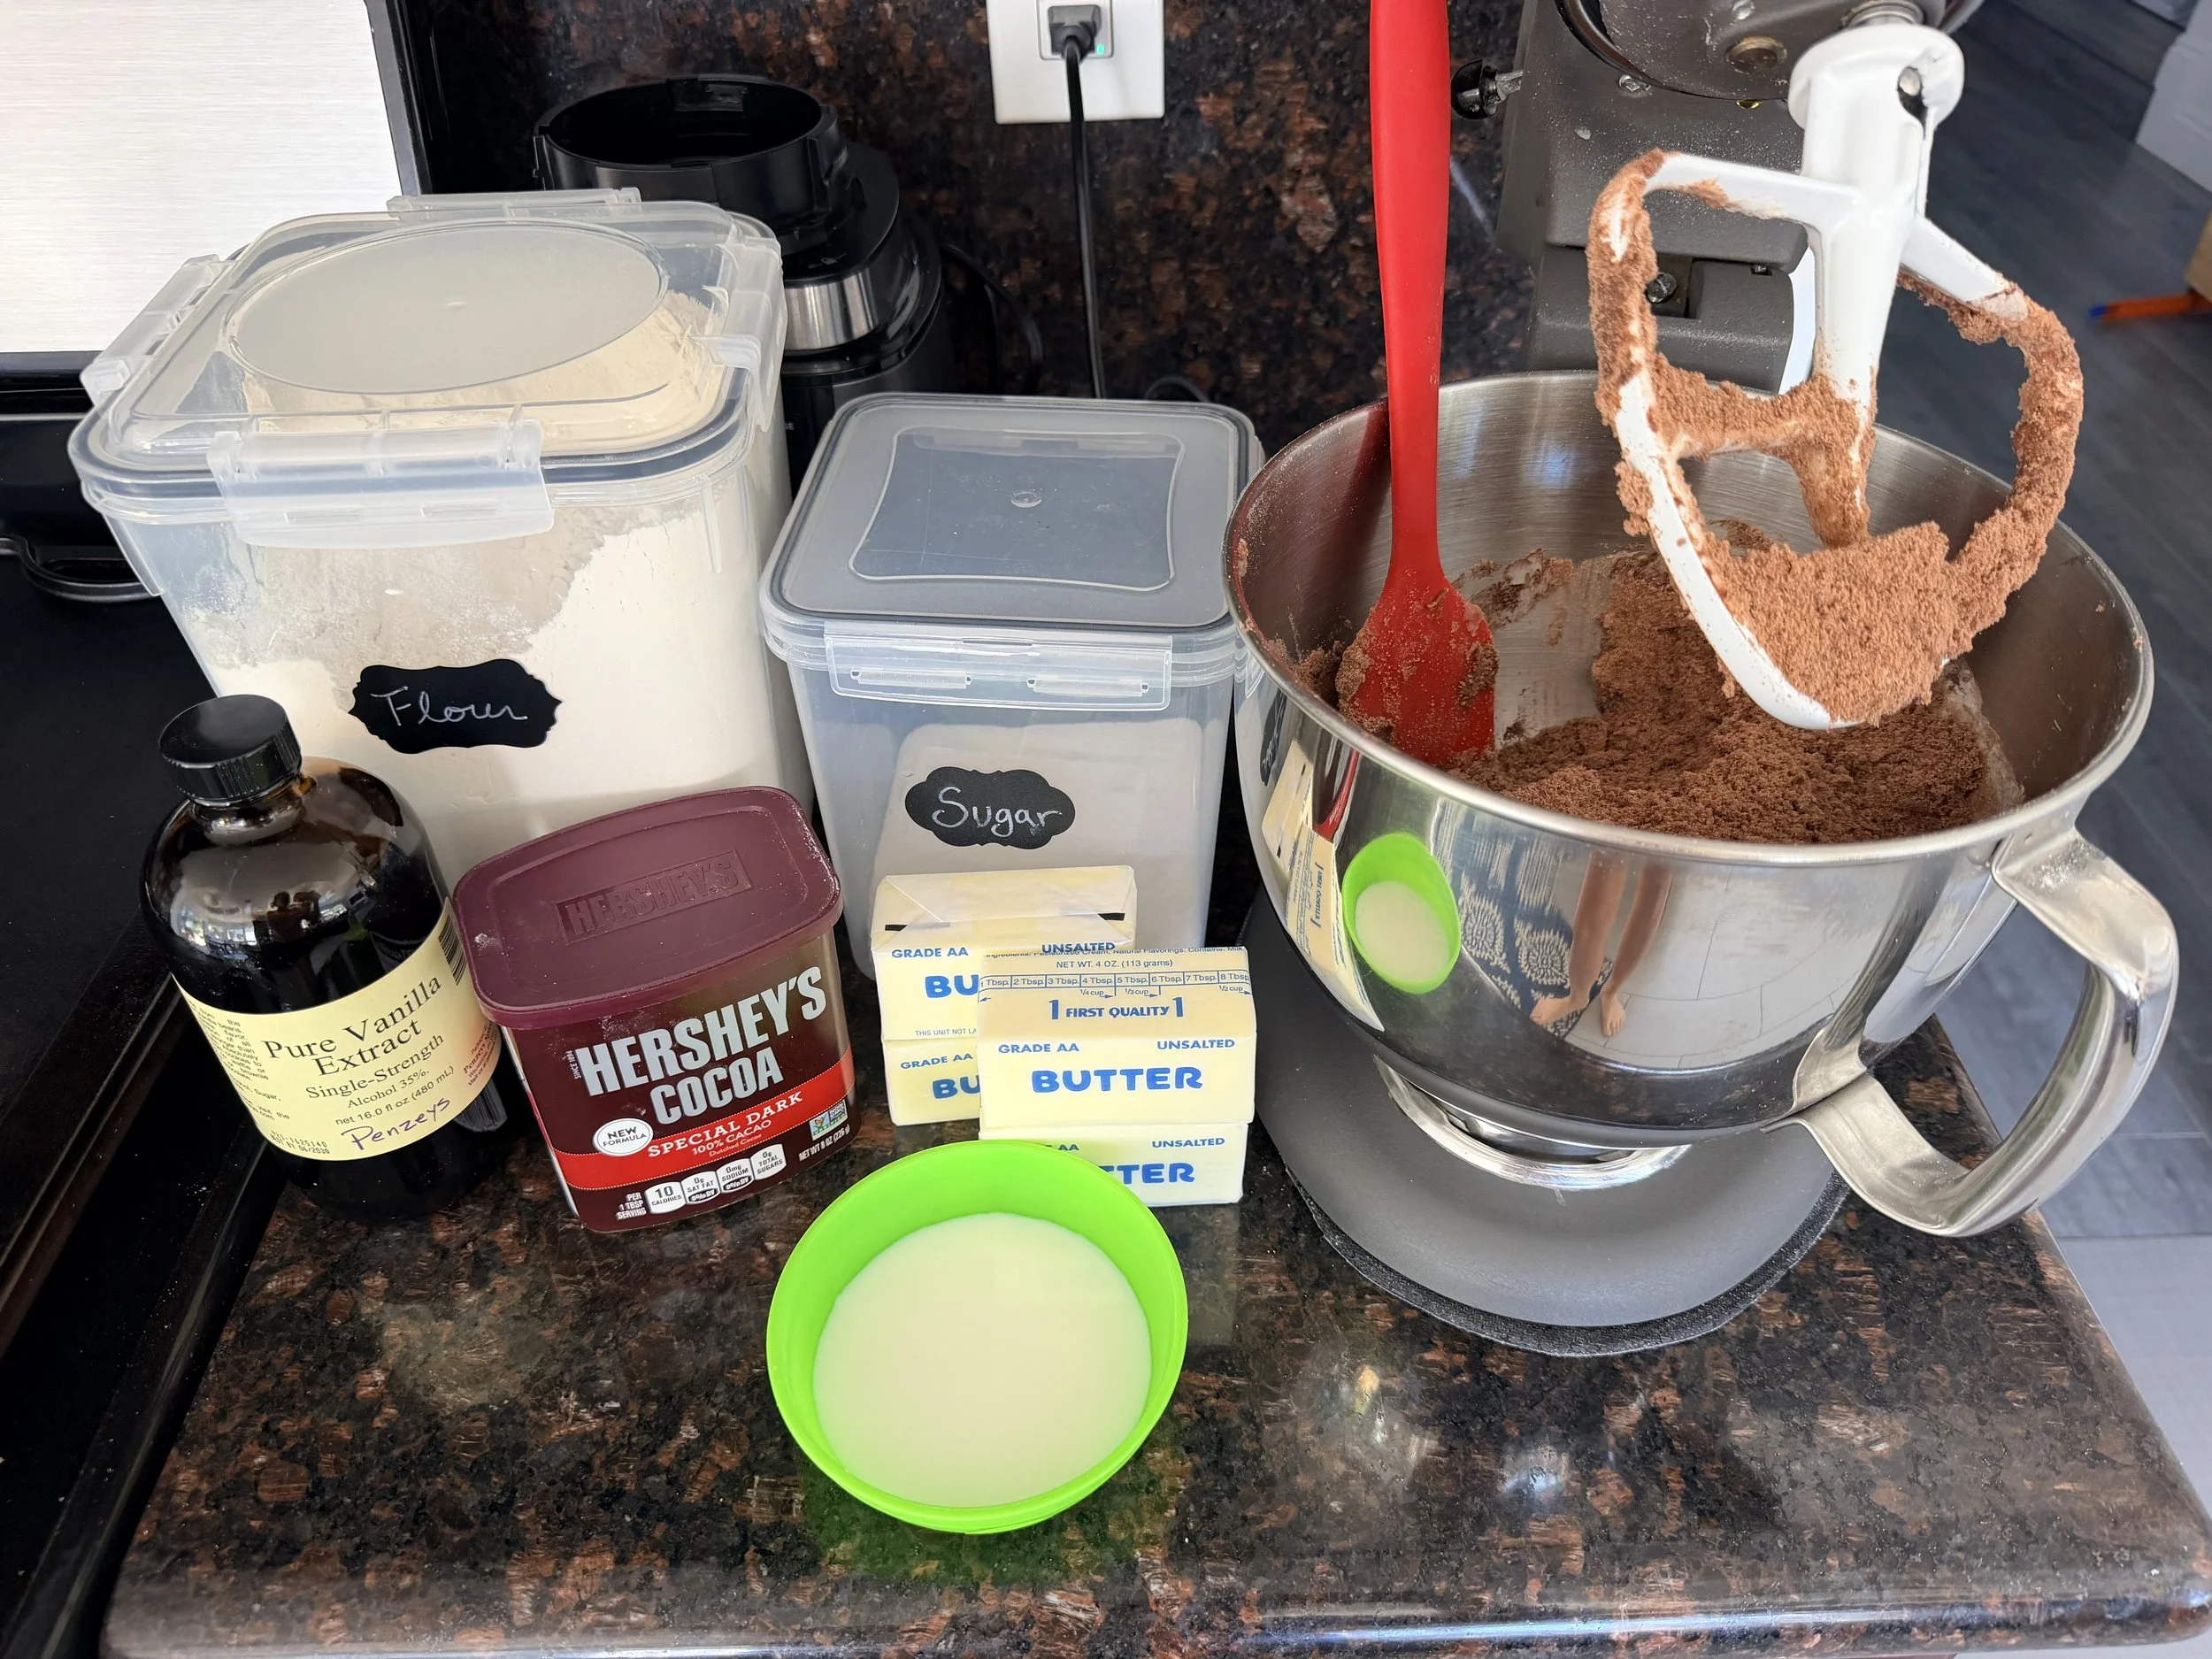
Chocolate Cookie House Ingredients - easy to make with kids!
You can also read my Printable Gingerbread House Kit Guide for more tips on working with the template and putting your house together.
For Halloween, we’re using that familiar house shape but giving it a completely different look with chocolate cookie walls, bright Halloween buttercream and spooky-cute decorations.
Making My First Chocolate Cookie House
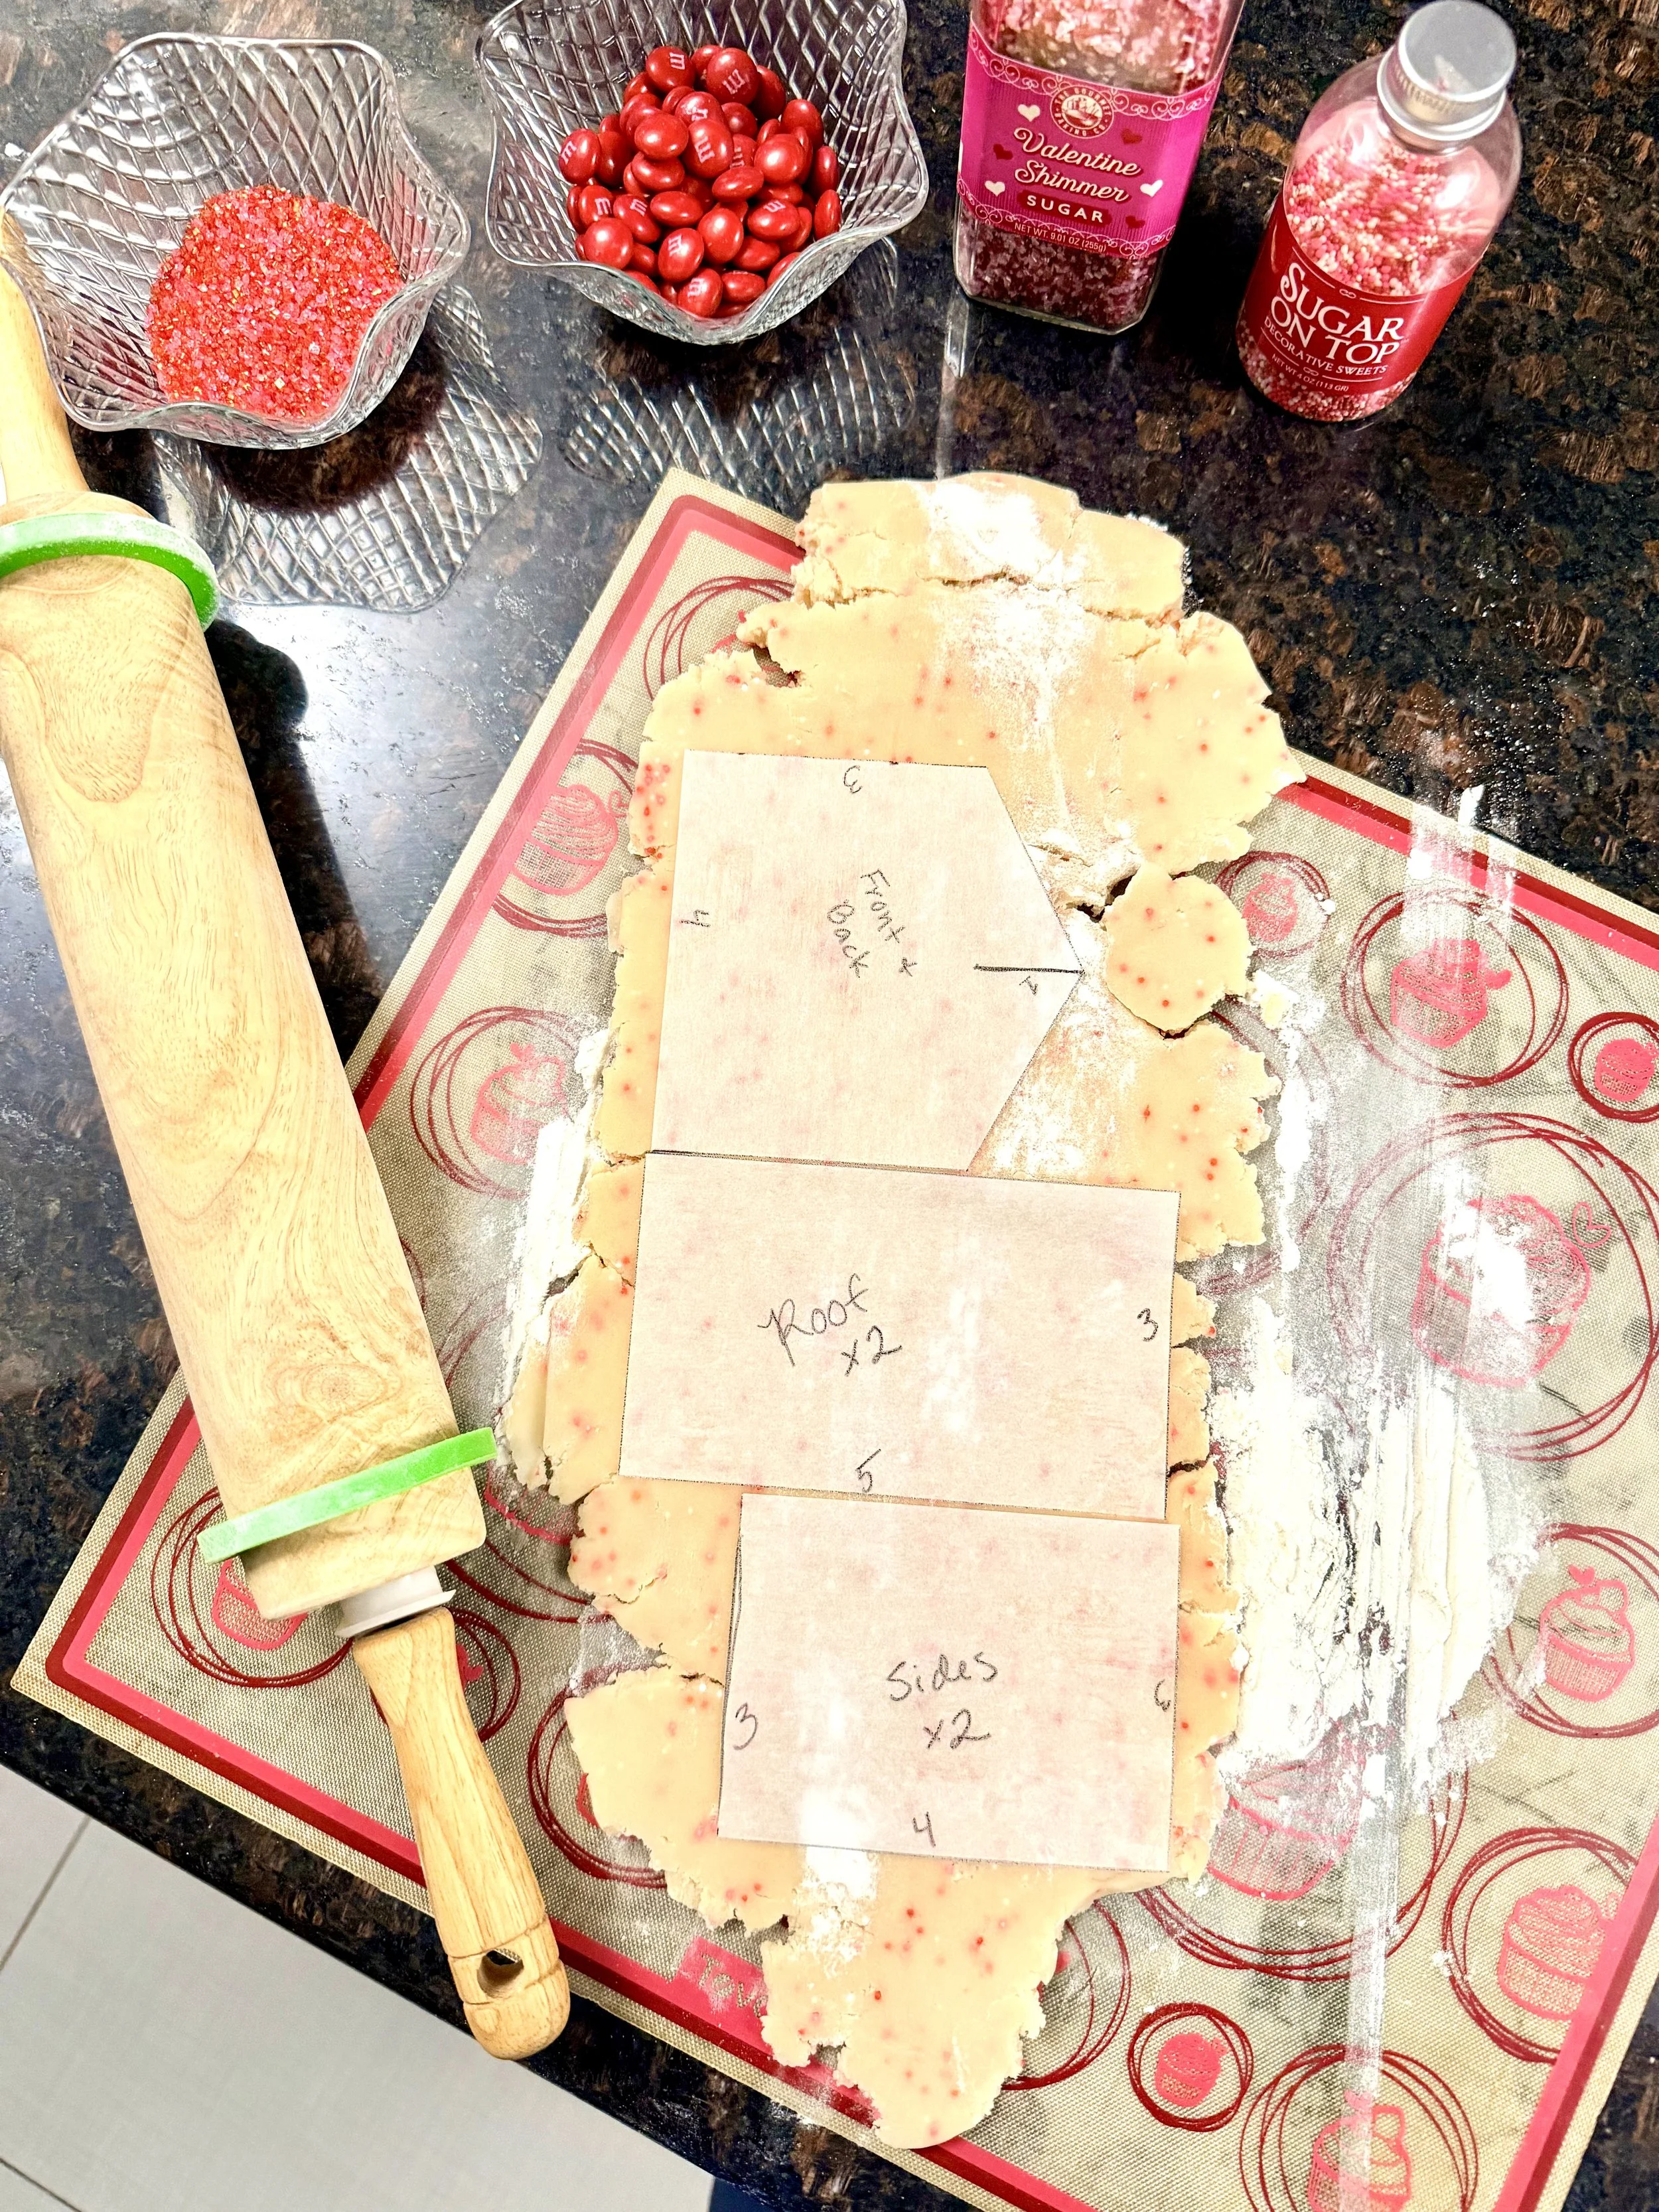
I’ve experimented with this little house quite a bit now—from my Valentine’s Day Sugar Cookie House to my Leprechaun Trap Sugar Cookie House and Easter Sugar Cookie House—but this was my first time turning the actual cookie dough chocolate.
So yes, there was some trial and error involved!
That’s part of the fun of these houses for me.
I’m not trying to create a professional bakery showpiece. I want something I can make in my own kitchen, decorate with my kids and—most importantly—actually eat afterward.
The basic process is:
Make → Chill → Roll → Cut → Bake → Decorate → Chill → Build → Eat!
And I have one little trick that makes cutting out the house pieces much easier.
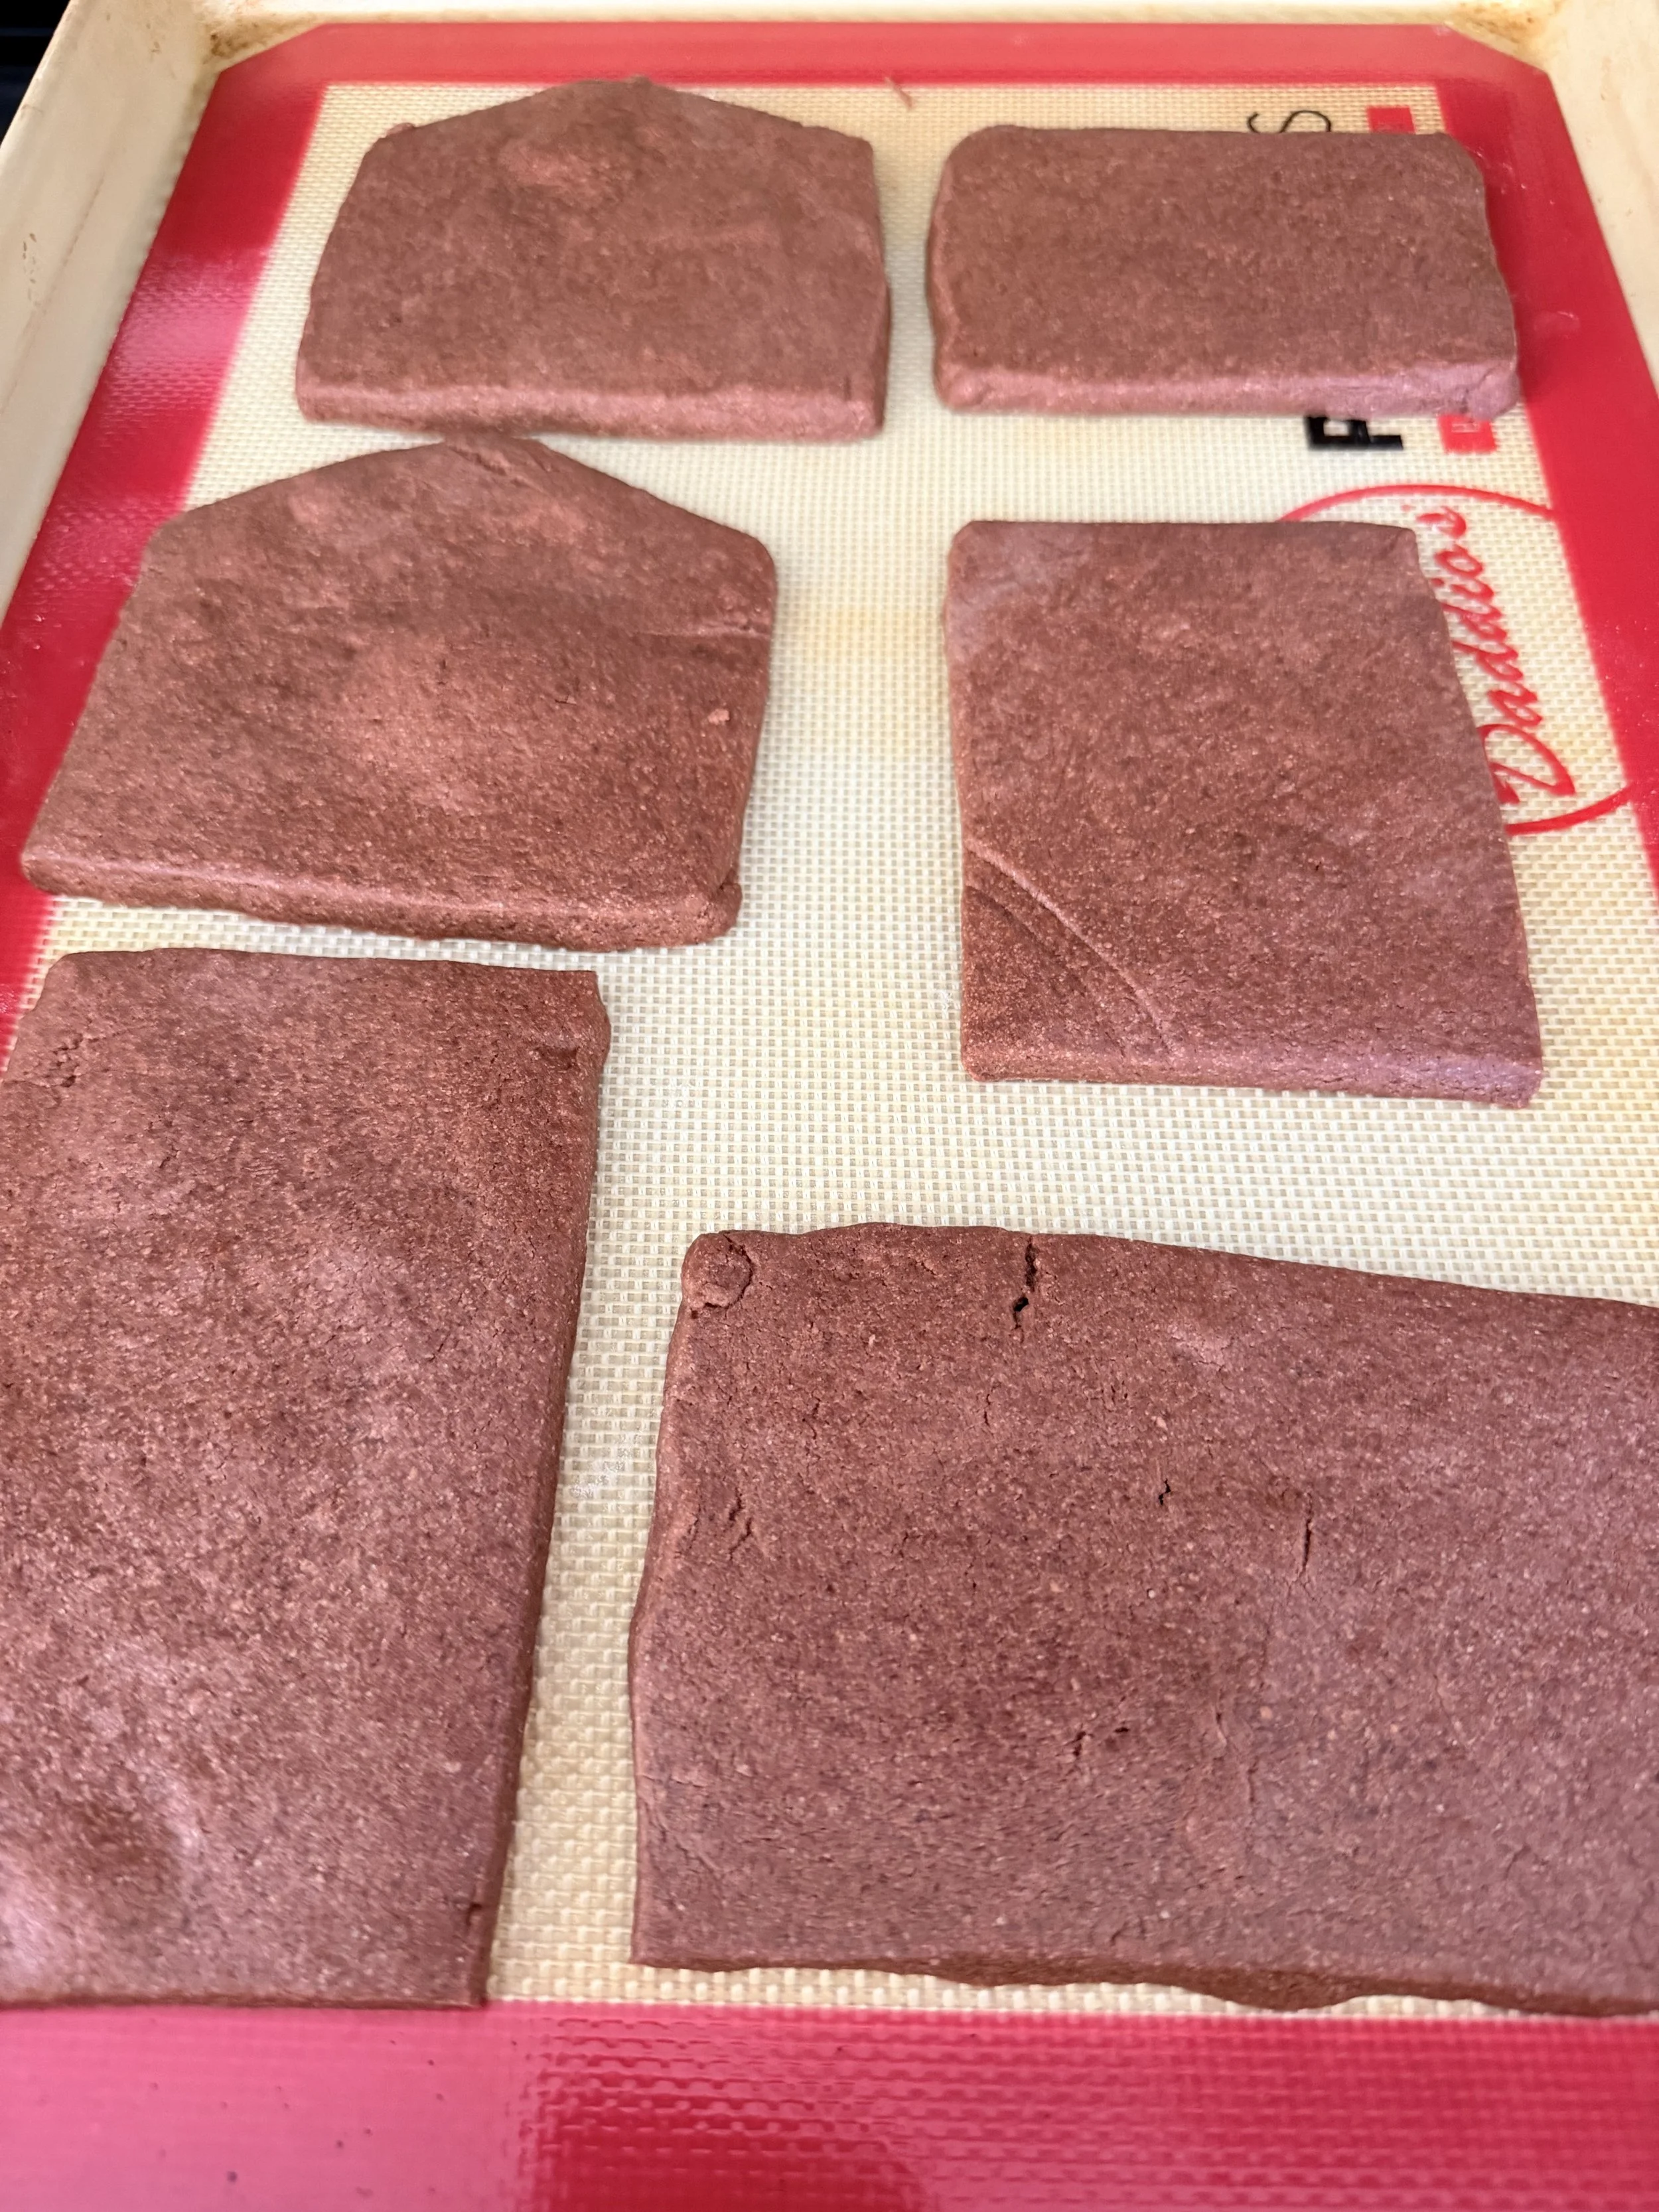
Chocolate cookie house pieces
Cut Your Cookie House With a Pizza Slicer
Once my chocolate cookie dough is rolled out, I place my house templates directly on top of the dough and cut around them.
My favorite tool for this is actually a pizza slicer!
It’s such a simple thing, but I find it much easier to get those long, straight edges with a pizza slicer than trying to work around the template with a knife.
I try to keep the dough an even thickness so all of the pieces bake consistently.
Once the pieces are baked, check your edges. If any have spread or become uneven, carefully trim them so they’ll fit together more easily when it’s time to assemble the house.
Then let everything cool completely before decorating.
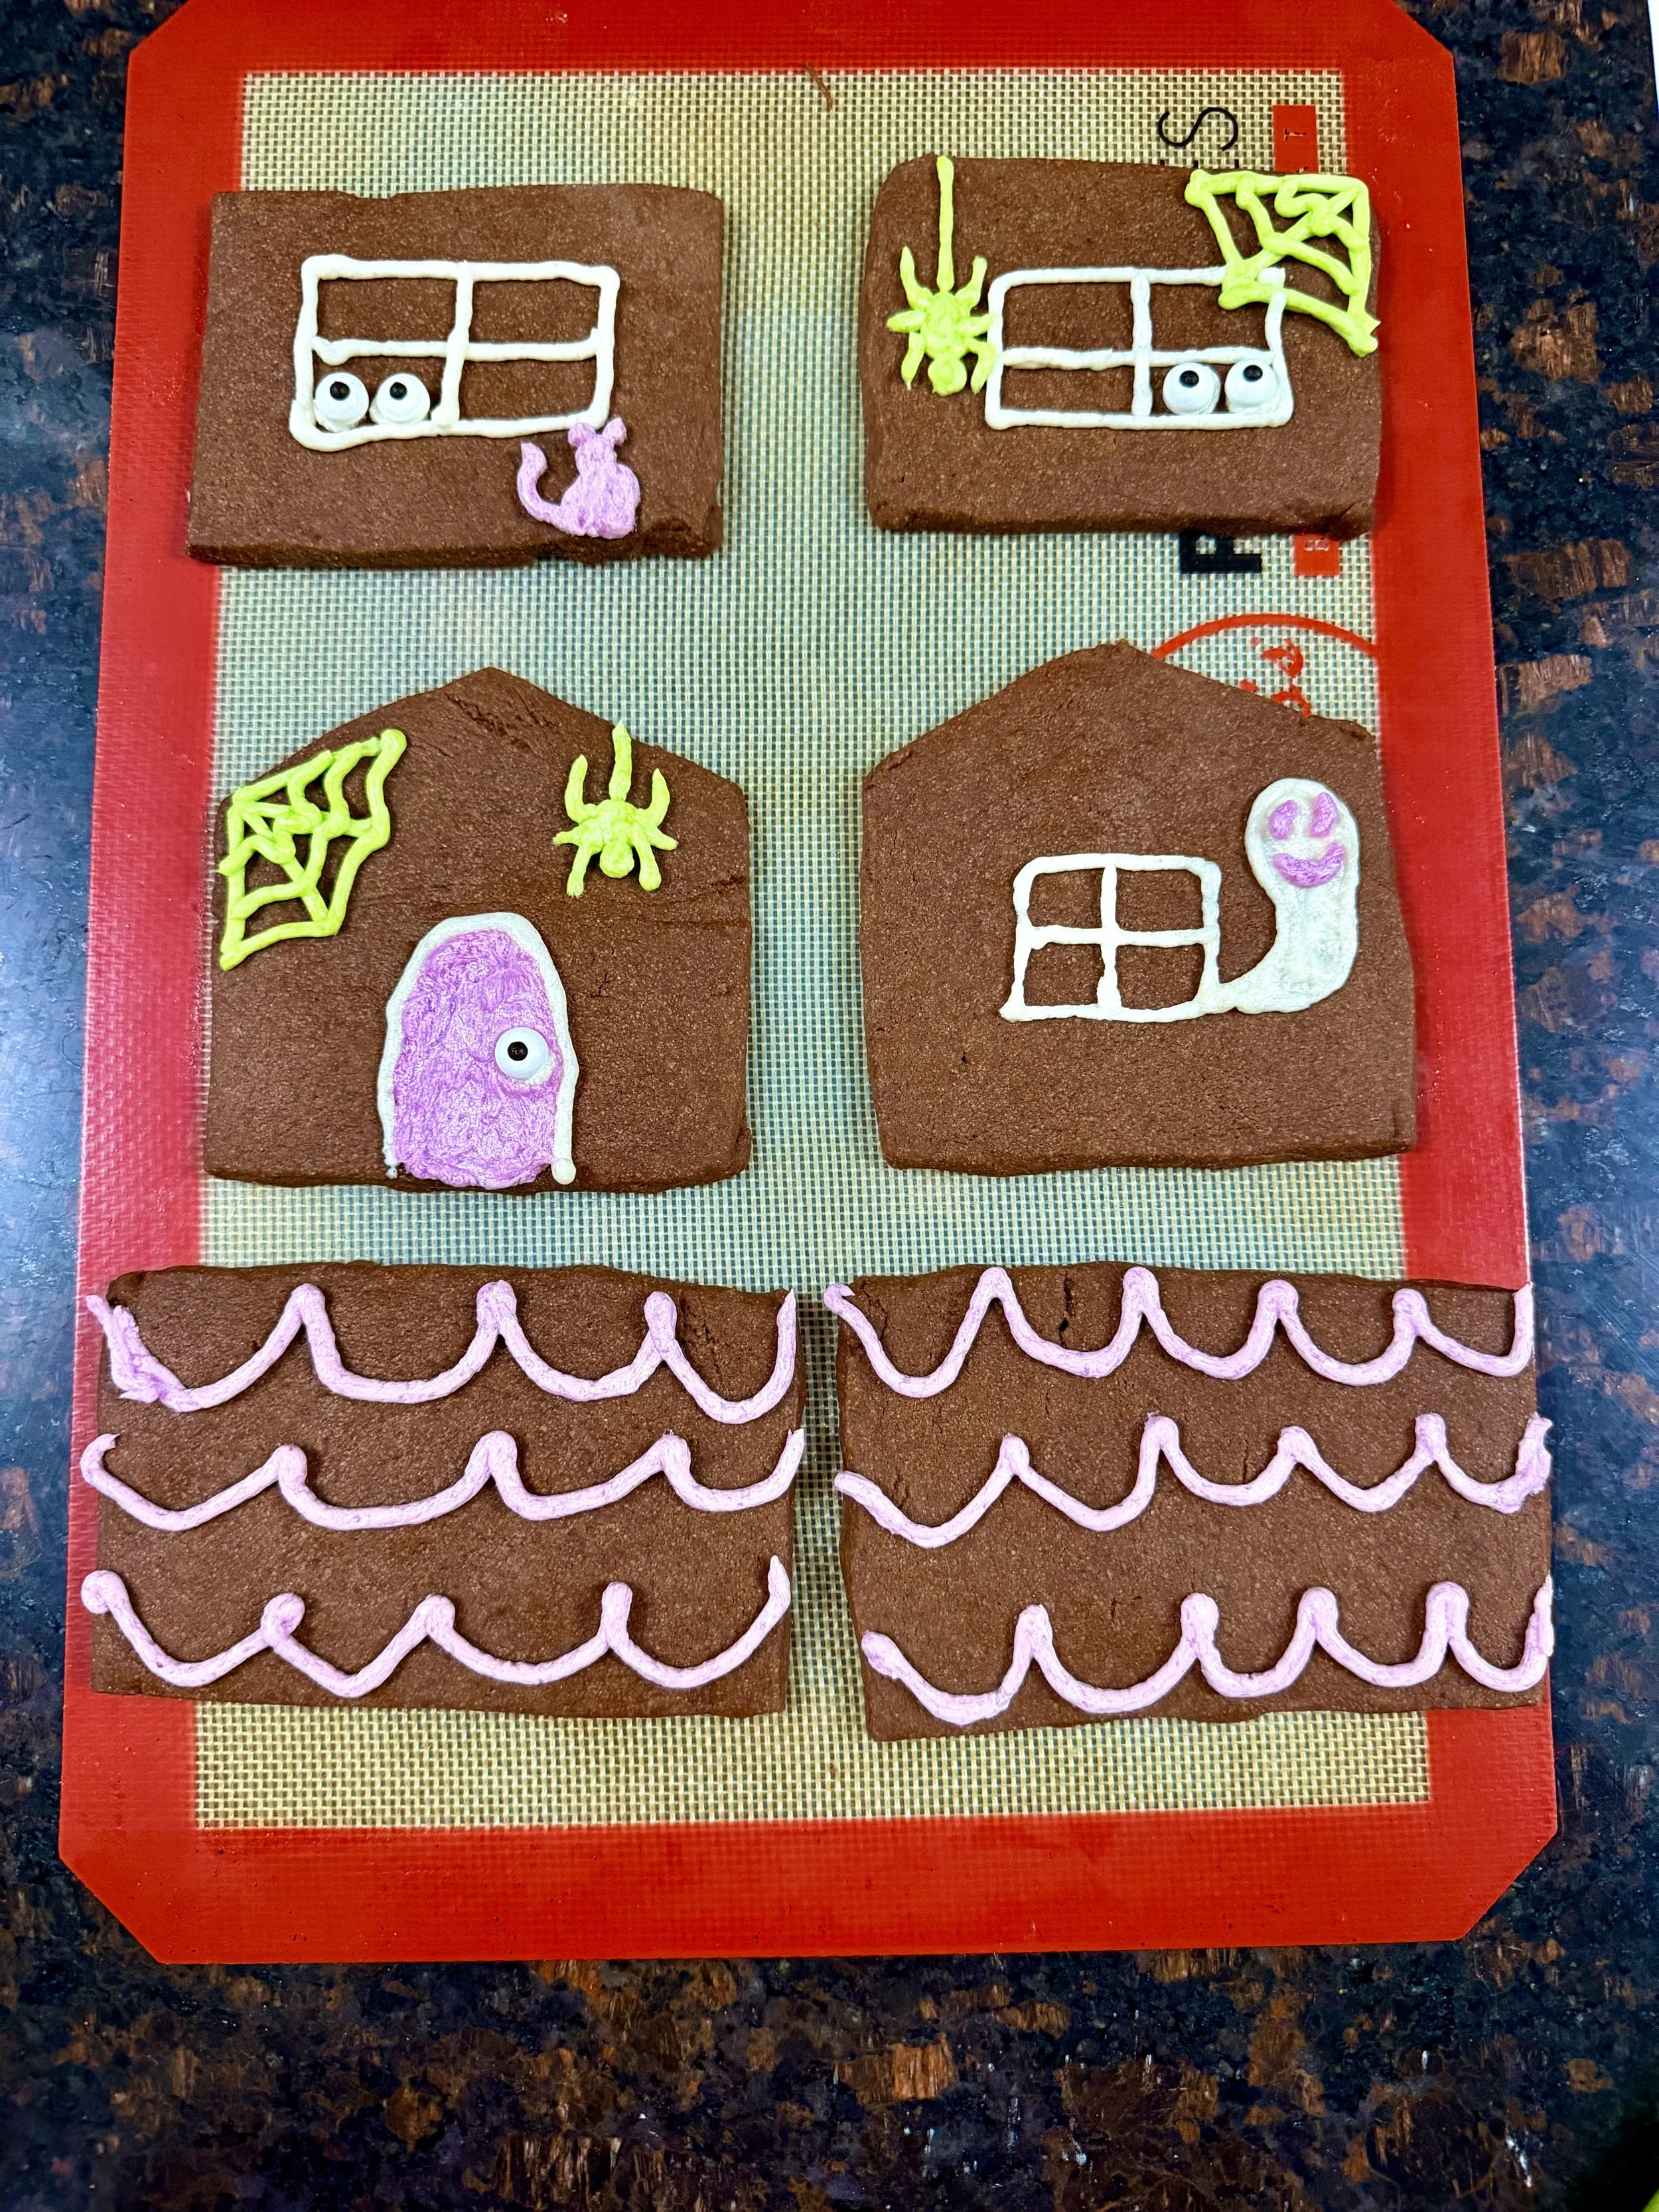
Decorate frosting on house pieces before assembly
Decorate the House BEFORE You Build It
This is probably my biggest cookie-house tip:
I decorate the pieces while they’re still flat.
I find it SO much easier.
Instead of assembling a blank house and then trying to pipe a straight line sideways onto a vertical wall, I can lay everything out on the counter and decorate comfortably.
This is when I pipe the windows, doors, roof and most of my Halloween details.
For my haunted house, I used my purple, orange and green buttercream against the chocolate cookie.
This was exactly what I had pictured when I decided to try chocolate dough. The colors really stand out against the darker cookie without me needing to make black frosting.
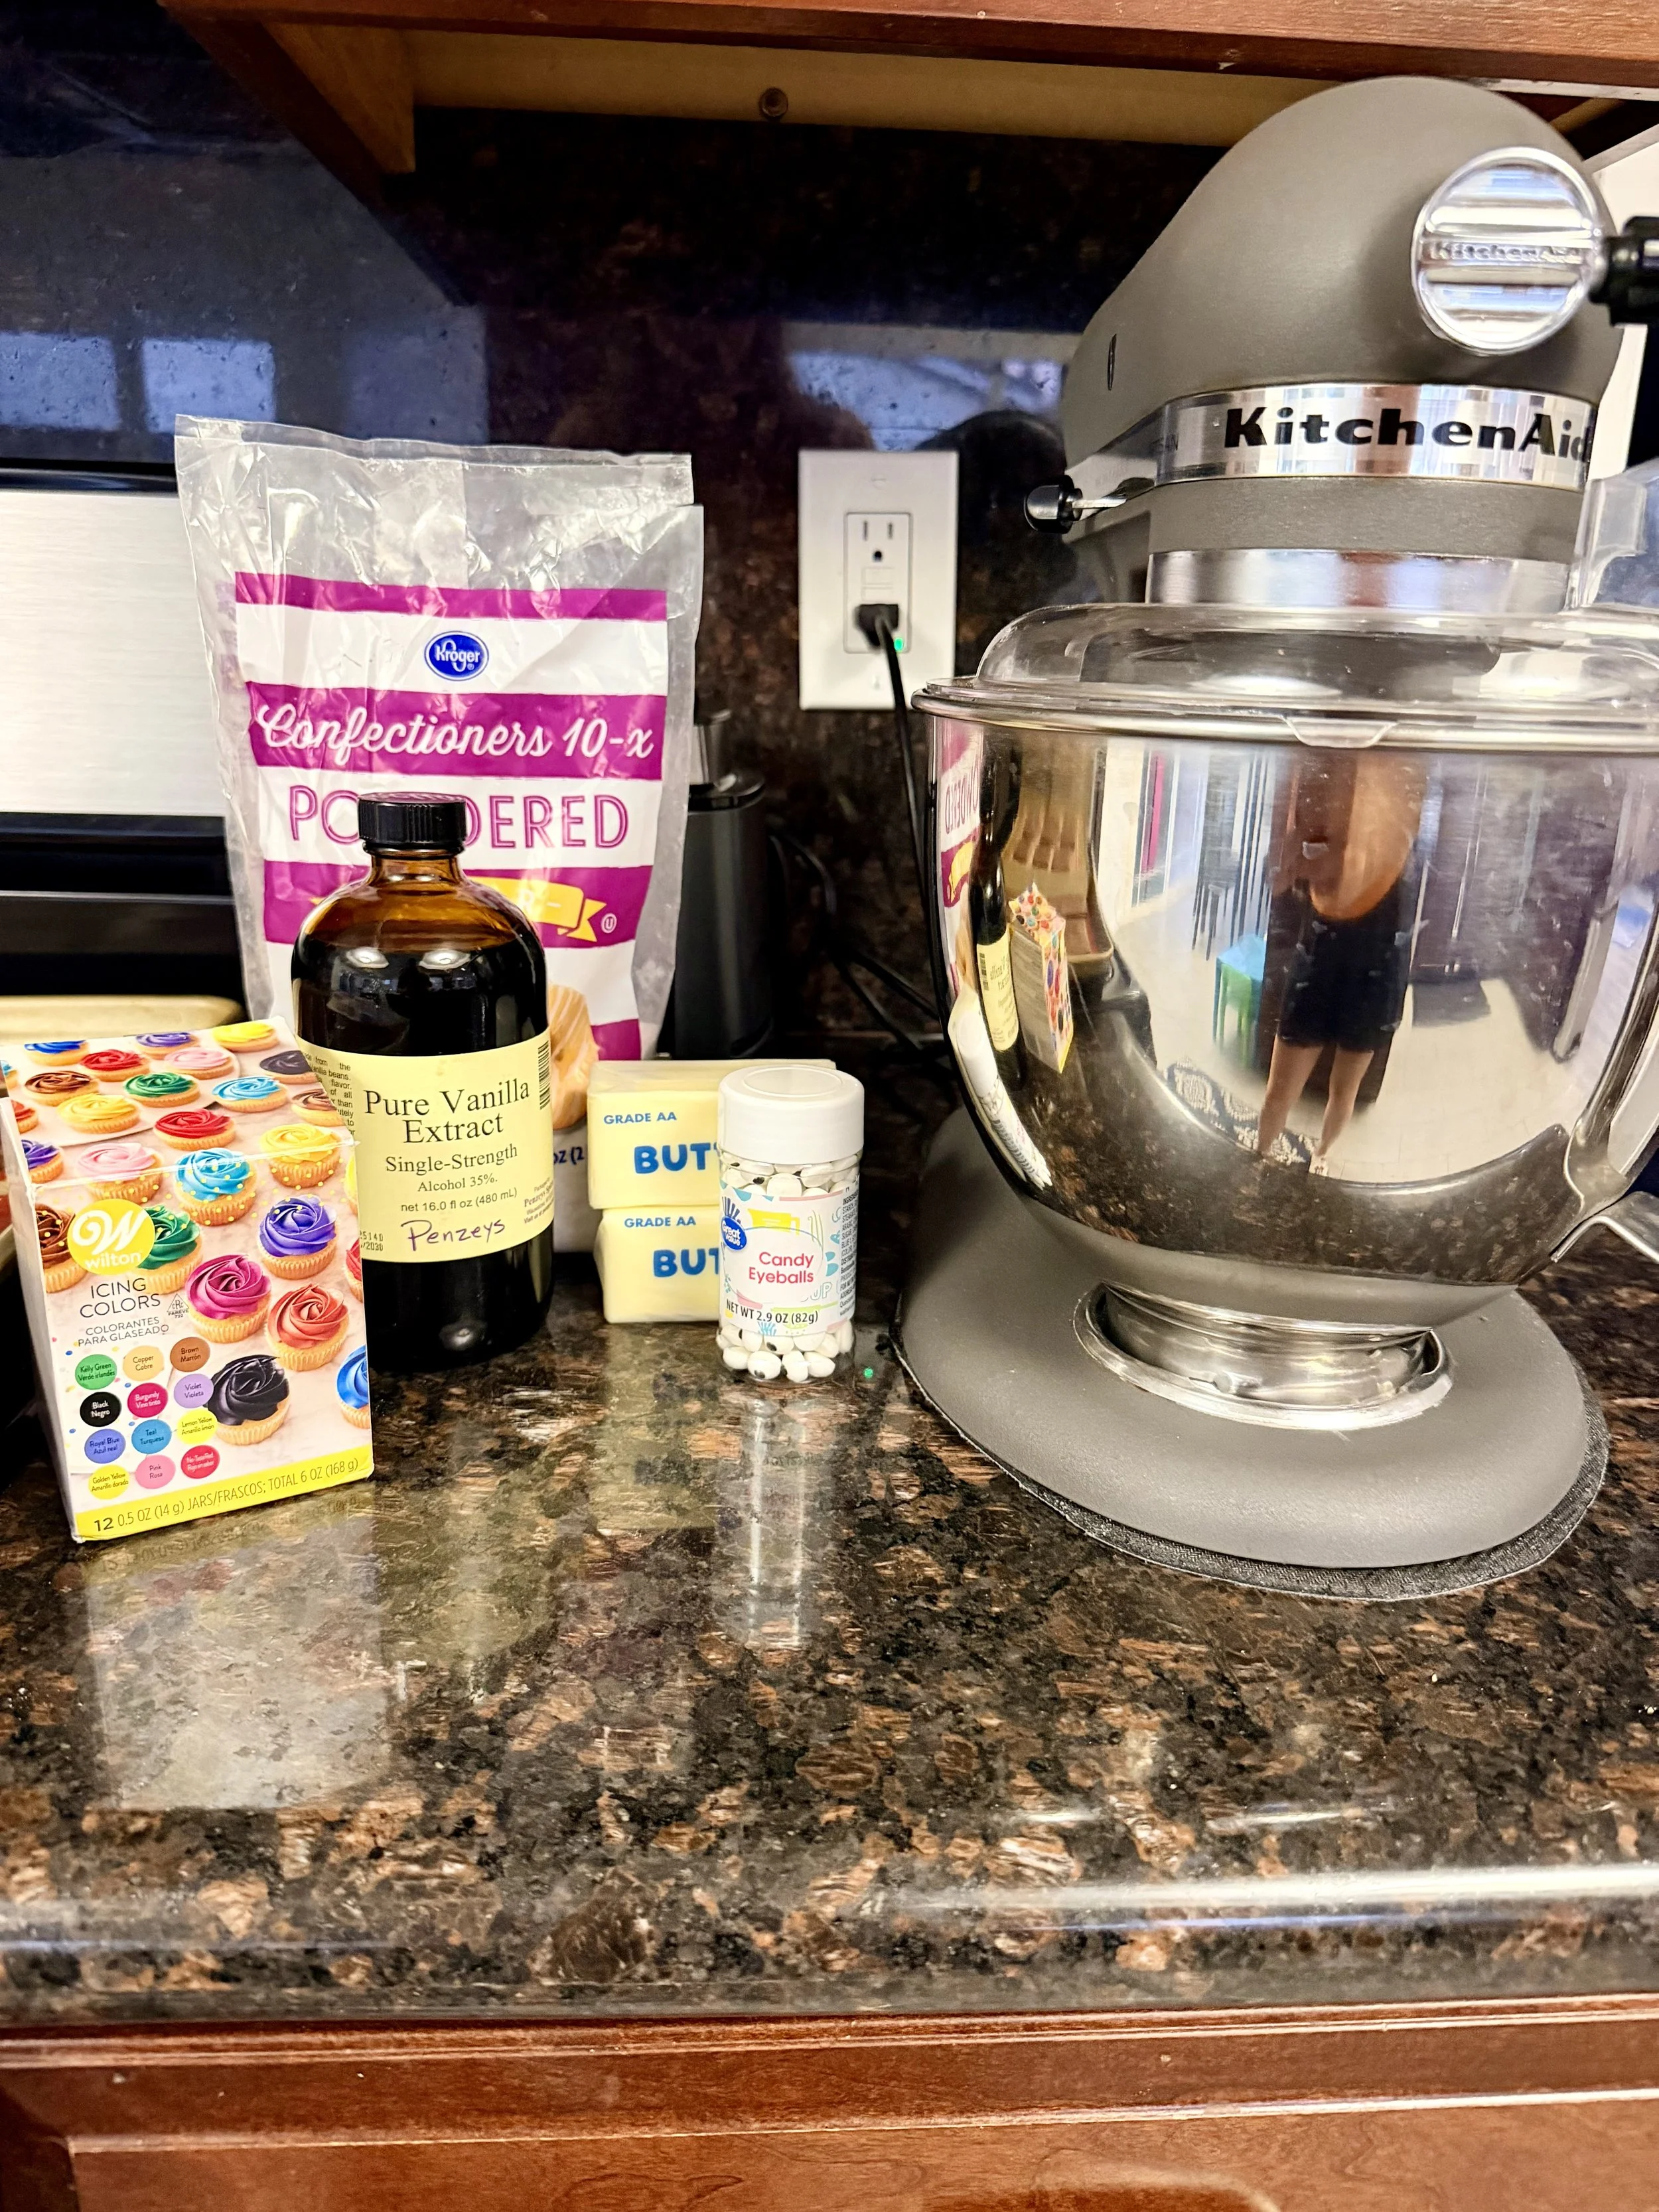
Buttercream frosting ingredients for Halloween Chocolate Cookie House
Why I Use Buttercream Frosting
There are other frostings you can use for cookie-house construction, but I’m sticking with my favorite:
Buttercream!
My intention is to eat this house.
I don’t want it to sit on my counter until December as a Halloween decoration. I want everyone to break pieces off and enjoy it.
So taste matters to me.
Buttercream is what I love to eat, which is why I continue using it for my cookie houses.
Chill the Decorated Pieces Before Building
Once I’ve decorated all of my pieces, I put them in the refrigerator so the buttercream can set a little before I start handling everything.
This also gives me the perfect built-in break.
I usually use this time to clean my kitchen.
By this point, there are mixing bowls, piping bags, frosting and cookie crumbs everywhere, so I clean everything up while the frosting firms.
Then it’s construction time!
How I Assemble My Cookie House
Once the decorated pieces have chilled and the frosting has firmed up a bit, I take everything out and start assembling.
I put the walls together first. You can use cans from your pantry to help support the walls while you’re working if you need an extra set of hands.
Once the walls are stable, I add the roof.
Since I’ve already done most of my decorating while the pieces were flat, I don’t have nearly as much detailed piping to do at this point.
Instead, I use additional buttercream to help cover seams and add the finishing touches that make the whole house come together.
Then comes the really fun part.
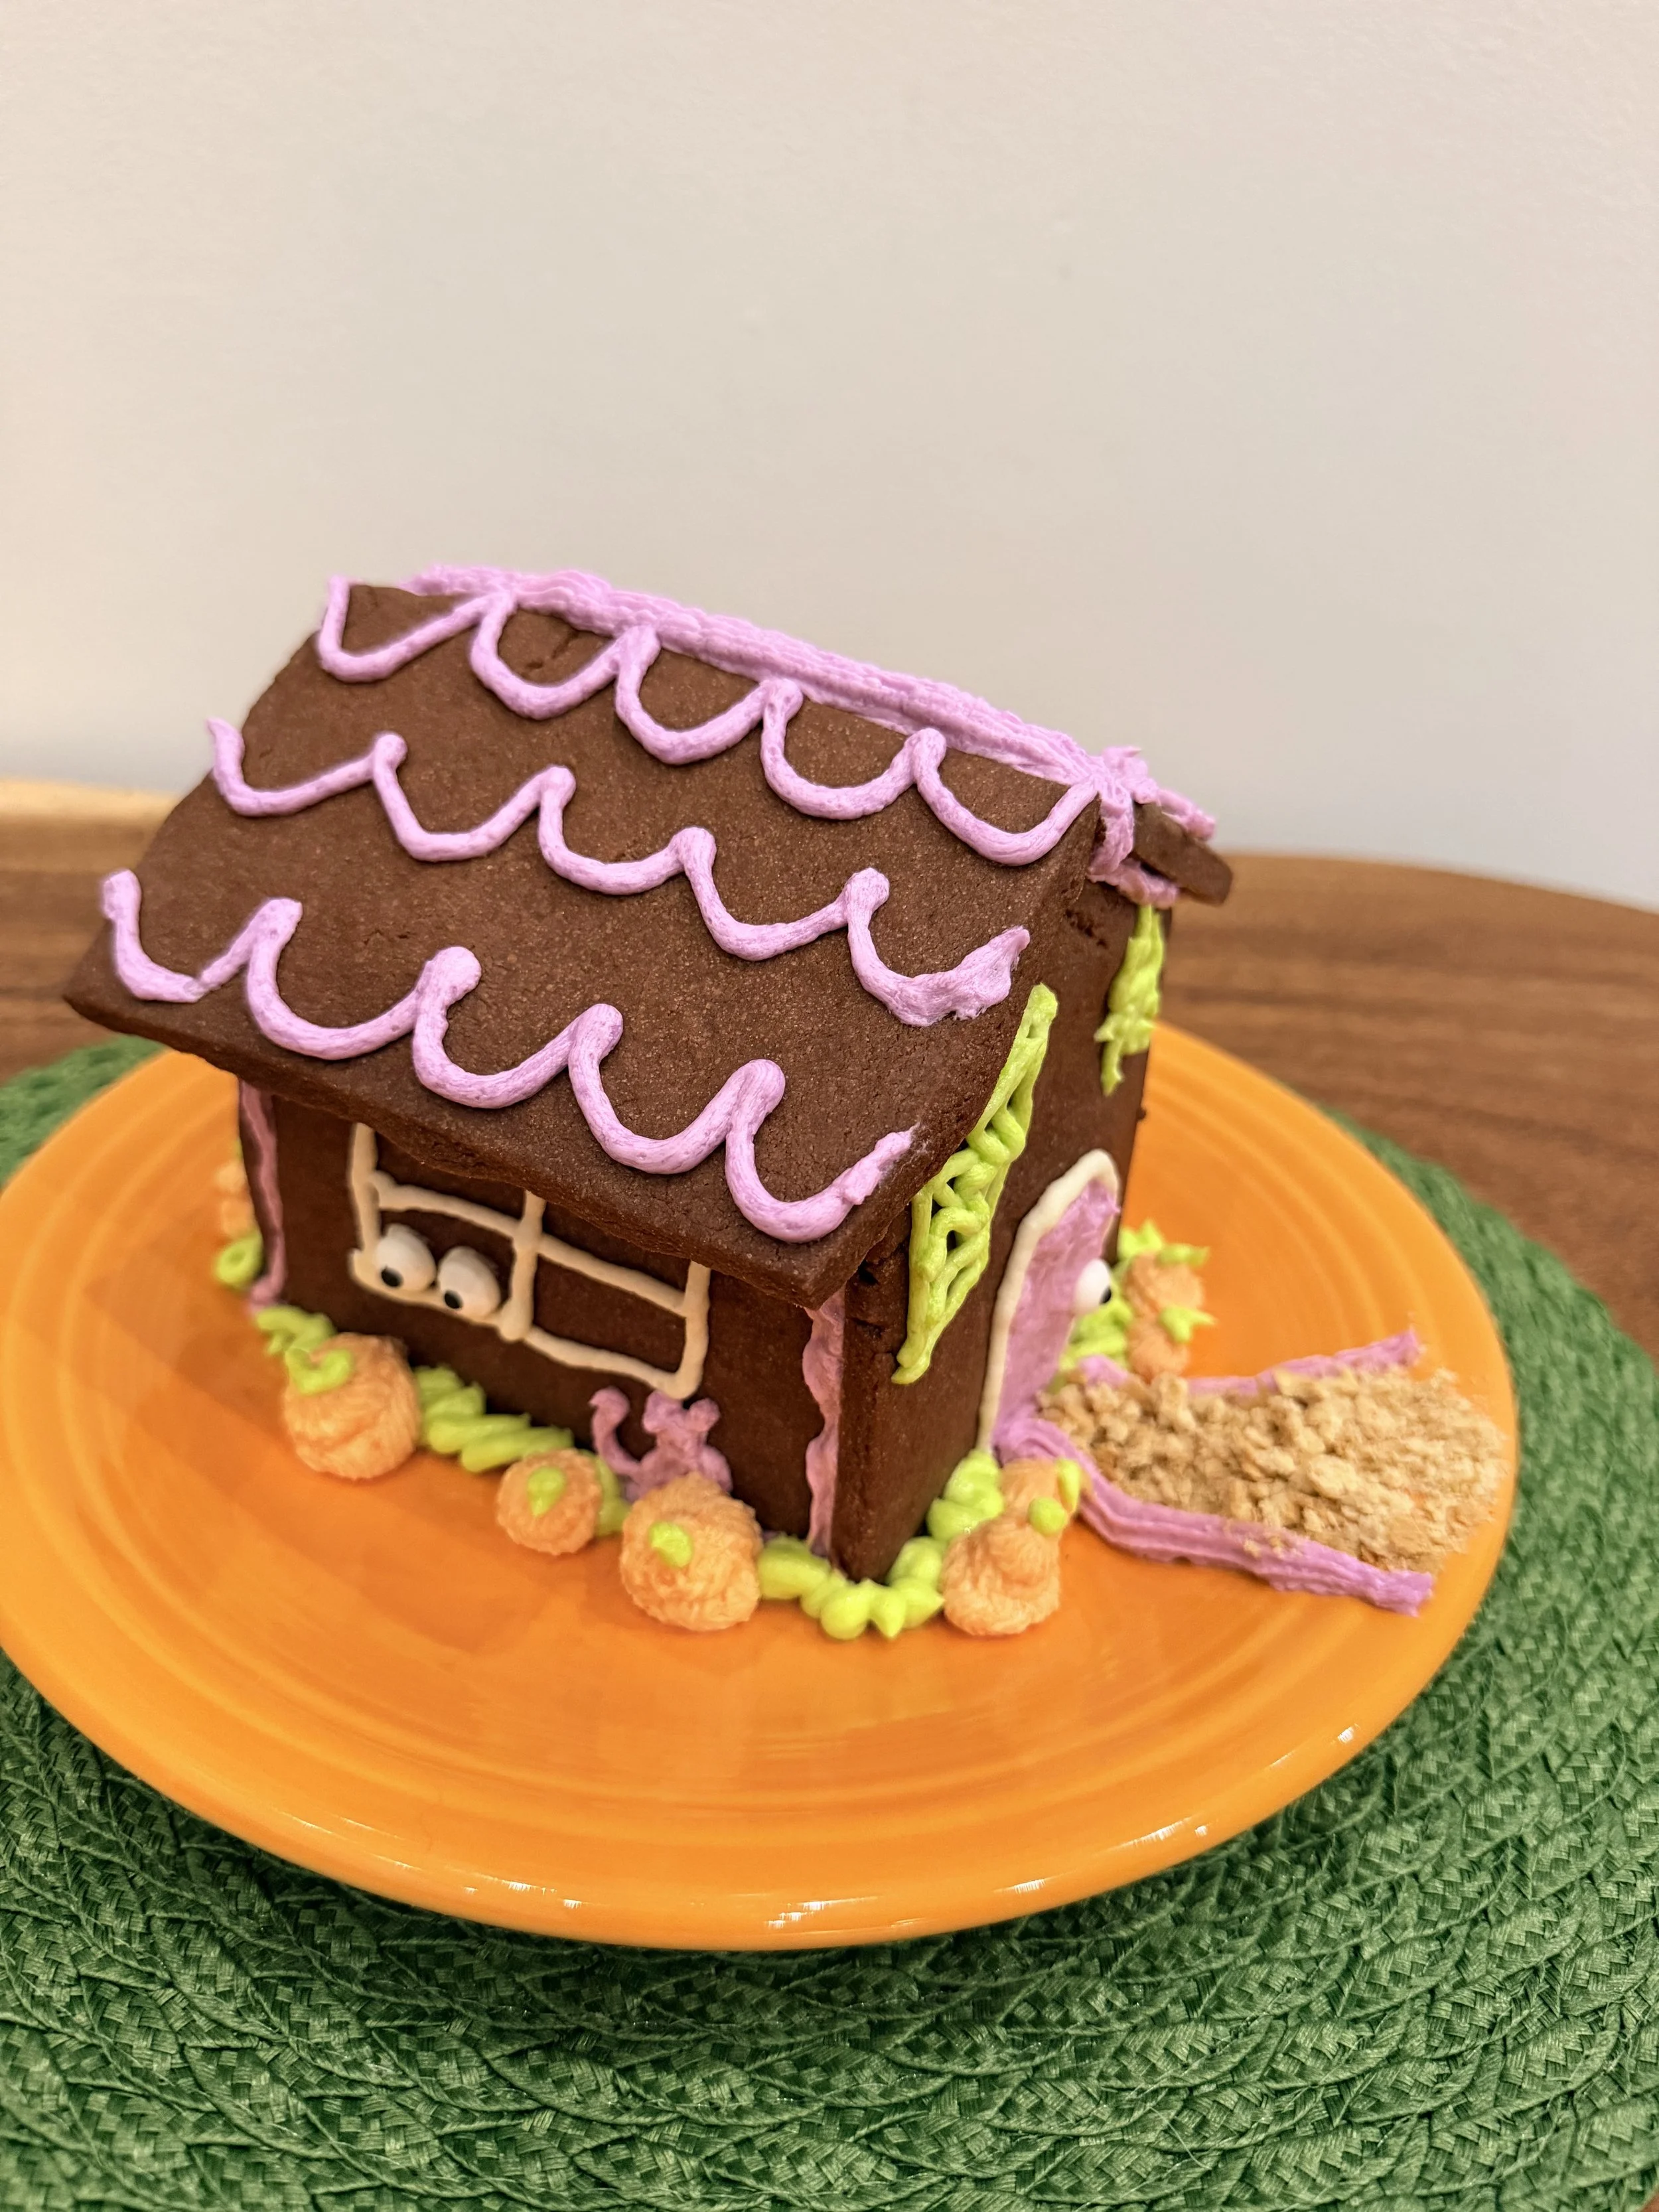
How to make 3-D Frosting Pumpkins
How Do You Make 3-D Frosting Pumpkins?
This was one of the decorating problems I really wanted to solve for the Halloween house.
I didn’t just want pumpkins piped onto the walls.
I wanted actual little 3-D pumpkins standing around the house.
I wanted them to make the cookie house feel like its own little Halloween scene, almost like a miniature pumpkin patch.
Once I figured these out, they became one of my favorite details on the entire house.
How to Make 3-D Buttercream Pumpkins
I wanted little pumpkins that could sit around the cookie house instead of simply piping flat pumpkins onto the walls. I found this cute buttercream pumpkin technique from Kaotic Krunch and adapted it for my haunted cookie house.
You'll need:
Orange buttercream frosting
A piping bag
An 8B open star piping tip or similar
A small amount of green buttercream frosting
A second piping bag with a small opening or small round piping tip
Step 1 — Fill Your Piping Bag
Fit a piping bag with an 8B open star tip and fill it with orange buttercream.
The open-star tip is what creates all of those little ridges around the pumpkin, so you don't have to pipe each pumpkin line individually.
Step 2 — Hold the Piping Bag Straight Up
Position the piping tip directly over the spot where you want your pumpkin.
Hold the bag straight up and down at about a 90-degree angle, rather than holding it sideways.
Keep the tip close to the surface without pressing it against it.
Step 3 — Pipe the Pumpkin
Squeeze the piping bag with steady pressure and keep the tip in the same place.
Don't swirl it around like you're frosting a cupcake.
Let the buttercream build upward and outward into a little round pumpkin shape.
Once the pumpkin is the size you want, stop squeezing first, then gently lift the piping tip straight up.
You should now have a little 3-D orange pumpkin with ridges already built into it!
Step 4 — Add the Green Stem
Using your green buttercream, pipe a tiny stem directly onto the center of the pumpkin.
Start with just a little bit—you can always add more.
If you want to get fancy, add a tiny green curl or leaf beside the stem. But I'm keeping mine simple!
Step 5 — Make a Little Pumpkin Patch
Repeat with pumpkins in slightly different sizes.
I actually like them better if they aren't all identical. A few tiny pumpkins mixed with slightly larger ones will make the area around the haunted house look more like a little pumpkin patch.
Tip: Practice your first pumpkin or two on a piece of parchment paper before piping them around your finished house. If they look terrible, you can scrape the frosting back into the bowl and try again. No one ever has to know!
Don’t Forget the Friendly Ghost!
Every haunted house needs a ghost.
Ours just isn’t particularly good at being scary.
I wanted a cute, happy little ghost instead, which is also a fun nod to The Trucks That Saved Halloween.
The ghosts in the book are meant to be friendly and whimsical rather than frightening, and I wanted this little guy to have the same personality.
[PHOTO: Friendly ghost on haunted cookie house]
Add Your Finishing Touches
Once the house is standing, anything goes!
This is when I add the little decorations around the base of the house, cover any seams that need some extra frosting and make the whole scene feel finished.
You could decorate your Halloween cookie house with:
Candy corn
Halloween sprinkles
Candy pumpkins
Chocolate candies
Gummy worms
Mini marshmallow ghosts
Pretzel fences
Bats
Black cats
Colorful windows and doors
Fall leaves
A candy path
More pumpkins!
There really aren’t rules here.
Make it spooky. Make it silly. Let the kids take over.
Or—in our case—make it cute and colorful.
Can You Actually Eat a Cookie House?
YES!
In fact, that’s the point of mine.
This isn’t one of those cookie houses that’s going to sit untouched as a decoration for three months.
My intention is absolutely to eat it.
That’s one of the reasons I care about making a cookie I actually like and using buttercream frosting that tastes good.
We’ll leave the finished house out for a little while so everyone can enjoy looking at it—and inevitably start sneaking pieces—but then I move it to the refrigerator.
Partly because I’m trying to keep it fresh.
And partly because I do not need to invite every ant in the neighborhood into my kitchen.
I try to have us eat the house within about one week.
If there are still pieces left after that, I break them up and put them in the freezer.
Then we can pull out a piece of chocolate Halloween house whenever we want a treat!
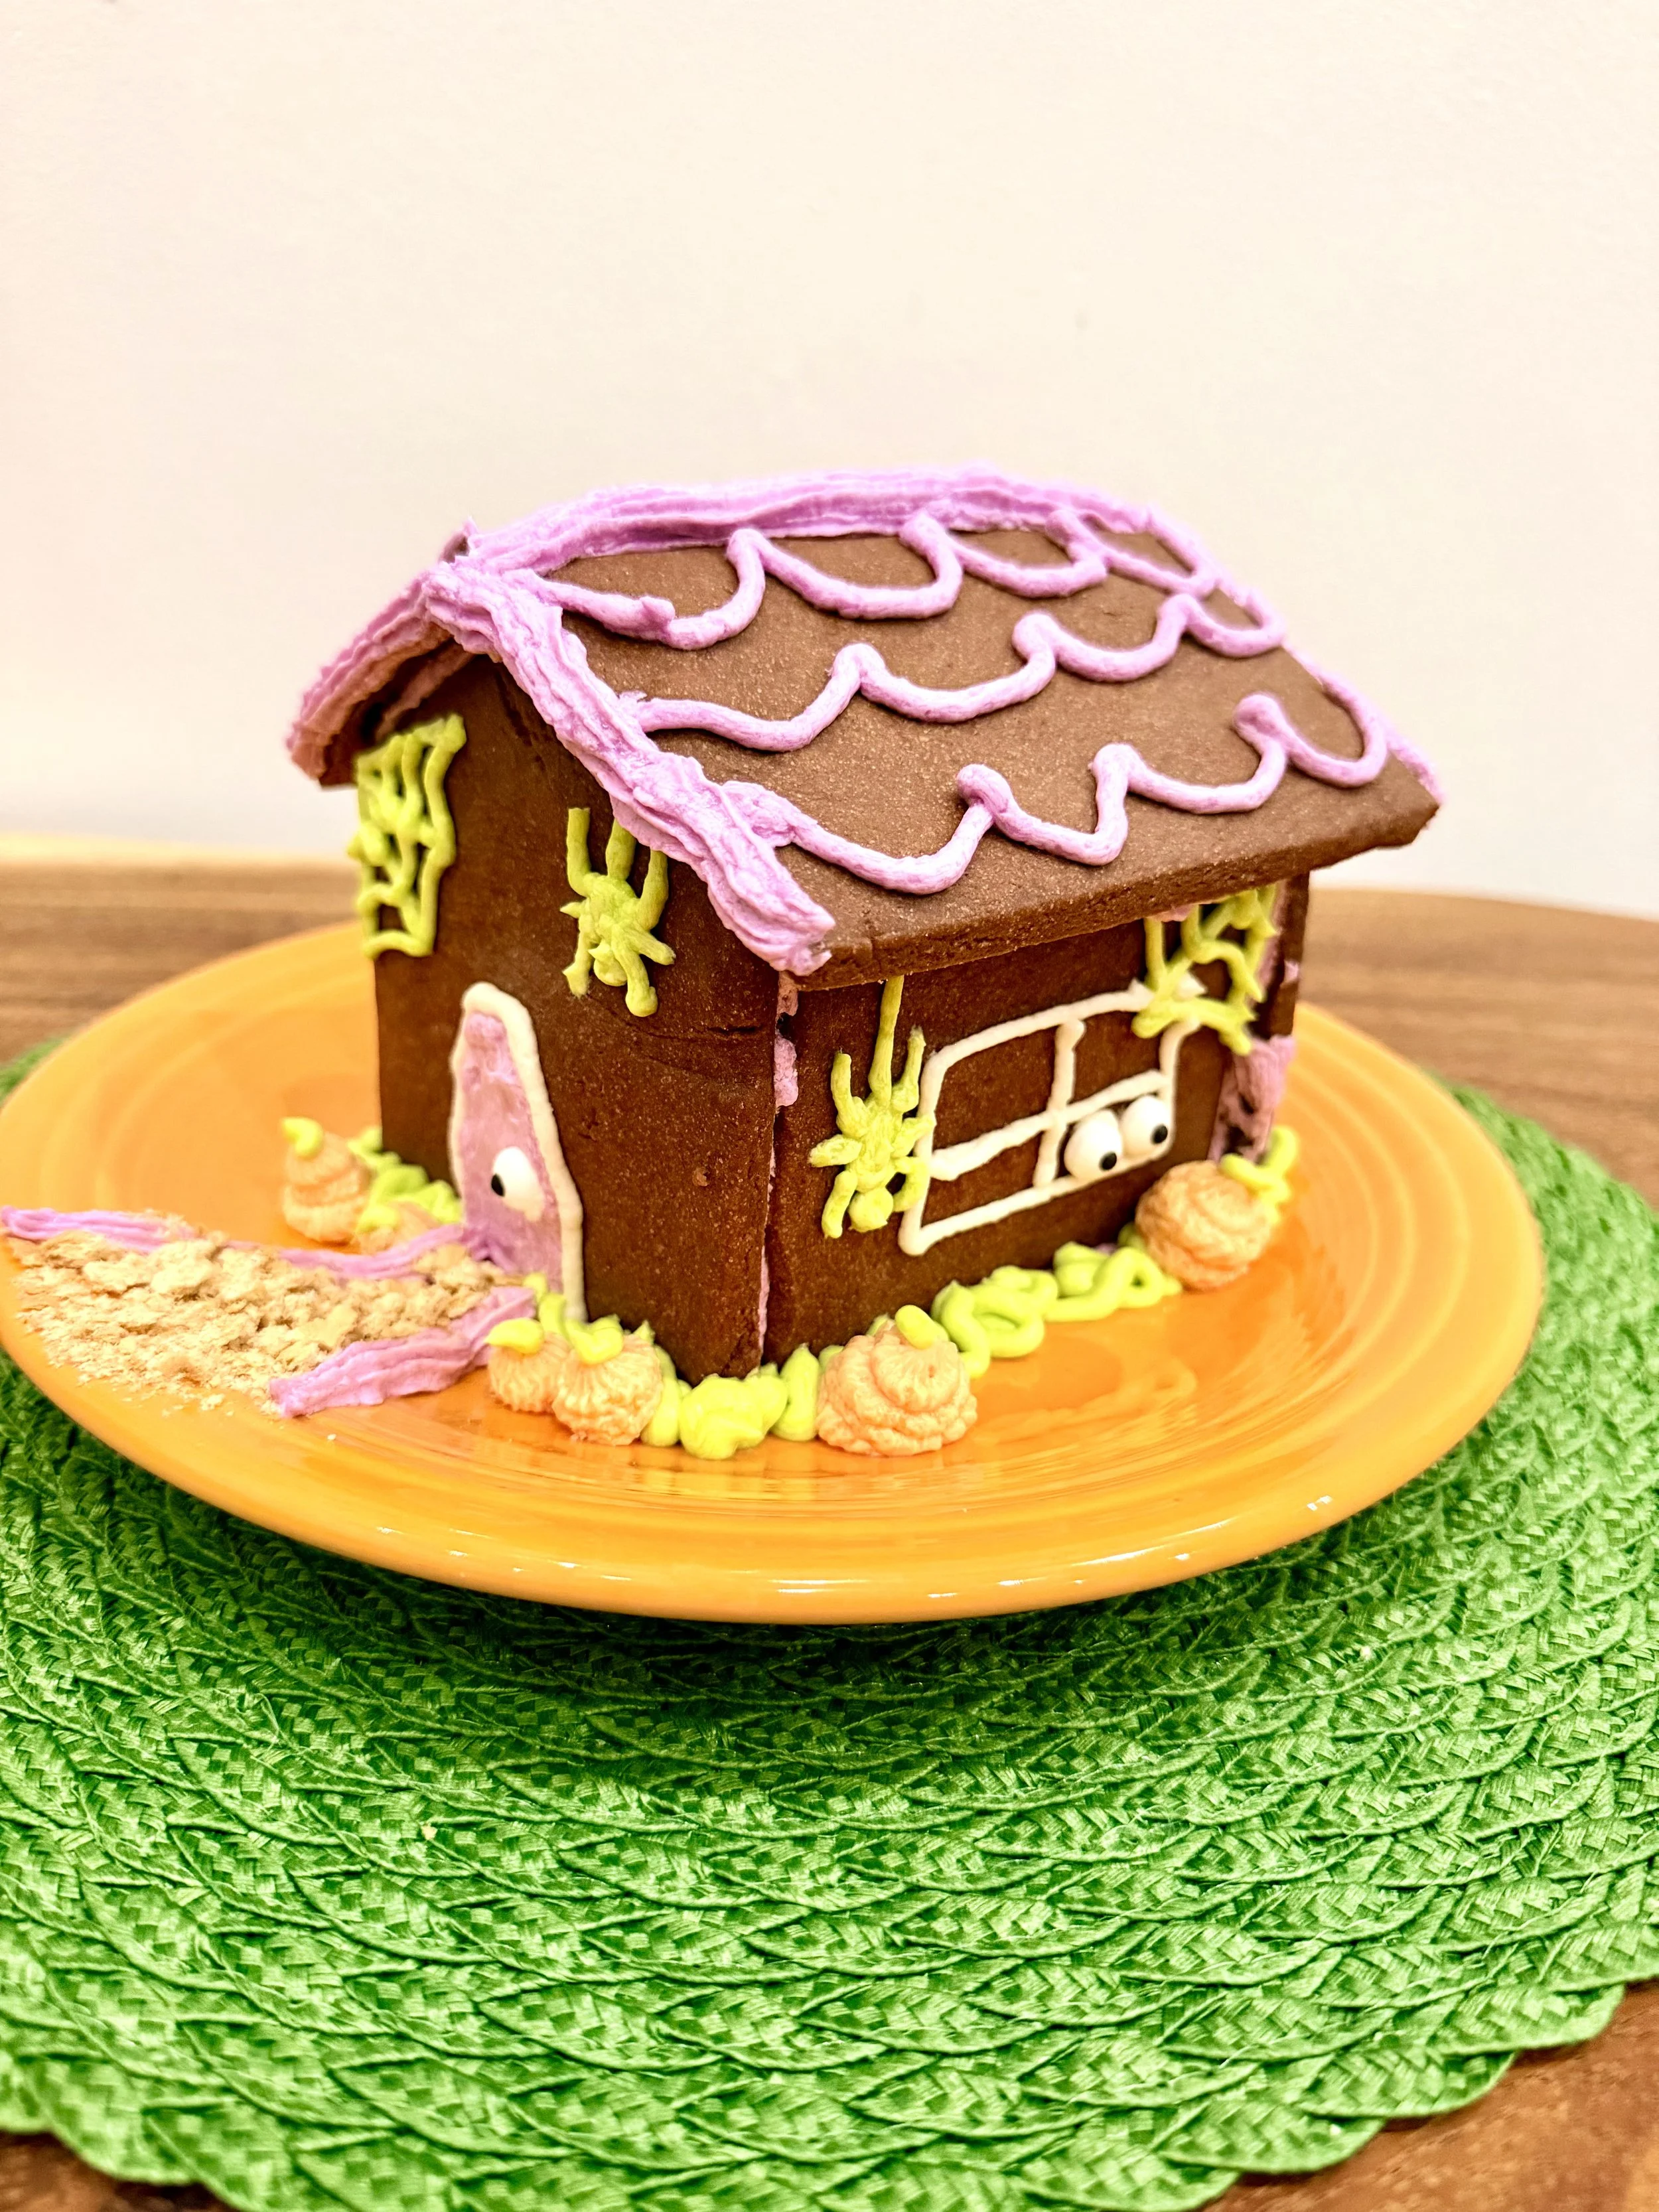
Chocolate Cookie House Recipe - Haunted Halloween House
Chocolate Cookie House Recipe
This recipe is based on the sturdy sugar cookie dough I use for my other cookie houses, adapted into a chocolate version for Halloween.
Chocolate Cookie House Ingredients
2 cups butter, softened
1 1/4 cups sugar
2 tablespoons milk
2 teaspoons vanilla extract
½ cup cocoa
4 cups all-purpose flour
Plus:
Buttercream frosting
Purple, orange and green food coloring
Halloween candy and sprinkles for decorating
Step 1 — Make the Chocolate Cookie Dough
In a large mixing bowl, beat the softened butter with an electric mixer on medium to high speed for about 30 seconds.
Add the sugar and beat until combined, scraping down the sides of the bowl as needed.
Add the milk and vanilla.
Gradually beat in the cocoa and as much of the flour as you can with the mixer. Stir in any remaining flour by hand until everything is combined.
Step 2 — Chill the Dough
Divide the dough in half and cover tightly.
Chill for about 1 hour, or until the dough is firm enough to handle and roll easily.
Can I Make the Cookie House Dough Ahead of Time?
Yes!
I actually love this option if you’re making the house with kids because you don’t have to make, chill, bake AND decorate everything in one day.
You can make the cookie dough a day ahead and keep it tightly covered in the refrigerator.
The dough can be refrigerated for up to 2 days. If it’s too firm to roll when you take it out, just let it sit at room temperature briefly until it’s workable.
Step 3 — Preheat and Prep
Once your dough is chilled and you’re ready to bake, preheat the oven to 325°F.
There’s no reason to have your oven preheating for the entire hour while your dough chills!
Line your baking sheets with parchment paper or silicone baking mats.
Get your cookie house templates and pizza slicer ready too.
Step 4 — Roll and Cut the House Pieces
Working with one portion of dough at a time, roll it on parchment paper or a silicone baking mat to approximately 1/8- to 1/4-inch thick.
For a cookie house, I like to keep the pieces toward the thicker side so they’re sturdy enough to build with.
Lightly flour the top of the dough as necessary to keep it from sticking to your rolling pin.
Place your cookie house templates directly onto the rolled dough.
Use a pizza slicer to cut around the template and create your walls and roof pieces.
Step 5 — Bake
Bake the cookie house pieces at 325°F for approximately 12–15 minutes.
Larger or thicker pieces may need a little more time, so watch the cookies rather than relying entirely on the timer.
The cookies should be set and the edges firm.
Once they’re out of the oven, check the edges of your house pieces. If needed, carefully trim any uneven areas so the pieces fit together cleanly.
Allow all of the pieces to cool completely before decorating.
Step 6 — Decorate the Pieces Flat
Lay your cooled walls and roof pieces flat on your work surface.
Decorate them with buttercream frosting, adding your doors, windows, roof details and other Halloween decorations.
It’s much easier to do the detailed decorating now than after the house is standing!
Step 7 — Refrigerate
Carefully place the decorated pieces in the refrigerator to allow the buttercream to firm.
This is when I clean the kitchen!
Once the frosting has set enough that you can comfortably handle the pieces without destroying your decorations, you’re ready to build.
Step 8 — Assemble the House
Use buttercream to attach your walls.
If necessary, place soup cans or other sturdy cans next to the walls to help hold everything upright while you work.
Once the walls are stable, carefully attach the roof pieces.
Step 9 — Add the Finishing Touches
Now cover any visible seams with additional frosting and add your pumpkins, friendly ghost, candy, sprinkles and other Halloween decorations.
Then stand back and admire your chocolate haunted house…
…before everyone starts asking when they can eat it.
More Sugar Cookie House Ideas
Apparently I can’t stop turning this little cookie house into something new for every holiday!
If you had fun making the Halloween version, try another one throughout the year:
🎄 The Original Sugar Cookie Gingerbread House
The house that started it all! My gingerbread-house alternative made with sugar cookies and buttercream frosting.
💘 Valentine’s Day Sugar Cookie House
A sweet Valentine’s version—no gingerbread required.
☘️ Leprechaun Trap Sugar Cookie House
Turn your cookie house into a colorful leprechaun trap with a rainbow path and gold coins.
🐰 Easter Sugar Cookie House
My spring bunny cottage with buttercream grass, jelly bean eggs and Easter details.
Or visit my Sugar Cookie House Guide to see all of my cookie-house tips, designs and ideas in one place.
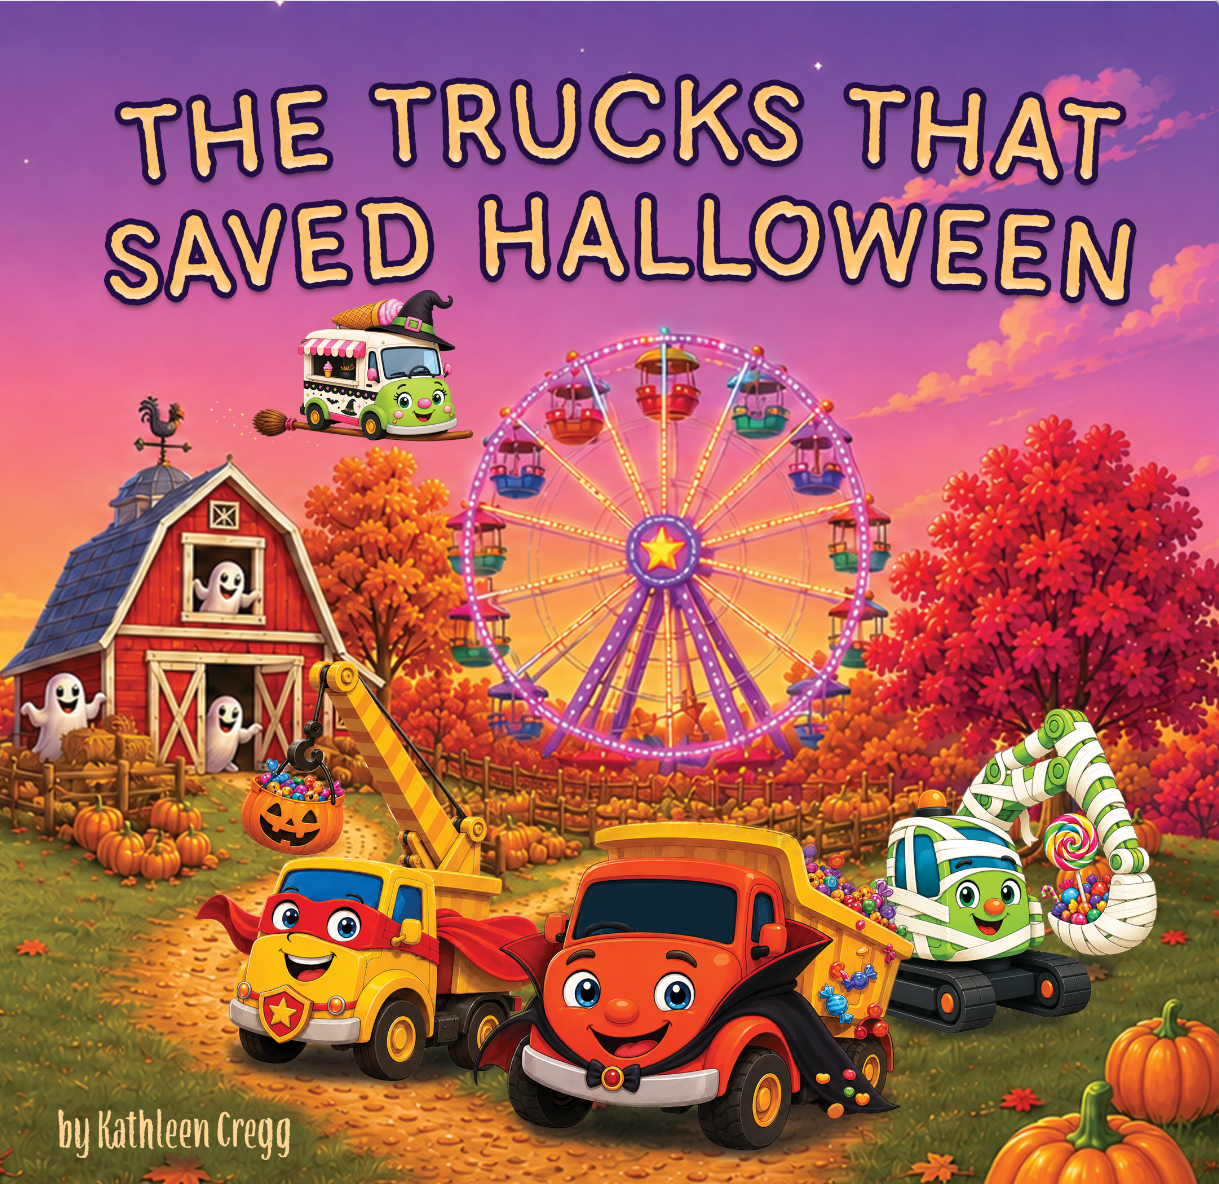
The Trucks that Saved Halloween
More Not-So-Spooky Halloween Fun
And apparently cookie houses aren’t the only thing getting the cute Halloween treatment around here!
My newest children’s book, The Trucks That Saved Halloween, was also inspired by my love of colorful, kid-friendly Halloween fun.
Dump Truck, Excavator and Crane Truck discover that Halloween is a little too quiet, so the Truck Team gets to work transforming an old farm into a cheerful Halloween carnival filled with pumpkins, rides, games, costumes, treats and a little silly Halloween magic.
It’s a not-too-spooky Halloween adventure made especially for little truck lovers.
And yes, there are friendly ghosts there too!
READ THE STORY BEHIND THE TRUCKS THAT SAVED HALLOWEEN
Between our chocolate haunted house and the Truck Team’s Halloween carnival, I think we’re officially ready for Halloween around here.
Happy haunting! 🎃👻🍫
See the Cookie House Guide or similar blog posts:

Make a cute, not-too-spooky Halloween cookie house with chocolate cookie walls, colorful buttercream, 3-D frosting pumpkins and a friendly ghost! This kid-friendly haunted cookie house includes the full chocolate cookie recipe, decorating tips and step-by-step assembly instructions.