
This blog uses affiliate links. If you’d like to purchase a recommended product, please use the link to support this blog. It doesn’t cost you anything extra, it simply allows me to continue creating these posts. Thank you so much for your love and support!
LEGOLAND California With a 3 & 4 Year Old: Best Rides + What We Learned
Is LEGOLAND California worth it with preschoolers? After visiting when our kids were 1 and 2 and returning at ages 3 and 4, the park felt completely different. Here are the rides they loved, what we’d skip, our favorite LEGO Galaxy attractions and the tips that helped us make the most of one full day.
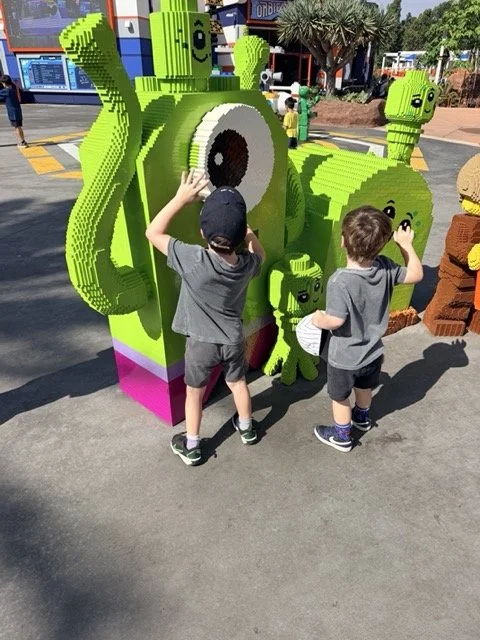
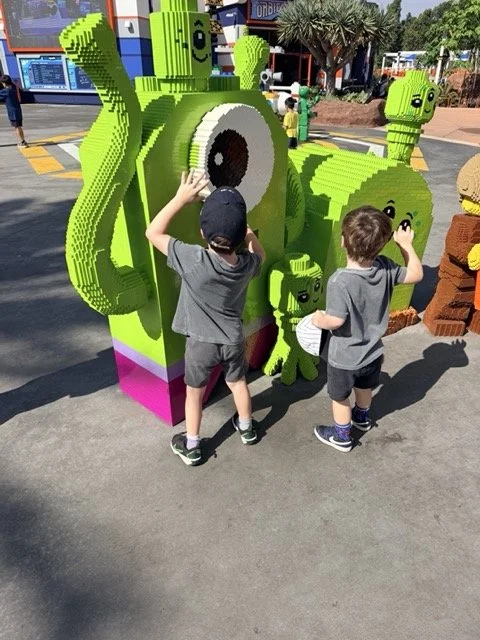
Aliens in LEGO Galaxy bigger than my 3 and 4 year olds
We first visited LEGOLAND California when our boys were 1 and 2 years old. There was plenty for them to see and do, but returning when they were 3 and 4 felt like visiting an entirely different theme park.
This time, they could do so much.
They drove their own LEGO cars, rode roller coasters, searched for underwater treasure, bounced high into the air and immediately asked to ride some of their favorites again.
After this trip, I think the preschool years may be the sweet spot for LEGOLAND California — especially once your child hits some of the key ride-height requirements.
Our boys were 40 inches and 43 inches tall on this visit, which turned out to be a really interesting combination. Our 40-inch 3-year-old could ride quite a bit, while our 43-inch 4-year-old suddenly qualified for several additional thrill rides.
One important thing we learned: age matters too. Some attractions have both a minimum height and a minimum age, and LEGOLAND staff were careful about enforcing both. Being tall enough didn’t automatically mean our 3-year-old could ride something intended for ages 4 and up.
We also happen to have two kids who are VERY into LEGO right now. We still have a giant collection of DUPLO bricks and love them, but we’ve definitely entered the “big kid LEGO” stage and already have more sets than I care to count.
That made this visit even more fun. They recognized LEGO characters, wanted to inspect the models and were genuinely interested in all the building details instead of just seeing them as colorful decorations.
And because we visited in September 2026, we also got to experience the new LEGO Galaxy, see Halloween decorations going up for Brick-or-Treat and ride almost everything we wanted in a full 10 a.m.–6 p.m. park day.
Here’s what was actually worth it.
Our quick take: LEGOLAND was fun when our kids were 1 and 2. At 3 and 4, it was SO much better. If you’re wondering whether LEGOLAND California is worth it with preschoolers, for us the answer was absolutely yes.
September 2026
3 and 4
40" and 43"
10 a.m.–6 p.m.
LEGO Galaxy
Galacticoaster, The Dragon, Technic Coaster + Deep Sea Adventure
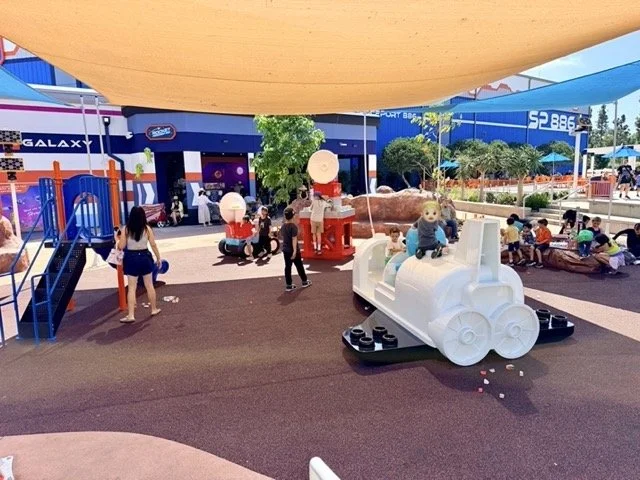
The LEGO Galaxy playground at LEGOLAND California featuring large space-themed LEGO play structures, including a white rocket-style vehicle and colorful interactive play areas for kids.
What Is the Best Age for LEGOLAND California?
LEGOLAND California is geared toward younger kids, and the park officially positions many of its attractions around children ages 2–12. It even separates some attractions into a “Little Builders” range aimed around the preschool years.
Based on our two visits, though, I personally think LEGOLAND really starts to shine around ages 4–6.
That’s not to say I wouldn’t bring a 1-, 2- or 3-year-old. We did, and there are plenty of gentle rides and play areas.
But there was a huge difference between bringing toddlers and bringing kids who could say, “I want to ride THAT again!”
At 3 and 4, they weren’t just along for the day. They were participating in it.
They chose rides, drove their own cars, played interactive games, designed a spaceship and discovered roller coasters they loved.
And once a child reaches around the 40–43 inch range, a lot begins to open up.
| Ride | Our Rating | Who Could Ride? | Our Take |
|---|---|---|---|
| Galacticoaster | ⭐⭐⭐⭐⭐ | Both | Our favorite; darker and more intense than expected |
| The Dragon | ⭐⭐⭐⭐⭐ | Both | Great preschool coaster; worth our ~25-minute wait |
| LEGO Technic Coaster | ⭐⭐⭐⭐⭐ | 4-year-old | Fantastic if your child meets the age and height requirements |
| Deep Sea Adventure | ⭐⭐⭐⭐⭐ | Both | Sharks + rays + an interactive treasure hunt |
| Junior Driving School | ⭐⭐⭐⭐⭐ | Both | One of the best rides for ages 3–5 |
| Beetle Bounce | ⭐⭐⭐⭐⭐ | Both | Surprise favorite; they immediately rode it twice |
| NINJAGO The Ride | ⭐⭐⭐⭐ | Both | Fun, but the game is easier for older preschoolers and adults |
| G-Force | ⭐⭐⭐⭐ | 4-year-old | Fun but very spinny |
| Coastersaurus | ⭐⭐⭐⭐ | Both | Fun if the line is short |
| Cargo Ace | ⭐⭐⭐⭐ | Both | Good little-kid ride near Technic Coaster |
| Explorer River Quest | ⭐⭐⭐ | Both | Better for younger toddlers or dinosaur lovers |
| Skipper School | ⭐⭐⭐ | Both | Fine, but we wouldn't prioritize it |
| Emmet's Flying Adventure | ⭐⭐⭐ | Both | Okay, but not worth a very long wait to us |
| Coast Cruise | ⭐⭐⭐ | Both | Nice, relaxing end-of-day break |
| Royal Joust | ⭐⭐ | 4-year-old | Didn't hold his interest |
| BIONICLE Blaster | ⭐⭐⭐ | 4-year-old | Lots of spinning; we'd choose G-Force instead |
Our Favorite LEGOLAND California Rides for Preschoolers
If you’re visiting with young kids and only have one day, these are the rides I would prioritize based on what our actual 3- and 4-year-olds enjoyed.
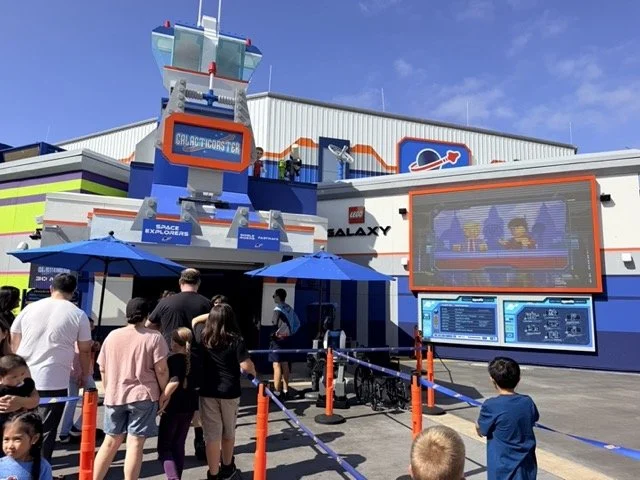
Both our 3- and 4-year-olds rode Galacticoaster — and despite it being a little intense for our 3-year-old, both wanted to ride again!
1. Galacticoaster
Our rating: ⭐⭐⭐⭐⭐
Galacticoaster was AWESOME.
This is the centerpiece of the new LEGO Galaxy land, which opened in March 2026, and it’s LEGOLAND California’s first new coaster in more than 20 years.
The fun starts before you even board.
During the queue, you get to design your own digital spacecraft by choosing its nose, tail, wings and special features. Your design then becomes part of your ride experience. LEGOLAND says there are more than 625 possible customization combinations.
Because we visited just before Brick-or-Treat, there were even Halloween pieces available.
Of course we used them.
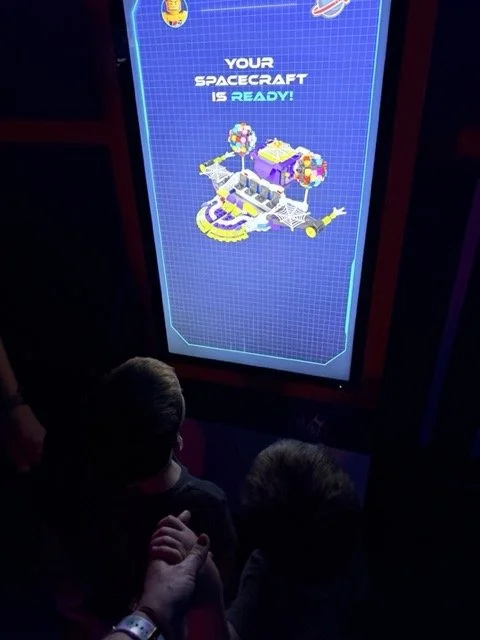
Galacticoaster Halloween-themed spaceship design
The actual coaster is indoors and in the dark, and it was more intense than I expected for a ride with such a low height requirement.
Our 3-year-old looked a little unsure when we got off.
Then, later in the day, he asked to ride it again.
So apparently it wasn’t too scary.
Galacticoaster currently allows riders starting at 36 inches with an accompanying adult.
If your child is newly 36–40 inches and cautious about dark rides, I would still prepare them for the fact that this feels like a real roller coaster — not a toddler ride.
For us, though, this was easily one of the best rides of the day.
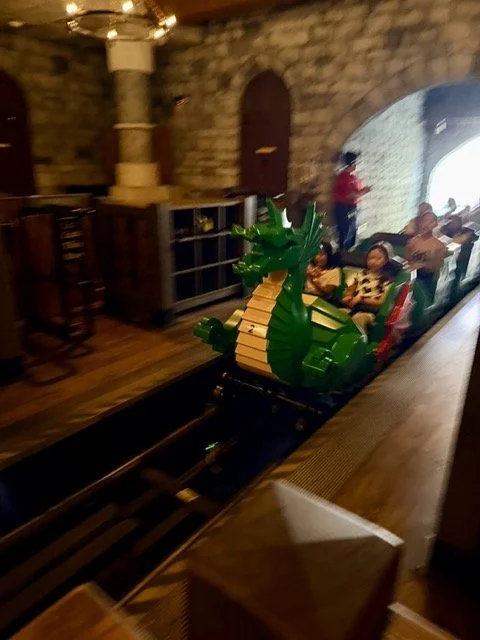
A green dragon-themed roller coaster train carrying riders through the indoor castle section of The Dragon at LEGOLAND California.
2. The Dragon
Our rating: ⭐⭐⭐⭐⭐
Both kids LOVED The Dragon and wanted to go straight back on as soon as we got off.
The ride starts inside the castle, taking you past LEGO scenes including the royal dining room and wizard’s quarters before heading outside onto the coaster.
Because we visited during the Halloween season, the indoor castle scenes also had spooky decorations mixed in.
It gave us the perfect preschool-level Halloween combination: a little dark, a little spooky, but mostly just fun.
The Dragon currently requires riders to be at least 40 inches tall.
We waited about 25 minutes, and I thought that was worth it.
Would I wait 45–60 minutes?
Probably not.
But around 20–30 minutes? Yes.
3. LEGO Technic Coaster
Our 4-year-old’s rating: ⭐⭐⭐⭐⭐
Our 4-year-old LOVED LEGO Technic Coaster and rode it twice.
Our 3-year-old was tall enough to hit 40 inches but not old/tall enough for Technic, which requires riders to be at least 42 inches AND 4 years old.
This was one of those attractions where we really saw how dramatically one year — and three inches — can change your LEGOLAND day.
The wait was only about 10 minutes when we went, which made it an easy yes.
If your preschooler qualifies and likes roller coasters, I’d absolutely prioritize it.
Our LEGOLAND coaster ranking
If we could only choose a few coasters, I’d personally go:
1. Galacticoaster
2. The Dragon
3. LEGO Technic Coaster
4. Coastersaurus
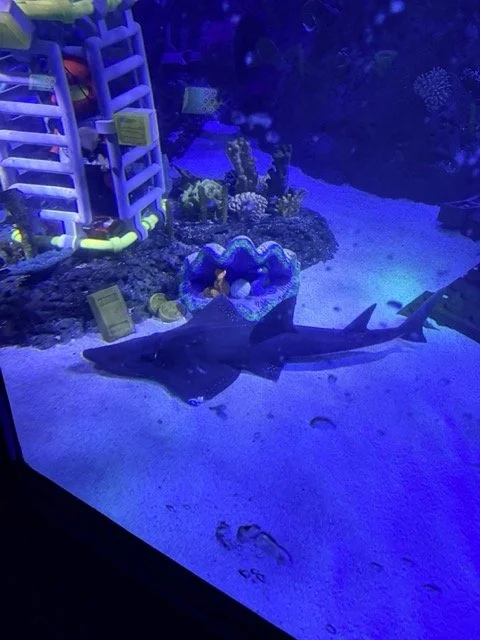
A shark swims through the aquarium beside colorful LEGO coral and underwater structures on the LEGO City Deep Sea Adventure ride at LEGOLAND California.
4. LEGO City: Deep Sea Adventure
Our rating: ⭐⭐⭐⭐⭐
The submarine continues to be one of our favorite rides at LEGOLAND.
You ride through an underwater environment looking at real sharks, rays and other marine life, while searching for LEGO treasures on an interactive screen.
And our family loves a scavenger hunt.
The combination of real animals + LEGO + something to actively search for keeps young kids engaged in a way a normal slow-moving ride sometimes doesn’t.
This is also a great ride for families with children of different heights because younger children can experience it with an adult.
If we returned tomorrow, this would absolutely be on our list again.
5. Junior Driving School
Our rating: ⭐⭐⭐⭐⭐
Driving their own LEGO cars was another huge hit.
The Junior Driving School is specifically for ages 3–5, so our boys were right in its target age range.
We’d done a version of the driving attraction on a previous trip, but the Driving Schools were completely rebuilt and relocated in 2025 with new tracks.
And it felt better this time.
Some of that may have simply been their ages. Preschoolers getting control of their own cars is a lot more exciting than watching from the sidelines as toddlers.
Either way, this is one of the rides I’d consider a must-do for ages 3–5. Watching your kid drive, or crash into walls, is hilarious!

A large LEGO sculpture stands outside the NINJAGO attraction area at LEGOLAND California, with the themed temple entrance in the background.
6. LEGO NINJAGO The Ride
Our rating: ⭐⭐⭐⭐
LEGO NINJAGO The Ride reminded us a lot of WEB SLINGERS at Disney California Adventure.
You use your hands to fire elements and battle enemies as you move through the ride.
Our 4-year-old attempted to figure out what he was doing.
Our 3-year-old…not so much.
I suspect my husband and I may have been more invested in the actual game than they were.
Still, everyone had fun.
We actually had to choose between waiting for NINJAGO or doing another dinosaur ride, and the kids picked NINJAGO.
I think they made the right choice.
7. Beetle Bounce
Preschooler rating: ⭐⭐⭐⭐⭐
This was one of the surprise hits of the day.
Beetle Bounce lifts kids about 15 feet into the air and bounces them back down. It’s meant for smaller riders, with a current height range of 36–55 inches.
Both boys rode.
Then they stayed on and rode it AGAIN.
That’s basically all the review you need.
This was also a perfect attraction to pair with LEGO Technic Coaster when one child was too small for Technic.
Is LEGO Galaxy Worth It With Young Kids?
Because LEGO Galaxy is brand new for 2026, we made this our first stop of the day.
That was absolutely the right decision.
We arrived at LEGOLAND around 9:40 a.m. Tickets were already being scanned before the official 10 a.m. opening, and then guests waited behind a rope until the lands and rides opened.
When the rope dropped, we went straight to Galaxy. I kept accidentally calling it “Galaxy Land” all day, but LEGO Galaxy is the official name!
LEGO Galaxy officially opened March 6, 2026 and includes Galacticoaster, G-Force Test Facility, interactive building experiences, characters, food and other space-themed areas.
Our kids were especially fascinated by all the huge LEGO aliens and space builds.
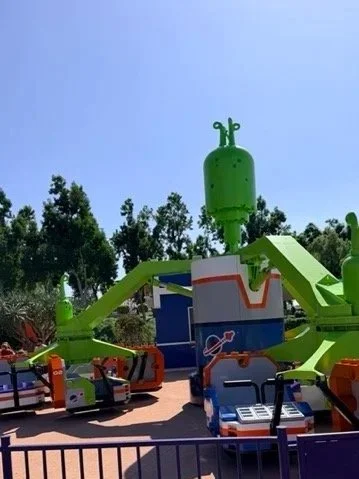
G-Force Test Facility
G-Force Test Facility
Our rating: ⭐⭐⭐⭐
G-Force was fun — but it spins.
A lot.
The ride tilts, swings and rotates to simulate astronaut training. Riders currently need to be at least 40 inches and 4 years old with an adult.
That meant only our 4-year-old could ride even though our 3-year-old met the 40-inch height requirement.
This is worth emphasizing: LEGOLAND was much more particular than I expected about rides with a stated minimum age.
Personally, if I had to choose between this and BIONICLE Blaster, I’d pick G-Force.
It’s still spinny, but more interesting.
Launch & Land Was Closed During Our Visit
This is where my memory from our previous trip started kicking in.
Launch & Land looked VERY familiar.
On our September 2026 visit it wasn’t operating and still had work being done around it, so we weren’t able to ride.
We had ridden the attraction during an earlier trip when it looked different.
And sure enough, LEGOLAND currently lists the old Sky Patrol as “now Launch & Land.”
So this appears to be more of a space-themed transformation of an existing ride than an entirely new attraction.
The basic idea remains aimed at younger kids, with spacecraft that lift up and down. The current minimum is 34 inches with an adult.
Since it was closed during our visit, I wouldn’t personally count it as one of the new Galaxy rides we reviewed.
What We Ate at LEGOLAND California
I was actually pretty impressed with the food.
We ate at U.F.O. — Ultimate Food Outlet, LEGO Galaxy’s large food hall with several different stations.
I ordered chips and guacamole and somehow ended up with more guacamole than chips.
At a theme park.
I don’t think that’s ever happened to me before.
The kids’ meal was also adorable: a chicken quesadilla made with a bright green UFO-shaped tortilla. It also came with an Honest juice box, chips and Astronaut Strawberries.
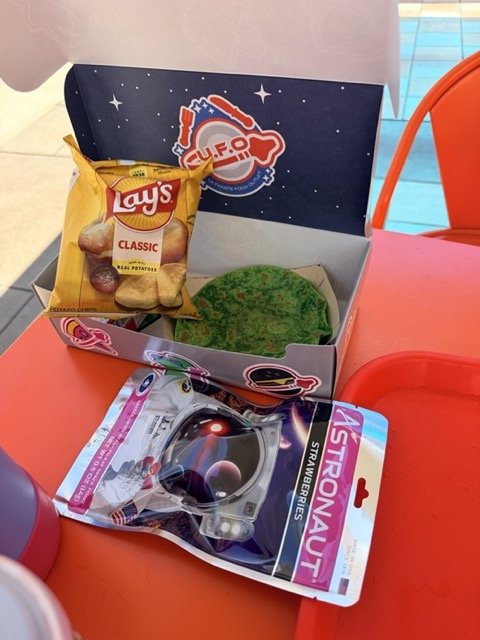
A kids meal from U.F.O. in LEGO Galaxy at LEGOLAND California featuring a bright green UFO-shaped quesadilla with chips and themed space packaging.
The boys also got burgers from Satellite Bites across the way and both liked them. LEGOLAND describes it as Galaxy’s retro space-themed burger stand.
Then, because it was HOT and the ice cream shop wasn’t open that day, we tried the new brick-shaped popsicles from Brick Ice Lolly. The stand is located in the LEGO MOVIE area.
There were two flavors:
Mango
Strawberry
Naturally, we bought both.
They were surprisingly big and really refreshing.
They were also $8.49 EACH.
So…theme park pricing definitely applies. 😂
But on a hot afternoon when the ice cream shop is closed?
I regret nothing.
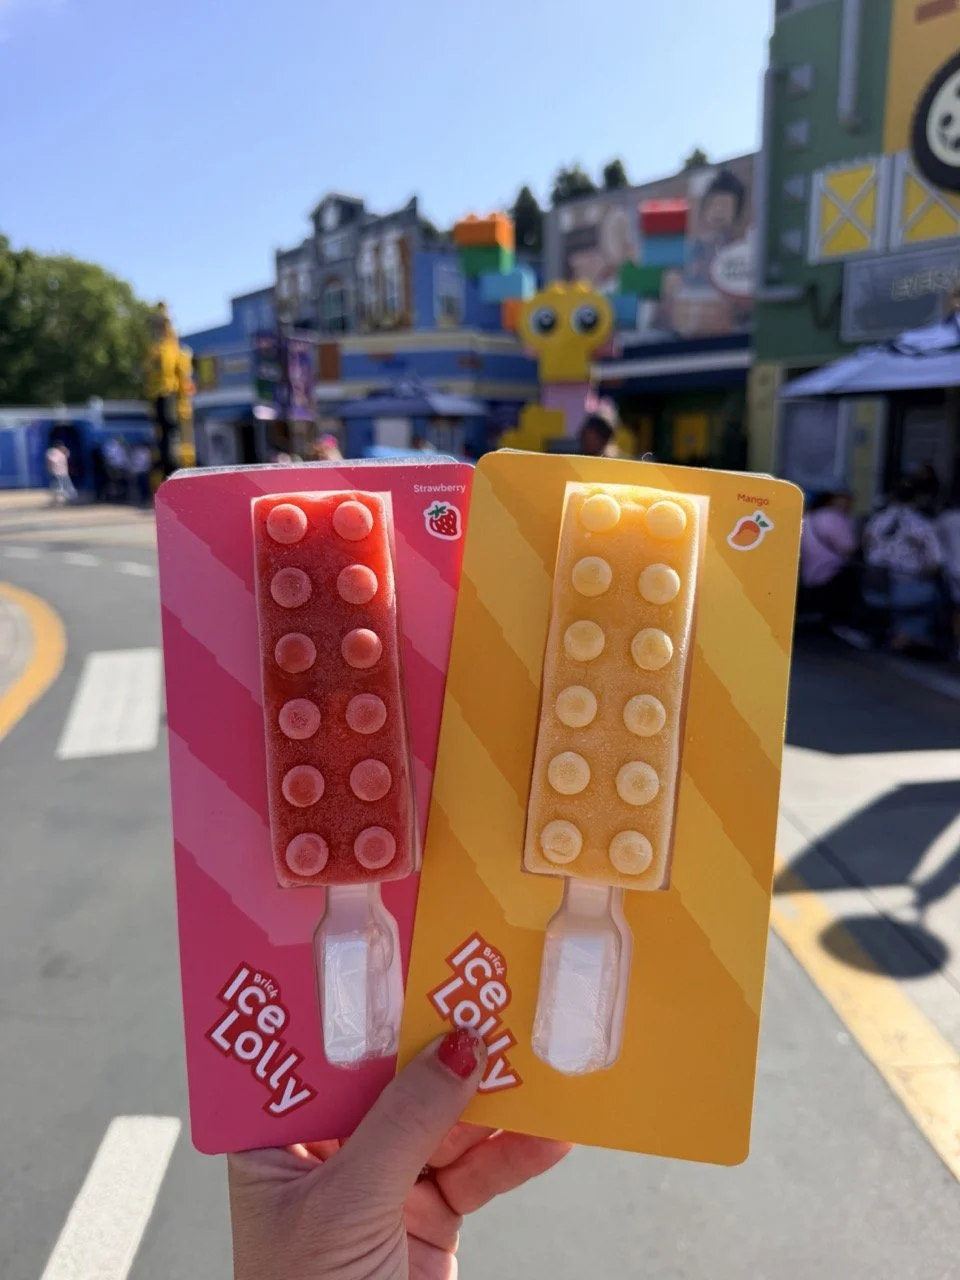
Strawberry and mango Brick Ice Lolly popsicles shaped like LEGO bricks, photographed during a visit to LEGOLAND California.
Other LEGOLAND Rides We Liked
These weren’t our absolute top-tier attractions, but I’d happily work several of them into another visit.
Coastersaurus
Our rating: ⭐⭐⭐⭐
Coastersaurus was fun.
The problem was the ratio of waiting time to actual ride time.
We waited quite a while for what felt like a very short coaster.
By mid-afternoon, though, Dino Valley waits had dropped dramatically, so timing matters here.
In the morning, we saw Dino Valley attractions listed around 40–60 minutes.
When we came back around 3 p.m., waits were more like 10–20 minutes.
At 10–20 minutes, I’d absolutely do Coastersaurus.
At 45 minutes?
I’d ride Galacticoaster or The Dragon instead.
Cargo Ace
Our rating: ⭐⭐⭐⭐
Cargo Ace is a little airplane ride near LEGO Technic Coaster.
It’s simple, but the kids enjoyed it.
It also worked perfectly while one parent took our older child on Technic. Our younger child could go ride the airplanes instead of just standing around waiting.
Then our older child finished Technic quickly enough to join us.
Not a “run across the park for it” ride, but definitely worth doing if you’re nearby.
Explorer River Quest
Our rating: ⭐⭐⭐
Explorer River Quest is the slow Dino Valley boat ride where you float past LEGO dinosaurs.
They liked looking at the dinosaurs.
But overall?
Meh.
What’s funny is that I think this ride would have been MUCH more exciting to them on our earlier visit.
At age 2, slow-moving LEGO dinosaurs were a major event.
At ages 3 and 4, after discovering roller coasters?
The dinosaurs suddenly had competition.
This is one of the clearest examples of how quickly the “best” LEGOLAND attractions change with age.
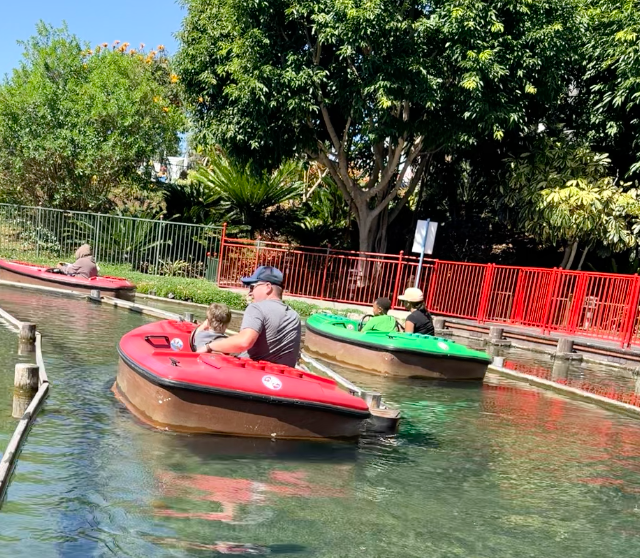
Preschooler driving the boat in Skipper School
Skipper School
Our rating: ⭐⭐⭐
This is the boat ride where kids can help steer their own boat.
On paper, this should have been a huge hit.
They thought it was…fine.
We wouldn’t avoid it, but it wouldn’t be a priority unless the wait were short.
Royal Joust
Our 4-year-old’s rating: ⭐⭐
Only our 4-year-old could ride Royal Joust.
The ride requires children to be at least 36 inches tall and ages 4–12.
He rode around on his LEGO horse.
He came back looking completely unimpressed.
Maybe roller coasters ruined jousting for him.
If your child LOVES knights and castles, you may get a totally different reaction.
For us?
The Dragon wins Castle Hill by a mile.
BIONICLE Blaster
Parent rating: ⭐⭐⭐
BIONICLE Blaster is essentially LEGO teacups.
Our 4-year-old enjoyed figuring out how much he could make our vehicle spin.
I enjoyed…surviving it.
The attraction requires riders to be at least 42 inches and 4 years old.
If your family loves spinning rides, you’ll probably enjoy it.
I’d personally choose G-Force instead.
Emmet’s Flying Adventure Ride
Our rating: ⭐⭐⭐
The kids said they liked Emmet’s Flying Adventure.
I wasn’t particularly impressed.
We waited a long time and the screen looked blurry during our ride, which really took away from the experience.
The biggest clue came after we got off.
The boys immediately asked to go to the playground.
That’s usually a pretty good indication of how memorable a ride was.
If the wait is short or your child is obsessed with The LEGO Movie, sure.
If there’s a huge line?
I’d keep walking.

A brightly colored rainbow LEGO elephant stands beside the water along the Coast Cruise route at LEGOLAND California.
Coast Cruise
Our rating: ⭐⭐⭐
Coast Cruise was a nice way to end the day.
After eight hours of preschoolers running from ride to ride, sitting down on a boat and looking at LEGO animals and landmarks sounded wonderful.
The ride passes large LEGO recreations of famous landmarks along with animals and other builds.
On a previous visit, our skipper told jokes throughout the cruise and gave it a little bit of a Jungle Cruise feel.
This time?
Our skipper was literally counting down until he could go home.
So the entertainment level may depend on your captain. 😂
Still, it’s relaxing and makes a good late-afternoon ride when everyone needs a break.
Rides We Skipped This Time
We didn’t attempt every ride in the park.
We skipped LEGOLAND Express, the little train, because we’d ridden it on our previous trip and it feels better suited to babies and young toddlers.
It’s exactly the sort of ride I would have prioritized at ages 1 and 2.
At 3 and 4?
They had discovered roller coasters.
We also skipped DUPLO Little Dino Trail because the line was long and we had to make a choice between that and NINJAGO.
They picked NINJAGO.
And at this age, I think that was the better choice.
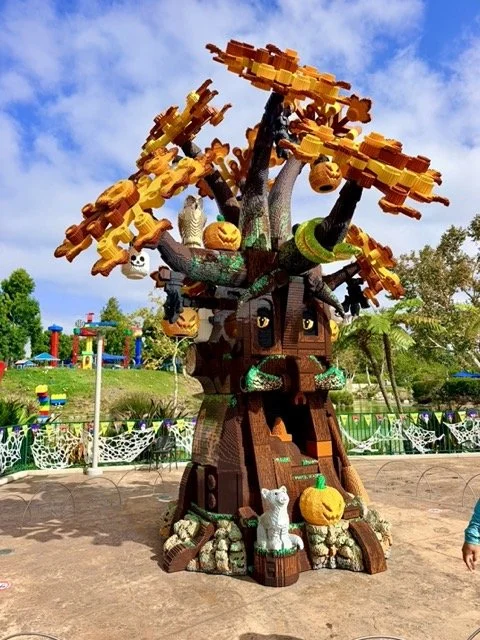
A Halloween-themed tree made from LEGO bricks on display at LEGOLAND California, part of the park’s seasonal Halloween decorations ahead of Brick-or-Treat.
LEGOLAND California Halloween Decorations + Brick-or-Treat Sneak Peek
We visited just before the official start of Brick-or-Treat, but Halloween decorations were already appearing throughout the park.
There were giant LEGO spiders, witches, skeletons, cobwebs and Halloween touches everywhere.
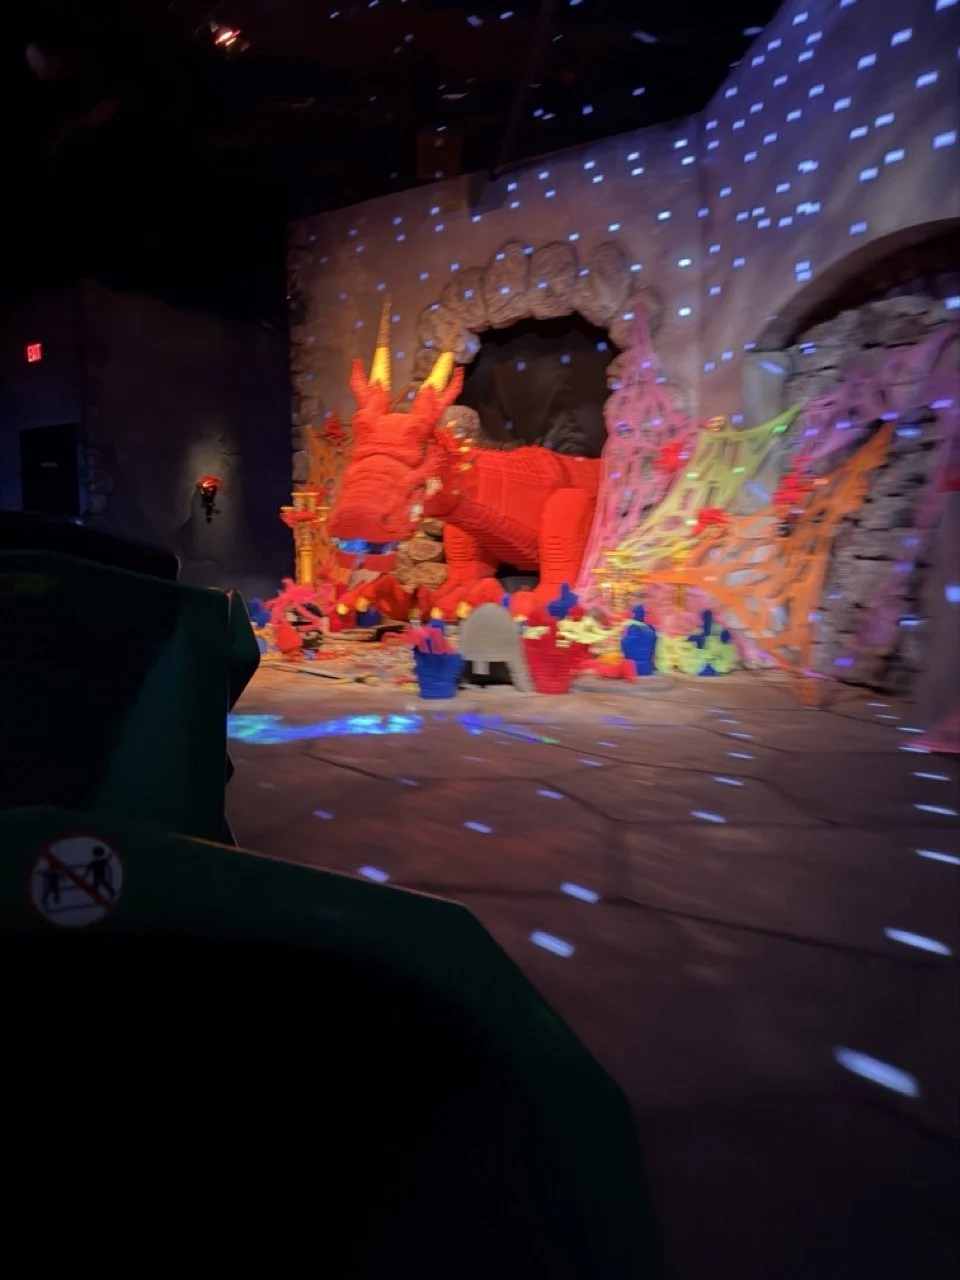
The Dragon starts inside the castle, and during our September visit the indoor scenes had already been decorated for Halloween.
The Dragon’s indoor castle scenes were already decorated, and Galaxy even had Halloween pieces available when we designed our Galacticoaster spacecraft.
We also caught a sneak peek at the new Brick-or-Treat Street being set up before the event began.
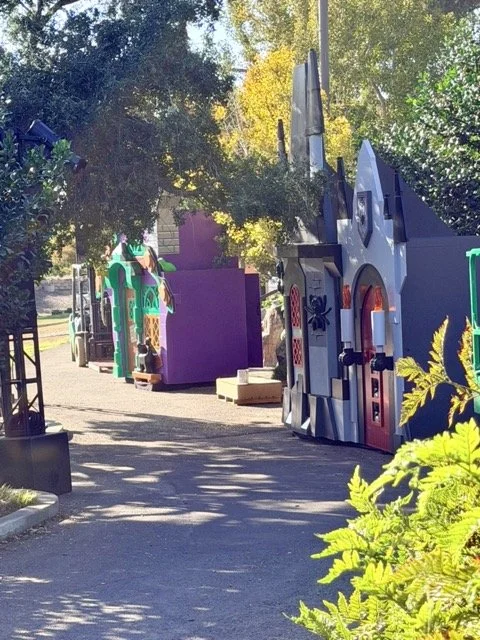
A sneak peek at the new Brick-or-Treat Street at LEGOLAND California, with life-size LEGO Monster houses being set up ahead of the park’s 2026 Brick-or-Treat Halloween event.
We attended Brick-or-Treat on an earlier trip and had a lot of fun, but we did not attend the actual event during this visit.
So I wouldn’t call this a 2026 Brick-or-Treat review.
It was just a really fun bonus to watch LEGOLAND transform for Halloween while we were there.
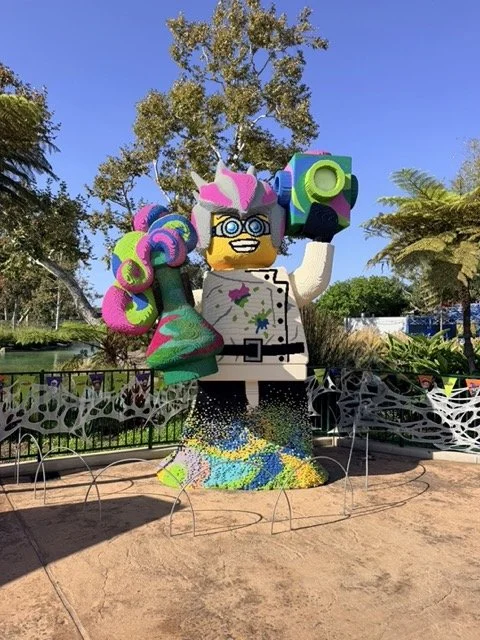
Monster Scientist is one of the Halloween characters featured during Brick-or-Treat at LEGOLAND California.
One of the Halloween characters we spotted around the park was Monster Scientist, complete with goggles, colorful lab equipment and a giant LEGO lab coat. For Brick-or-Treat, the character is tied into a themed scavenger hunt, which fits perfectly with the kind of interactive activities our kids love. Even before the official event started, the Halloween decorations made LEGOLAND feel extra fun and festive.
We did attend Brick-or-Treat on an earlier visit in 2024 and had a blast. Everyone dressed up, and I still remember the enormous handfuls of candy they handed out in the LEGOLAND treat bags! Just keep in mind that our photos and observations above are from the park setup in September 2026 — we did not attend the actual 2026 event.
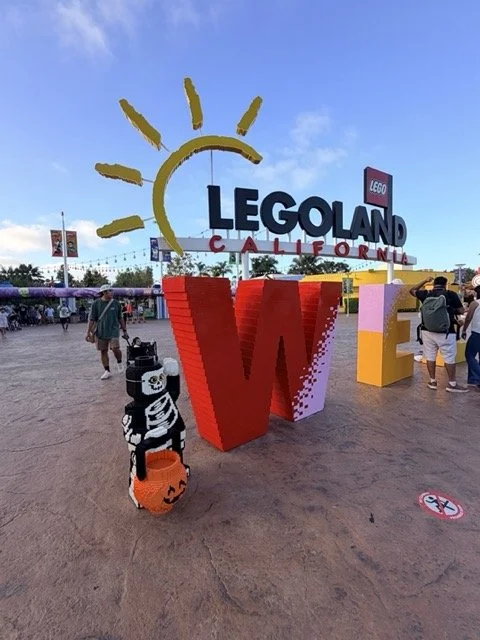
A LEGO skeleton holding a jack-o’-lantern stands in front of the colorful LEGOLAND California entrance sign during the park’s Halloween season.
🎃 More Halloween Fun for Little Builders
If your little builder loves trucks and Halloween as much as ours do, you may also like our children’s book, The Trucks That Saved Halloween, a not-too-spooky Halloween story filled with construction trucks, costumes and a fall carnival.
Tips for Visiting LEGOLAND California With Preschoolers
Here are some tips you should know before you go!
Arrive Before Opening
We arrived around 9:40 a.m. for a 10 a.m. opening.
That worked really well.
We got a decent parking spot and were able to have our tickets scanned before 10. Guests were then held behind a rope until the attractions officially opened.
That meant we were already inside and ready to go when the day began instead of still dealing with parking and tickets.
Our strategy: go straight to LEGO Galaxy
We headed directly to Galaxy at rope drop because Galacticoaster was our biggest priority.
I would do exactly the same thing again.
Don’t Trust the App Wait Times Too Much
We used the LEGOLAND app throughout the day, and it’s useful for the map, ride information and checking what’s operating.
LEGOLAND also recommends it for ride wait times.
But during our visit, the posted waits were almost never accurate.
I’d still download it.
I just wouldn’t make every decision based solely on the number displayed on your phone.
Instead, we started paying attention to the actual physical lines as we passed rides.
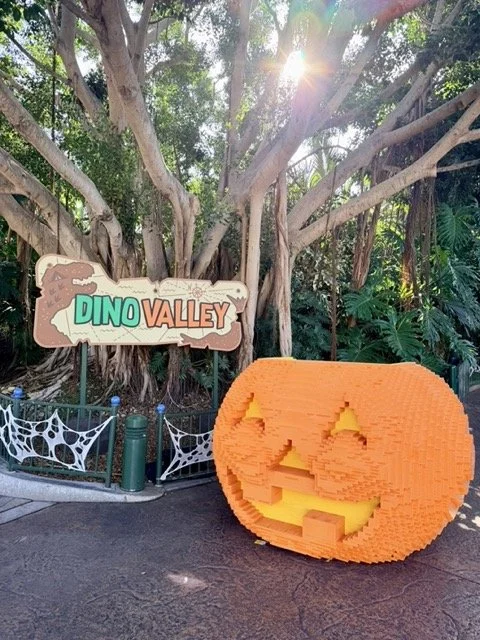
Entrance to Dino Valley with giant LEGO pumpkin
Don’t Assume Morning Is Best for Every Ride
This was one of the most interesting things we noticed.
In the morning, some of the Dino Valley rides were showing 40–60 minute waits.
We skipped them.
When we returned around 3 p.m., several were down to roughly 10–20 minutes.
That worked perfectly.
If you have a full park day, you don’t necessarily need to panic and ride everything you see first thing.
Hit your biggest priority first, then circle back.
How Long Would I Wait for LEGOLAND Rides?
This is obviously personal, but based on our day:
Galacticoaster: I’d tolerate the longest wait.
The Dragon: Our 25-minute wait was worth it. Much longer than 30 minutes and I’d probably circle back.
LEGO Technic Coaster: We waited about 10 minutes. Fantastic at that wait.
Coastersaurus: Fun, but I would absolutely wait until the line dropped.
In general, with two preschoolers, I personally wouldn’t wait more than about 30 minutes for almost anything other than Galacticoaster.
There are simply too many other things to do.
Look for LEGO Building Stations in Ride Lines
One of my FAVORITE things about LEGOLAND with preschoolers was finding LEGO building stations inside some of the queues. While the adults waited in line, the kids could actually stop and build instead of standing around getting restless.
Not every attraction had one, but we noticed them at Emmet's Flying Adventure and LEGO City: Deep Sea Adventure in particular. With a 3- and 4-year-old, this was such a smart little detail.
Measure Your Kids Before You Go — and Check AGE Requirements
Our kids were:
3 years old — 40 inches
4 years old — 43 inches
Those three inches made a surprising difference.
But height wasn’t the only factor.
Several LEGOLAND rides also have minimum ages.
For example, LEGO Technic Coaster and BIONICLE Blaster require riders to be at least 42 inches and age 4, while G-Force requires at least 40 inches and age 4.
Staff were careful about those age limits during our visit.
So don’t look at a height chart and assume that because your tall 3-year-old reaches the line, they’re automatically eligible.
Bring a Stroller — Even for Kids Who Can Walk
We brought our UPPAbaby stroller with one seat and a standing board piggyback.
At ages 3 and 4, neither kid needs to spend an entire day sitting in a stroller.
But I would still bring it again in a heartbeat.
The storage underneath was probably even more useful than the seat.
We threw in our diaper bag, snacks, hats and everything else we didn’t want to carry all day.
It also gave someone a place to sit or hop on when tired.
For an eight-hour theme park day, that’s worth a lot.
We Packed Tons of Snacks…and Barely Ate Them
Normally I pack enough snacks to survive a minor apocalypse when we take the kids somewhere.
We did that here too.
And then they barely ate them.
They were so busy running from ride to ride that they mostly ate their actual meals, a couple of snacks from our bag and the brick popsicles.
I was honestly impressed.
I’d still bring snacks — preschool hunger can strike with absolutely no warning — but we didn’t need nearly as much food as I expected.
Galacticoaster Has Lockers
There were lockers near Galacticoaster that were free for the first two hours during our visit.
Unsurprisingly, people moved very quickly when one became available.
If you’re carrying a larger bag or backpack, this is helpful to know before you walk up to the ride.
No Nap Made This Trip Completely Different
This was also our first LEGOLAND trip where naps weren’t part of the equation.
Our kids don’t nap anymore, which meant we could actually stay for essentially the entire park day.
We made it from 10 a.m. until 6 p.m.
Then both kids passed out in the car not long after we started our roughly two-hour drive home.
They had nothing left.
Mission accomplished.
How We'd Spend One Day at LEGOLAND California With Young Kids
If I were planning our exact day again, I’d prioritize:
Go straight to Galacticoaster at opening.
Ride the other LEGO Galaxy attraction your child qualifies for.
Hit The Dragon before its line gets too long.
Do LEGO City: Deep Sea Adventure.
Let ages 3–5 drive at Junior Driving School.
Ride NINJAGO.
Fit Technic Coaster in for kids who meet the 42-inch/age-4 requirement.
Save Dino Valley for later if its morning lines are long.
Add Beetle Bounce whenever you’re nearby.
Finish with something calmer like Coast Cruise.
I wouldn’t try to follow that exact order around the entire park — you’ll do unnecessary backtracking — but those would be my priorities.
Planning a Longer Southern California Trip?
We visited LEGOLAND as part of a Southern California getaway, and Carlsbad also makes an easy stop on a longer family road trip. If you’re planning more stops along the coast, see our California Coast road trip with kids for family-friendly places to stop from Santa Cruz to San Diego.
FAQ
Is LEGOLAND worth it for a 3-year-old?
Yes, based on our experience. Our 40-inch 3-year-old could ride a surprising number of attractions, including Galacticoaster and The Dragon, although several rides also had minimum-age requirements.
Is LEGOLAND good for a 4-year-old?
Absolutely. Our 43-inch 4-year-old could ride almost everything he wanted, including several of the bigger coasters. For us, age 4 felt particularly well suited to LEGOLAND.
What is the best age for LEGOLAND California?
Based on our visits at ages 1–2 and again at 3–4, I'd personally put the sweet spot around ages 4–6, although height and interest in LEGO matter just as much as age.
Can preschoolers ride roller coasters at LEGOLAND California?
Yes. Both of our preschoolers rode multiple coasters during our visit, although individual height and age requirements vary by attraction.
Is LEGOLAND Worth It With a 3- or 4-Year-Old?
For our family, absolutely.
In fact, this trip completely changed my opinion of what age is best for LEGOLAND.
Our first visit with a 1- and 2-year-old was fun.
Our visit with a 3- and 4-year-old was an adventure.
They weren’t simply looking at LEGO displays or riding whatever gentle attraction we could put them on.
They were choosing what they wanted to do.
They were driving cars.
They were hunting for treasure.
They were riding roller coasters.
They were building spaceships.
And because they’re already big LEGO fans, the park itself felt exciting in a way it couldn’t have when they were babies.
I still think around ages 4–5 may be the true LEGOLAND sweet spot, particularly once kids start clearing some of the 40- and 42-inch ride requirements.
But at 3 and 4, this was easily our best LEGOLAND California visit yet.
And judging by how quickly they fell asleep on the drive home, I’d say they agreed.
If you liked this post, please pin this to your favorite Pinterest board or share on Social Media to get the word out!
See all CALIFORNIA POSTS or our latest here:



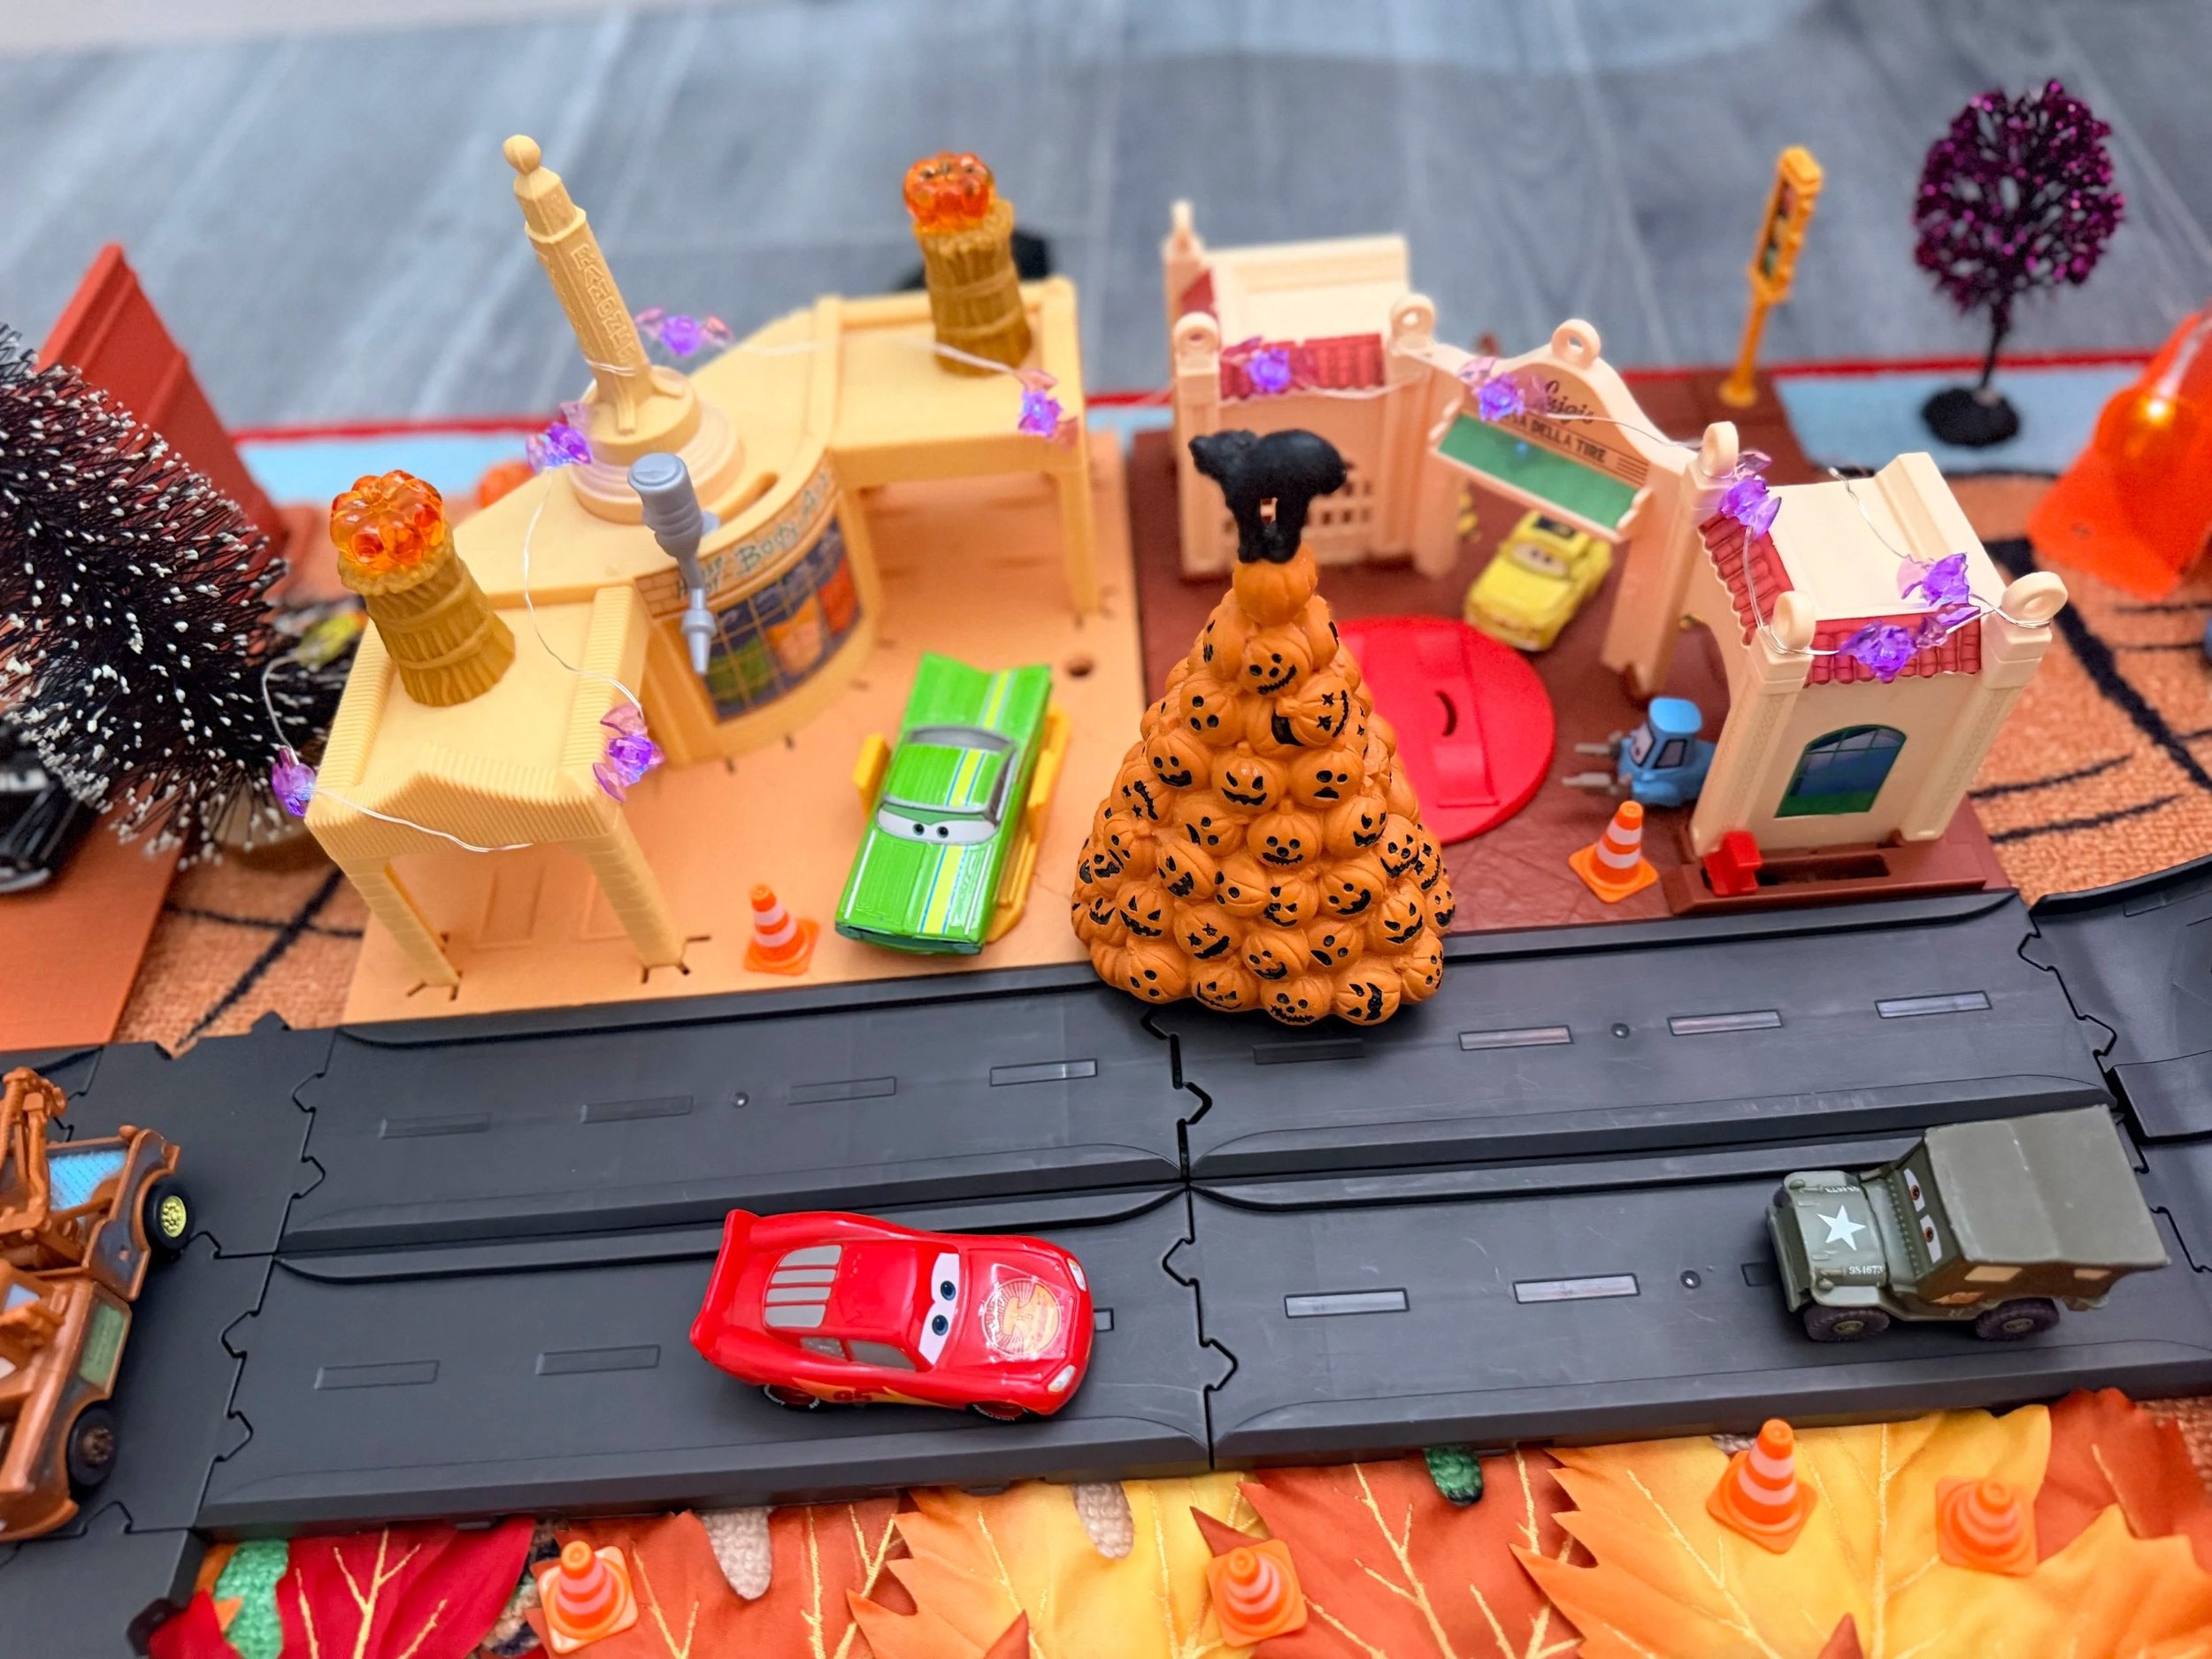
Halloween Radiator Springs: An Easy Cars Halloween Activity for Kids
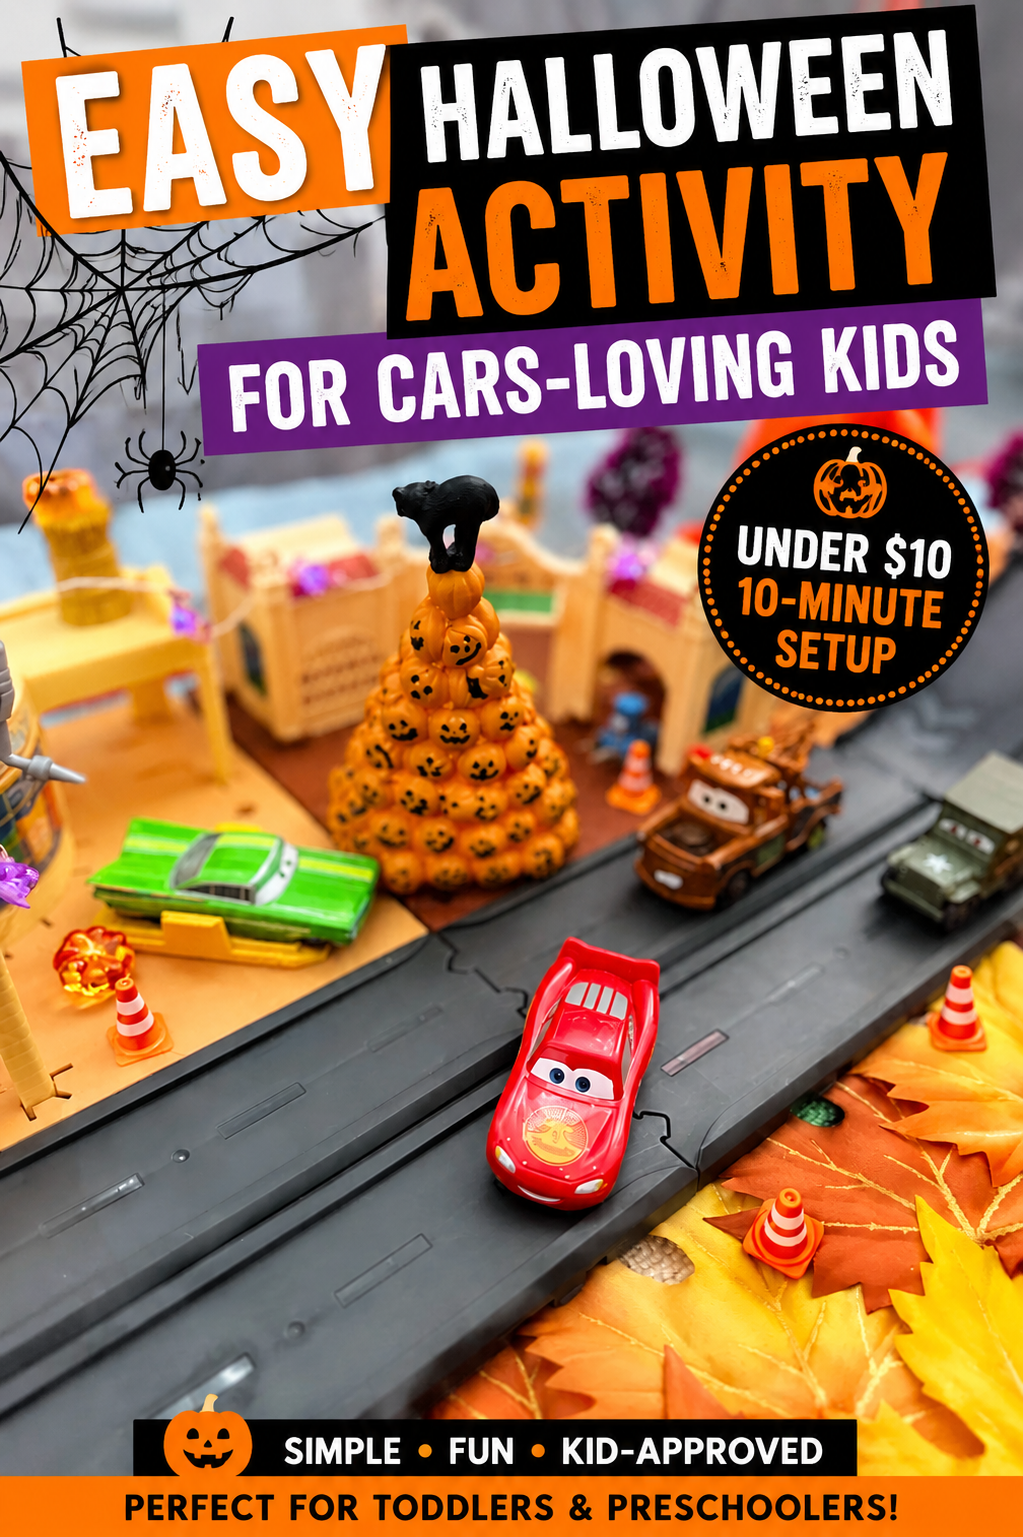
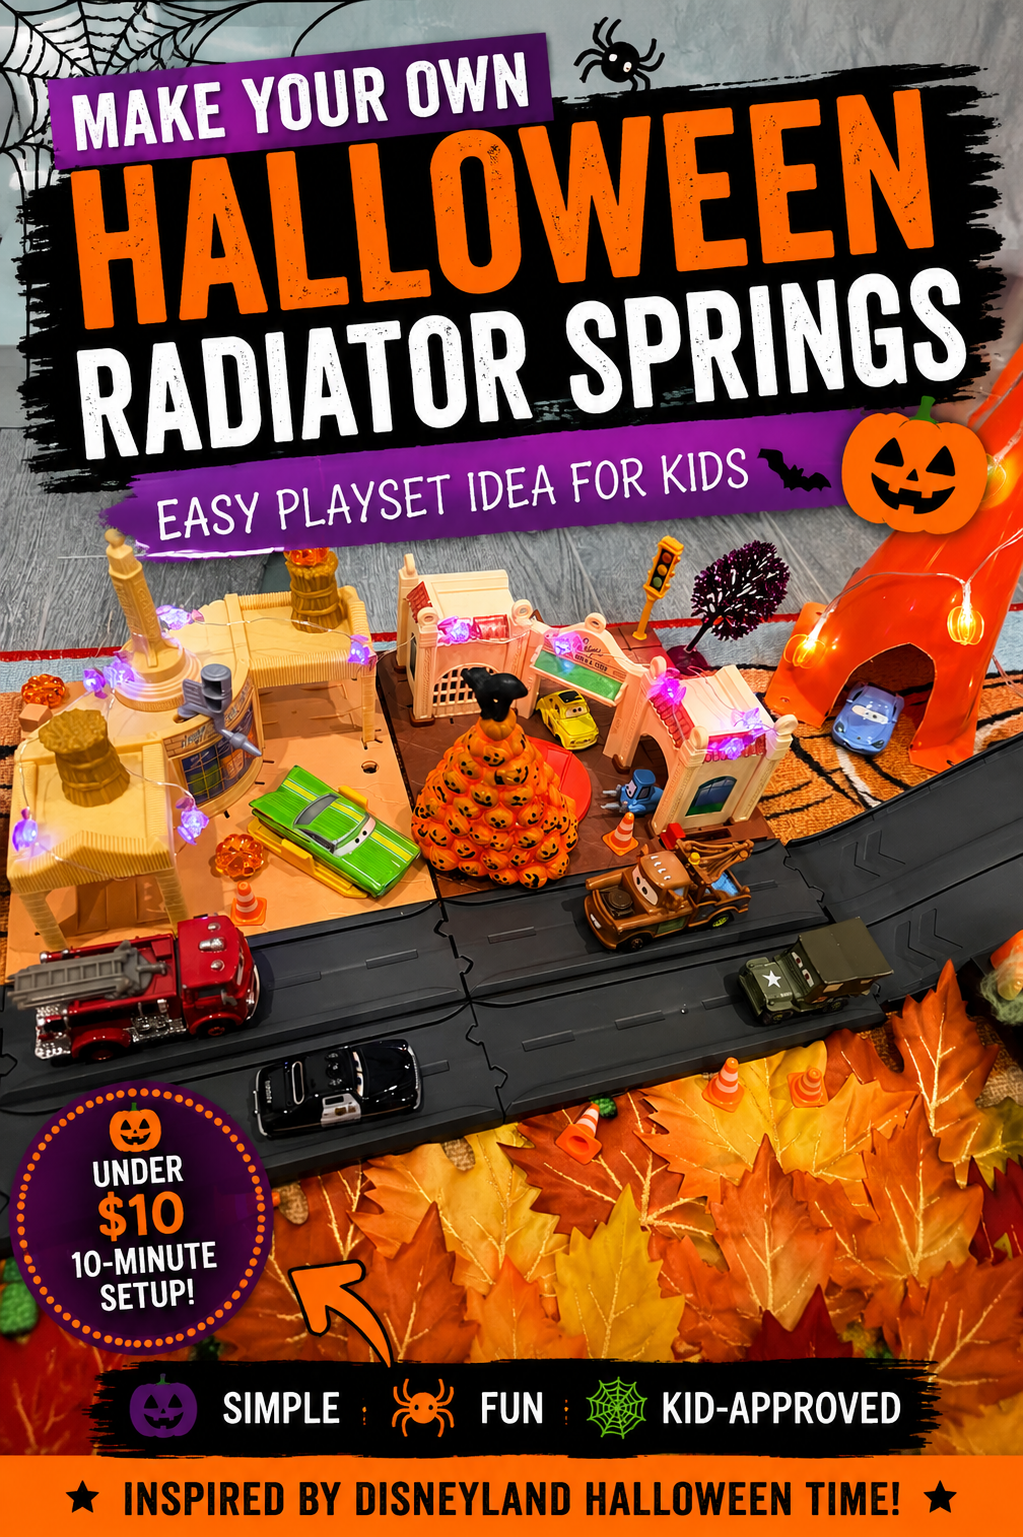
Inspired by Cars Land at Disneyland Halloween Time, we turned our Radiator Springs playset into a mini Halloween town with pumpkins, lights, trees and spiderwebs — for less than $10. This easy Halloween activity took about 10 minutes to set up and gave an old favorite toy new life.
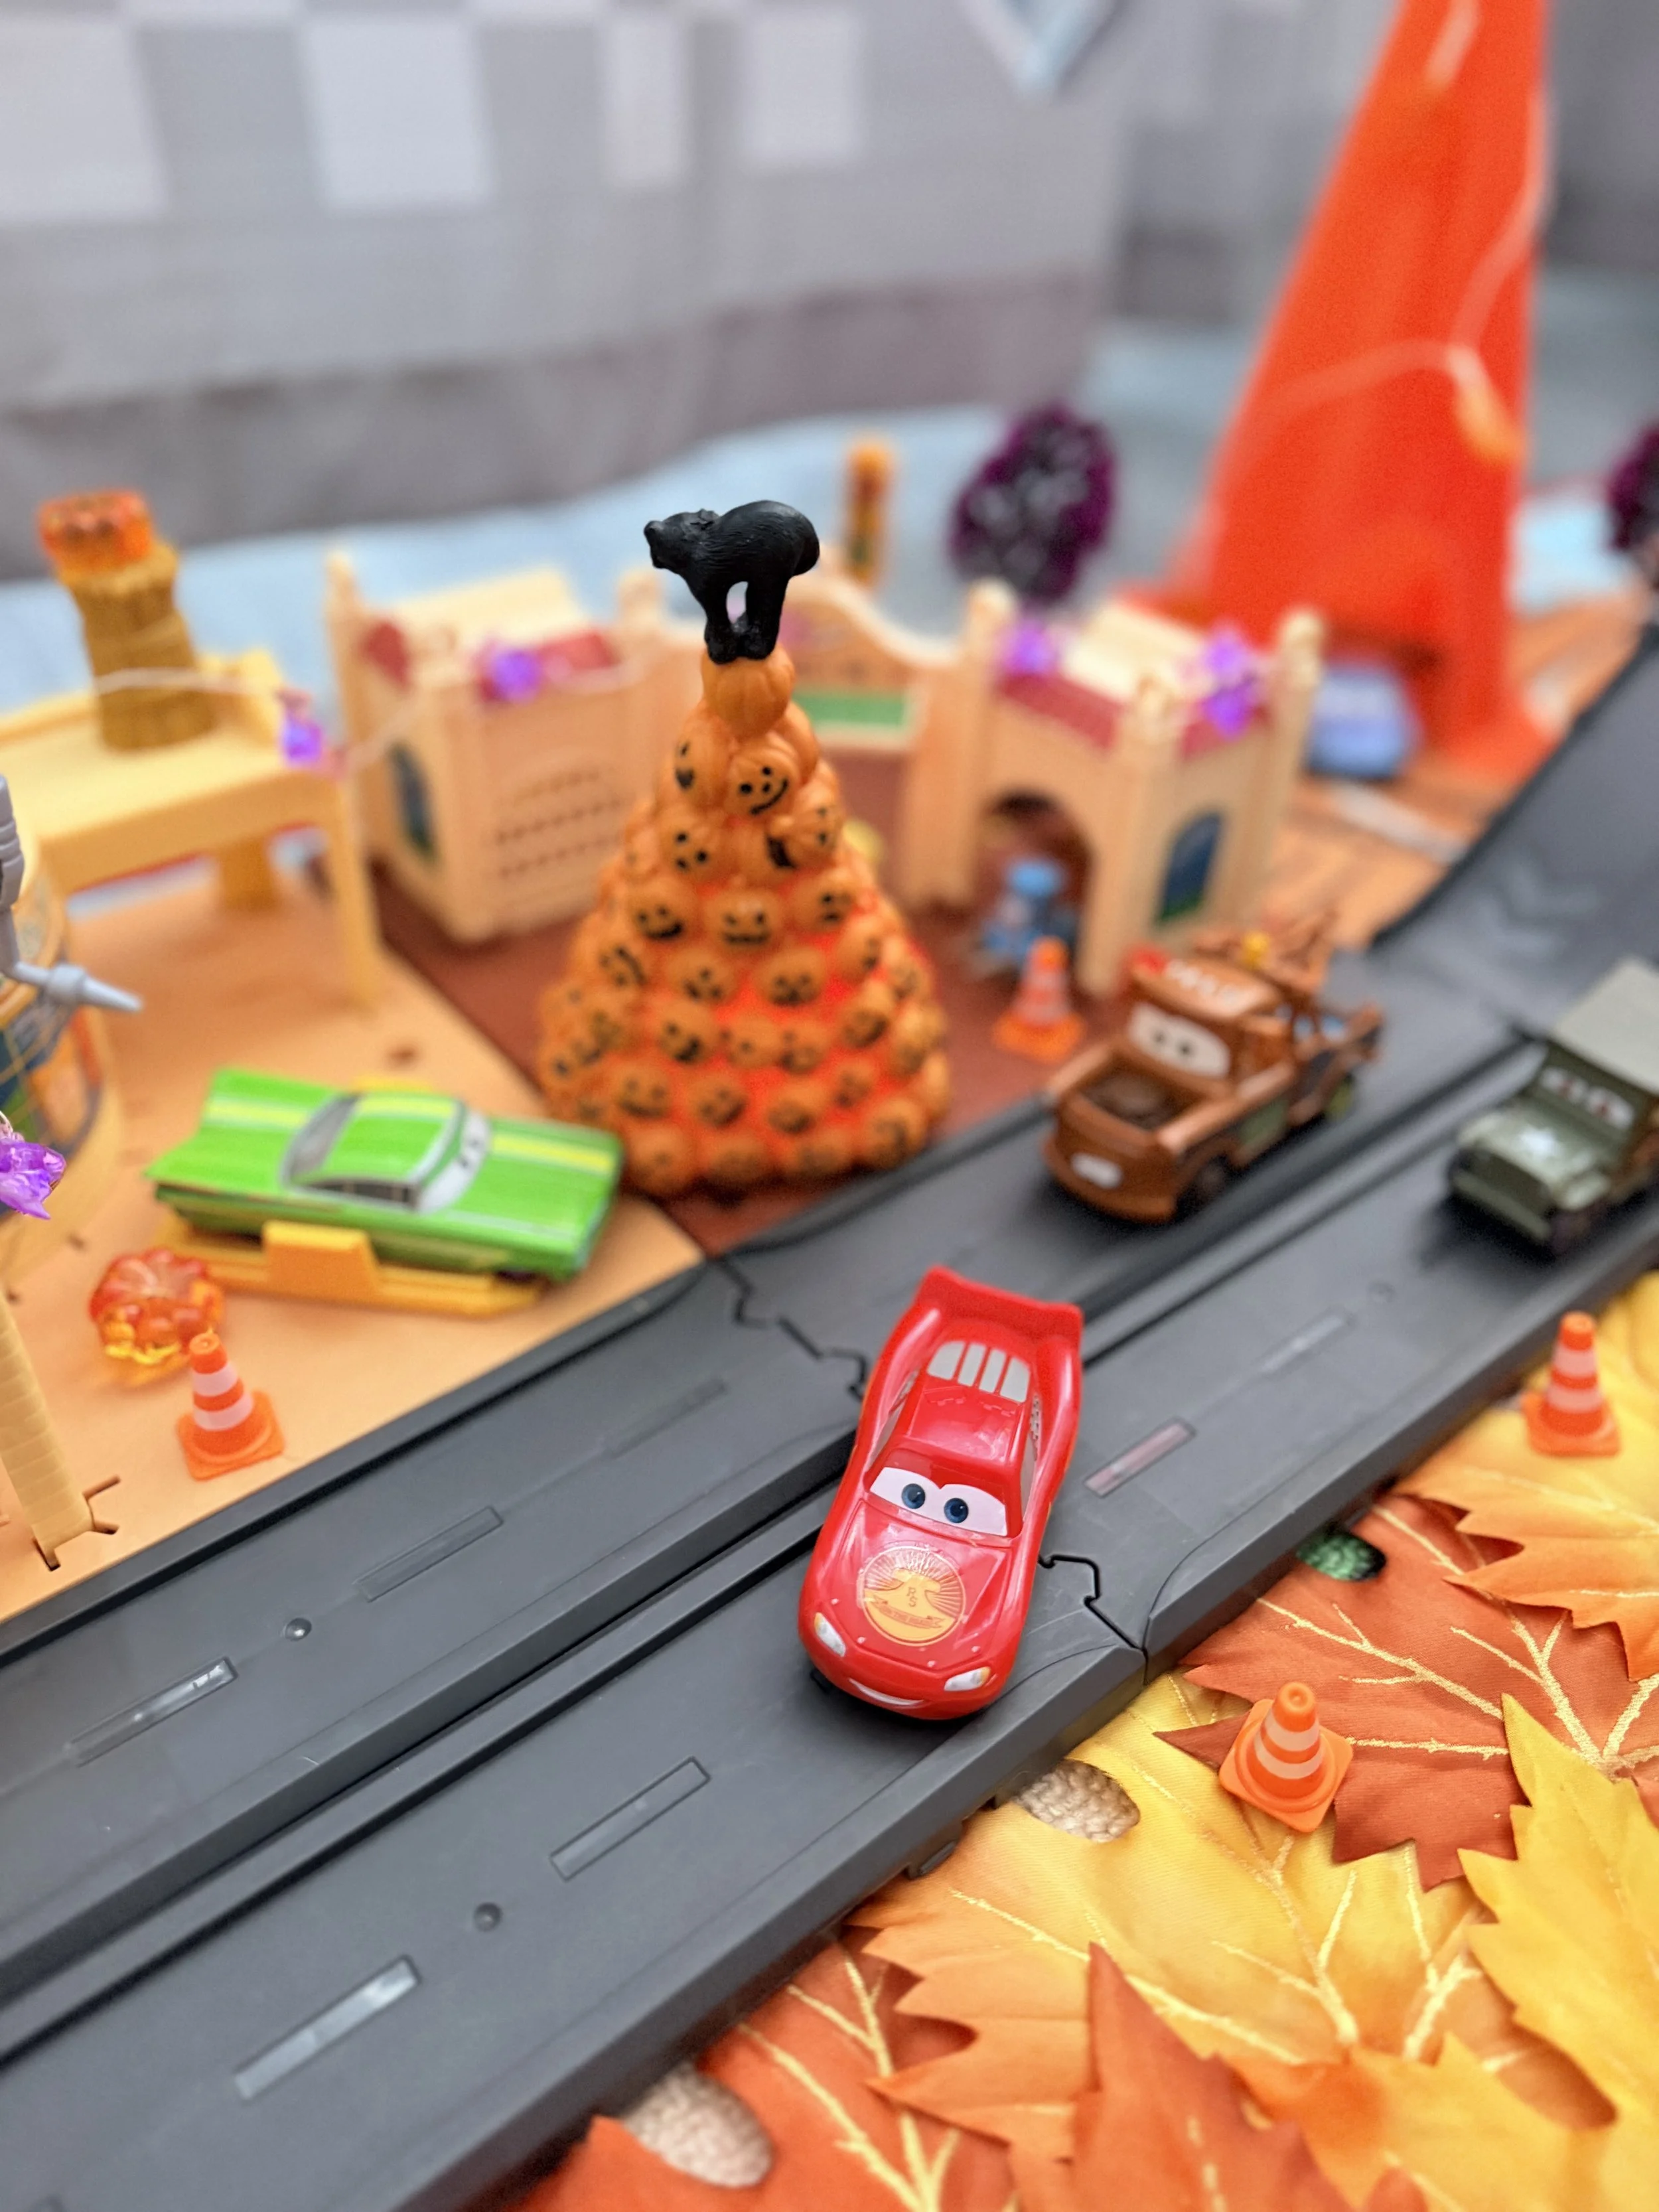
Our Halloween Radiator Springs complete with a pumpkin tree, fall leaves and a few decorations we already had at home.
After looking through all of my old Halloween photos while updating my Disneyland Halloween Time guide and Disneyland Paris guide, I apparently had Radiator Springs on the brain.
One of my favorite things about Halloween at Disneyland is how completely Cars Land transforms for Haul-O-Ween. Radiator Springs gets covered in Halloween decorations, the Cars get into the spirit, and the entire town feels different without losing what makes it so fun in the first place.
And then I looked at the Radiator Springs playset sitting in our house and thought…
Why couldn’t we give our Radiator Springs a little Halloween makeover too?
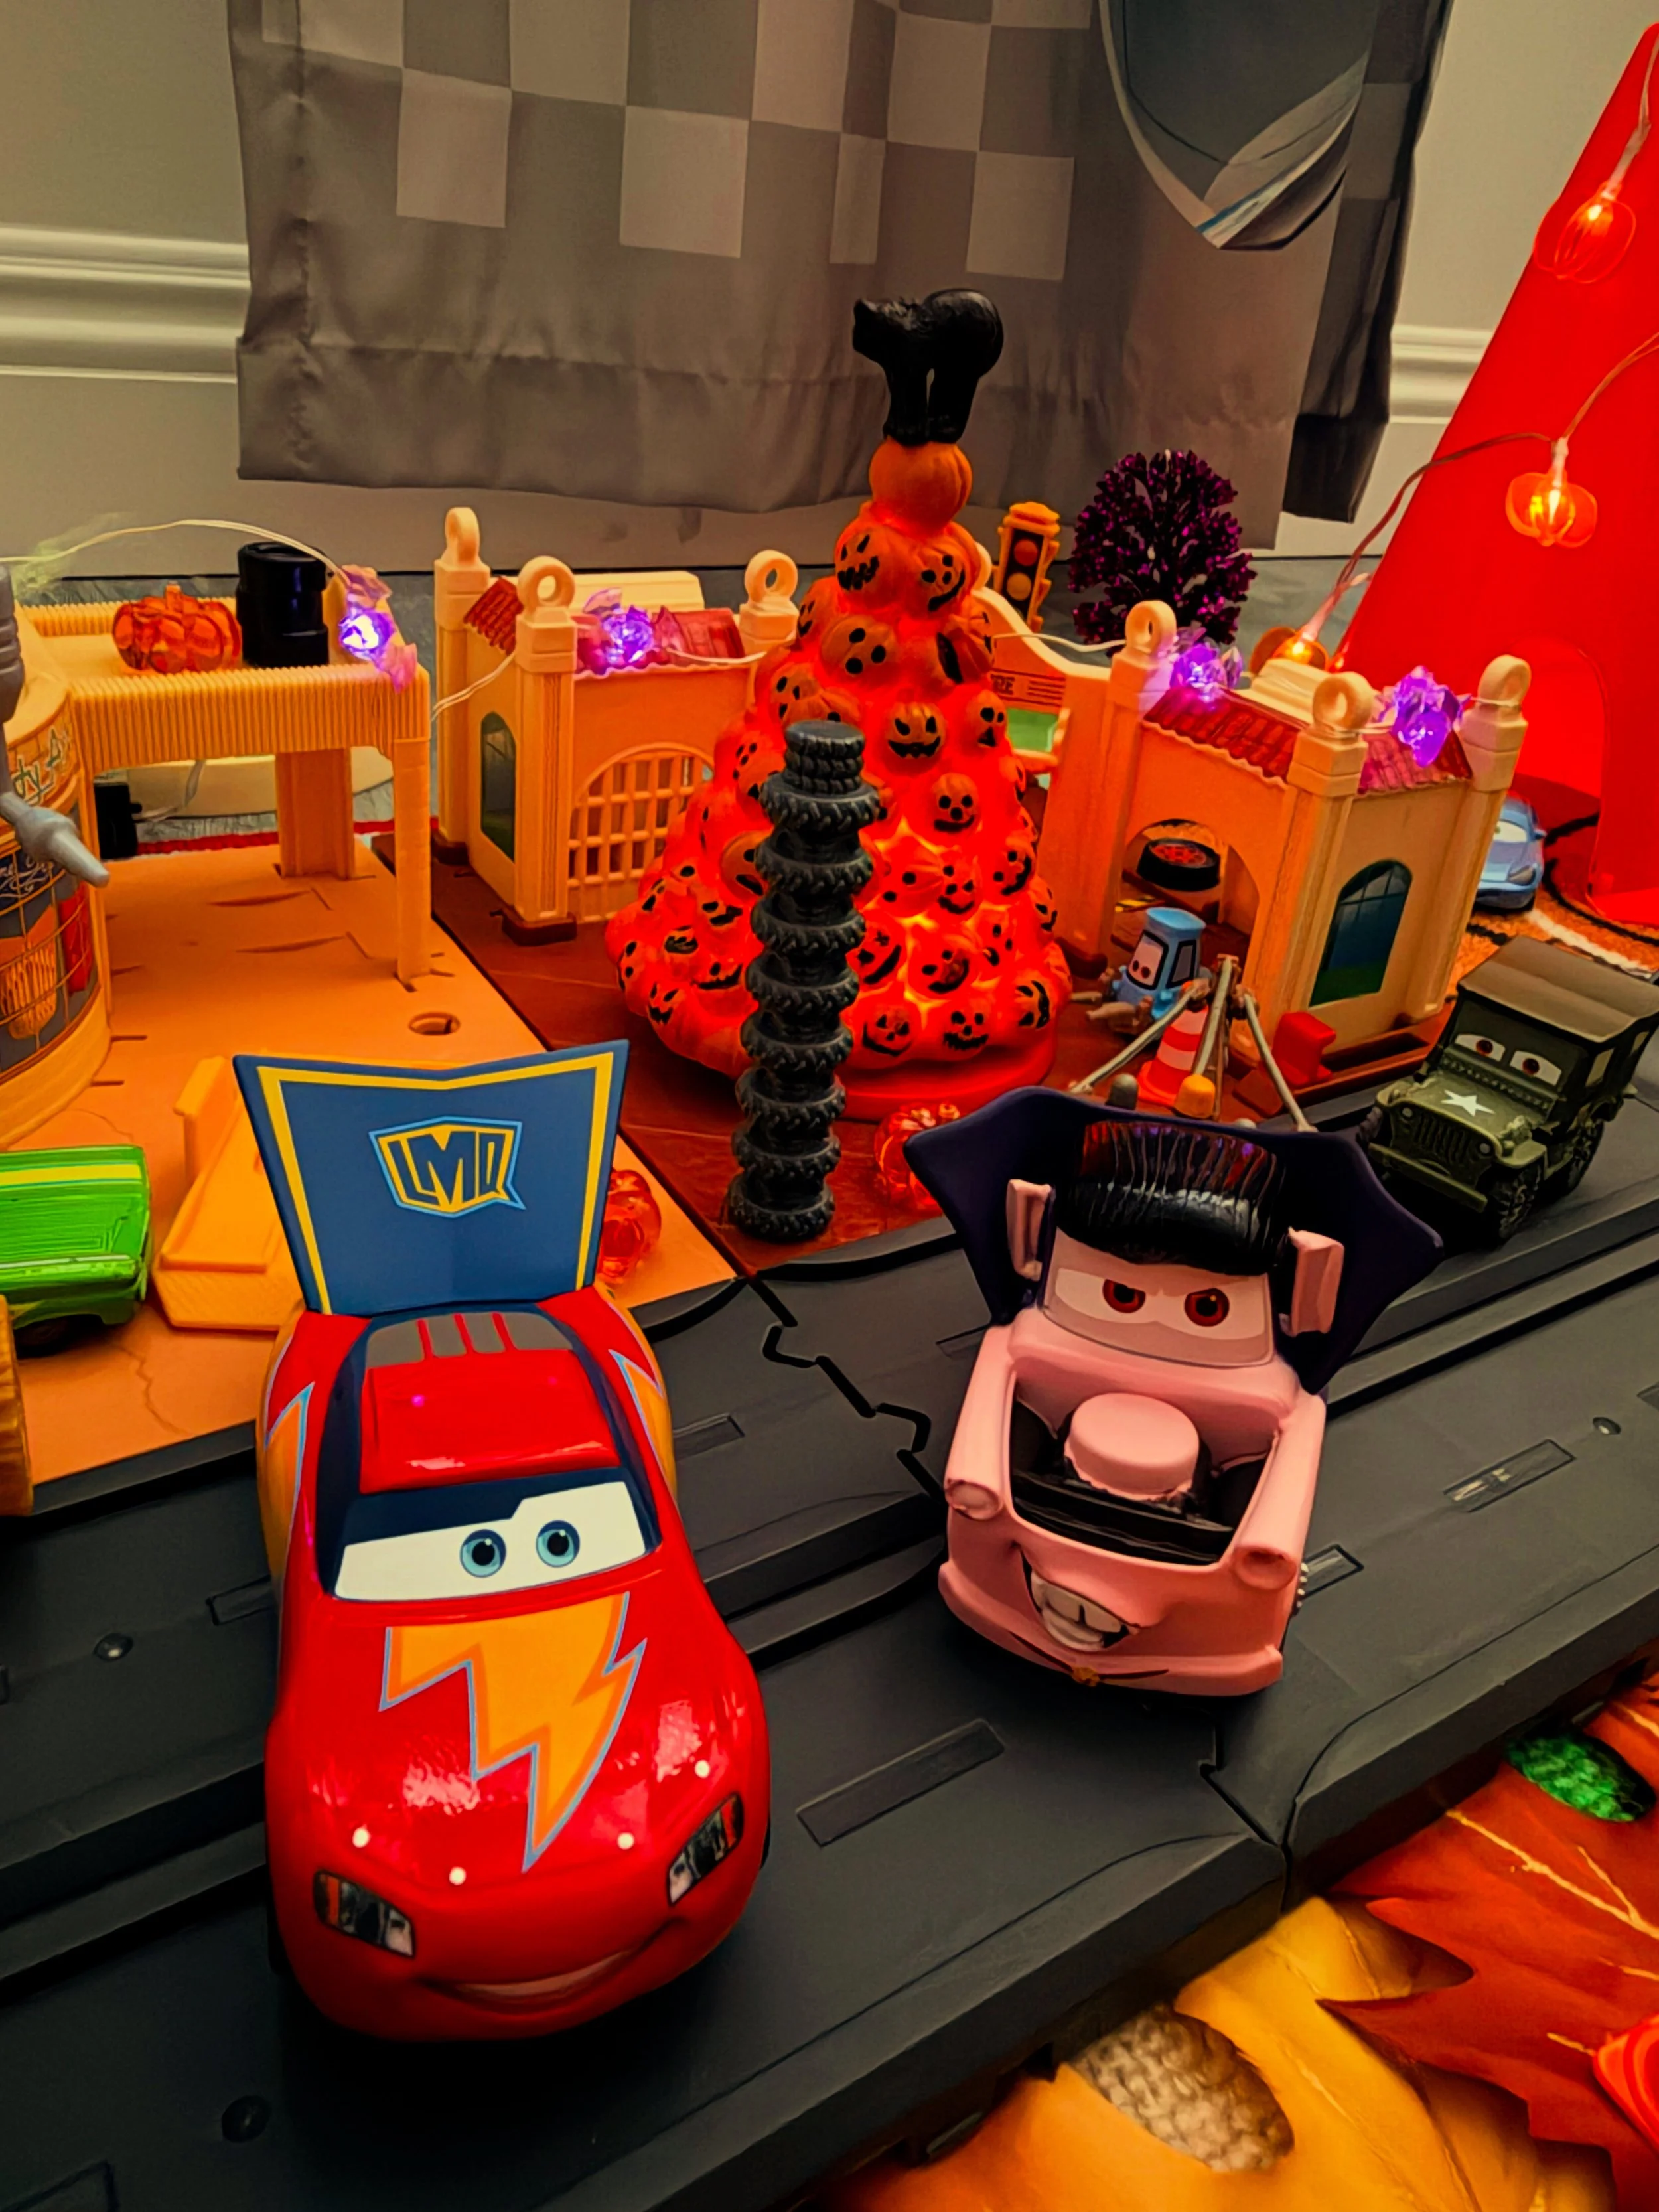
Halloween Lightning McQueen and Mater die cast
The best part? I didn’t want this to become another complicated craft project.
I have a three-year-old and a four-year-old, so whatever we added needed to be inexpensive, easy to move around and, most importantly, something they could actually play with.
In the end, I spent less than $10 on a few pieces of Halloween decor from Dollar Tree and reused things we already had around the house. It became an easy way to bring a little of that Cars Land Halloween magic how without turning it into a complicated craft project.
It took us about 5–10 minutes to set up, and then my son happily played with his newly decorated Radiator Springs for at least another half hour.
I would absolutely call that a Halloween win.
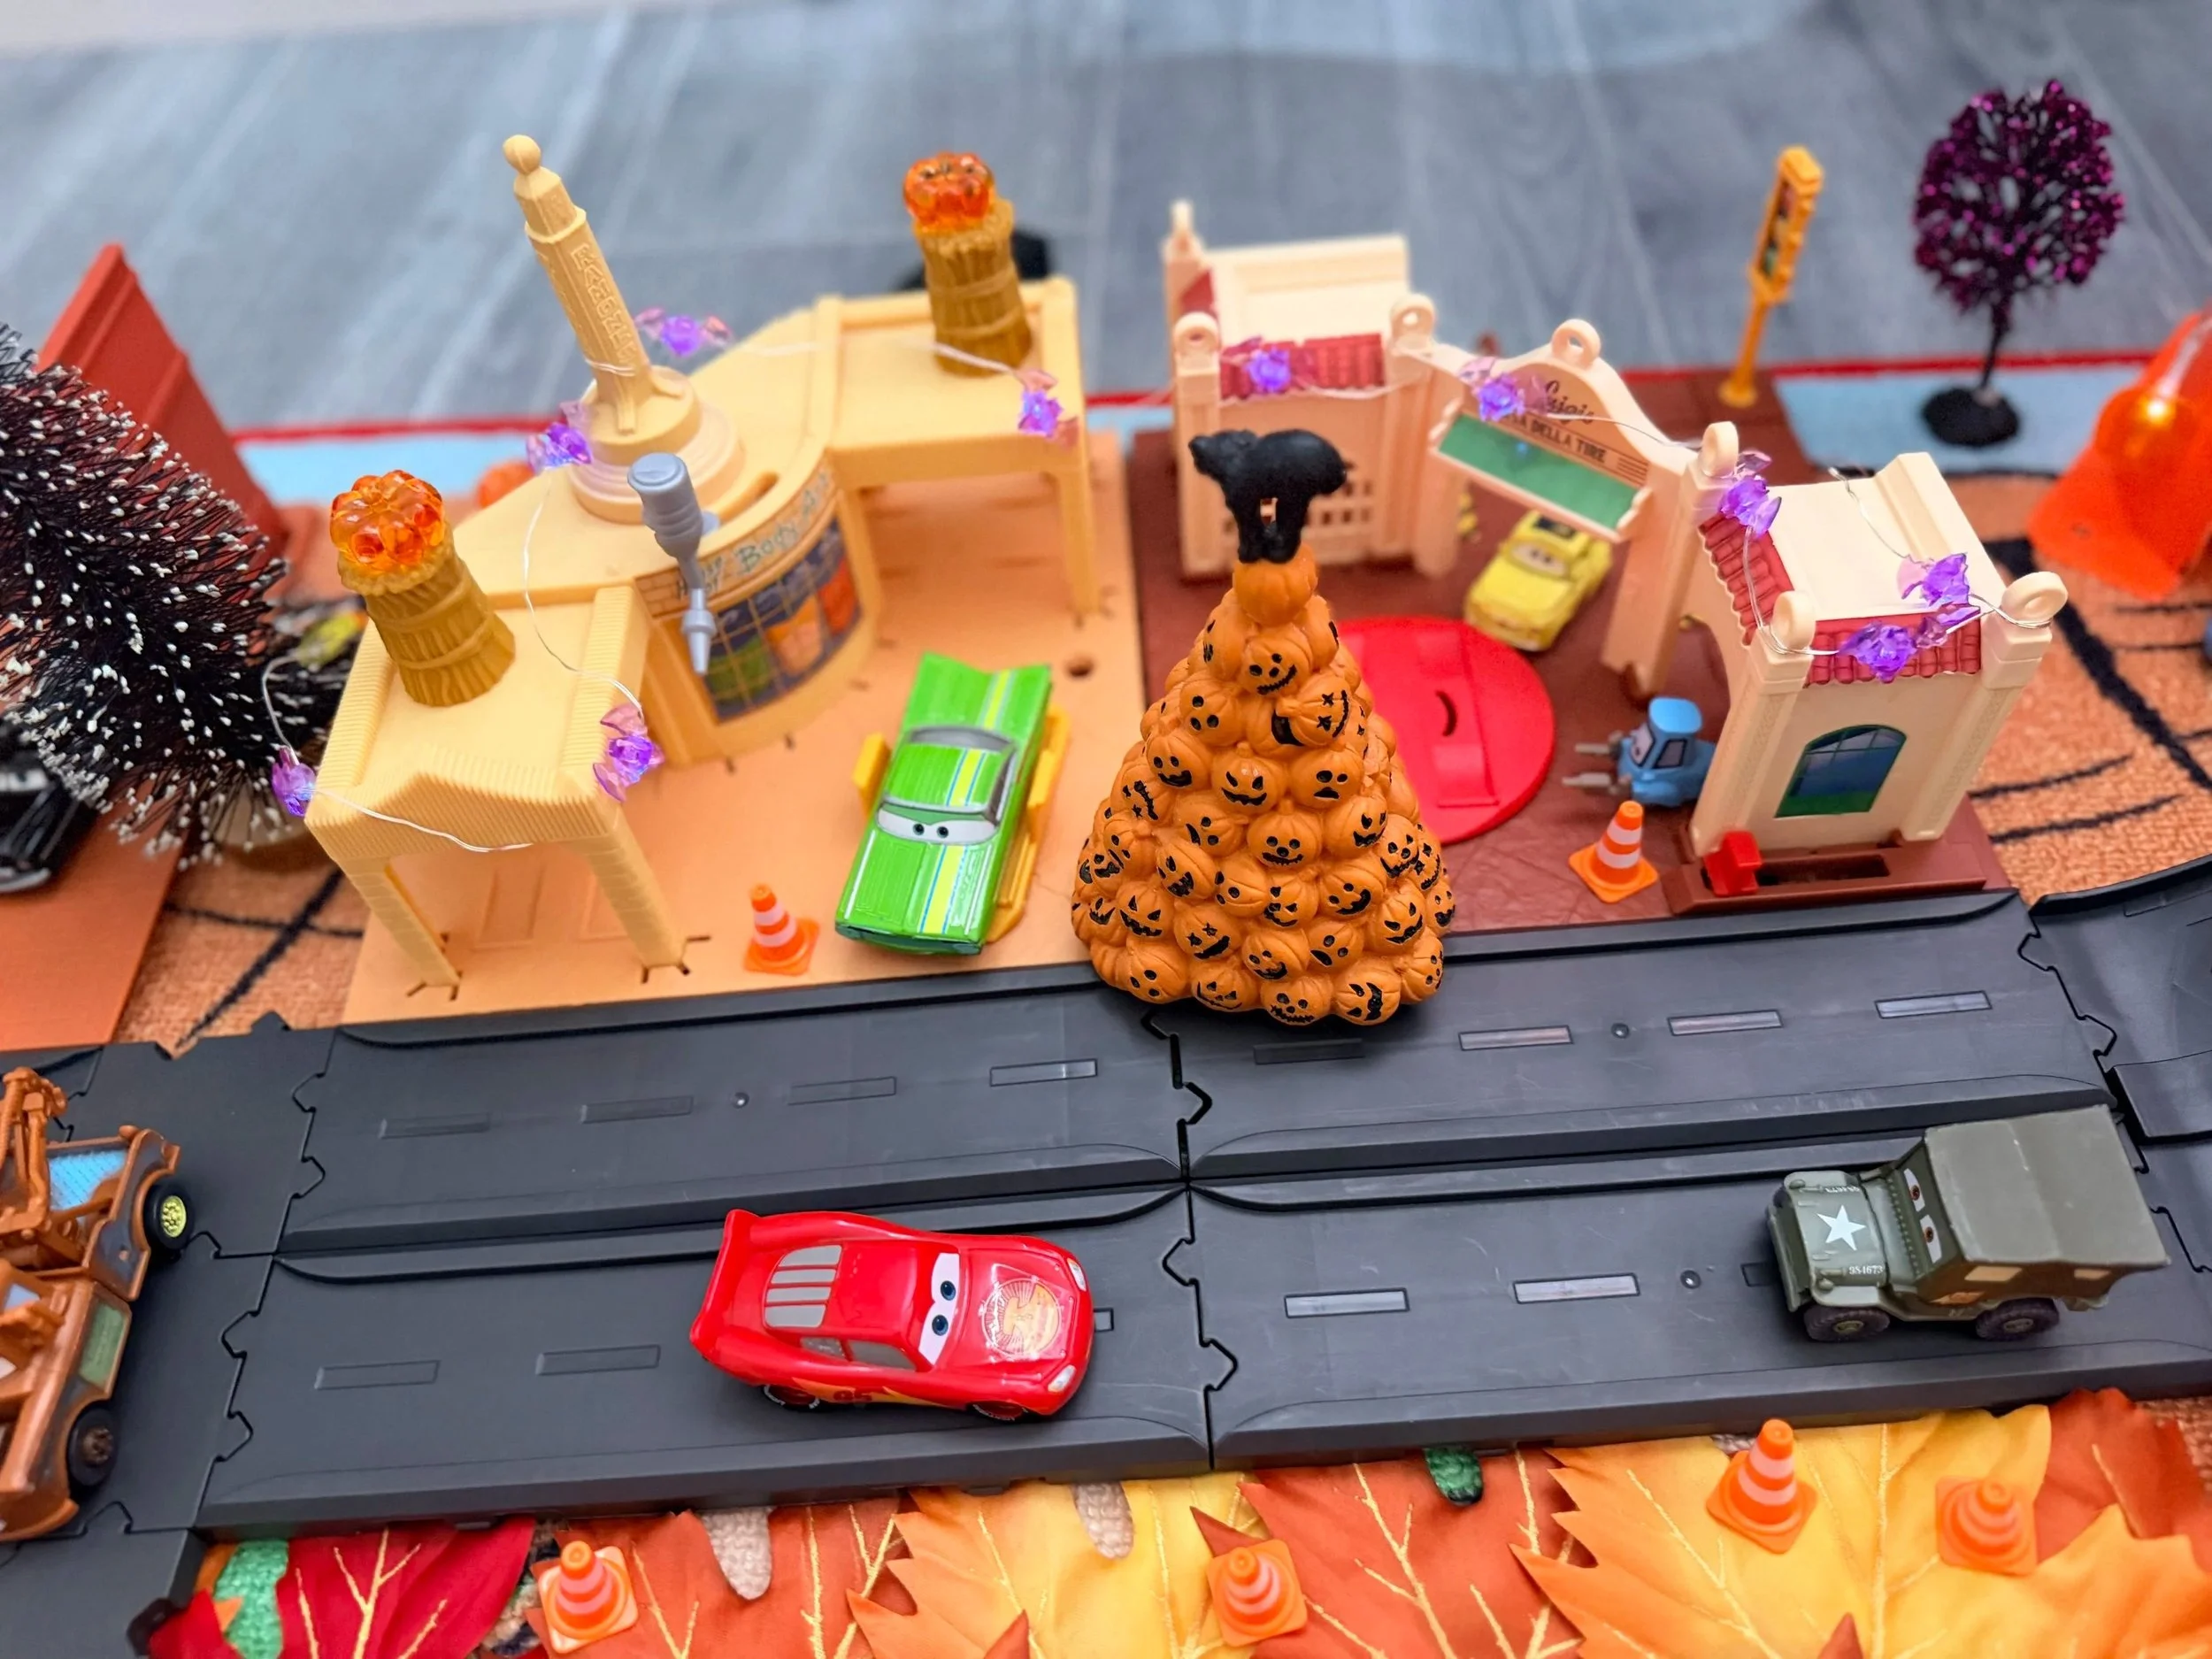
A few pumpkins, fall leaves and Halloween decorations gave our Radiator Springs playset a whole new look. 🎃
Our Disneyland Cars Land Halloween Inspiration
This whole idea really started with Disney.
While I was updating my Disneyland Halloween Time post, I kept coming back to my photos of Radiator Springs decorated for Halloween.
Disney doesn’t completely change Cars Land for Halloween. Instead, they add Halloween details to the town that’s already there — lights, decorations, seasonal touches and funny little surprises.
That became my goal for our playset too.
I wasn’t trying to recreate Disneyland’s Cars Land Halloween decorations exactly.
I just wanted to take a toy my kids already loved and add enough Halloween details that it suddenly felt new again.
If your kids love Cars, make sure to check out my Disneyland Halloween Time guide, where you can see the real Radiator Springs during Haul-O-Ween along with the other Halloween decorations, rides and kid-friendly Halloween experiences around Disneyland.
And if you love Disney Halloween decorations in general, I also have photos from Disneyland Paris at Halloween, which has its own completely different Halloween style.
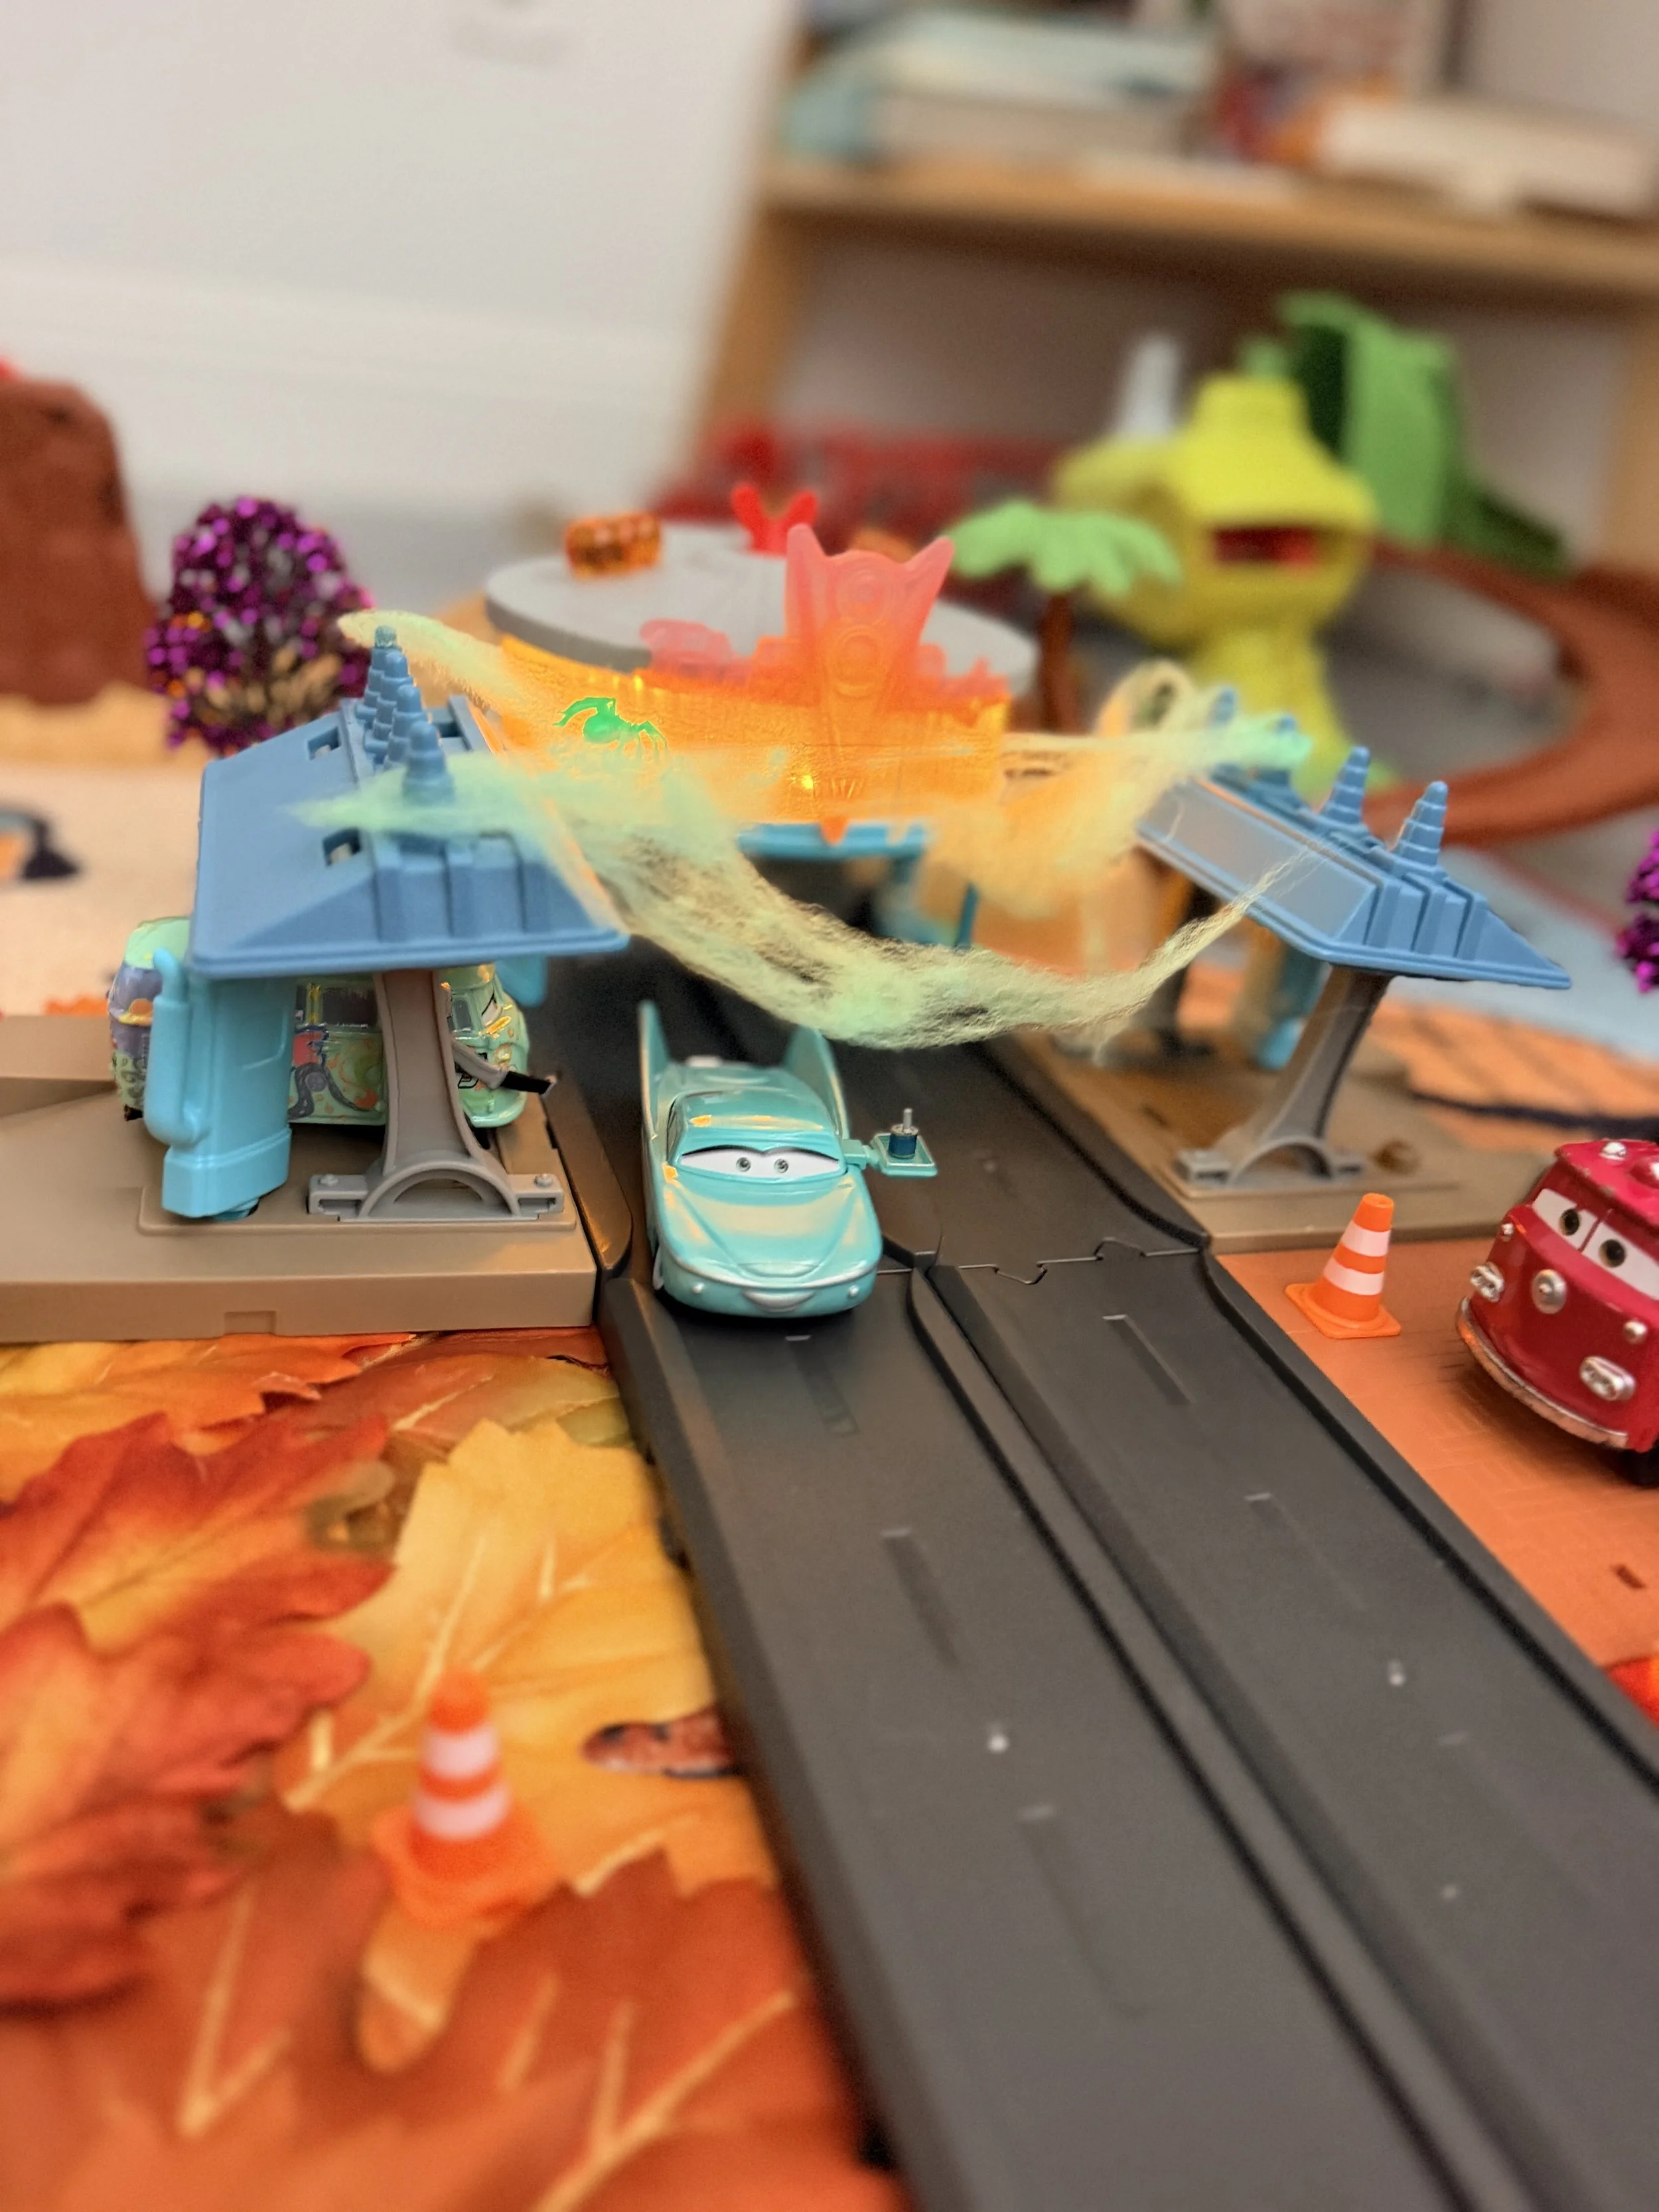
A little spiderweb and a few lights were enough to make the Cars playset feel completely different for Halloween.
Easy Halloween Decor for Our Radiator Springs Playset
I purposely kept this simple.
Most of the Halloween decor was stuff that we already owned, which is also why I love this idea so much. You really don’t need to buy a dedicated “Halloween playset.” You can raid your Halloween bins, craft supplies and even old birthday party decorations.
Here's our Halloween Makeover shopping list:
Two inexpensive strands of Halloween lights from Dollar Tree $1.25
One small bottle-brush tree from Dollar Tree $1.25
Spiderweb material from Dollar Tree $1.25
Light up pumpkin figurine from Dollar Tree $1.25
A few miniature trees from Michael’s
A fall leaf table runner from Michael’s
Extra orange traffic cones from a Cars-themed birthday party
Glow-in-the-dark spiders left over from a Spidey-themed birthday party
Our existing Cars and Radiator Springs toys
We were gifted this Cars Halloween Die Cast Set from my parents: https://www.disneystore.com/cars-halloween-die-cast-set-417150741484.html
The only new things I bought were the Dollar Tree lights, tree and spiderwebs, bringing my total to less than $10 with tax.
You absolutely don’t need everything on this list.
A few pumpkins, a strand of lights and some Halloween spiderwebs would already make a big difference.
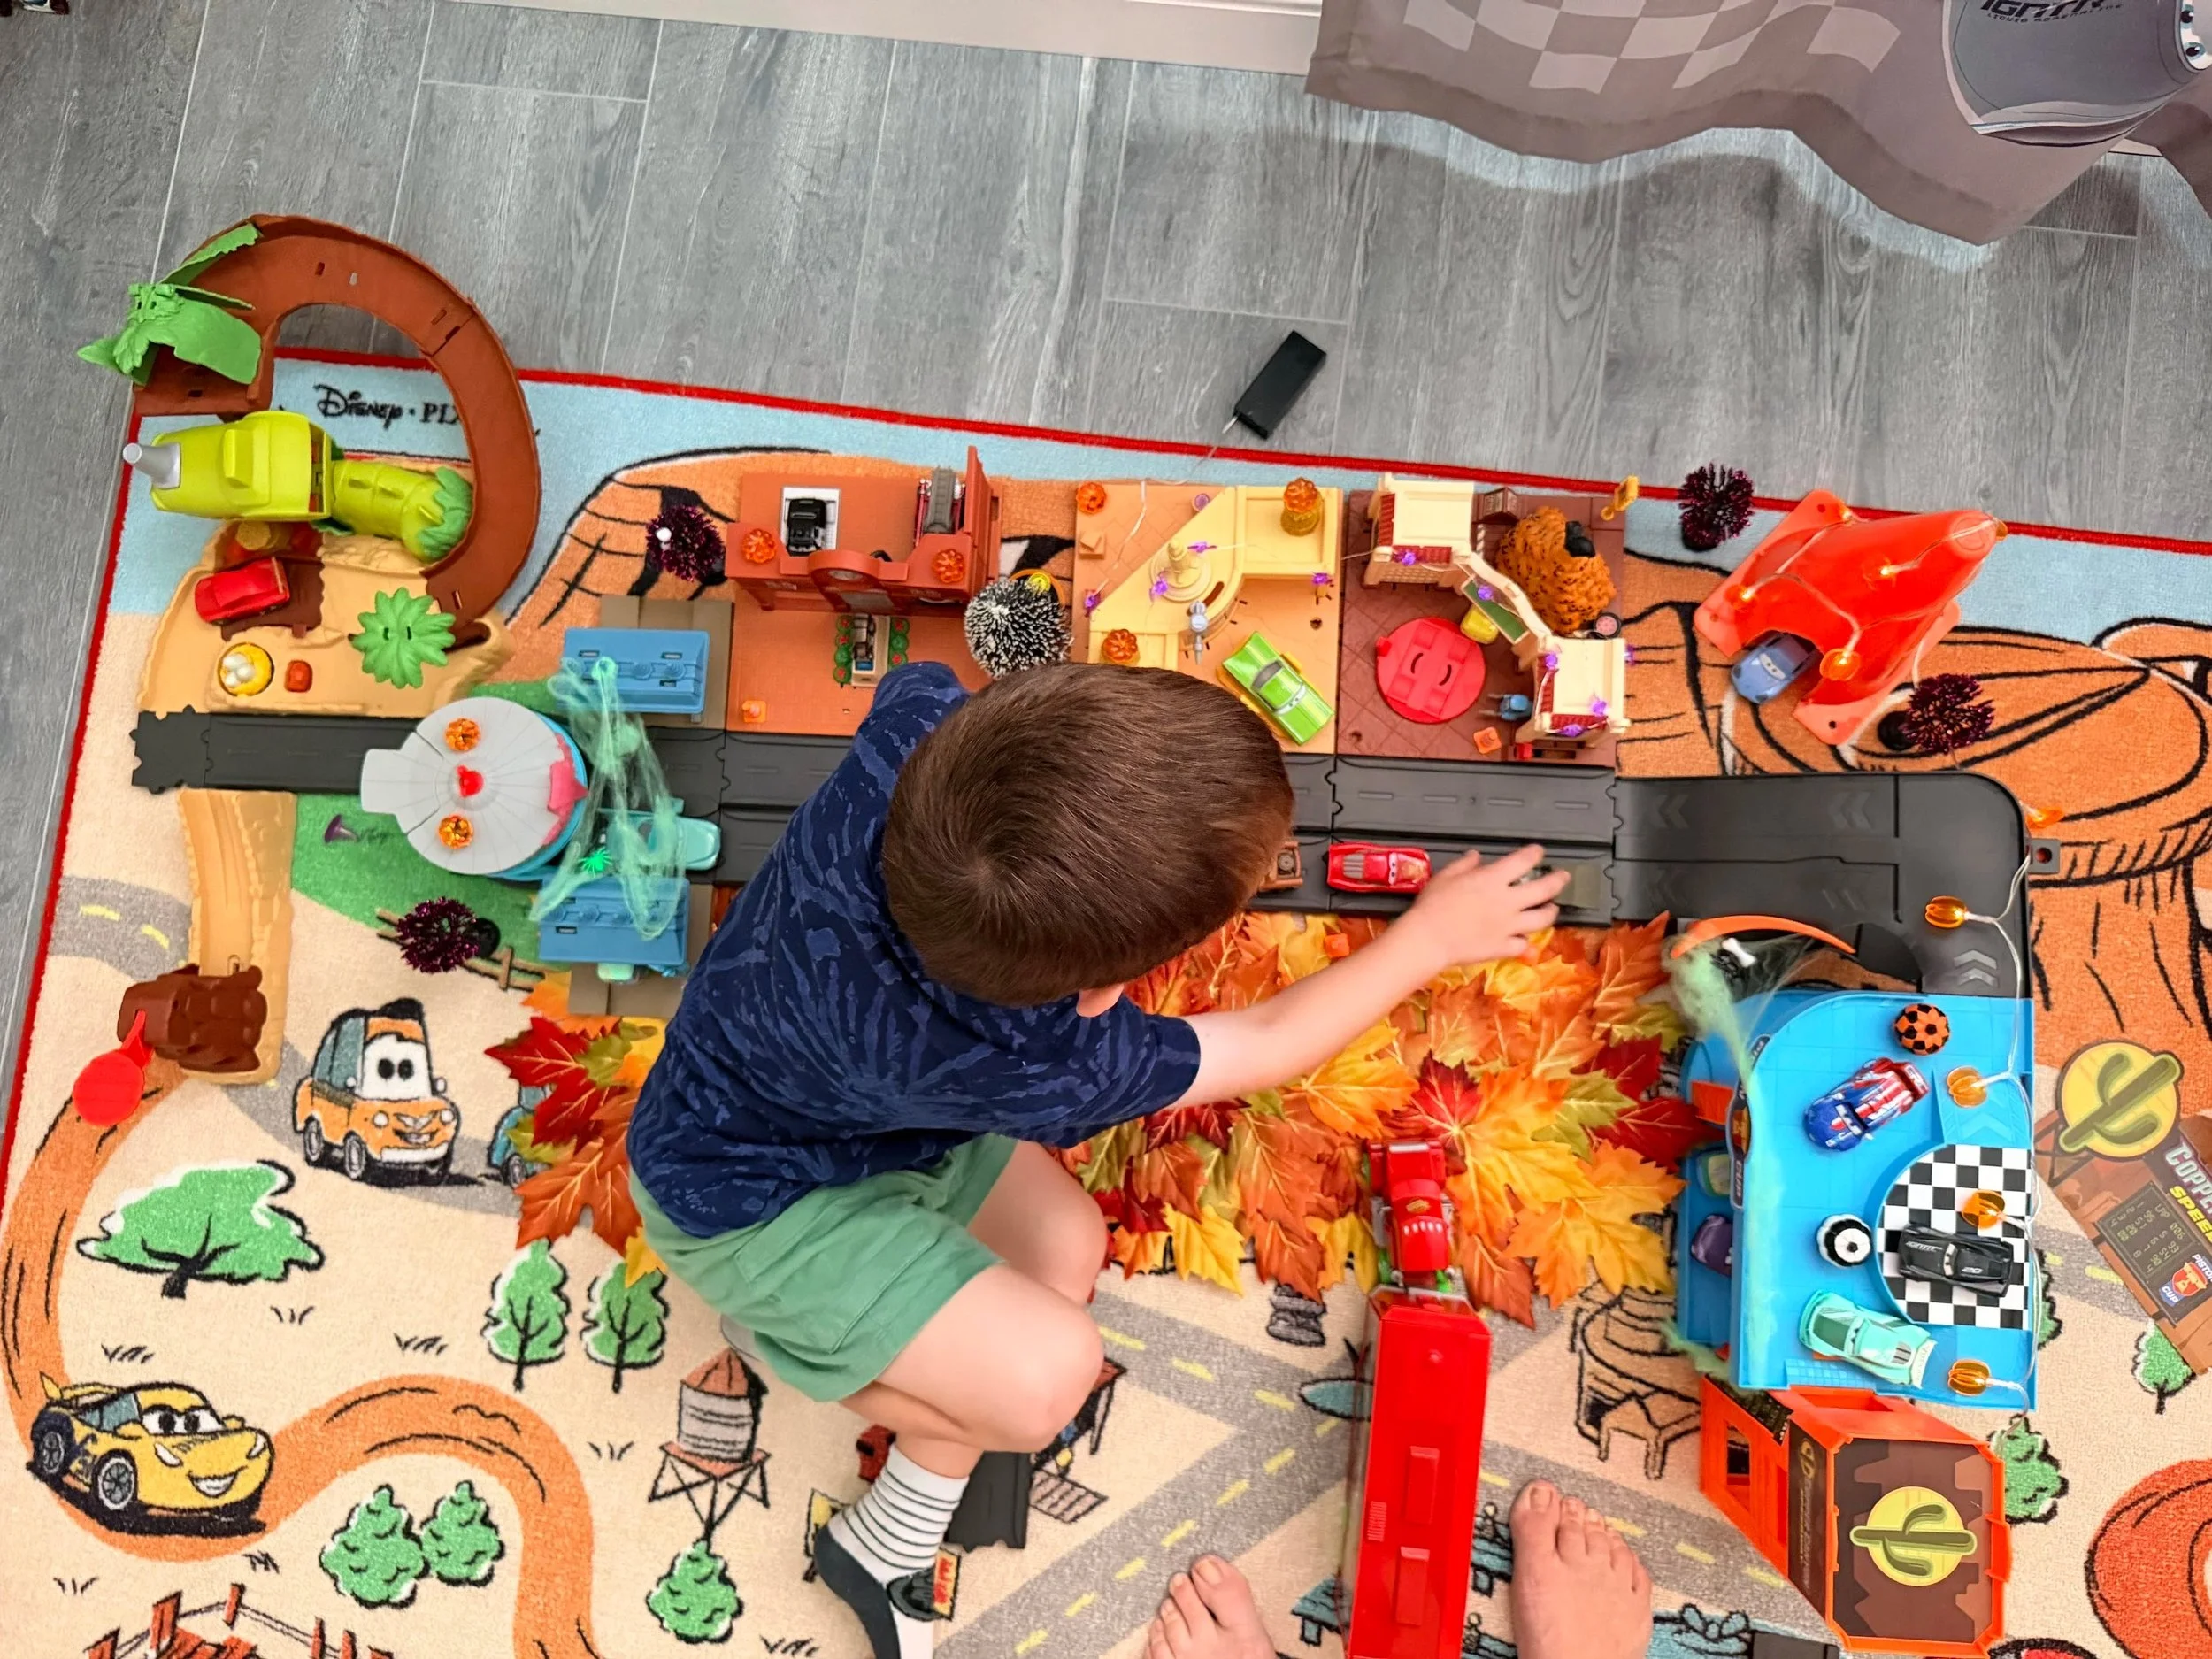
The best part was letting him move everything around and decorate Radiator Springs his own way.
How We Made Our Halloween Radiator Springs
There was really no “right” way to decorate it, which ended up being one of the best parts.
We spread our fall leaf runner underneath the playset first. It isn’t necessary, but the orange leaves instantly made the whole setup feel more like fall.
Then we started adding little Halloween details throughout Radiator Springs.
We tucked miniature trees around the buildings, wrapped a little spiderweb material around different areas, added pumpkins and gems, and scattered our orange cones and glow-in-the-dark spiders throughout the town.
The little strands of lights made the biggest difference.
As soon as we turned them on, our regular Radiator Springs suddenly looked like it was ready for its own tiny Halloween party.
But I intentionally didn’t glue or permanently attach most of the decorations.
My son could move the pumpkins.
He could move the spiders.
He could rearrange the trees.
And, naturally, the Cars could drive through all of it.
I initially had ideas about where everything should go, but watching him decide where the Halloween decorations belonged was much more fun.
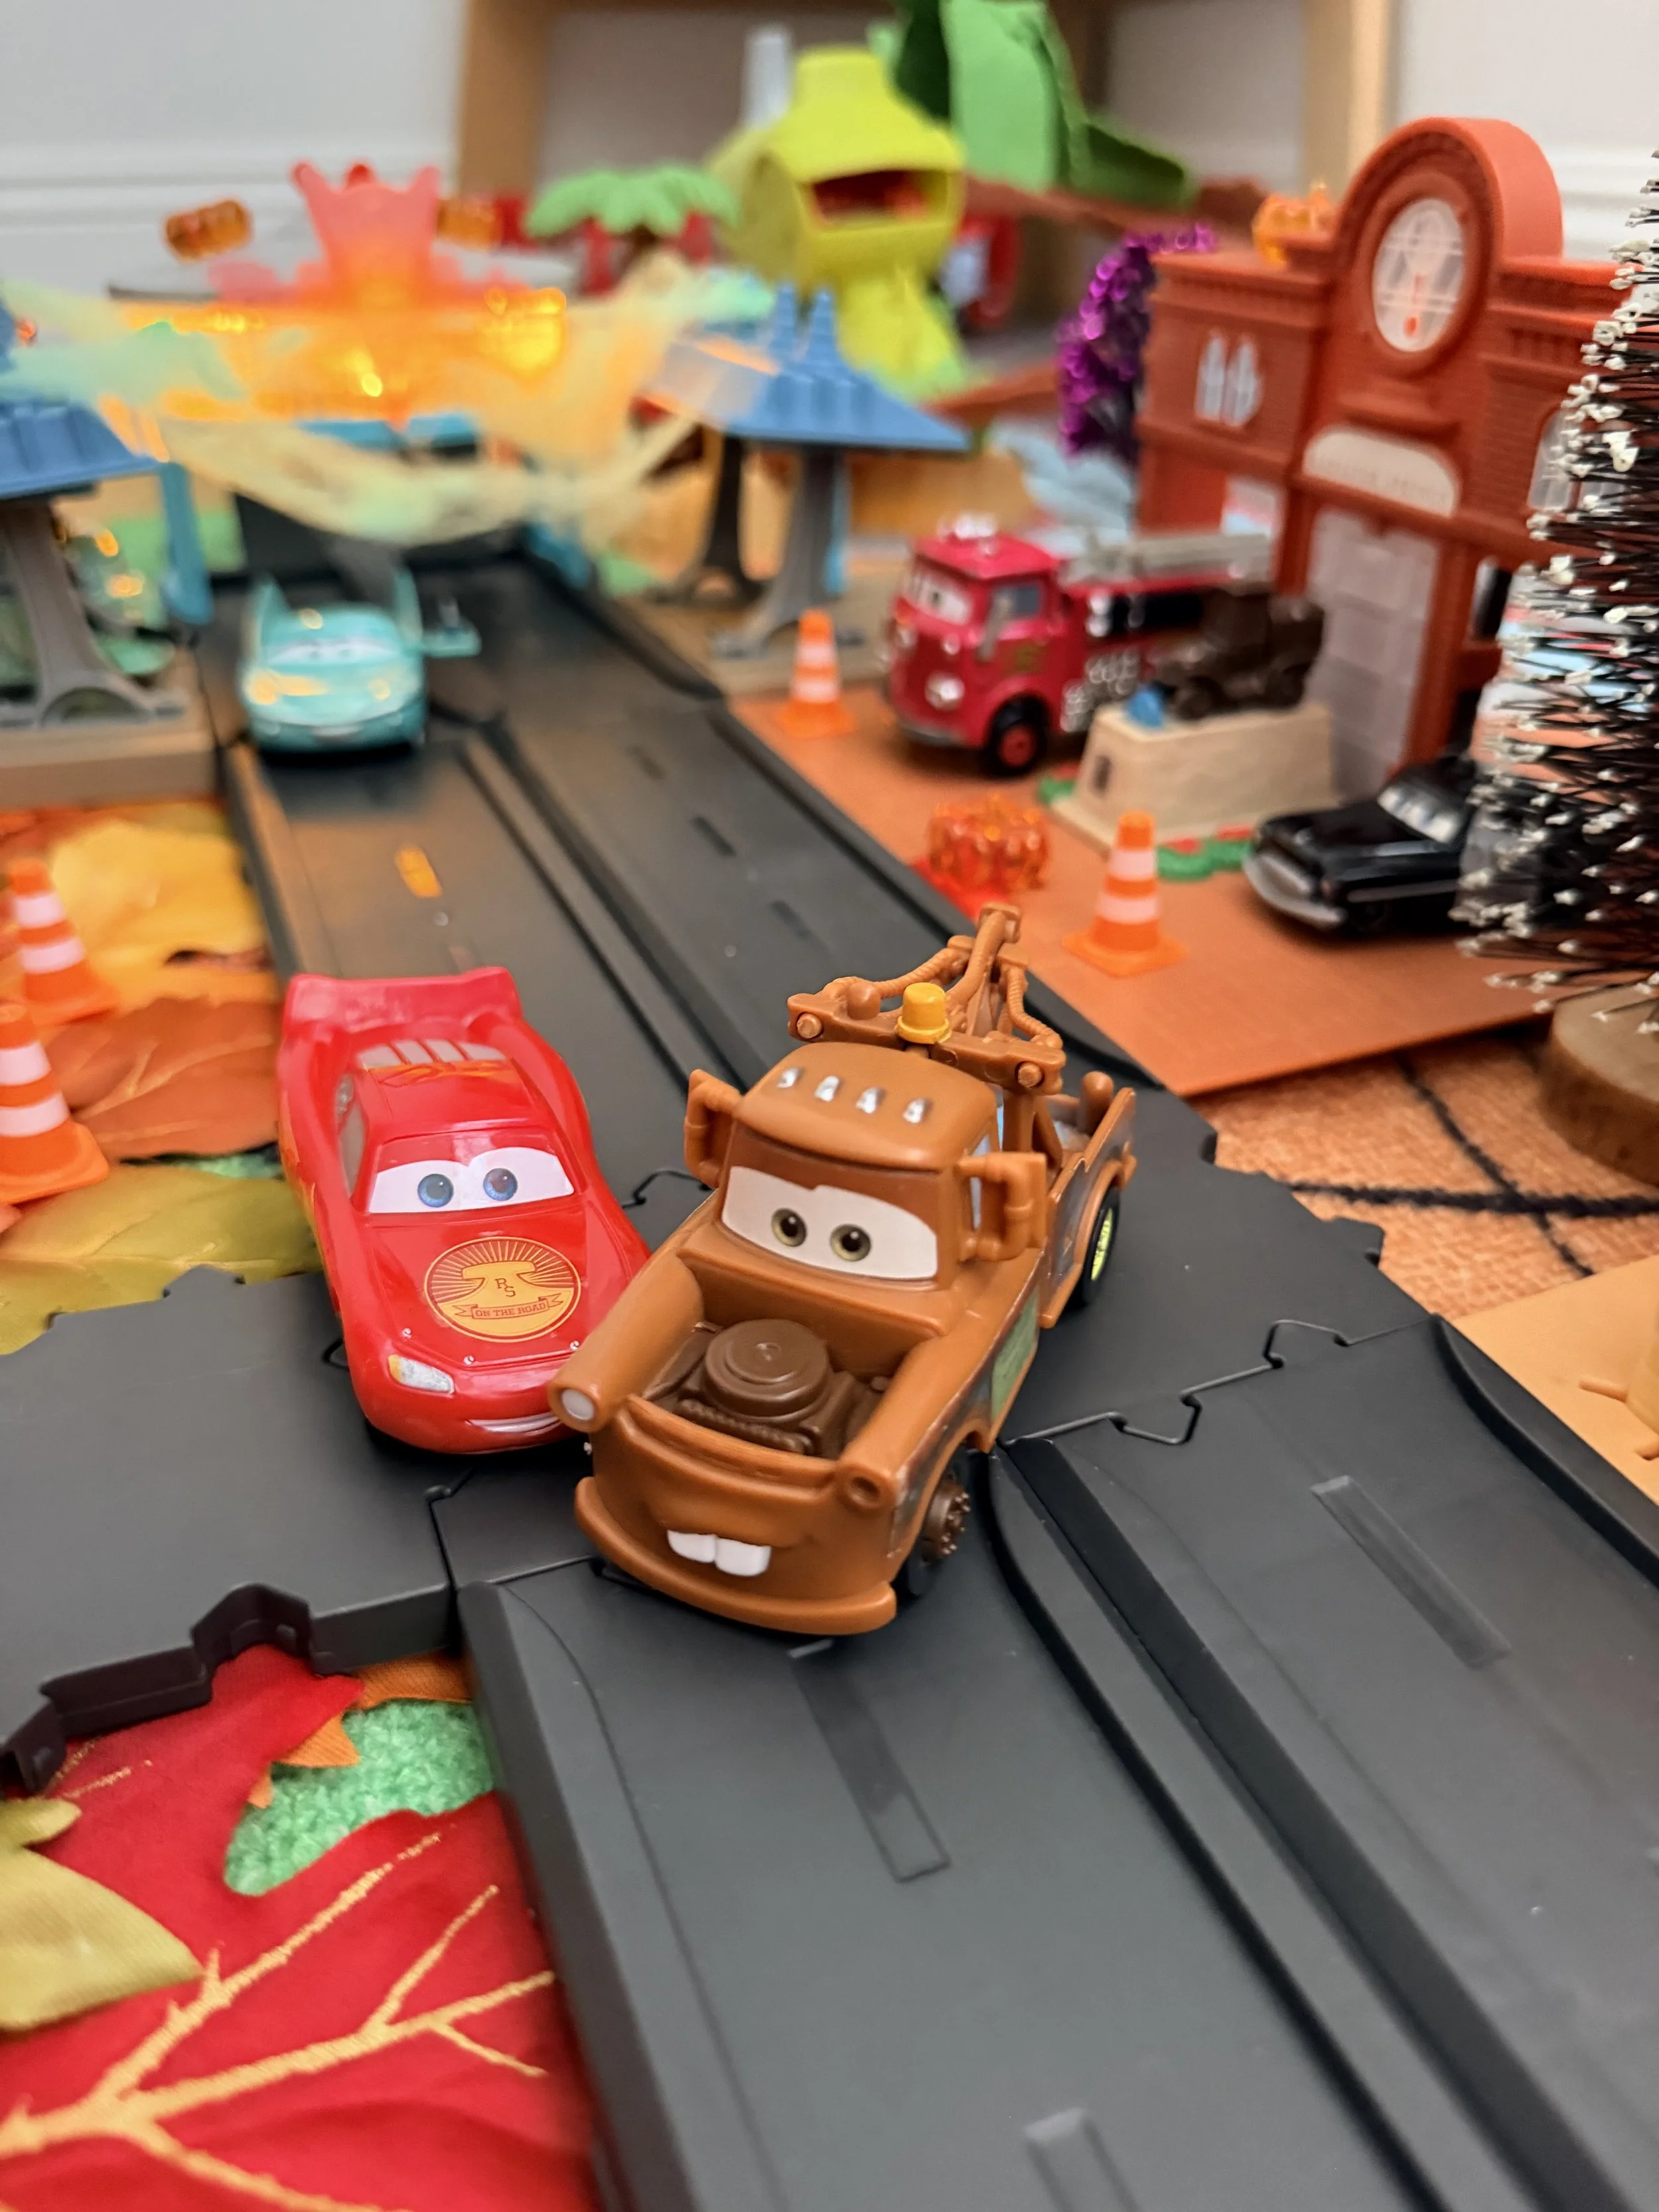
Lightning McQueen and Mater cruising through our very own Halloween Radiator Springs.
A Halloween Activity They Can Actually Play With
One thing I’ve learned about doing activities with toddlers and preschoolers is that sometimes the simpler activity ends up being the bigger hit.
This wasn’t a craft where I spent 45 minutes preparing something they finished in three minutes.
We decorated together for about 5–10 minutes, and then he played.
And played.
And continued rearranging his little Halloween town.
That’s exactly what I wanted.
The decorations gave new life to a toy he already loves without changing how he normally plays with it.
If you have a Cars playset, train table, dollhouse, toy farm, construction site or even just a collection of toy vehicles, you could use the same idea.
Add some mini pumpkins.
Put out a few Halloween trees.
Add battery-operated lights.
Scatter some kid-safe Halloween decorations around.
Suddenly, it’s a Halloween small world.
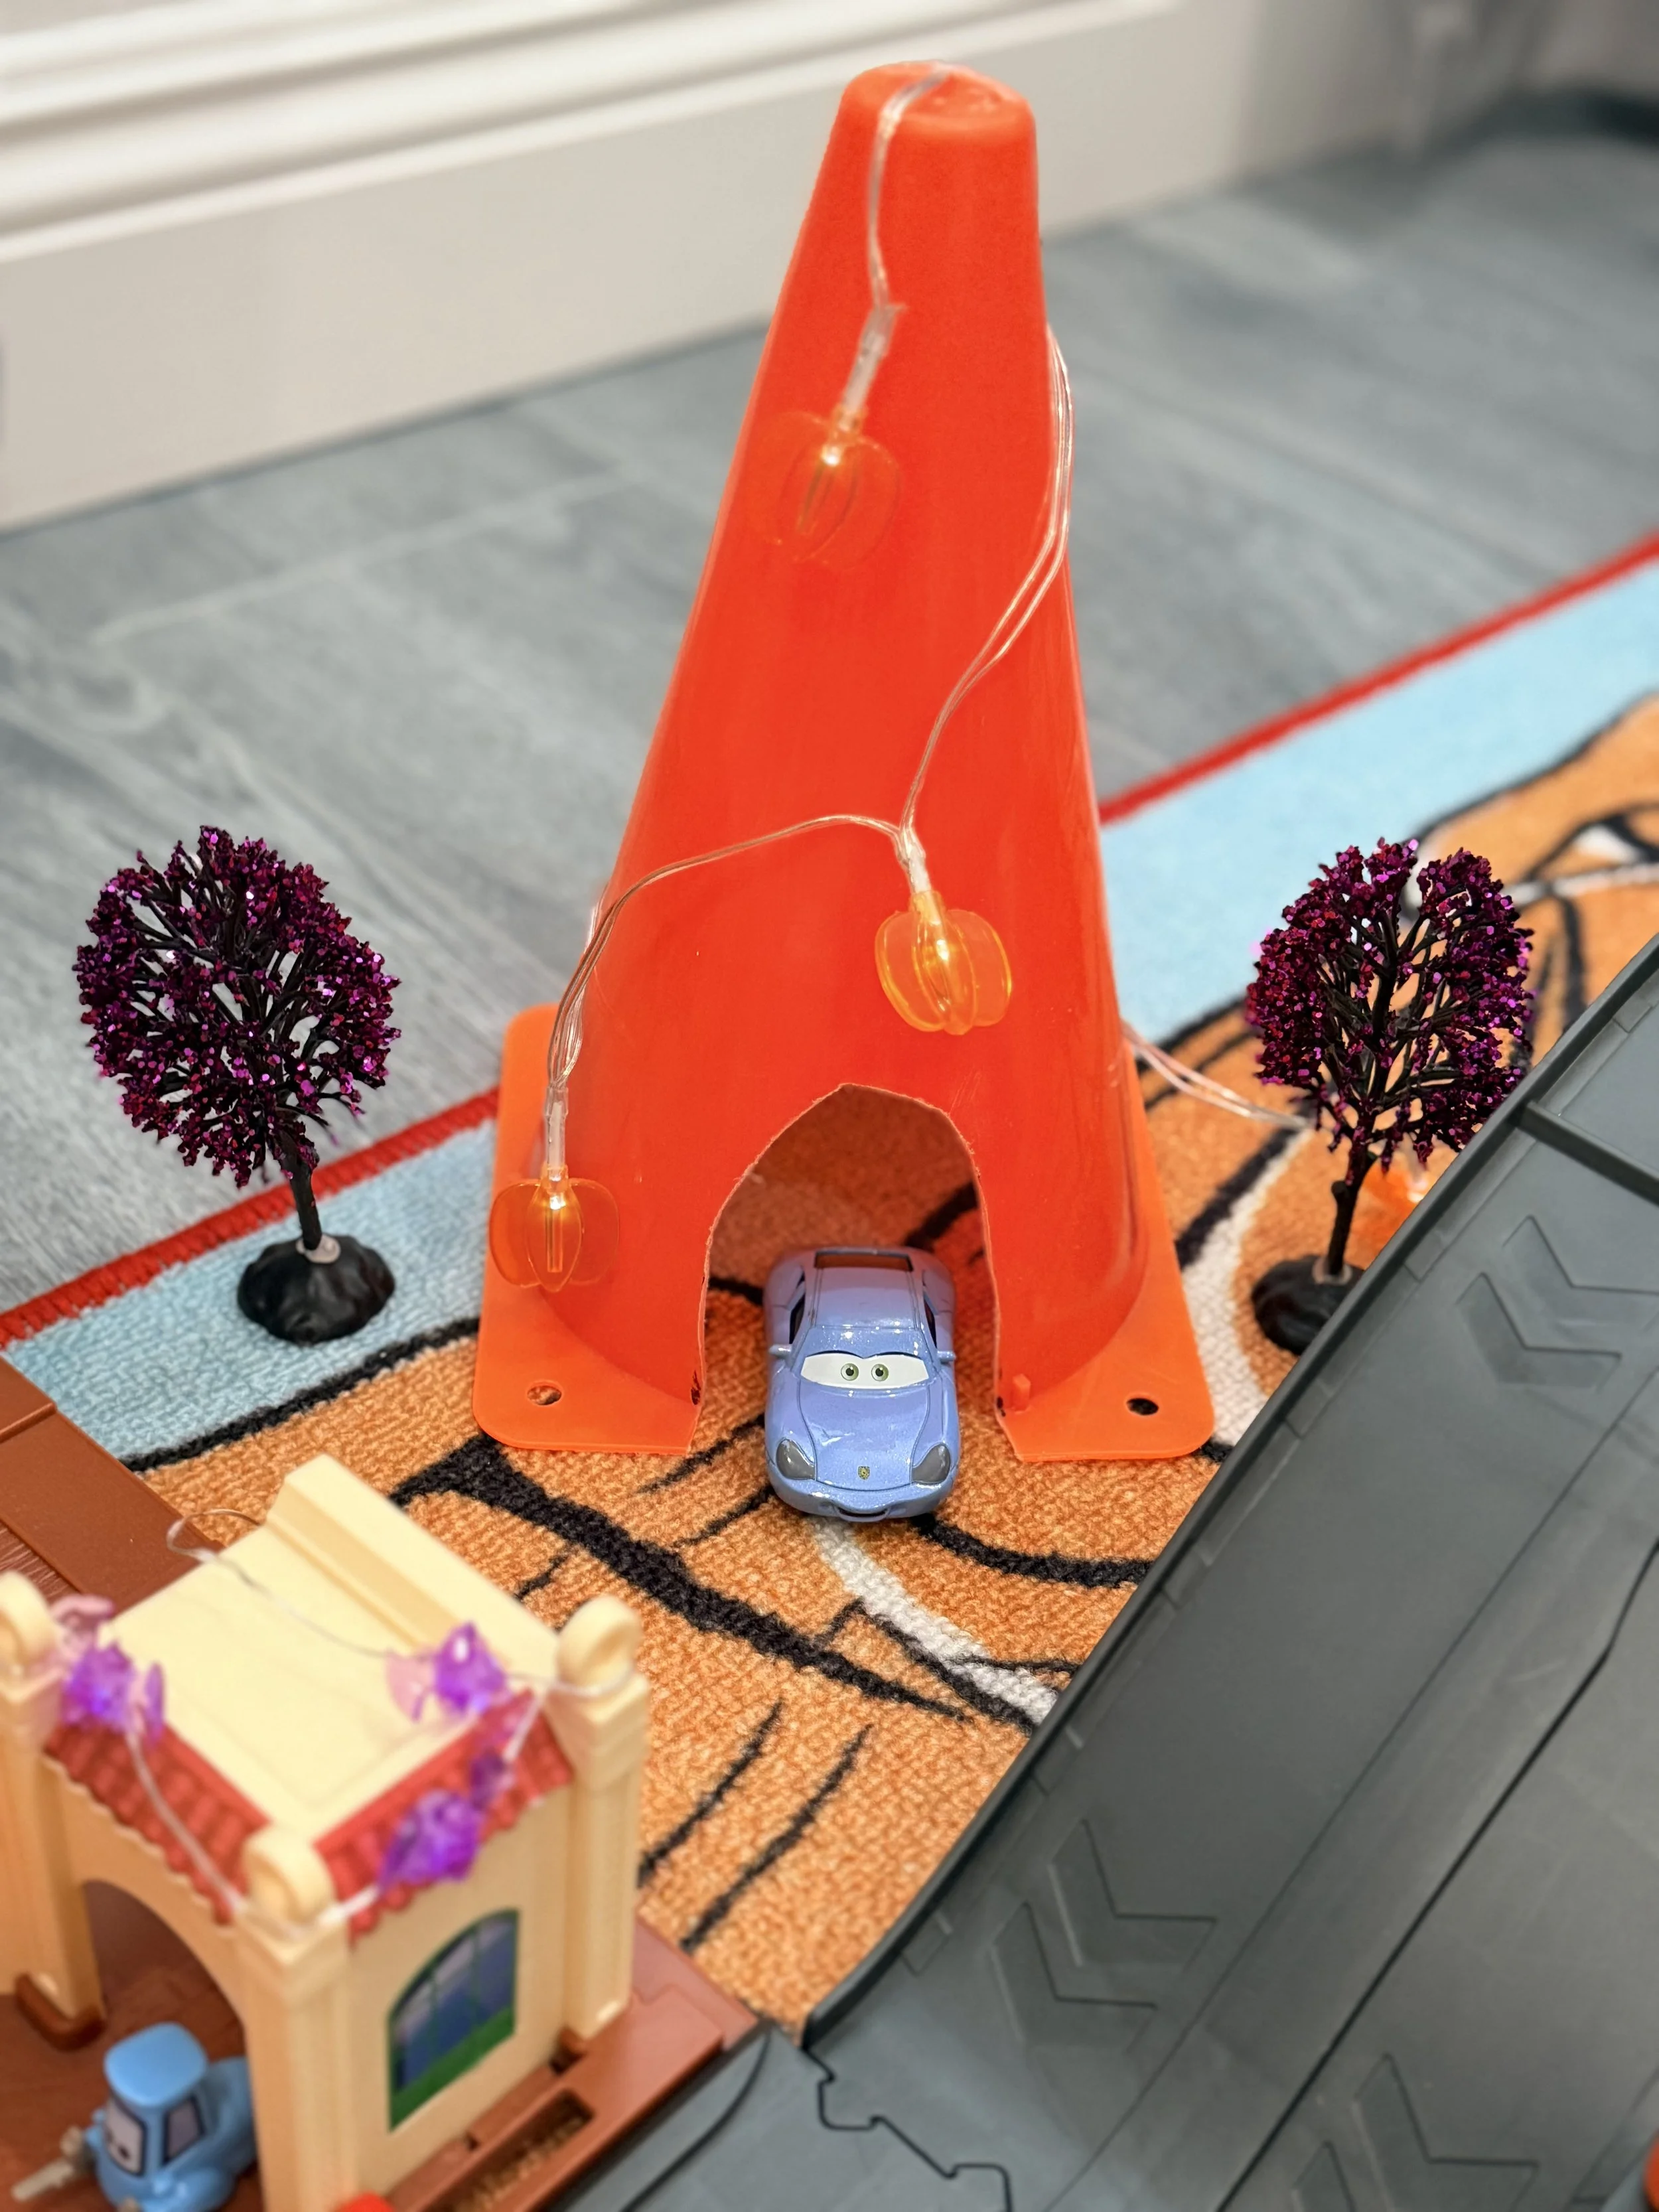
Sally in our home made Cozy Cone Motel out of an orange traffic cone!
Use the Same Idea With Any Playset Your Kids Love
One thing I really liked about this idea is that it doesn’t only work for Radiator Springs. You could use the same basic concept with almost any playset your child already loves. A dollhouse, train table, farm set, construction site, parking garage or small toy town could all get a simple Halloween makeover with a few pumpkins, lights, trees or spiderwebs.
You could even treat it like a simple DIY Halloween decorating project for kids: pull out mini pumpkins, lights, trees, spiderwebs or other inexpensive Halloween decorations and let them decide where everything should go.
The fun part isn’t making it perfect — it’s giving an old favorite toy a fresh seasonal feel.
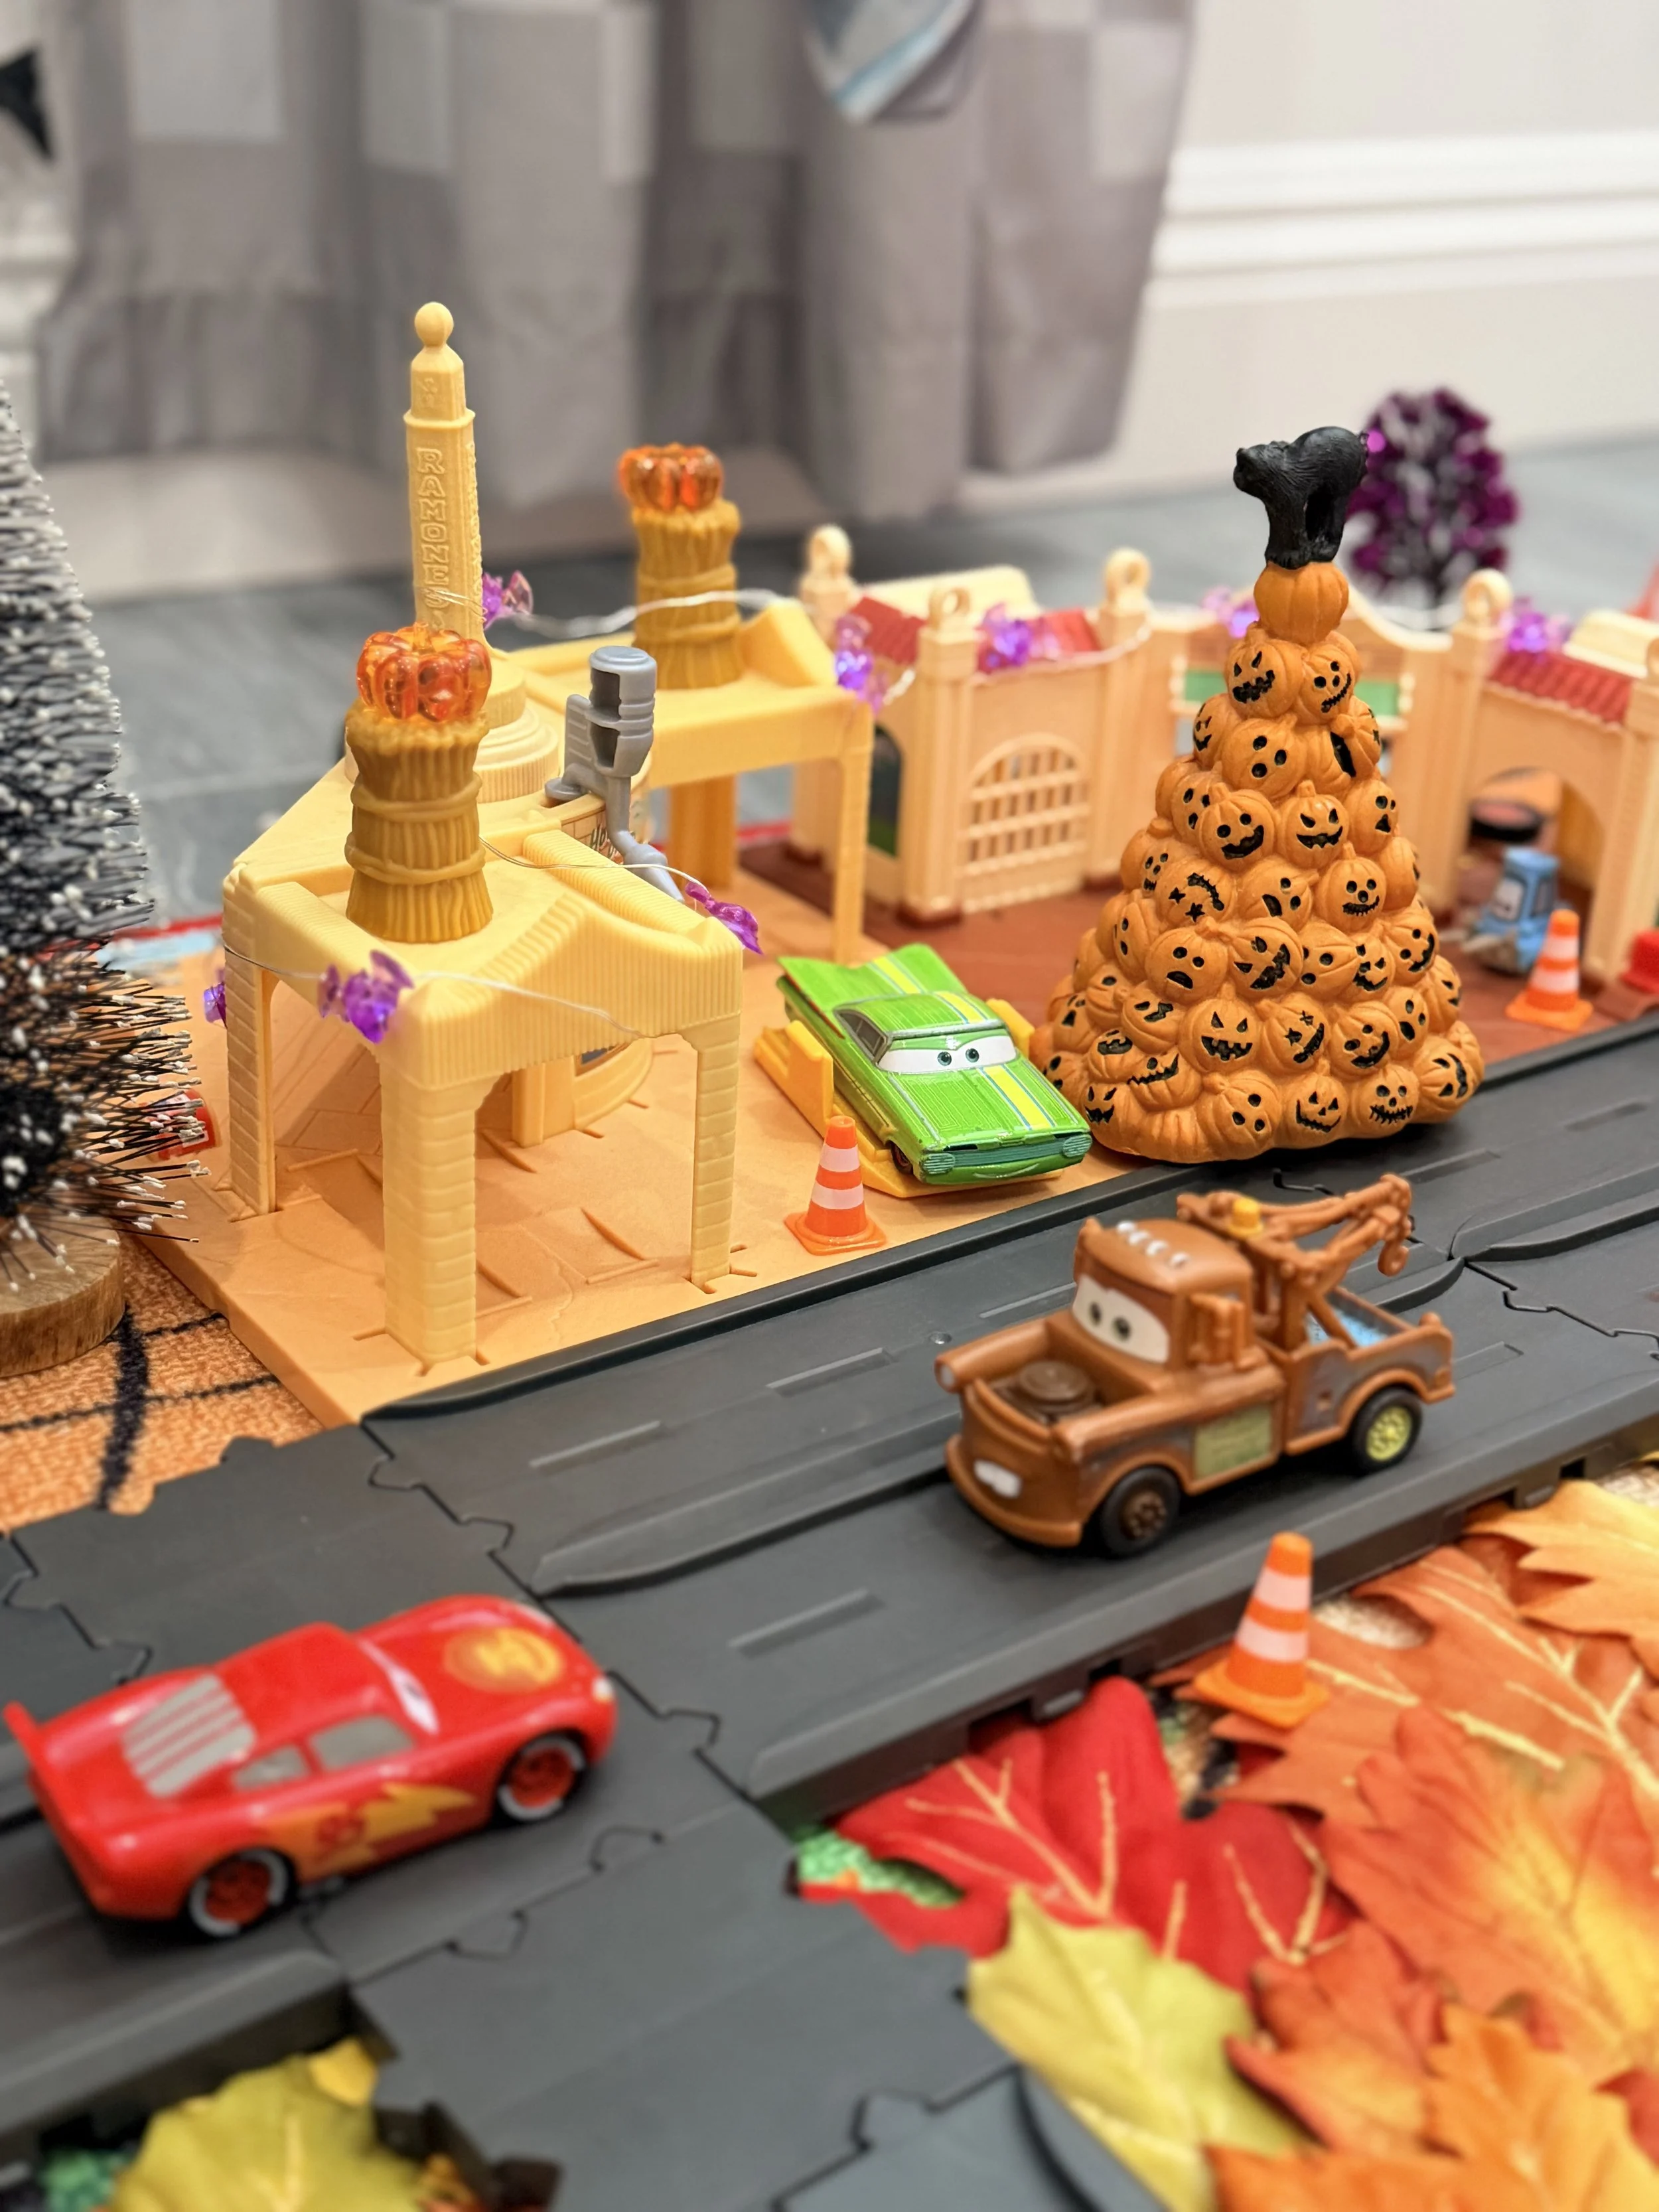
Our pumpkin tree may be my favorite addition to Halloween Radiator Springs. 🎃
Keep Halloween Play Simple for Toddlers and Preschoolers
Because my boys are three and four, I knew I didn’t want to use anything fragile or anything I’d be devastated to see accidentally broken.
That’s another reason I skipped elaborate decorations.
Everything needed to survive little hands, Cars driving through it and the inevitable “creative decisions” that happen when preschoolers start decorating.
You’ll obviously want to choose decorations that are appropriate for your own child’s age and supervise small pieces, especially things like mini gems, pumpkins and spiders.
For us, keeping everything movable made the activity more fun.
This wasn’t supposed to be a perfect Halloween display.
It was supposed to be something they could touch.
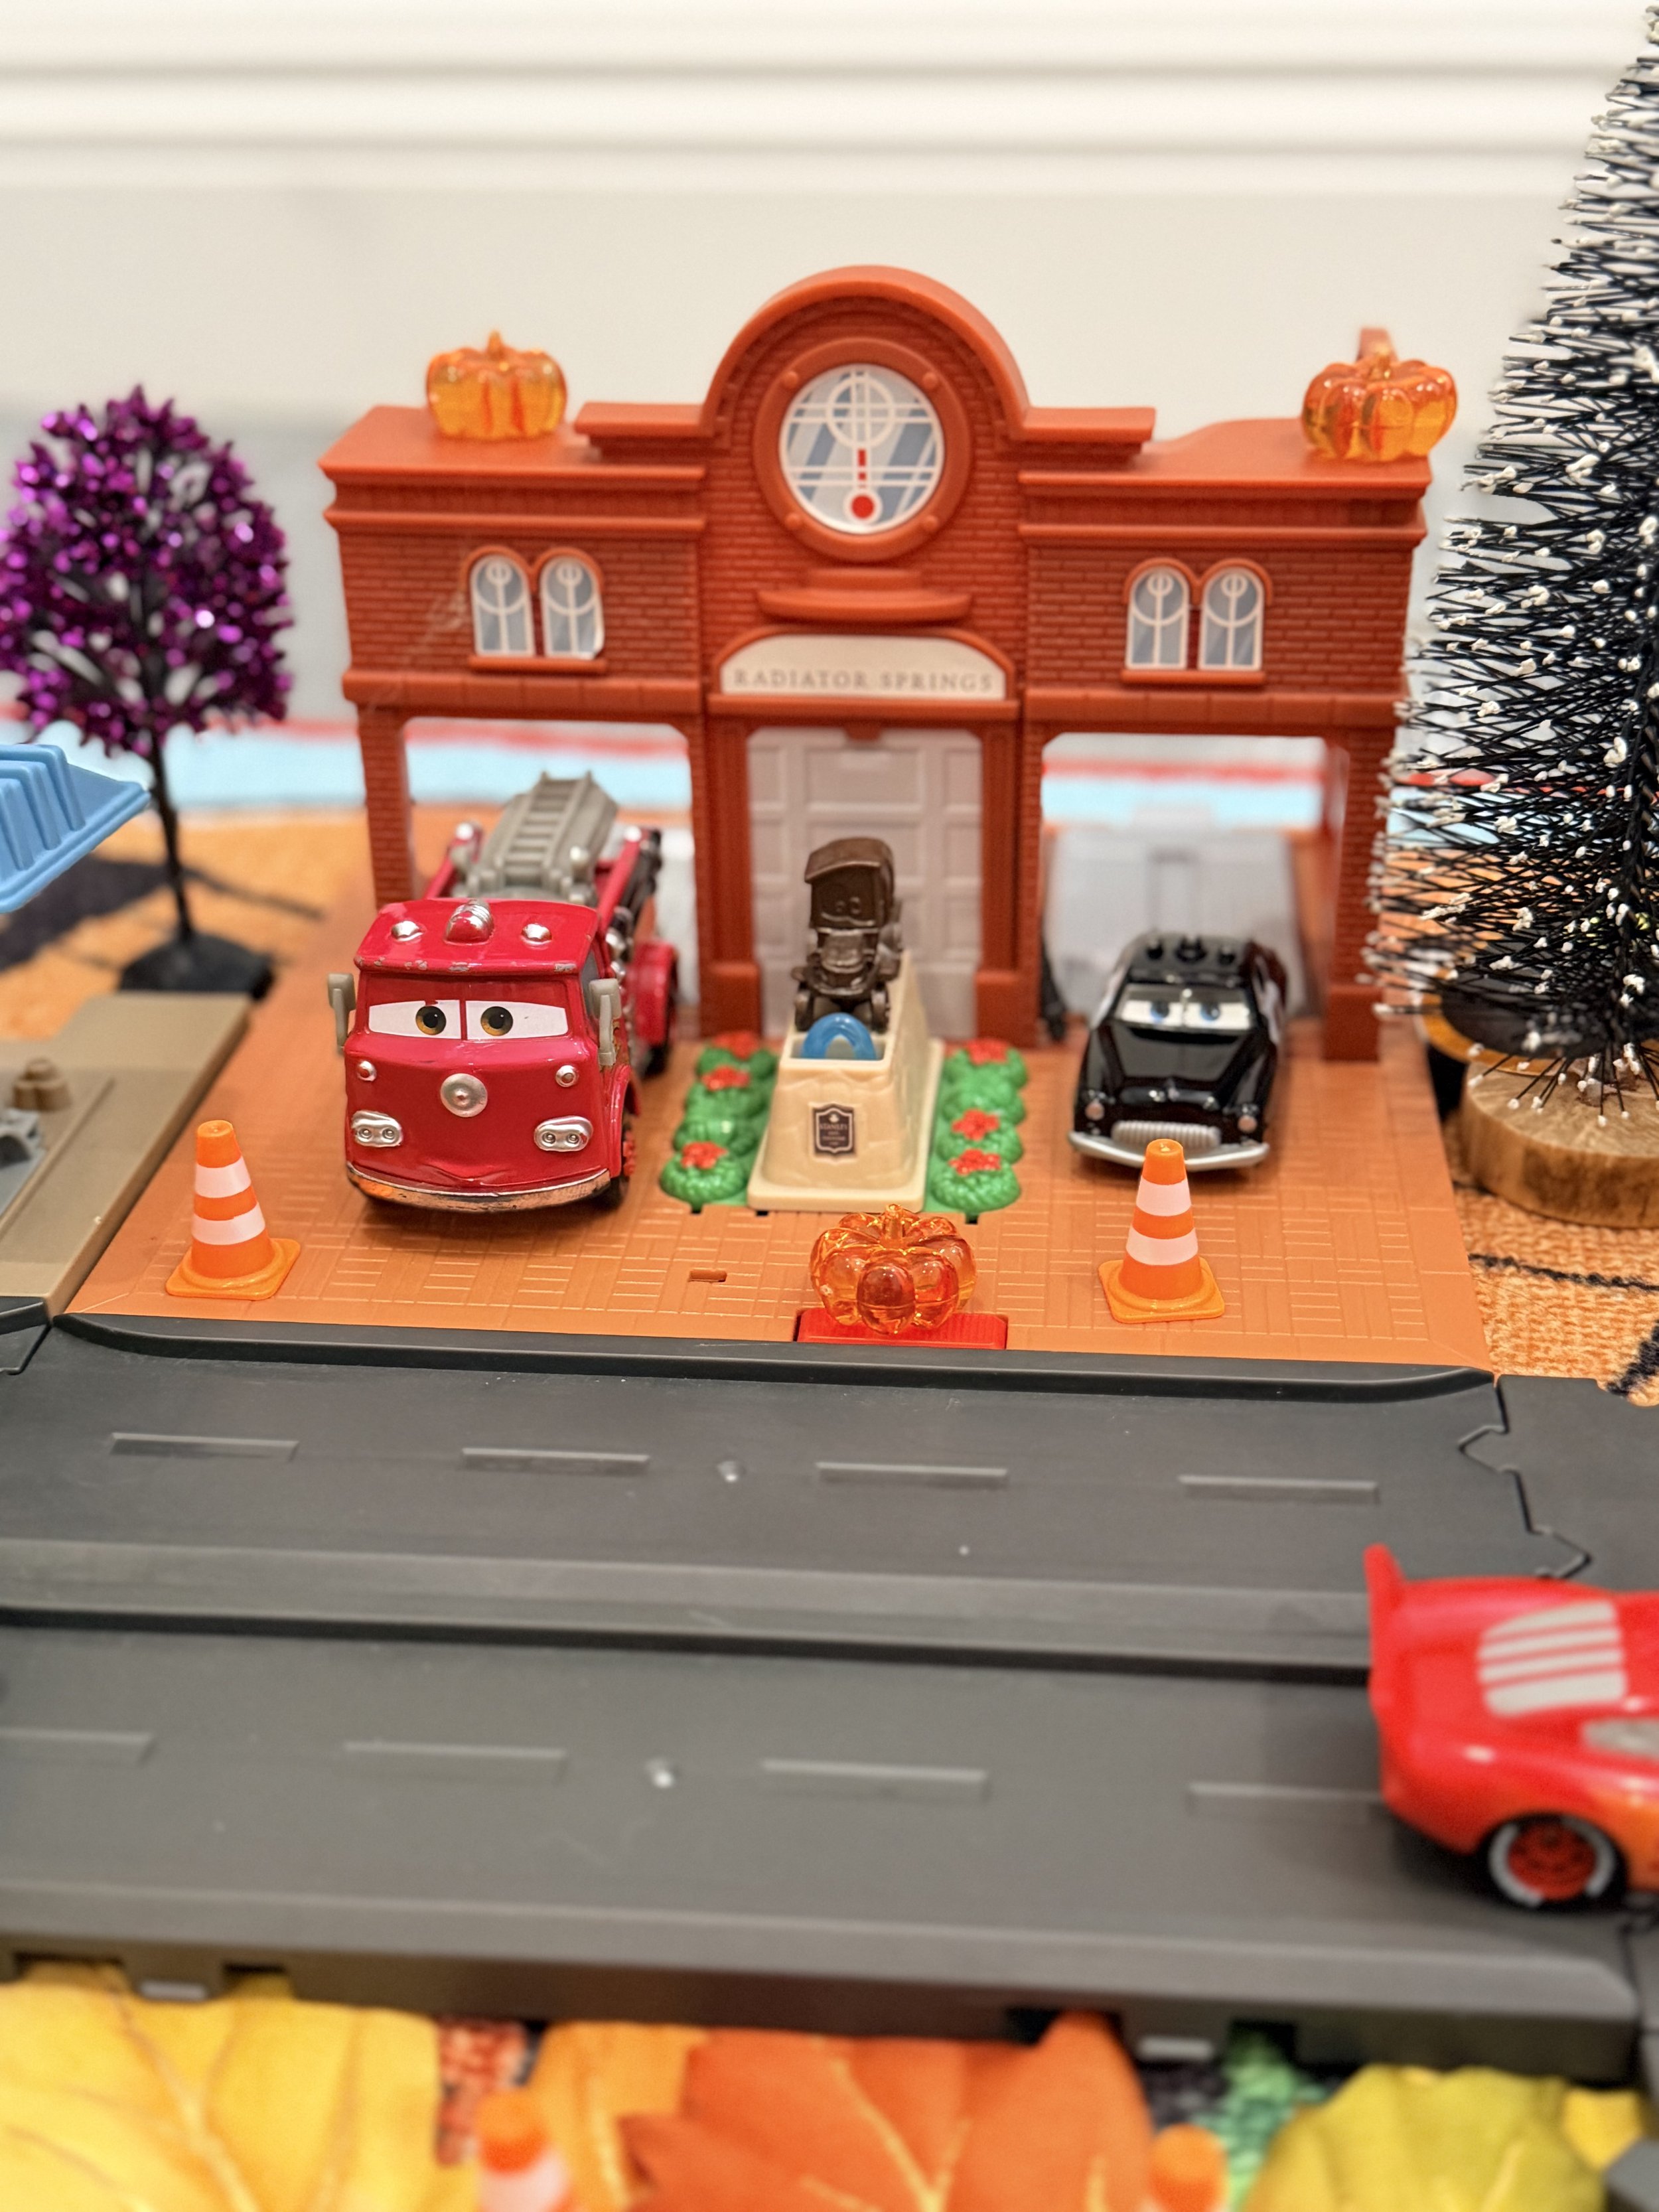
Tiny pumpkins and trees were an easy way to add Halloween to buildings already in the playset.
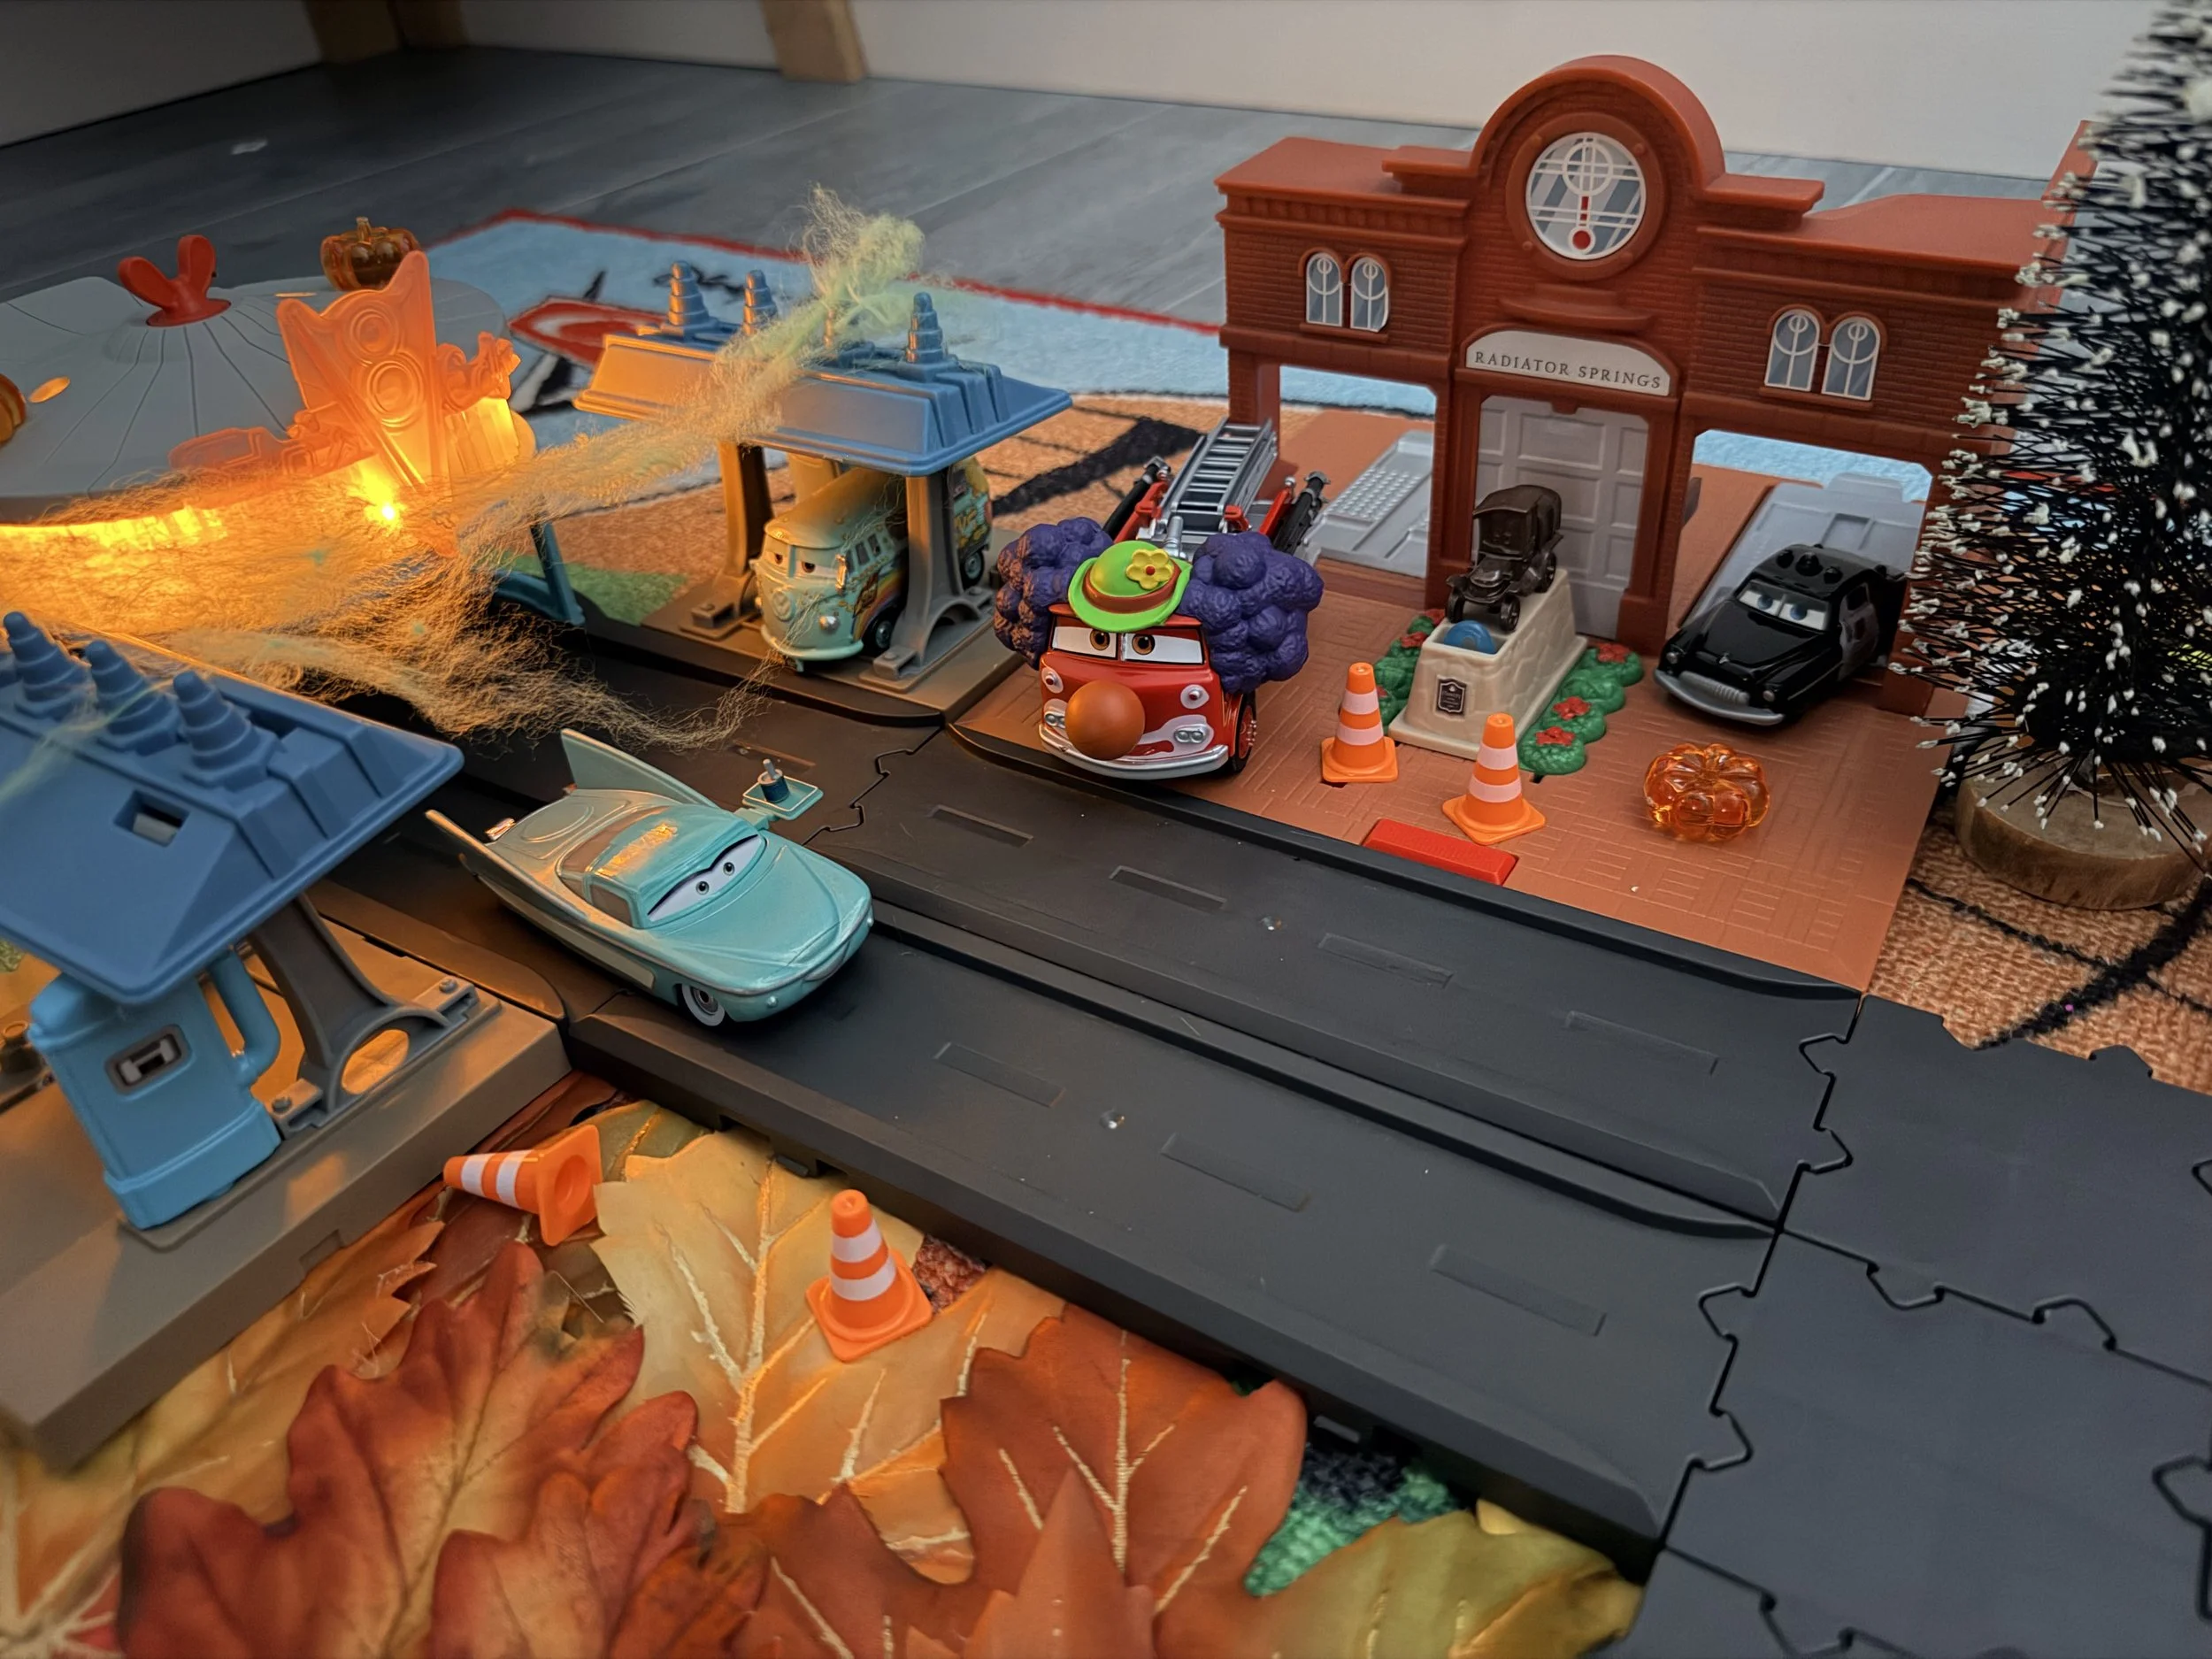
Halloween Red the firetruck - Cars Radiator Springs makeover
Reusing Our Halloween Activity Supplies
The pumpkins and colorful Halloween gems might look familiar if you’ve seen my other Halloween ideas.
That’s intentional!
I used many of these same inexpensive supplies while putting together my 10 Easy Halloween Activities for Toddlers and Preschoolers.
I love finding things we can use for several different activities instead of buying a pile of supplies for one craft and never touching them again.
The little pumpkins and gems can become sensory-bin pieces, carnival decorations, counting activities, playset decorations and whatever else the kids decide they are that day.
If you’re looking for more simple ideas like this one, head over to my easy Halloween activities for toddlers and preschoolers. They’re designed to be fun without requiring hours of preparation.
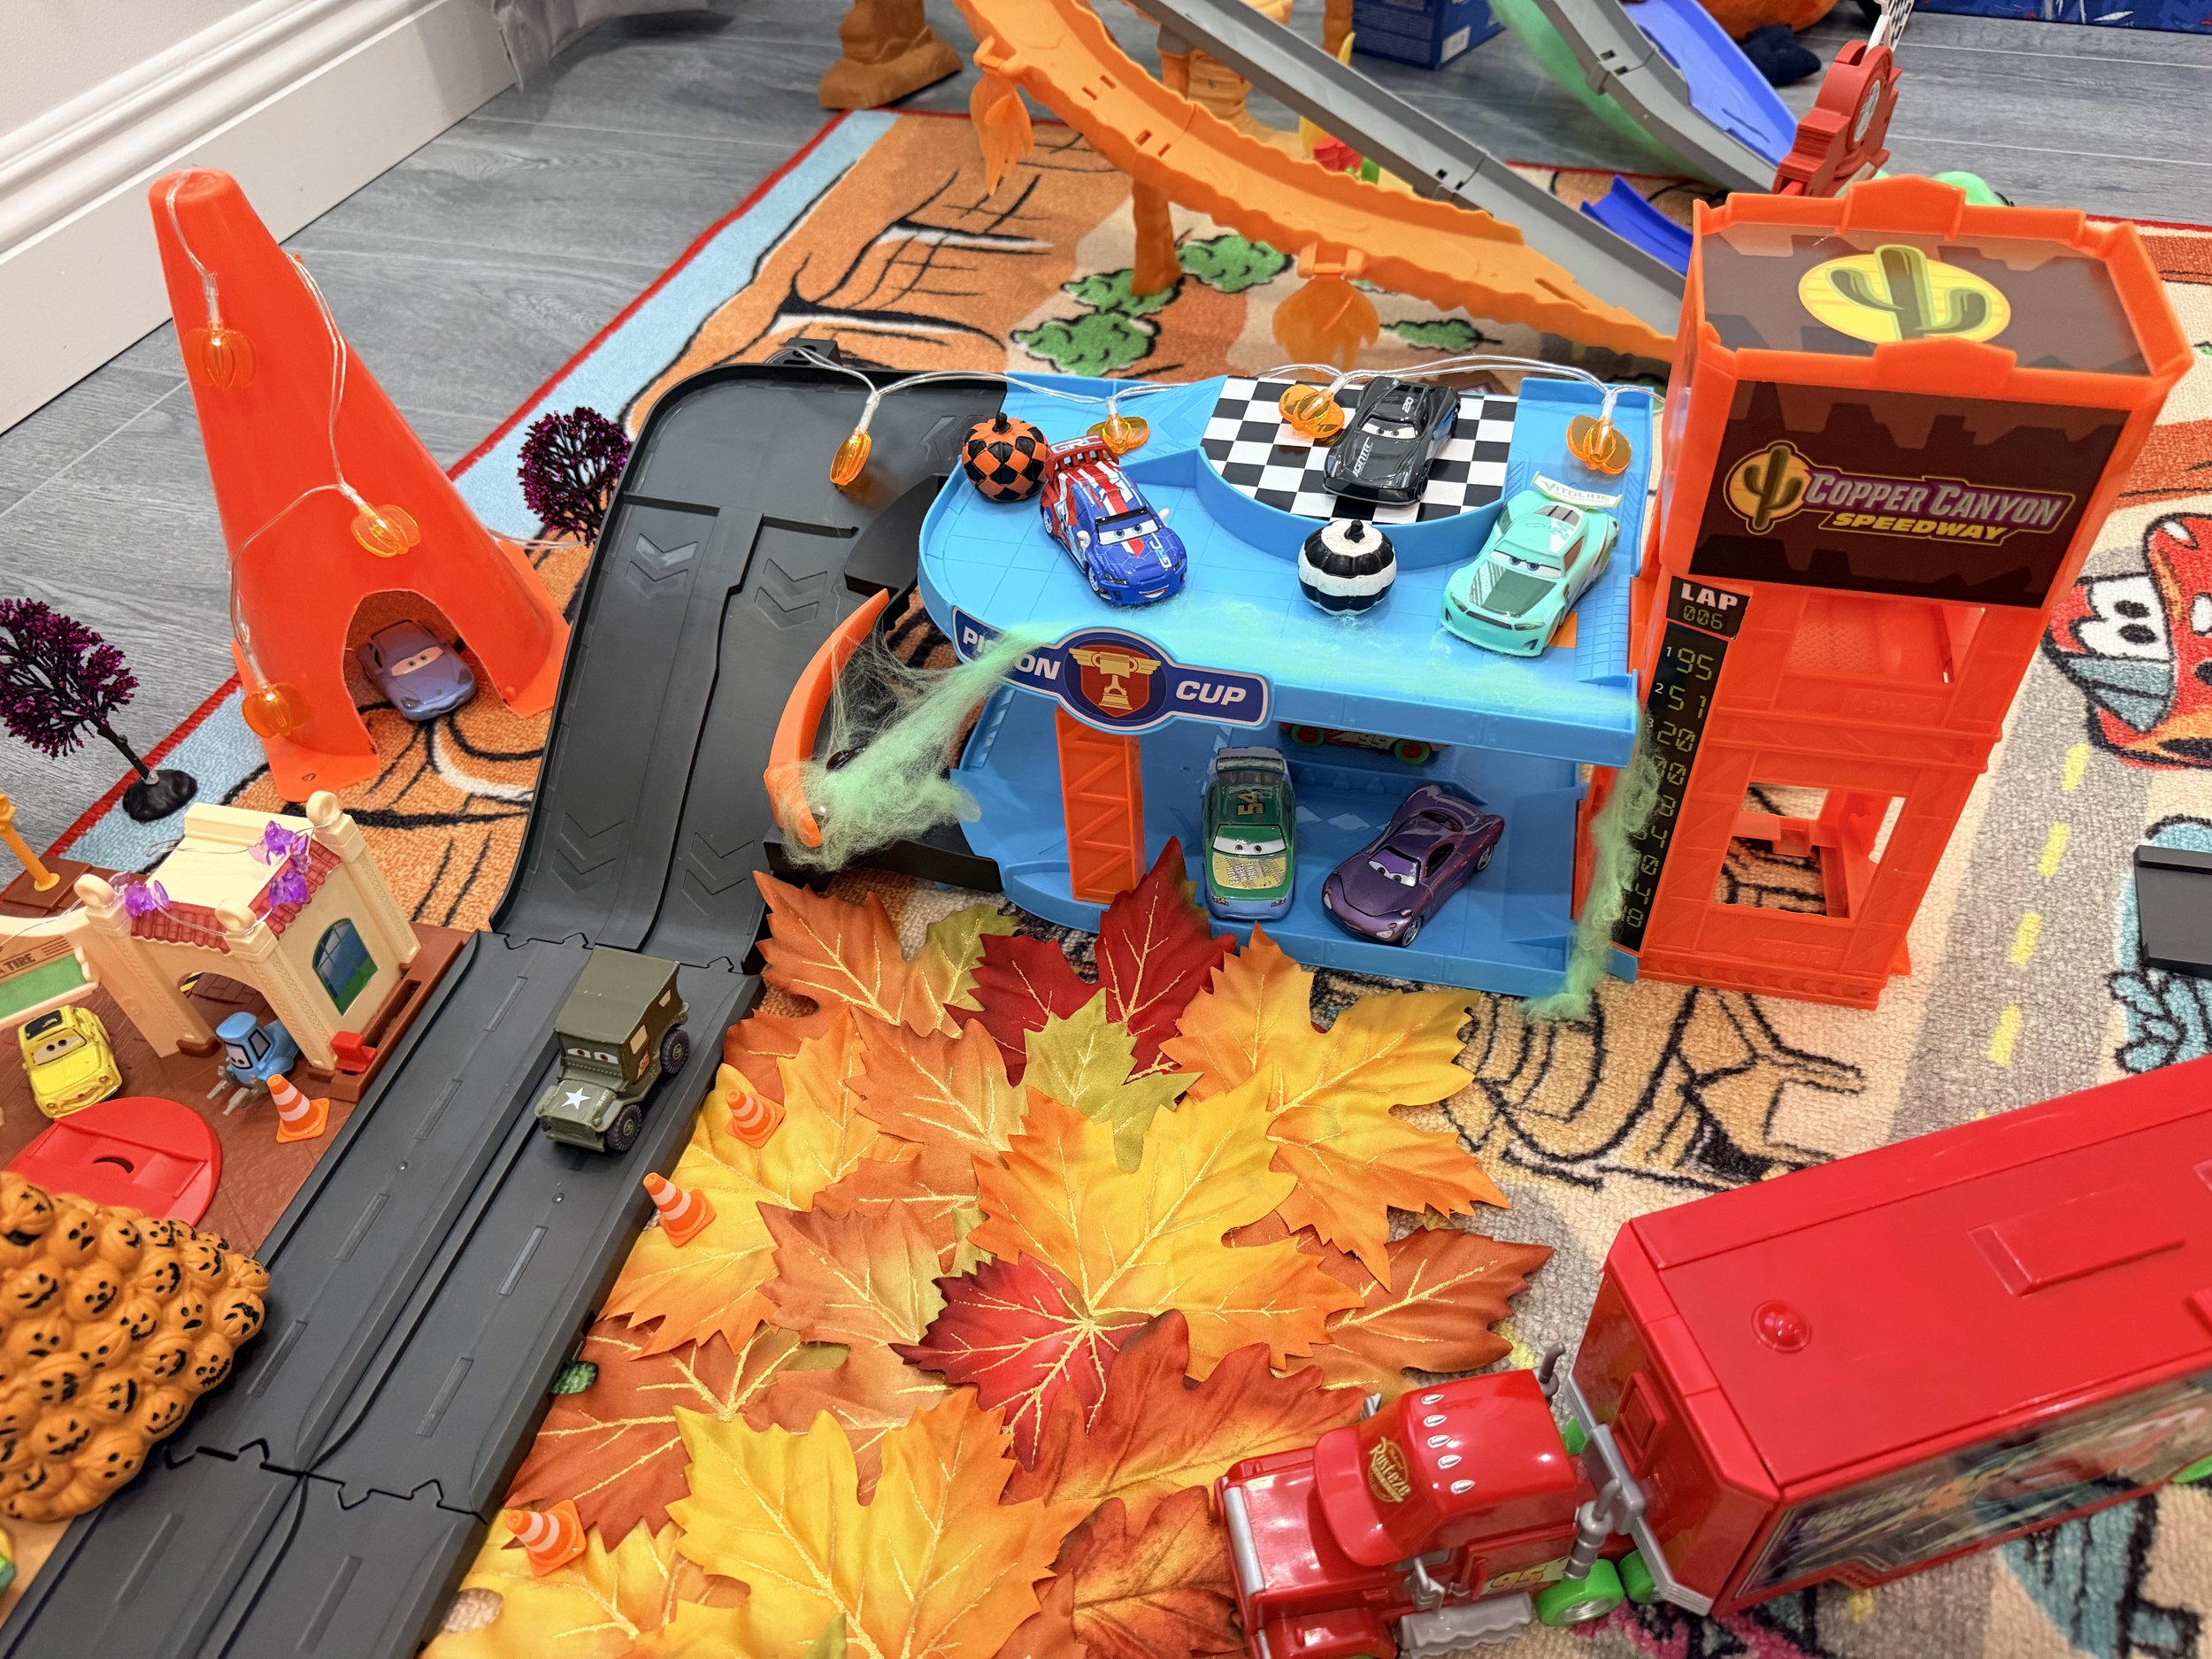
We used inexpensive Halloween decorations throughout the whole town instead of trying to make anything permanent.
More Halloween Fun for Kids Who Love Trucks and Cars
Apparently vehicles and Halloween are becoming a theme around our house.
If your child loves Cars, construction trucks or anything with wheels, they might also like my children’s picture book, The Trucks That Saved Halloween.
In the story, Dump Truck, Excavator and Crane Truck help transform an old farm into a cheerful Halloween carnival filled with pumpkins, costumes, games and a little Halloween magic.
It was written specifically with little truck-loving kids in mind, so it fits perfectly with the same not-too-spooky Halloween fun we love at home.
And if you’re looking for even more books, I also put together my favorite Halloween books for kids who love trucks, including plenty of fun, not-too-scary choices for toddlers and preschoolers.
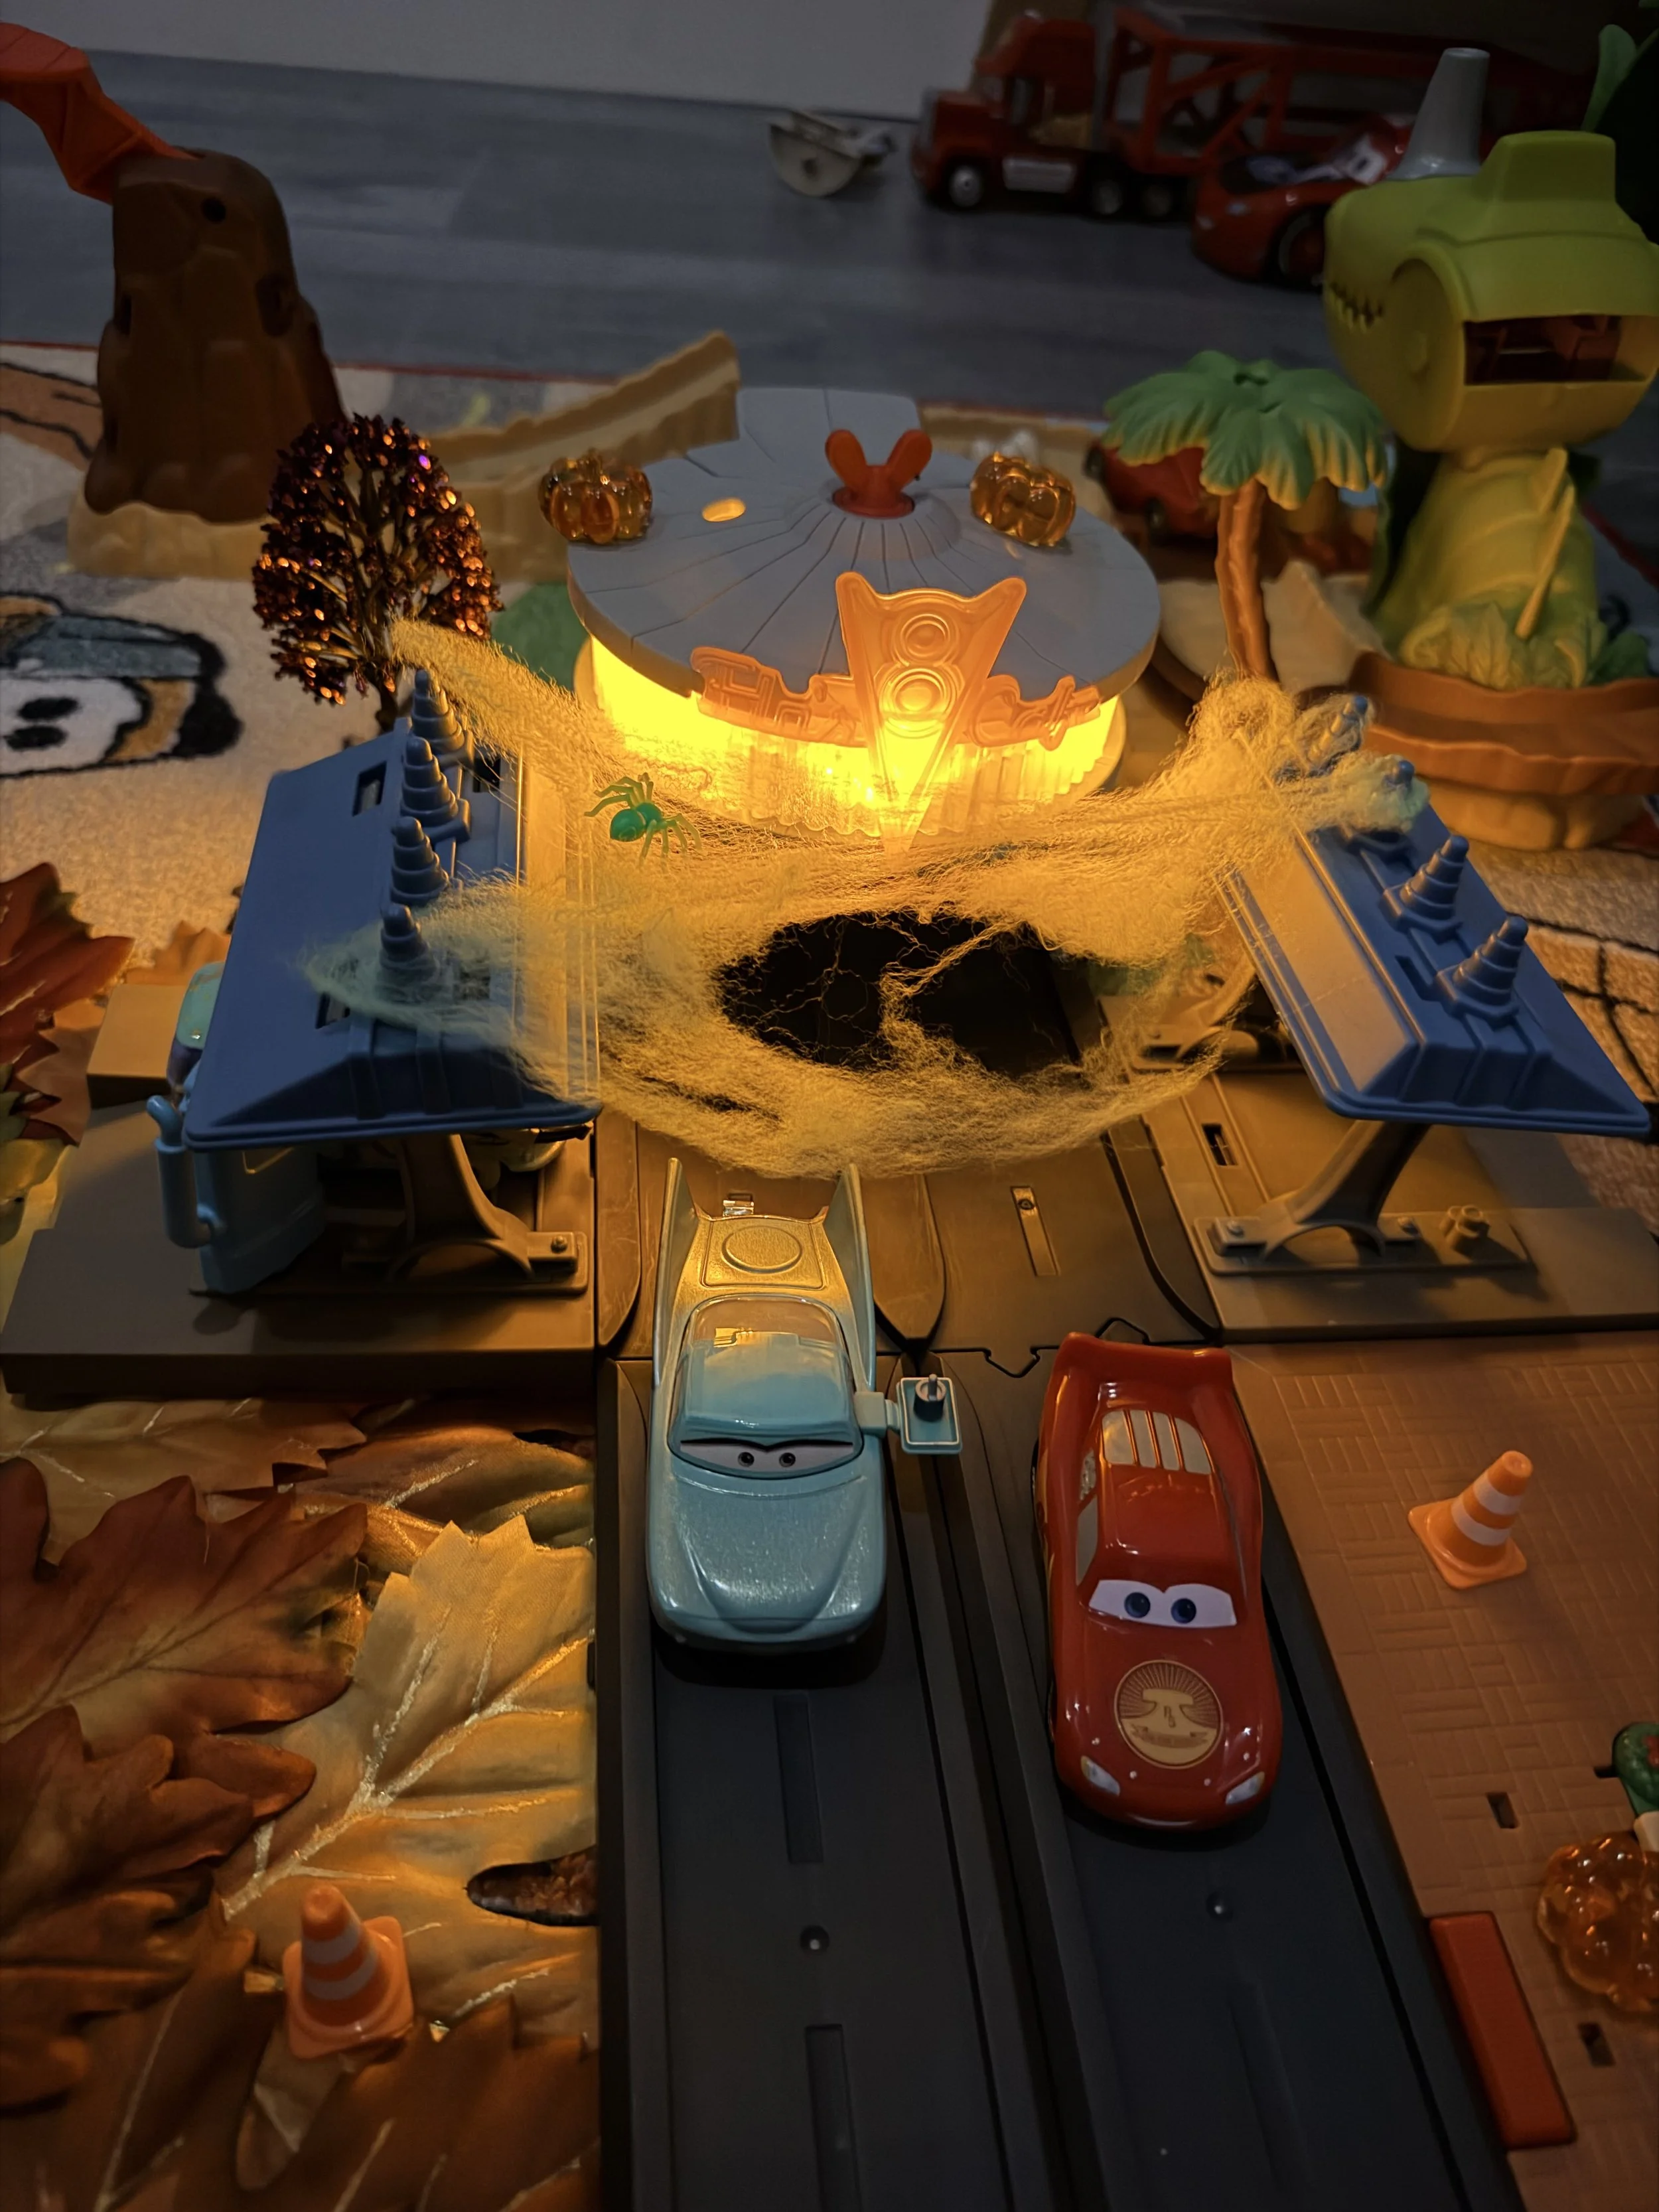
Cars Radiator Springs Flo’s Cafe playset lit up for Halloween with orange lights, spiderwebs, mini pumpkins, Lightning McQueen and Sally.
Adding Lights for a Disneyland-at-Night Feel
One of the things I love most about Halloween at Disneyland is how magical everything feels once the lights come on at night. Since parts of the Radiator Springs playset already light up, I thought it would be fun to lean into that and add a few extra Halloween lights too.
The little pumpkin lights helped the playset feel even more festive and made the whole setup look a little more like a miniature version of Radiator Springs at Halloween. During the day, the decorations were bright and playful, but at night the pumpkin lights gave the whole setup a fun, kid-friendly Halloween aesthetic that reminded me even more of Cars Land after dark.
We still kept everything simple, but the lights added a lot without much effort.
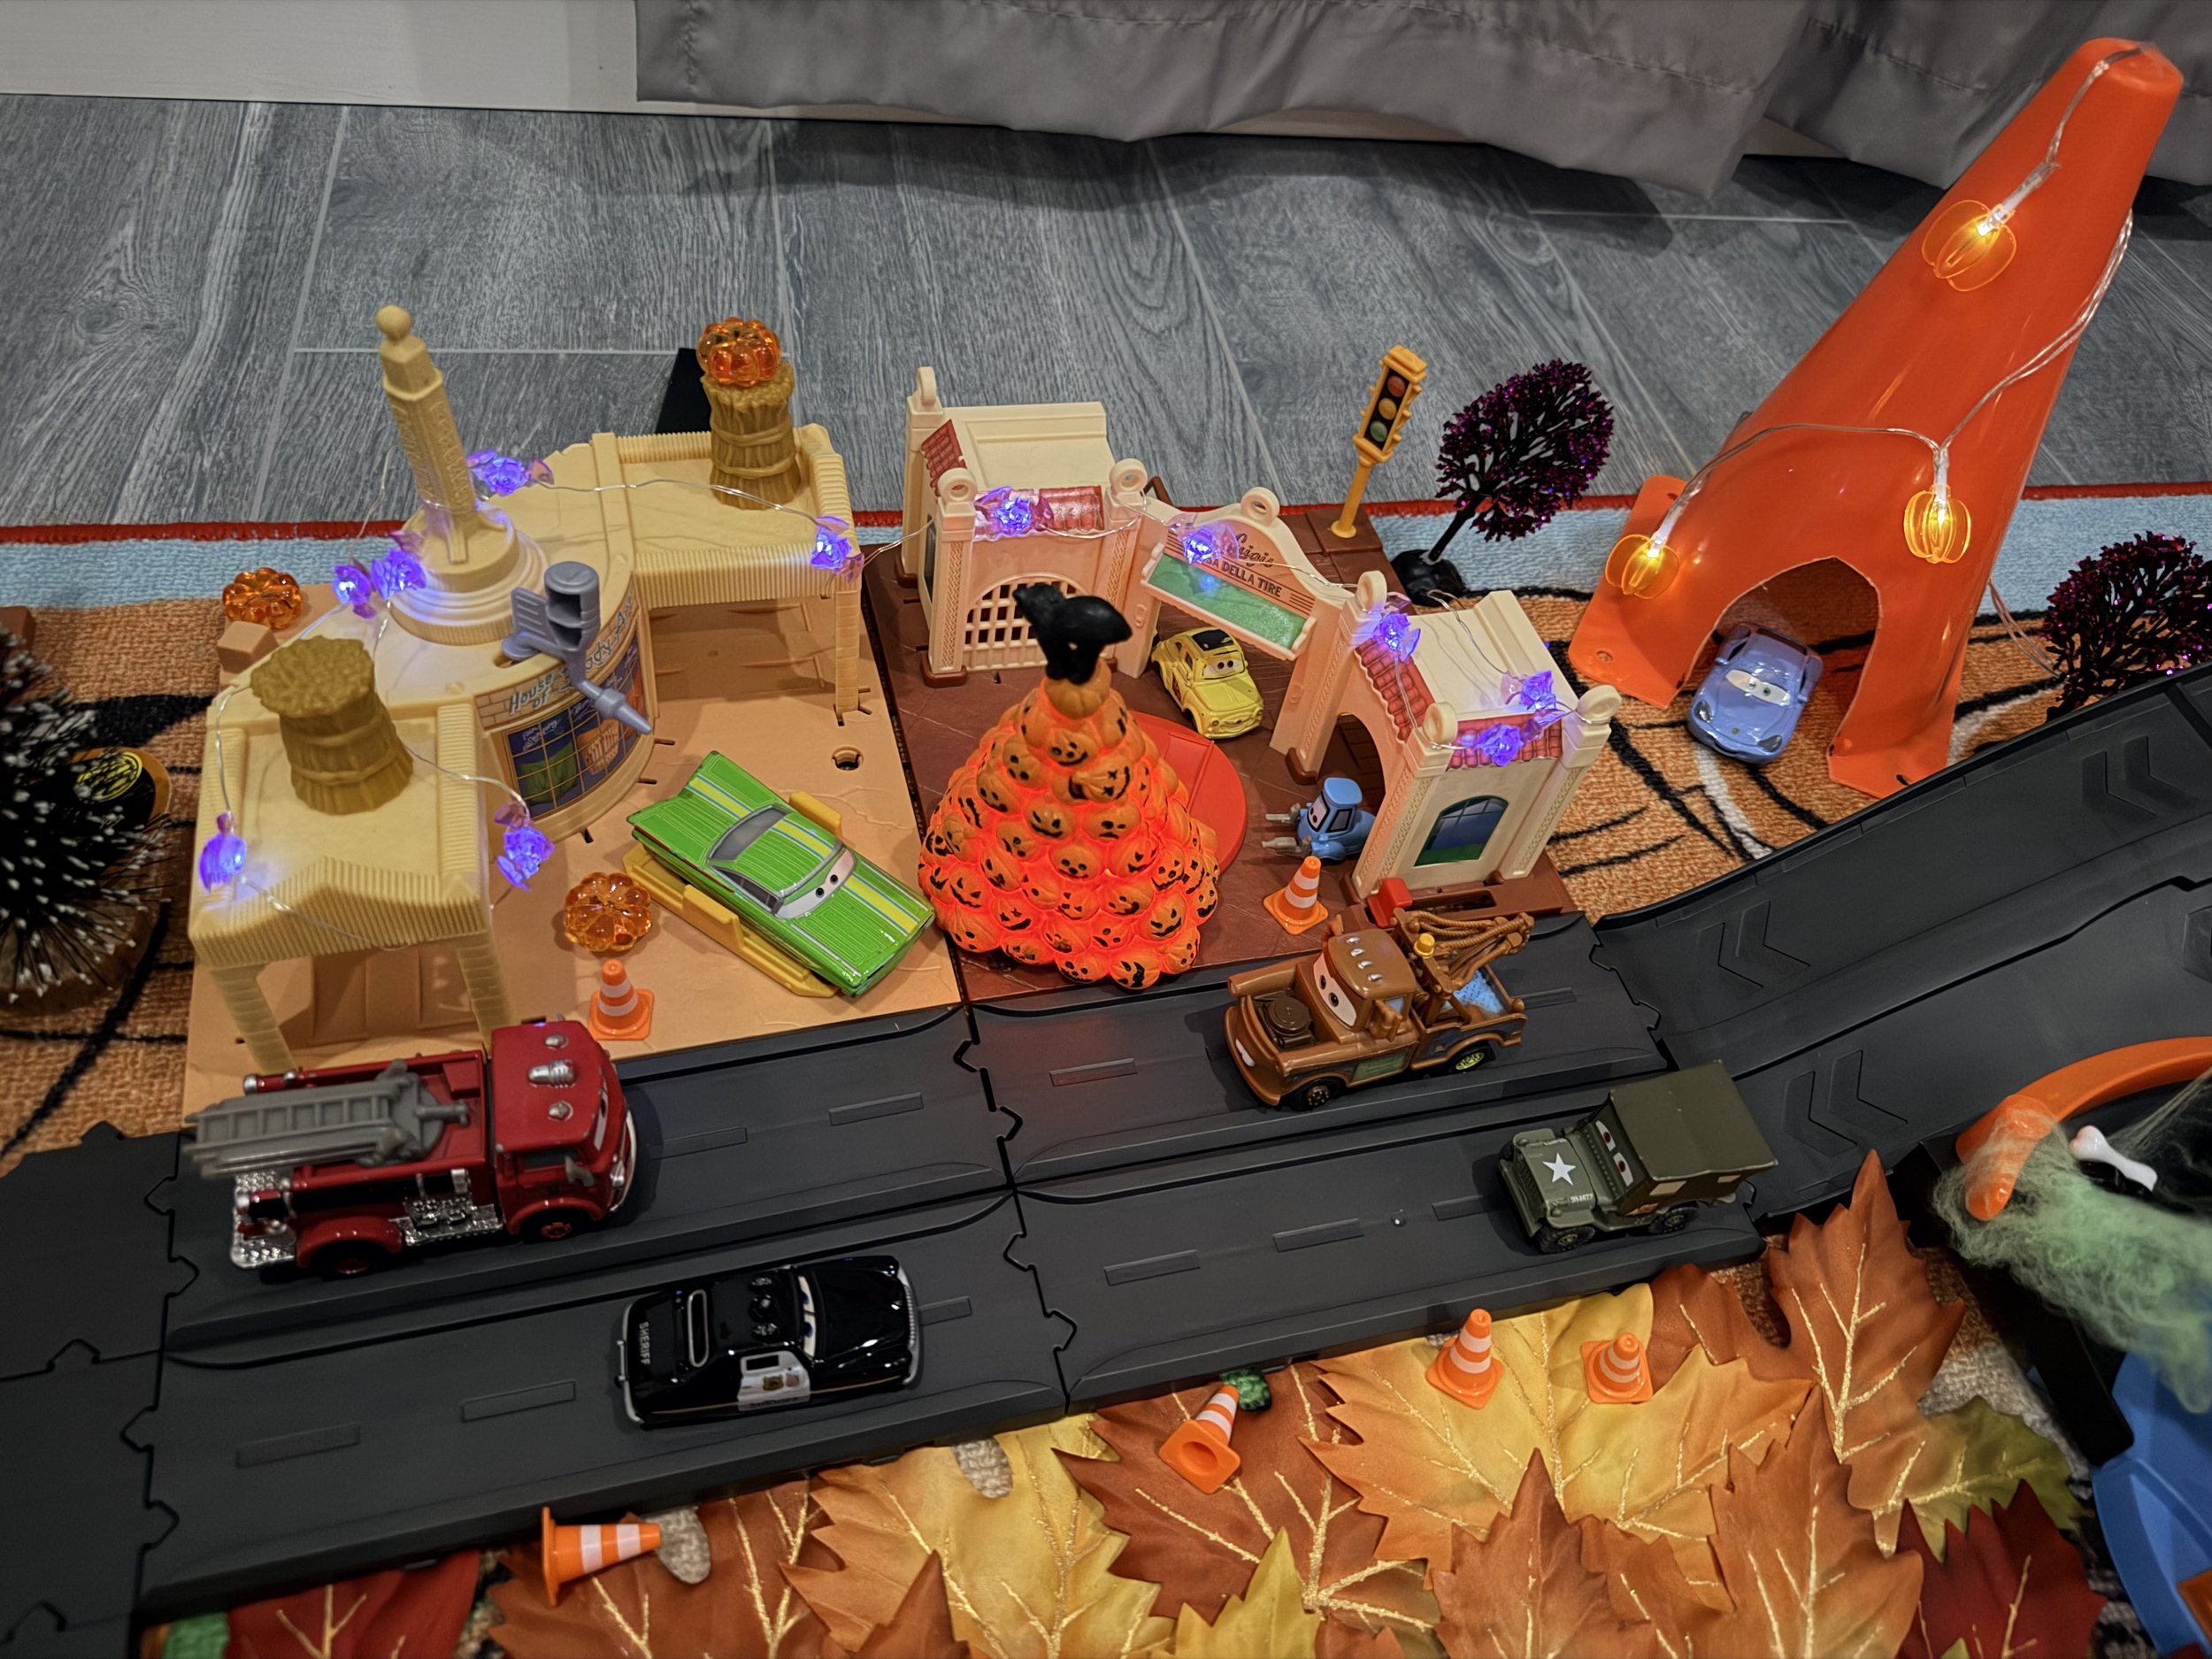
A few inexpensive lights made the whole playset feel completely different once it got dark — and the kids loved seeing everything glow
An Easy Way to Make an Old Toy Feel New Again
This might be one of my favorite Halloween activities we’ve done simply because it was so easy.
I spent less than $10.
It took us about 10 minutes.
My son got to help decorate.
And afterward, he immediately wanted to play with a toy we’ve already owned for a while.
There wasn’t a complicated craft, a perfect finished product or a long supply list.
We just brought a little bit of Halloween into something he already loves.
And now I’m looking at our Radiator Springs playset wondering what happens if I add snow, miniature Christmas trees and Christmas lights in December…
I may have created a problem. 🎄😂
If you like this post, pin this to your favorite Pinterest board or share with a friend!
More Halloween Posts:

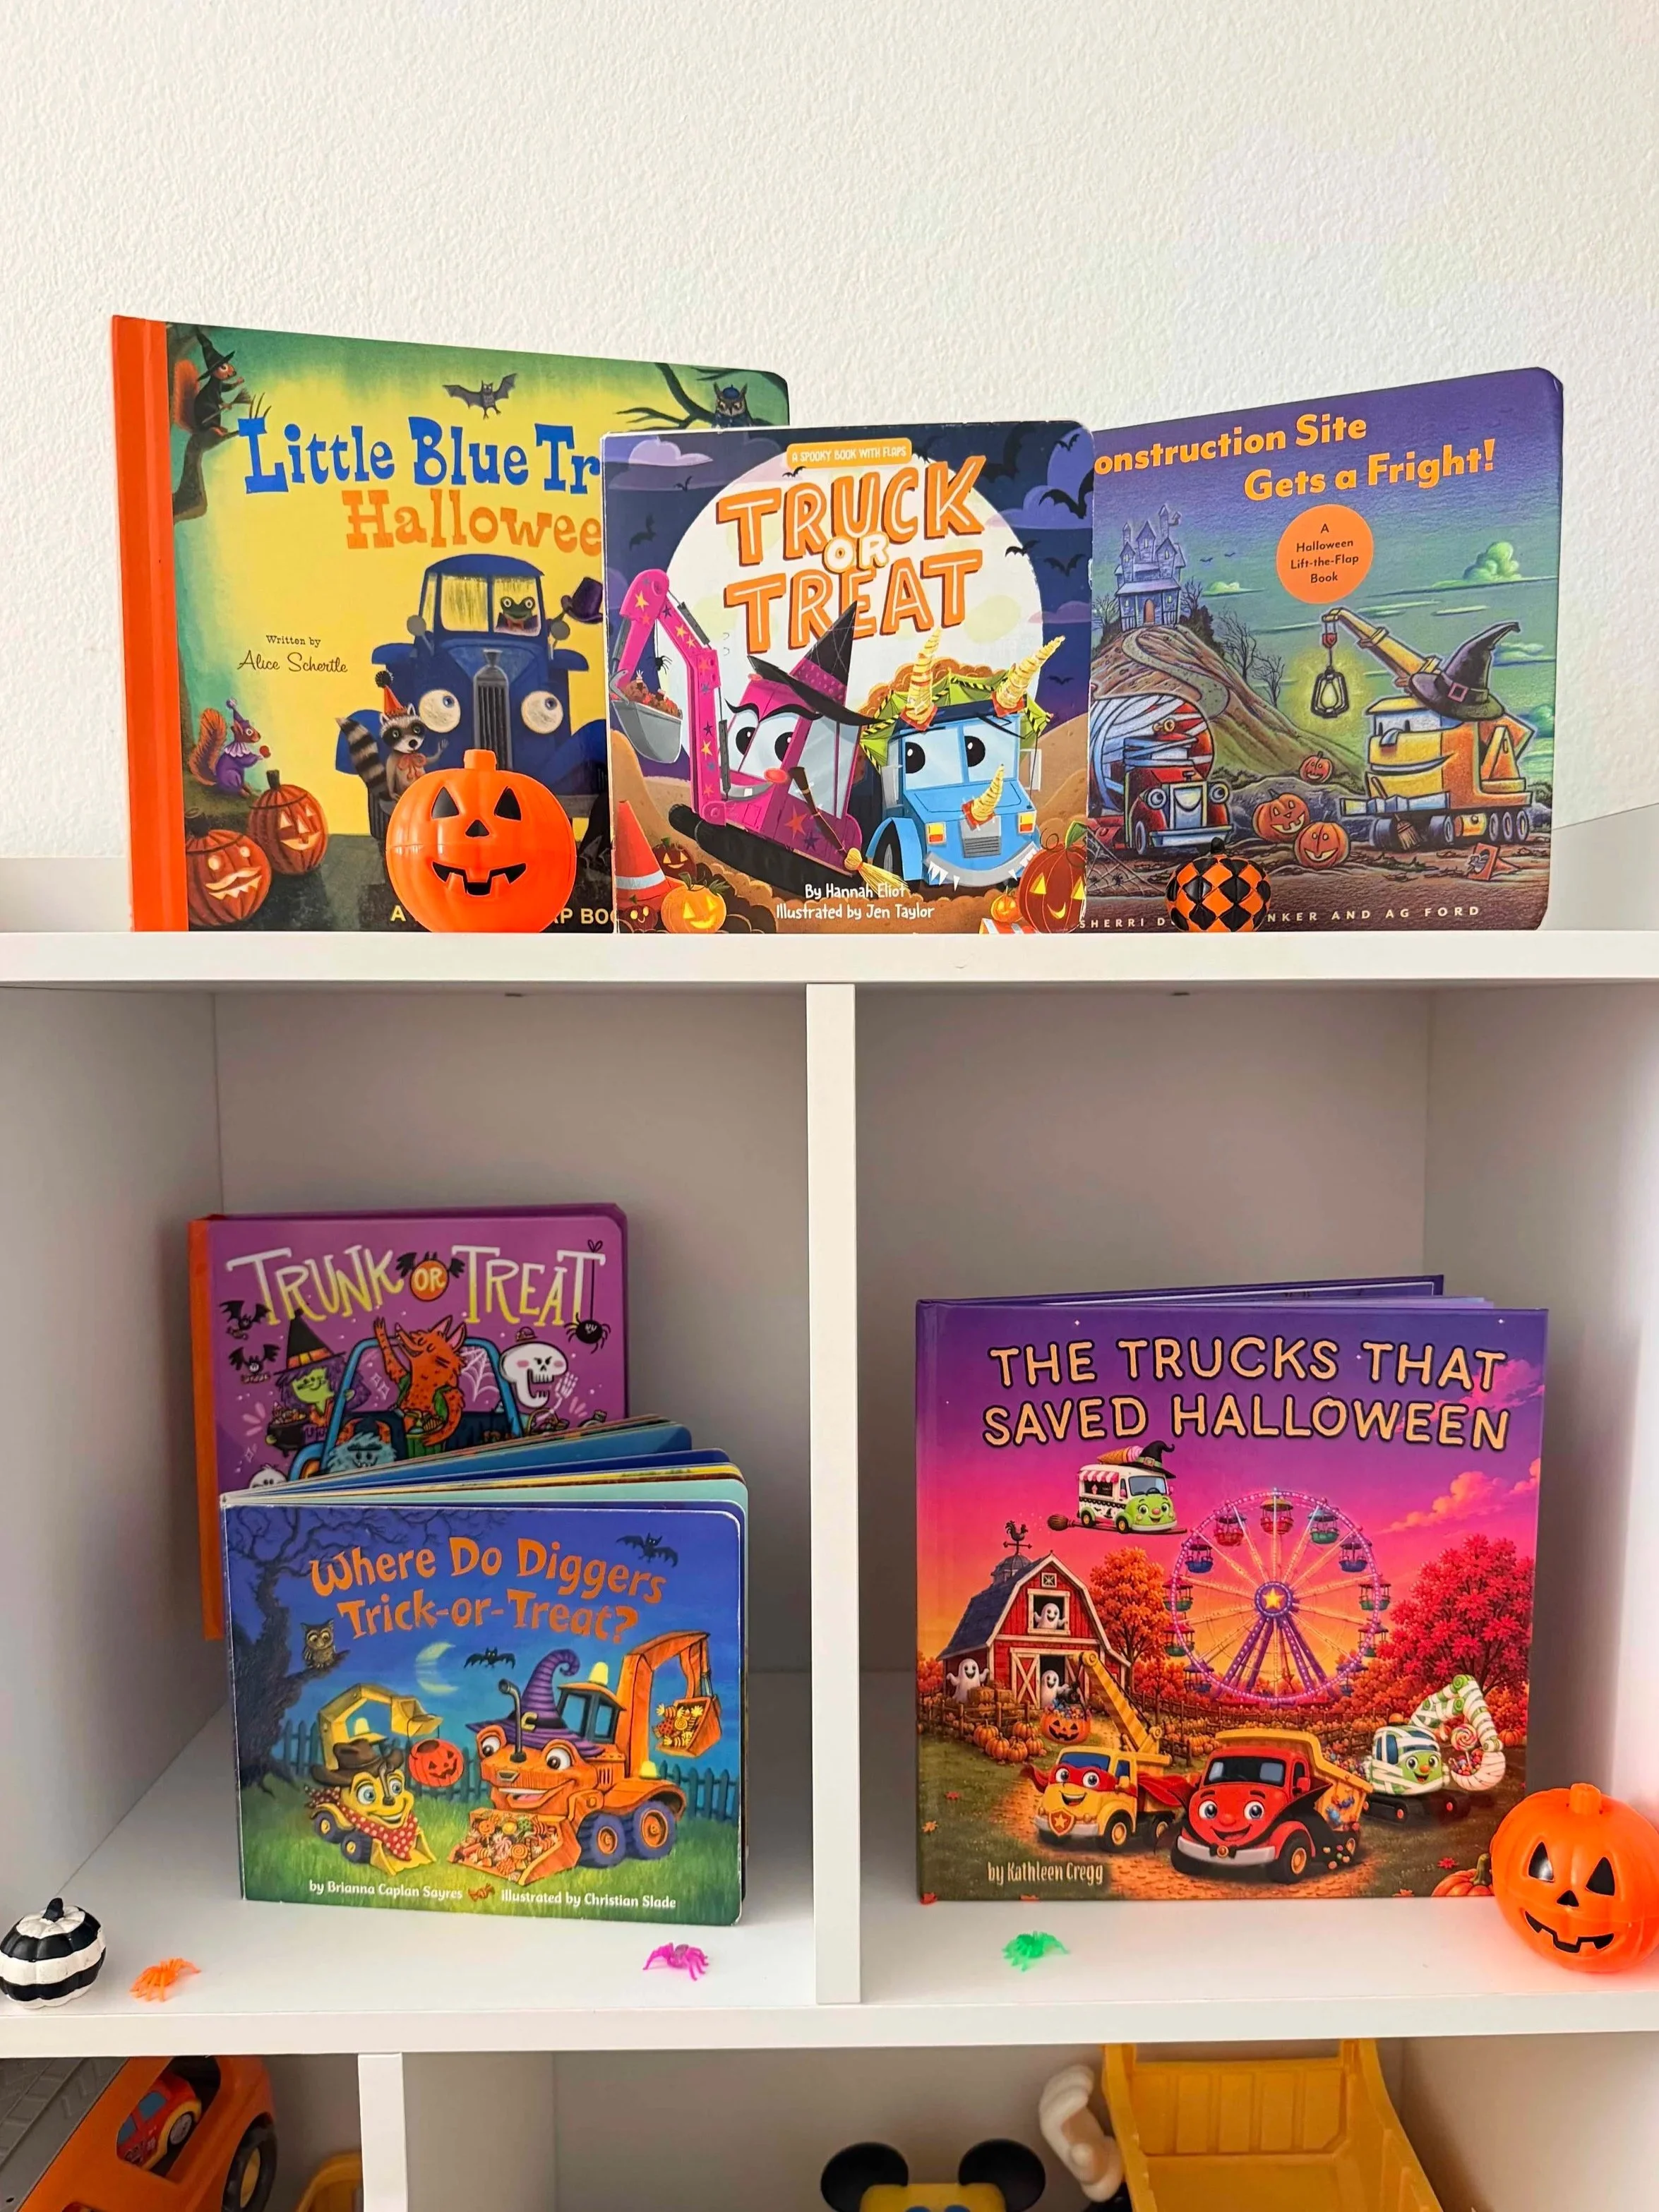
15 Halloween Books for Kids Who Love Trucks, Cars & Things That Go
Looking for Halloween books for kids who love trucks? These 15 fun, not-too-spooky books feature construction trucks, diggers, cars, tractors, trains and more for toddlers and preschoolers.
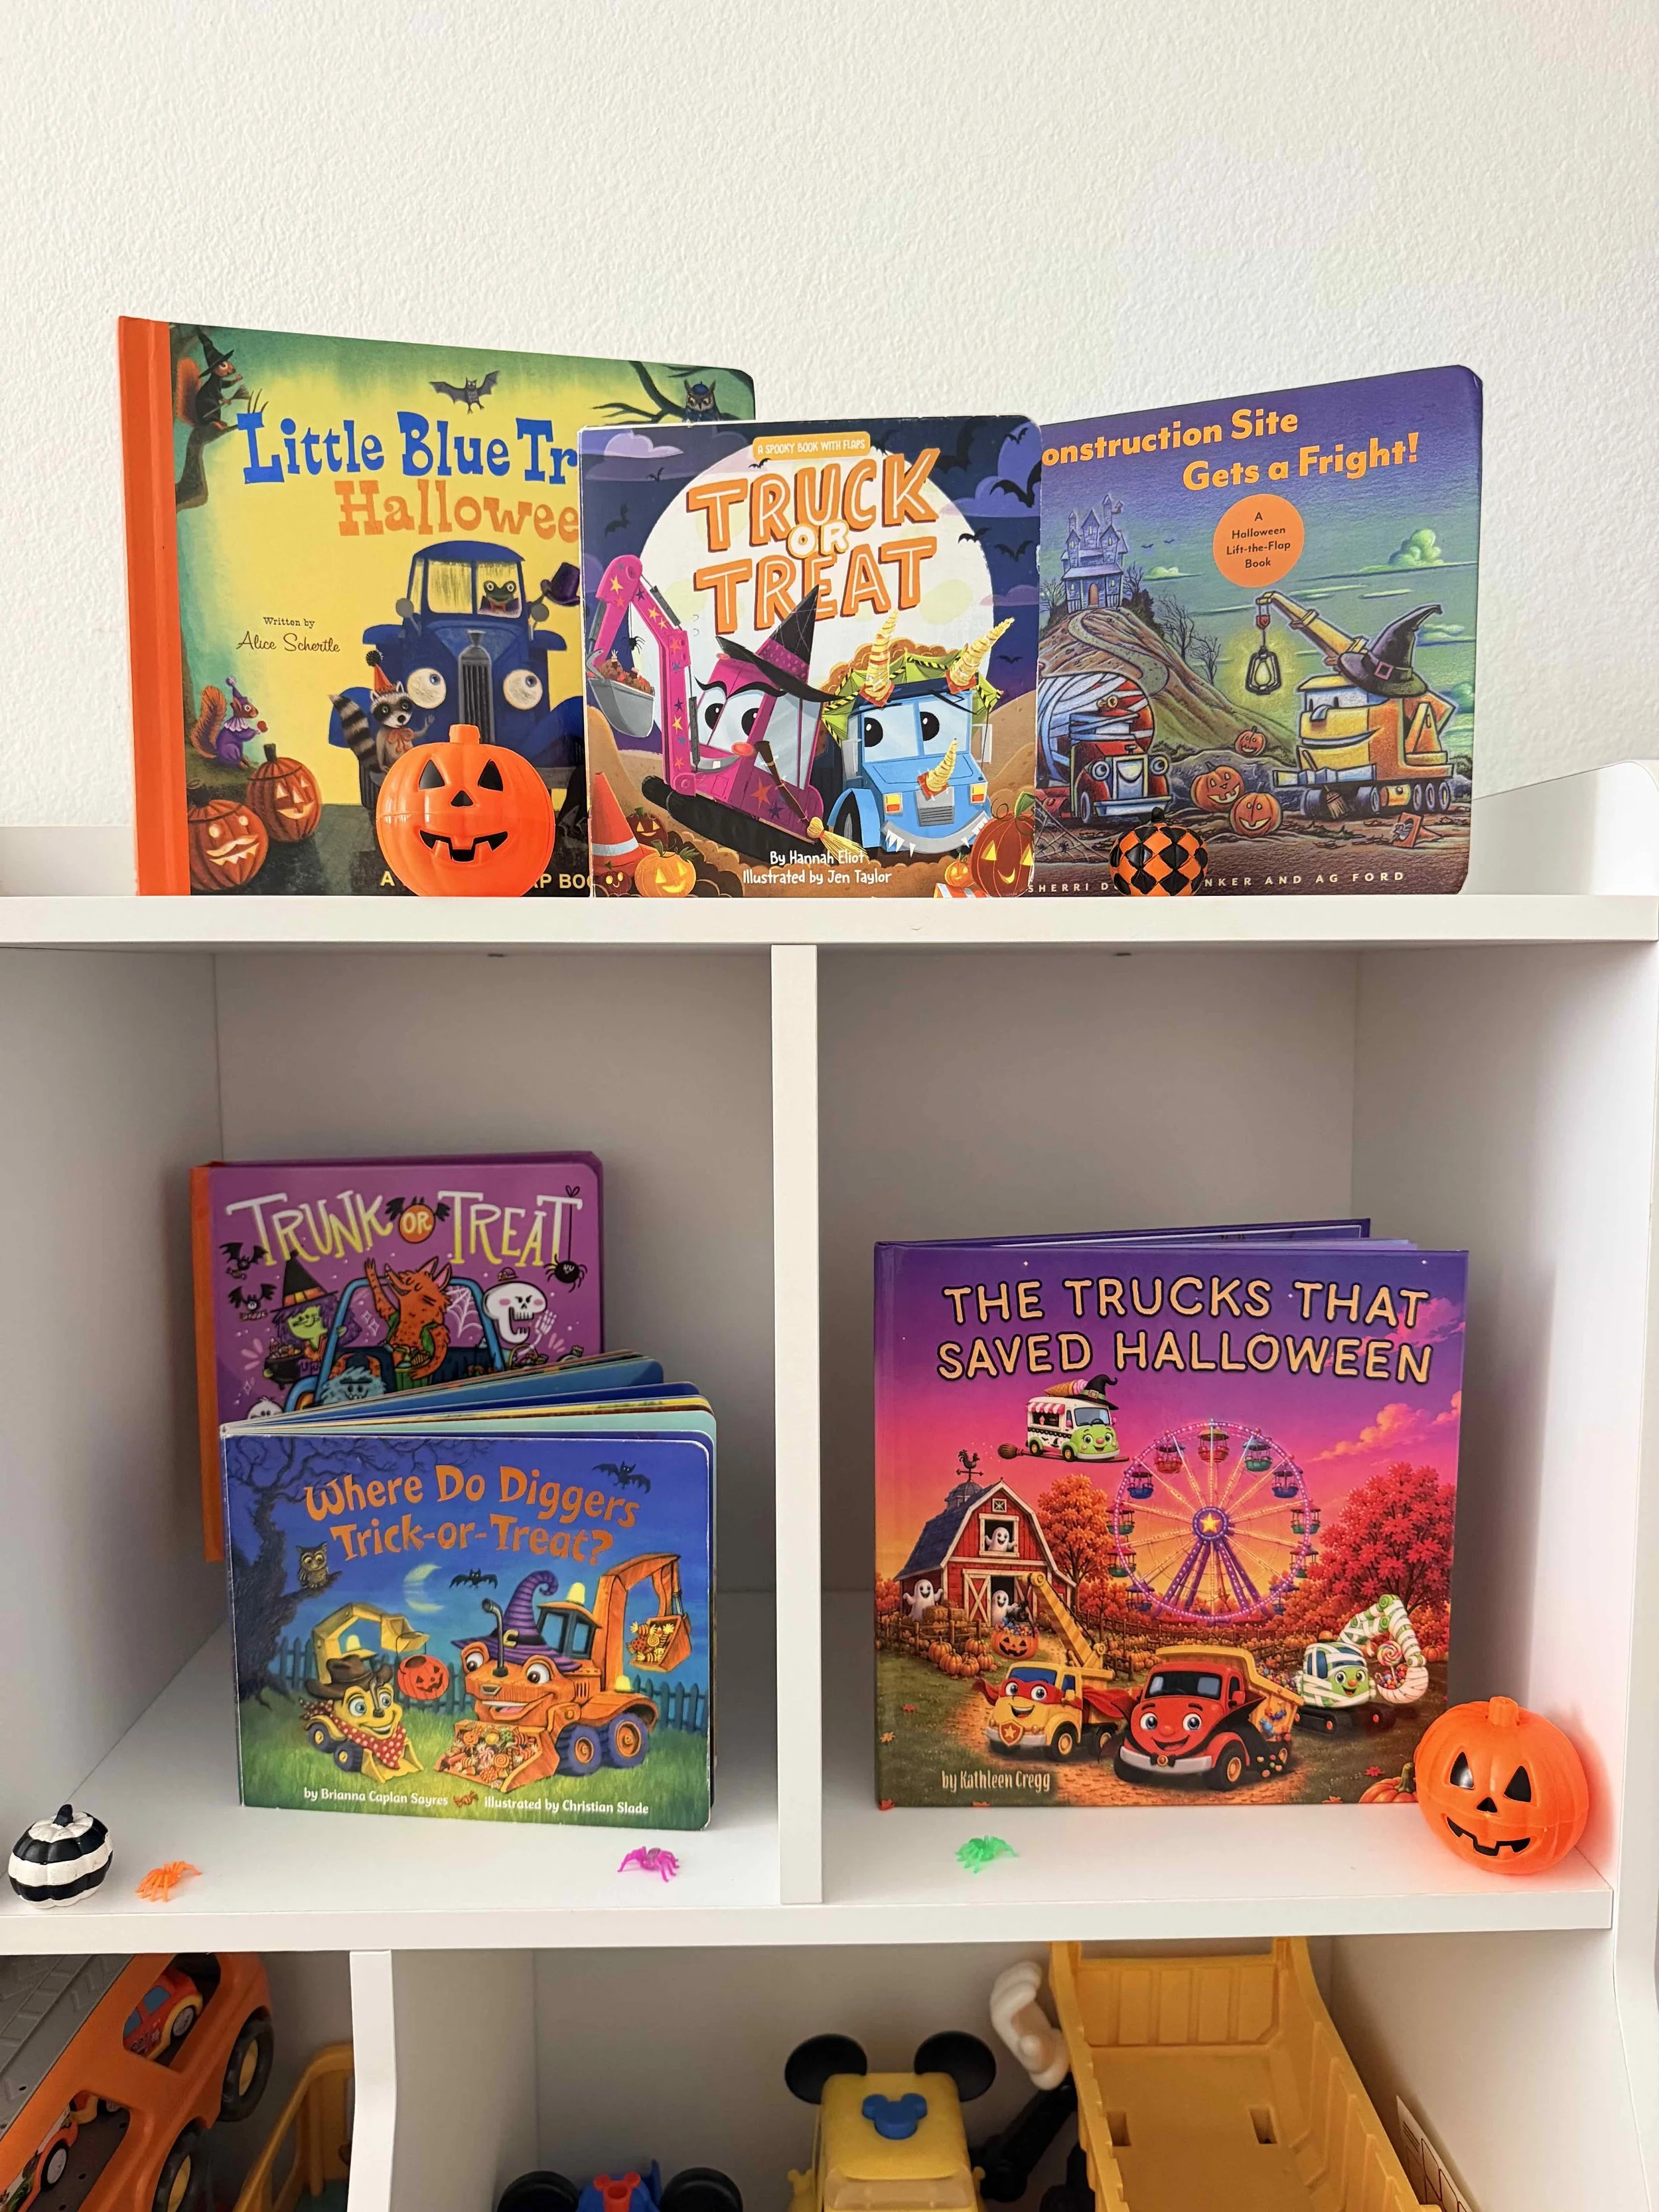
Our favorite Halloween Truck books!
If you have a kid who can spot an excavator from three blocks away, gets excited every time a garbage truck drives past, or would happily choose a construction vehicle over just about anything else, Halloween books are even more fun when there are trucks involved.
We pull out a big stack of Halloween books every fall, but with two truck-loving kids in our house, the books with dump trucks, diggers, tractors, trains and other things that go always seem to get extra attention.
The best part? There are actually quite a few Halloween books for kids who love trucks now, including lift-the-flap board books for toddlers, construction-site Halloween stories, trick-or-treating vehicles and even a few brand-new books for 2026.
And because we like our Halloween fun much more cute than creepy, I focused mostly on cheerful, silly and not-too-spooky stories that work well for toddlers and preschoolers.
You can find all of these in my Halloween Books for Kids Who Love Trucks Amazon Idea List.
This post contains affiliate links. As an Amazon Associate, I earn from qualifying purchases at no additional cost to you.
Best Halloween Books for Kids Who Love Trucks
The Trucks That Saved Halloween — Book 3 in The Trucks That Saved series
1. The Trucks That Saved Halloween
By Kathleen Cregg
Best for: Ages 2–6
NEW FOR 2026!
Okay, I’m admittedly a little biased about this one because I wrote it!
In The Trucks That Saved Halloween, Dump Truck, Excavator and Crane Truck discover that Halloween is far too quiet, so the Truck Team gets to work transforming an old farm into a cheerful Halloween carnival. There are pumpkins, carnival rides, a corn maze, costumes, a tractor hayride, truck-or-treating and even a Witch Ice Cream Truck who adds a little Halloween magic.
I specifically wanted this story to feel colorful, silly and festive rather than scary, especially for younger kids who love all the fun parts of Halloween but aren’t necessarily ready for anything creepy. It was created for little truck lovers ages 2–6, with the whole visual world designed around a bright, welcoming, not-frightening Halloween.
📚 You can also read the story behind the book in my The Trucks That Saved Halloween: A Not-So-Spooky Halloween Book for Kids Who Love Trucks post.
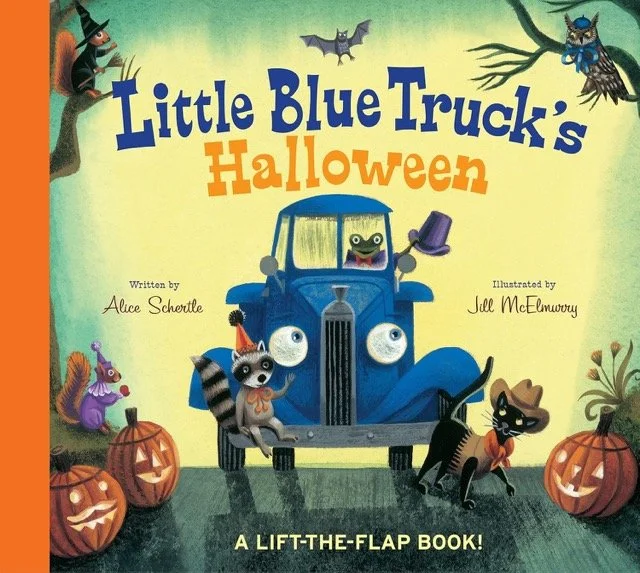
2. Little Blue Truck’s Halloween
By Alice Schertle, illustrated by Jill McElmurry
Best for: Babies, toddlers and preschoolers
If your kids already love Little Blue Truck (I know we do!), this one is an easy addition to the Halloween shelf.
Little Blue Truck picks up his animal friends for a Halloween costume party, and kids can lift the flaps to figure out who is hiding underneath each costume. It’s simple, interactive and very toddler-friendly — exactly the kind of Halloween book that works when you want pumpkins and costumes without anything actually scary.
This one stays out year-round in our house!
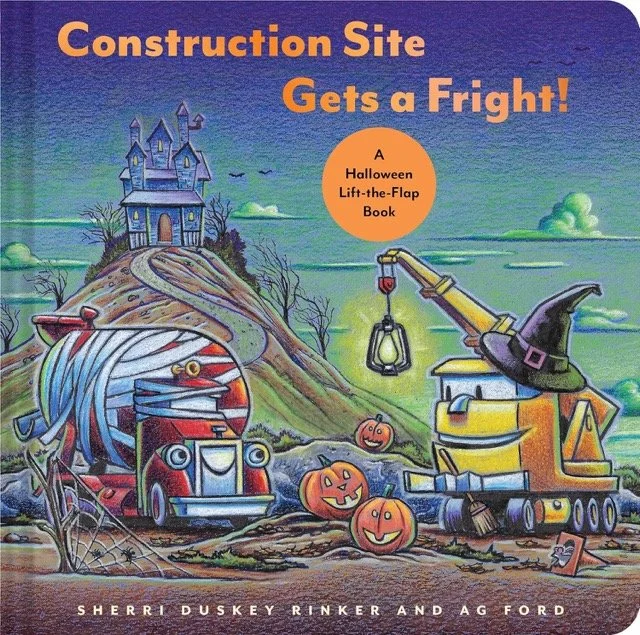
Construction Site Gets a Fright! - One of our favorite series!
3. Construction Site Gets a Fright!
By Sherri Duskey Rinker, illustrated by AG Ford
Best for: Ages 2–4
WE LOVE THIS SERIES! Fans of Goodnight, Goodnight, Construction Site get to celebrate Halloween with the construction crew in this lift-the-flap board book.
A dark and windy Halloween night makes familiar things around the construction site suddenly look a little spooky — until the trucks look closer and discover silly surprises instead. I especially like the reassuring idea behind this one: sometimes something that looks scary at first really isn’t.
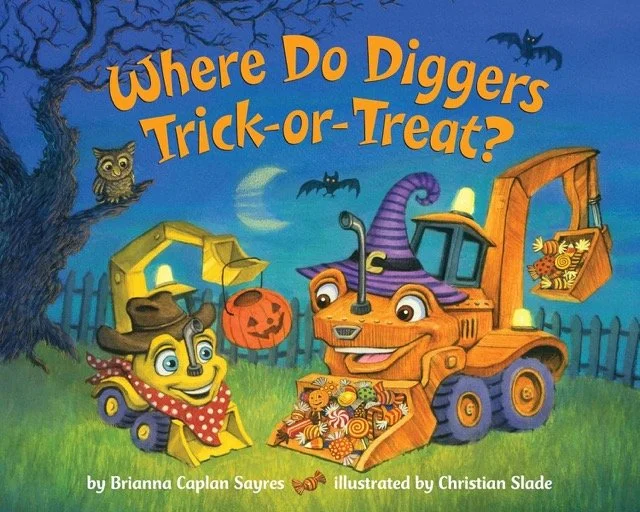
4. Where Do Diggers Trick-or-Treat?
By Brianna Caplan Sayres, illustrated by Christian Slade
Best for: Toddlers through early elementary
Another AMAZING series - we have them all!
This may be one of the most perfectly targeted books on the entire list.
Instead of asking what kids do on Halloween, it imagines how diggers, tractors, road rollers, cranes, flatbed trucks and monster trucks would trick-or-treat. There are costumes, candy and jack-o’-lanterns mixed right in with all the vehicles little truck lovers already know.
There’s a sturdy board-book edition for the youngest readers as well as a larger paperback version for ages 3–7.
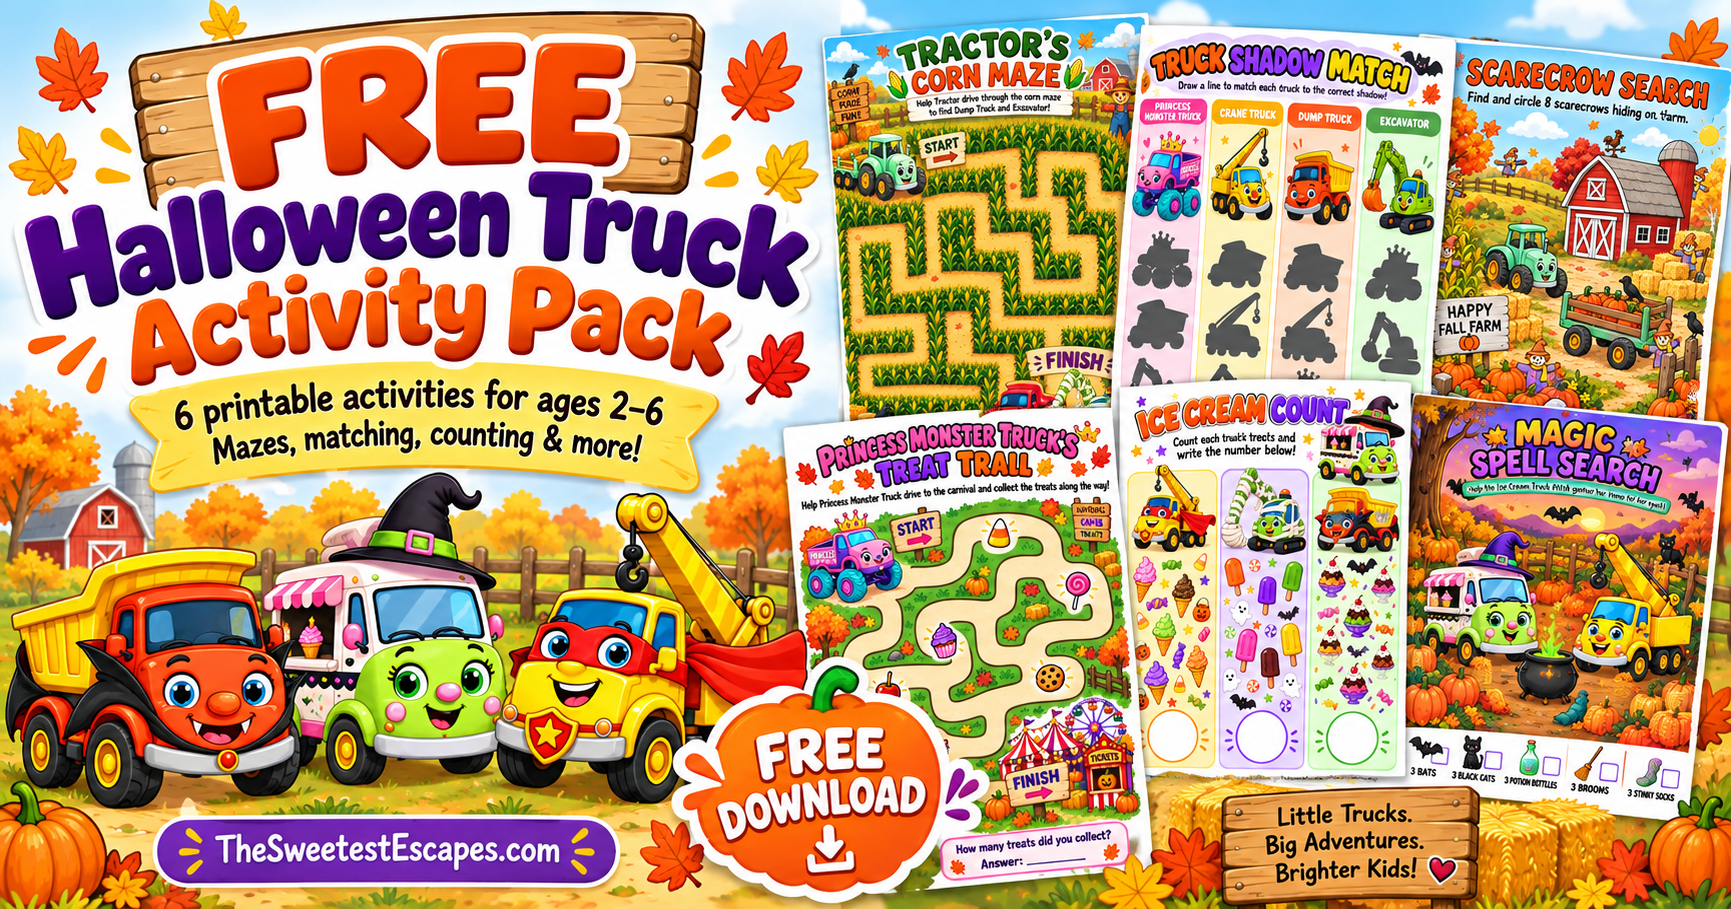
My truck loving 4 year-old loves activity pages - try these for free!
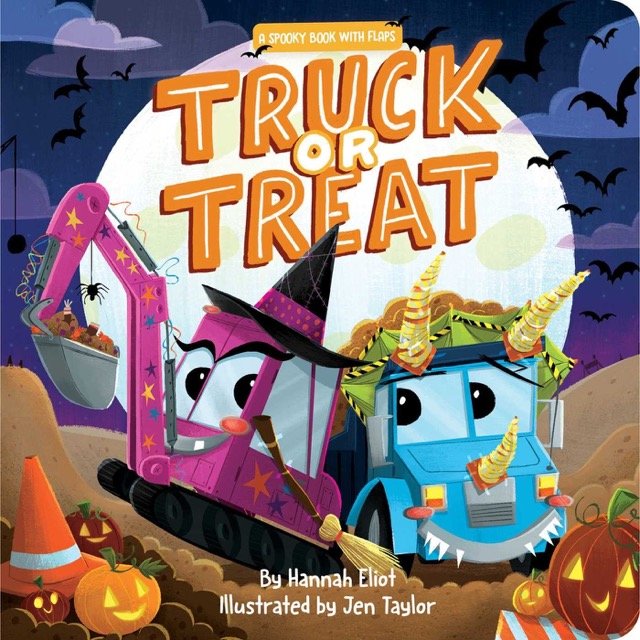
5. Truck or Treat
By Hannah Eliot, illustrated by Jen Taylor
Best for: Ages 2–5
This is another one I’d put near the top of the list for construction-truck kids.
The trucks at a construction site dress up for Halloween, and readers lift the flaps to discover the real truck hiding beneath each costume. There’s a dump truck dressed as a dinosaur, a recycling truck dressed as a robot and even more silly truck disguises.
It’s basically construction trucks + costumes + lift-the-flaps (our favorite combo), which is a pretty solid toddler Halloween combination.
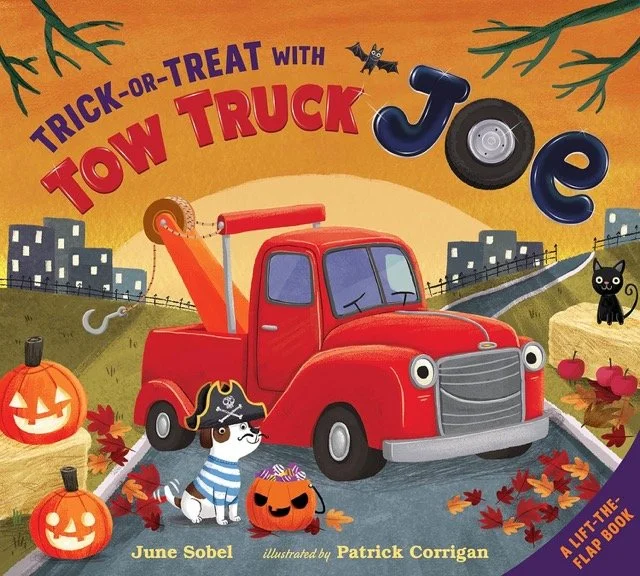
6. Trick-or-Treat with Tow Truck Joe
By June Sobel, illustrated by Patrick Corrigan
Best for: Preschoolers and young truck lovers
Tow Truck Joe and the other cars and trucks of Motor City get dressed up and head out for Halloween in this rhyming lift-the-flap book.
This one has lots for vehicle-obsessed kids to look at, and the oversized flaps make it especially fun for younger readers. The publisher describes it as a Halloween story that is more “beep than boo,” which pretty much sums up the kind of Halloween book I’m looking for.
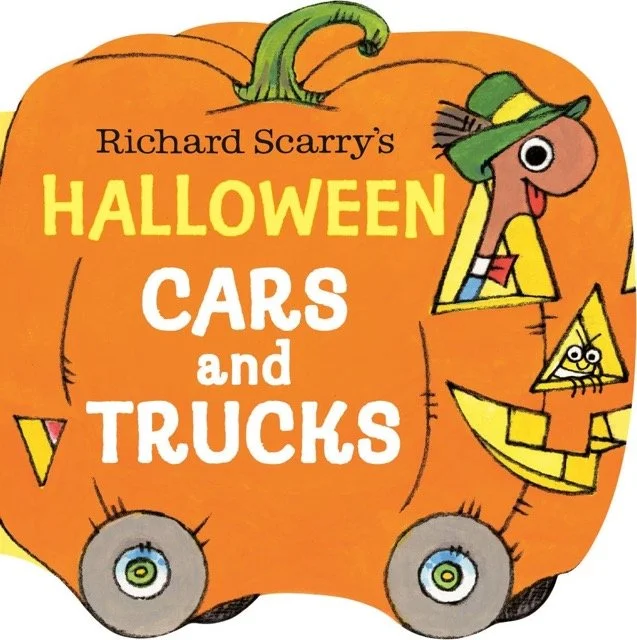
7. Richard Scarry’s Halloween Cars and Trucks
By Richard Scarry
Best for: Ages 0–3
Busytown at Halloween? Yes, please.
This little chunky board book follows Lowly Worm, Huckle Cat and their friends through a Halloween version of Busytown filled with candy racers, a scarecrow car and other wonderfully silly vehicles. The book itself is even shaped like a jack-o’-lantern.
It’s small enough for toddler hands and would also be really cute tucked into a Halloween boo basket.
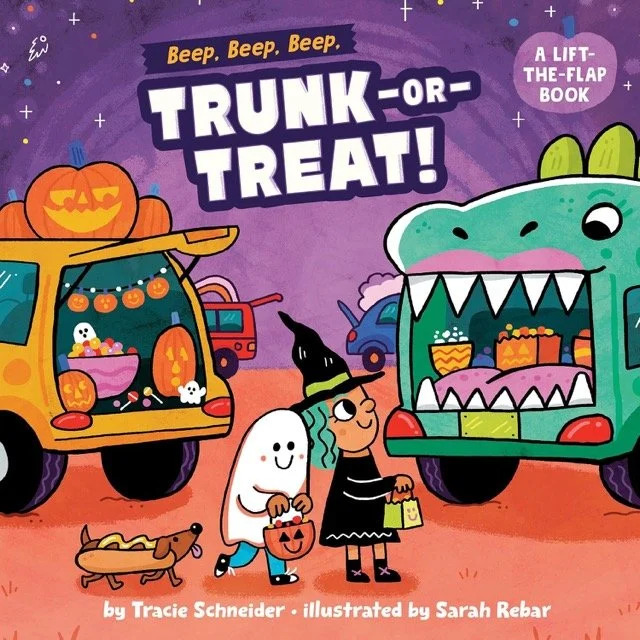
8. Beep, Beep, Beep, Trunk-or-Treat!
By Tracie Schneider, illustrated by Sarah Rebar
Best for: Ages 0–3
This is a brand-new 2026 Halloween book, and it fits this list almost too perfectly.
Kids follow a family to a trunk-or-treat celebration where decorated cars become spiders, dinosaurs and monsters. Lift the flaps to see the Halloween treats hiding inside the trunks, from candy apples to cider doughnuts.
It was released August 25, 2026, so this is also a nice opportunity to include something genuinely new rather than recycling the same Halloween-book recommendations everyone has been sharing for years.
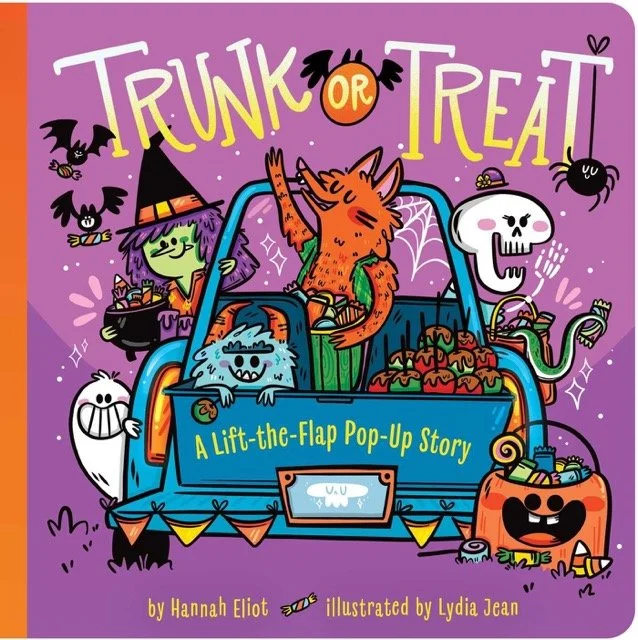
9. Trunk-or-Treat
By Chris Ayala-Kronos, illustrated by Rea Zhai
Best for: Ages 4–8
This picture book takes the increasingly popular trunk-or-treat tradition and turns it into a colorful Halloween story.
Families visit creatively decorated cars and trucks, with each trunk offering something different to discover. It’s less specifically about construction vehicles than some of the books above, but I think kids who love cars will especially enjoy seeing how each vehicle gets transformed for Halloween.
This is one of our FAVORITE pop-up books! My 3-year-old reads it all year long!
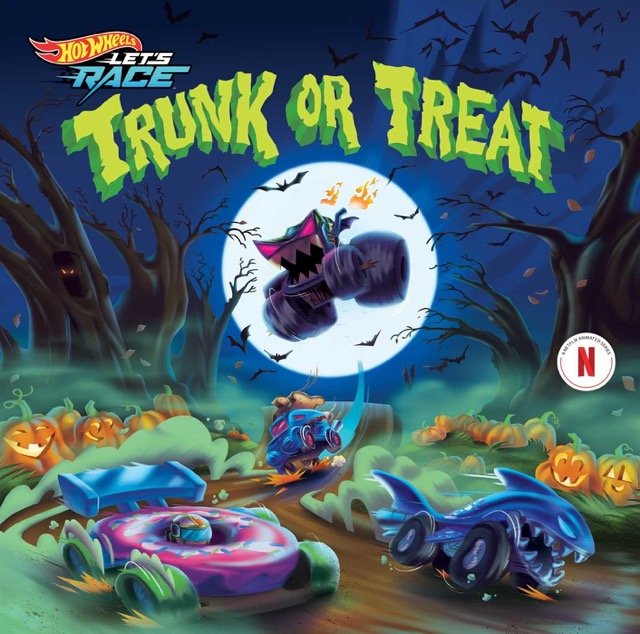
10. Hot Wheels Let’s Race: Trunk or Treat?
By Steve Behling, illustrated by Kirk Parrish
Best for: Ages 3–7
If your truck-loving kid also has a Hot Wheels collection taking over your house, this brand-new 2026 book is worth adding.
The Hot Wheels Racers create a spooky “Frankencar” after hearing a Halloween story — only for the monster vehicle to mysteriously come to life and race through Hot Wheels City.
This one has more action and a little more Halloween suspense than the toddler board books on the list, so I’d especially look at it for preschoolers and younger elementary kids who think a runaway monster car sounds hilarious rather than scary.
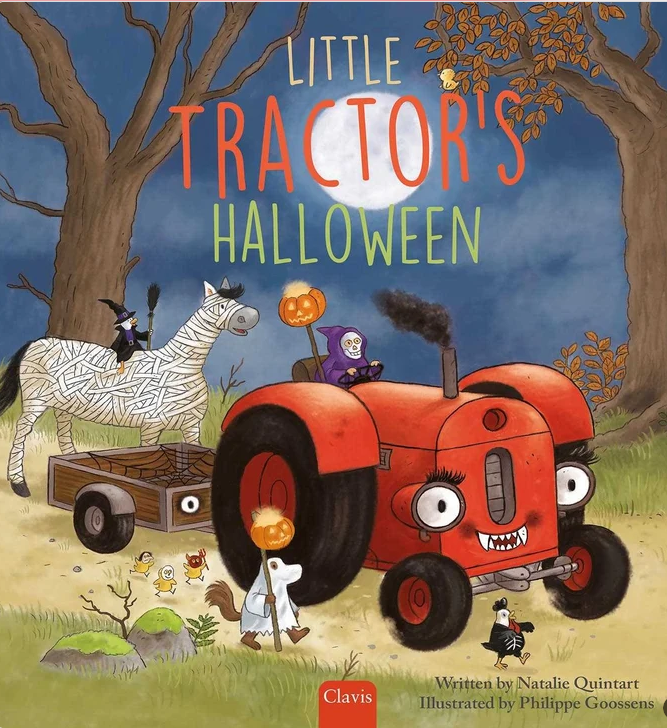
11. Little Tractor’s Halloween
By Natalie Quintart, illustrated by Philippe Goossens
Best for: Ages 4–6
Here’s another completely new one for 2026 — and technically one you can put on your fall wish list because it releases September 8, 2026.
Little Tractor and his friends dress up and head out trick-or-treating, planning to scare their forest friends. Instead, they encounter something that scares them and eventually discover that things aren’t always as frightening as they first appear.
The cheerful ending and farm setting make this a natural fit for kids who love tractors but prefer their Halloween stories on the gentler side.
More Halloween Books for Kids Who Love Things That Go
Trucks definitely dominate our vehicle obsession, but trains and buses still count as far as I’m concerned. If your little one loves basically anything with wheels, I’d add these too.
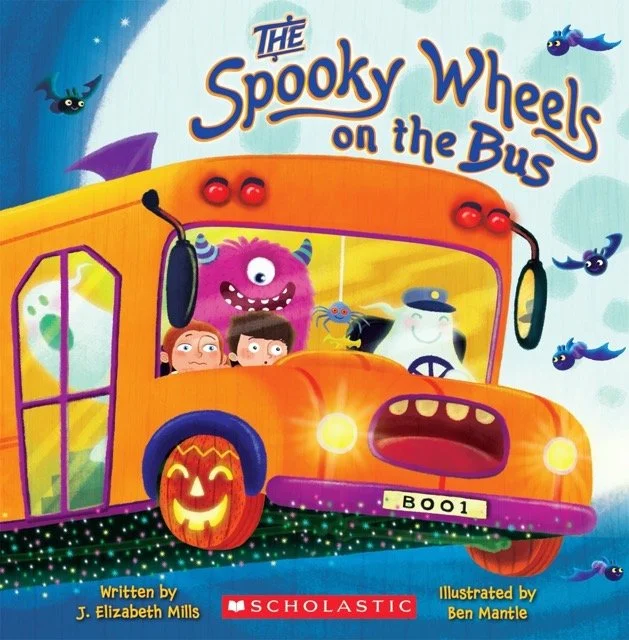
12. The Spooky Wheels on the Bus
By J. Elizabeth Mills, illustrated by Ben Mantle
Best for: Ages 3–5
This Halloween spin on The Wheels on the Bus turns the familiar song into a goofy ride filled with cats, witches, monsters and ghosts.
It also counts from one to ten along the way, so toddlers and preschoolers can sing, count and enjoy the Halloween pictures at the same time. Despite the word “spooky” in the title, Scholastic describes the passengers and ride as friendly and not-so-spooky.
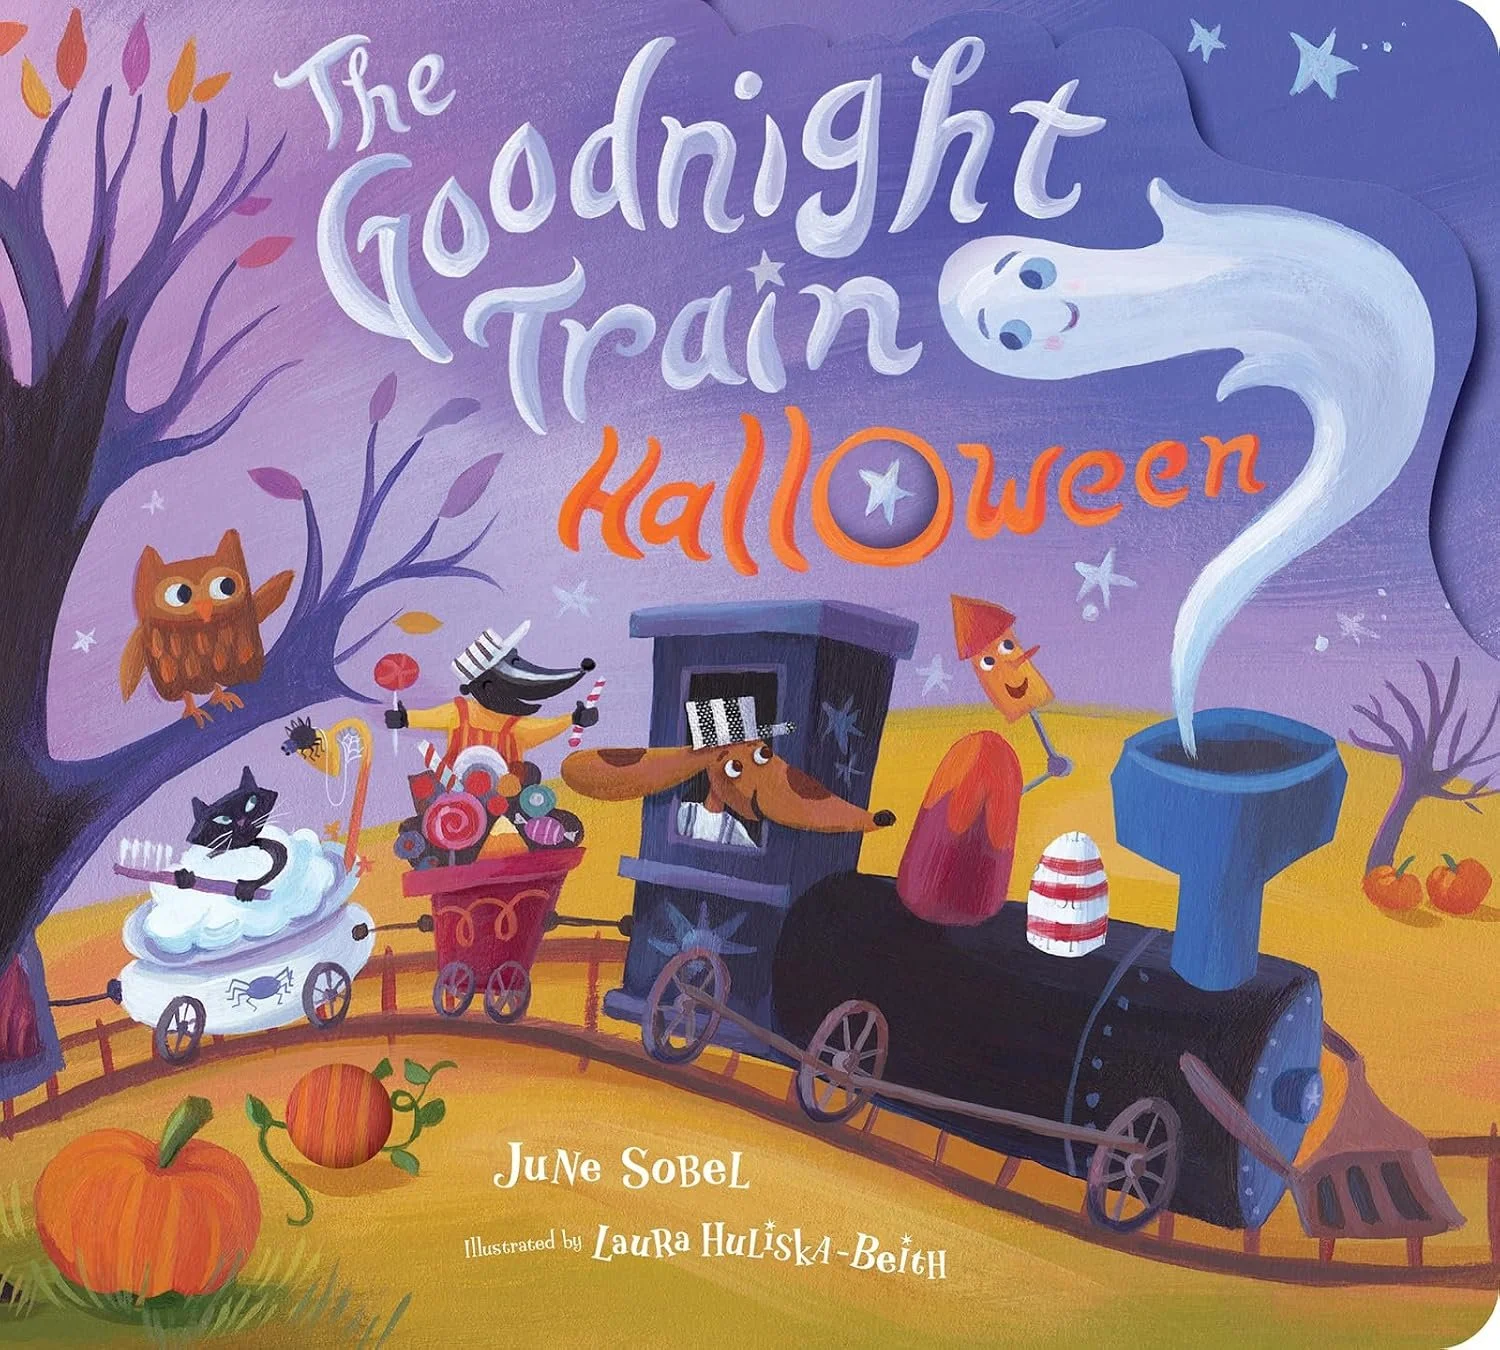
The Goodnight Train Halloween - love the illustrations
13. The Goodnight Train Halloween
By June Sobel, illustrated by Laura Huliska-Beith
Best for: Babies through preschoolers
For train-loving kids, this is a particularly cute Halloween bedtime book.
The Goodnight Train rolls through Halloween scenery filled with costumed characters, glowing jack-o’-lanterns and candy before eventually making its way back to the station for bedtime. The sturdy pages also include little peek-through holes for kids to explore.
It manages to feel festive while still winding everything down for sleep — useful when Halloween excitement is already at approximately 400 percent.
I LOVE the illustrations for this book (and all in the series).
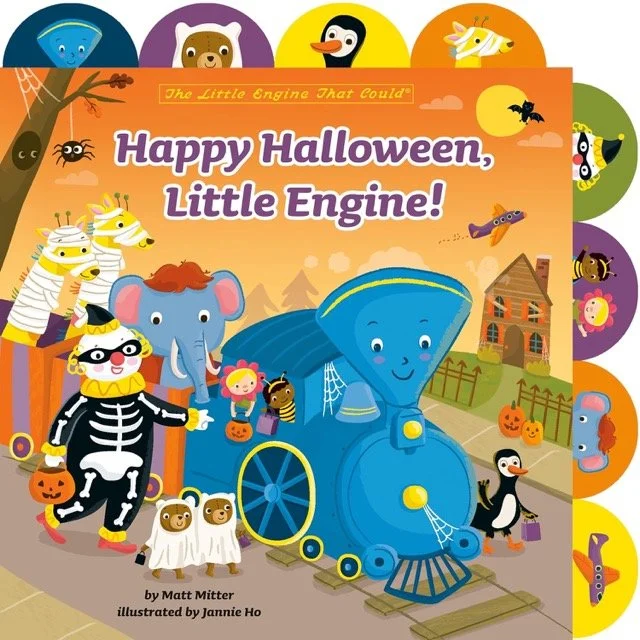
14. Happy Halloween, Little Engine!
By Matt Mitter, illustrated by Jannie Ho
Best for: Ages 1–3
The Little Engine That Could gets her own Halloween story in this short rhyming board book.
She’s ready to trick-or-treat with her friends, and the bright illustrations and simple story make this an easy choice for very young readers who love trains but don’t need a complicated Halloween plot.
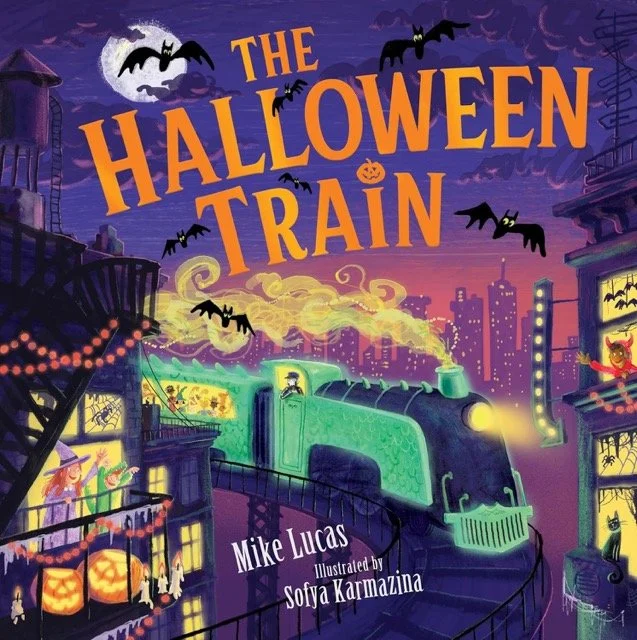
15. The Halloween Train
By Mike Lucas, illustrated by Sofya Karmazina
Best for: Ages 2–6
Another new release for 2026, The Halloween Train takes kids on a magical ride through the Halloween season.
There are costumes, witches, skeletons, zombies and plenty of traditional Halloween fun, so this one is a little more “spooky Halloween” than something like Little Blue Truck. But the publisher specifically describes it as a story with gentle spookiness and heart, and the journey eventually winds down toward bedtime.
For kids who love trains and are ready for a little more Halloween atmosphere, it looks like a really fun addition.
Excited to add this to our collection this year!
Which Halloween Truck Book Is Best for Your Child?
For the youngest truck lovers, I’d start with Little Blue Truck’s Halloween, Truck or Treat, Richard Scarry’s Halloween Cars and Trucks or Beep, Beep, Beep, Trunk-or-Treat! because the sturdy board-book formats and interactive elements are especially toddler-friendly.
For kids who specifically love construction trucks, try The Trucks That Saved Halloween, Construction Site Gets a Fright! or Where Do Diggers Trick-or-Treat?
And for kids who like all things that go, there are plenty of trains, buses, race cars and tractors here too.
The good news is that none of these require Halloween to be genuinely scary. You can have costumes, pumpkins, ghosts, monsters and plenty of trick-or-treating while still keeping Halloween fun and approachable for little kids.
Shop All of Our Favorite Halloween Books for Truck-Loving Kids
I put these books together in one place to make them easier to find:
🛍️ SHOP MY HALLOWEEN BOOKS FOR KIDS WHO LOVE TRUCKS AMAZON IDEA LIST
And I’ll keep adding new truck, construction and vehicle Halloween books as I find them.
More Not-So-Spooky Halloween Fun for Kids
If your kids are excited about Halloween but you’re looking for activities and stories that skew more fun than frightening, you might also like:
Happy Halloween — and happy truck-or-treating! 🎃🚜
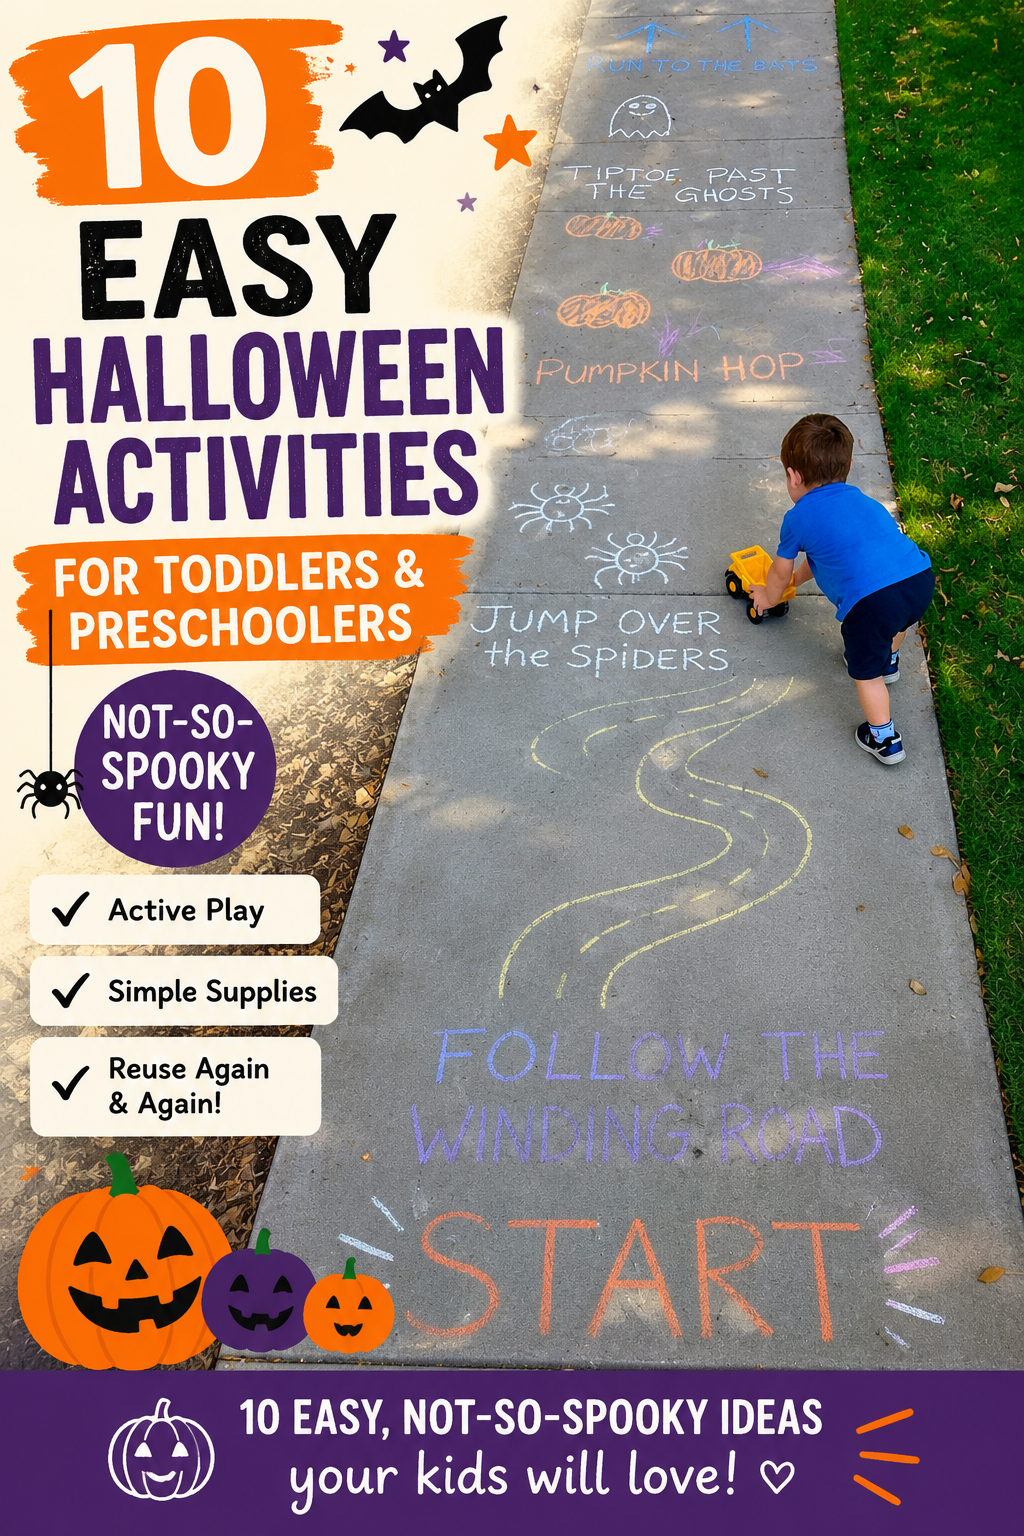
10 Easy Not-So-Spooky Halloween Activities for Toddlers & Preschoolers
Looking for easy Halloween activities for toddlers and preschoolers? These not-so-spooky ideas are perfect for active little kids, with pumpkin hunts, construction truck games, sensory play, sidewalk chalk activities, Halloween baking and more. Best of all, many of the activities reuse the same simple supplies!
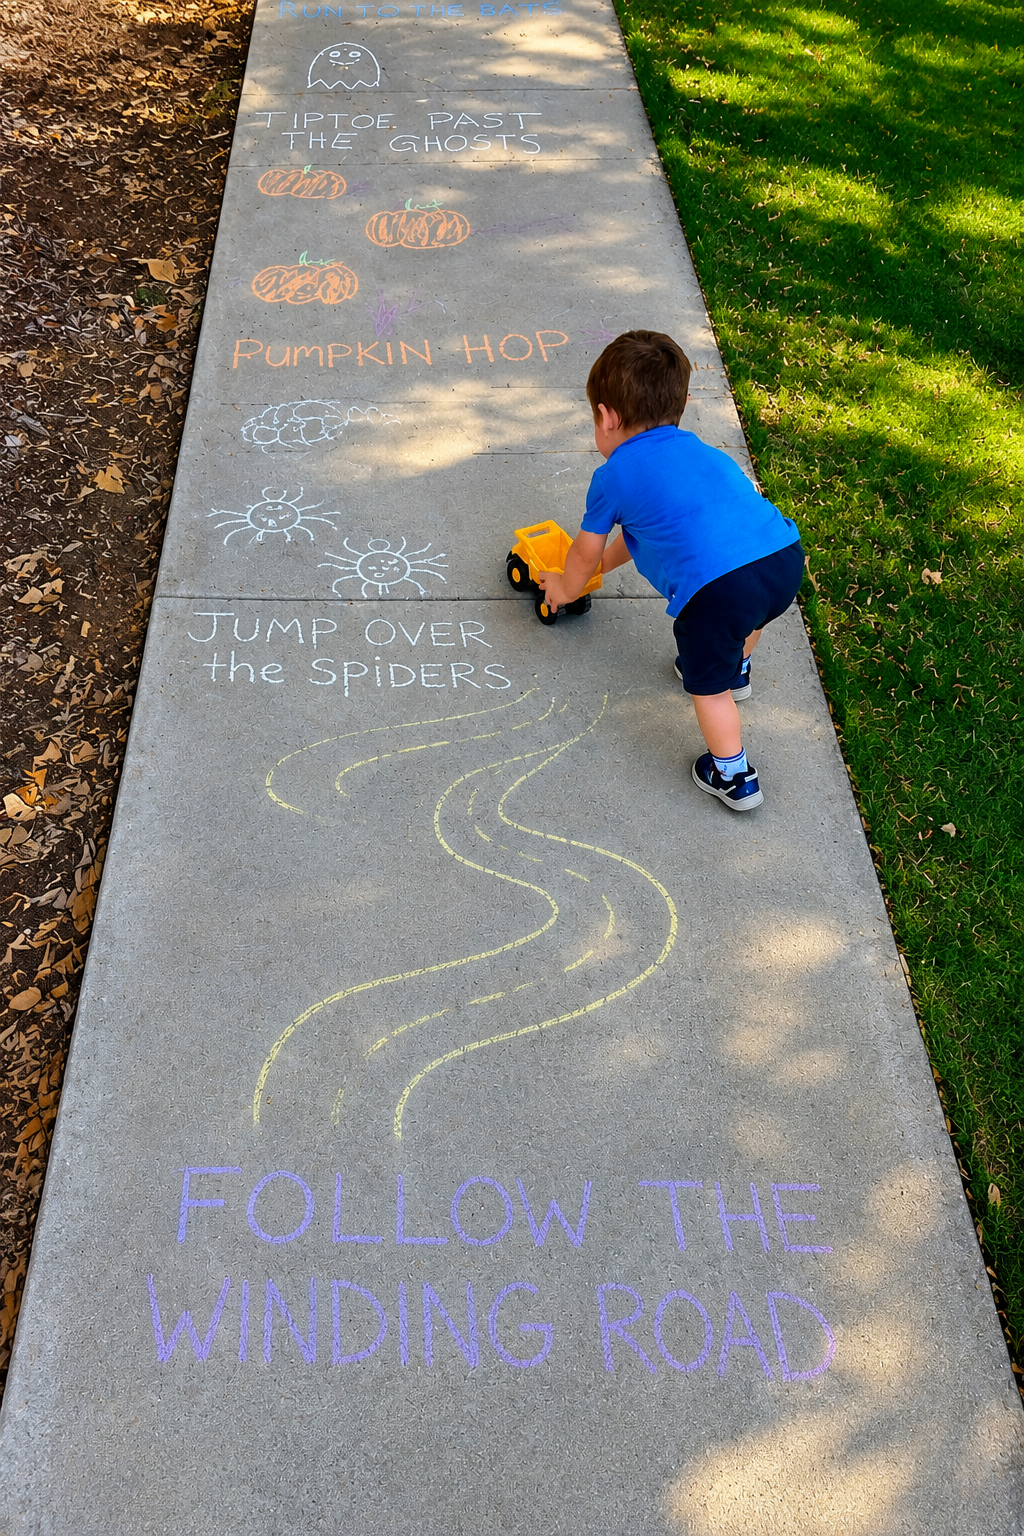
Perfect Halloween Activity - Sidewalk Chalk Obstacle Course!
Halloween is one of my favorite holidays (besides Christmas), but with little kids I prefer the cute, colorful, not-too-scary side of Halloween—pumpkins, costumes, treats and getting outside to play.
My active boys are much happier when an activity involves running, digging, building or trucks, so I've been testing out some easy Halloween activities with them this fall. And honestly, we've been having so much fun with them! Most of these work just as well with one or two kids as they would with a preschool class, playdate or a whole park full of kids.
They also work well as easy Fall Halloween party ideas for preschoolers, TK and Kindergarten—especially if you need simple activities that can keep a group of little kids busy without a ton of prep.
And these aren't complicated Halloween crafts for kids that require an hour of prep...only to discover that YOU are the one who actually has to hot glue and assemble everything.
Look, there will be some setup. But hopefully you can set up the activity, send the kids off to play and have a minute to take a sip of apple cider—or buy a new Halloween book on Amazon. 😉
Even better, most of these activities use the same handful of inexpensive supplies over and over again.
I don't know about you, but I love finding new ways to repurpose toys and supplies we already have. I have fewer things to store, and the kids get to use their imaginations and discover completely different ways to play with the same things.
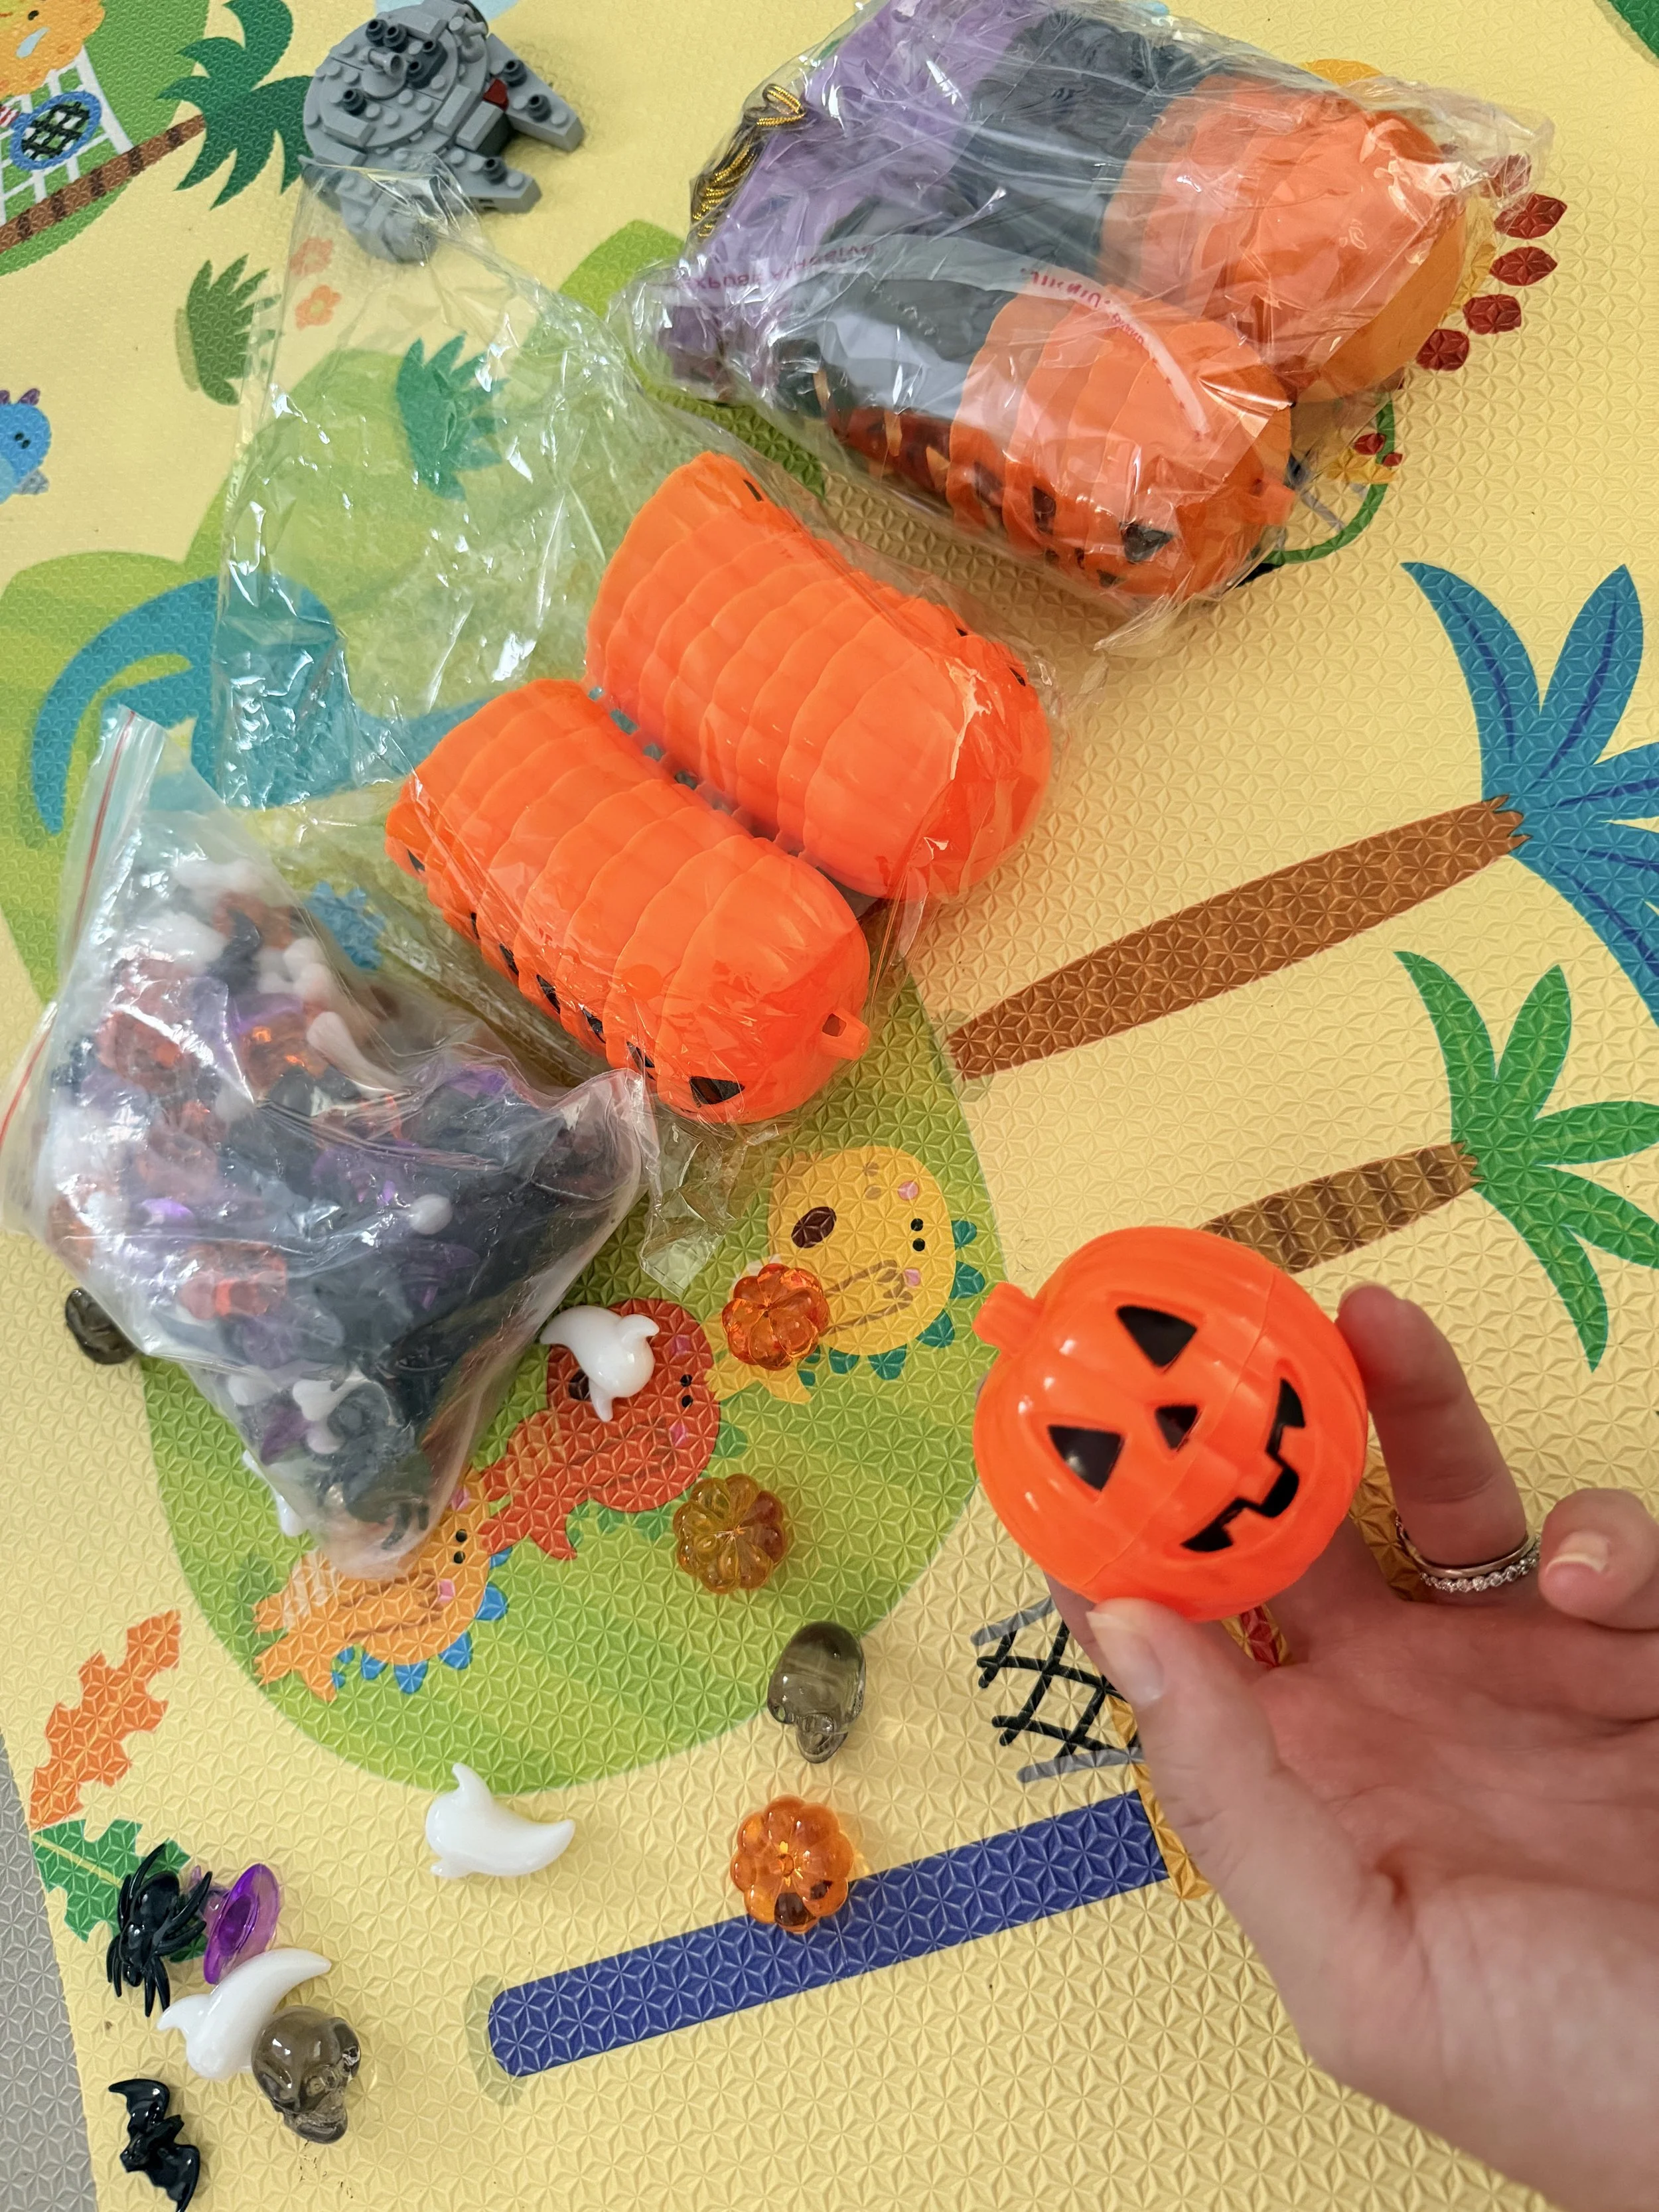
Halloween Activity Supplies for kids - Pumpkin Easter Eggs and Halloween gems
The Halloween Activity Supplies We Reuse
You definitely don't need everything on this list, and you may already have quite a bit of it at home.
The idea isn't to buy supplies for ten different activities. Instead, grab a few basics and reuse them throughout Halloween.
Here's our basic Halloween activity shopping list:
Small orange traffic cones
Plastic spiders or bugs
Halloween stickers
Orange or pumpkin-shaped trick-or-treat buckets
Painter's tape
Blocks or Magnetic Tiles
You'll see the same mini pumpkins, trucks, chalk and cones pop up again and again below.
This post may contain Amazon affiliate links. If you make a purchase through one of my links, I may earn a small commission at no additional cost to you.
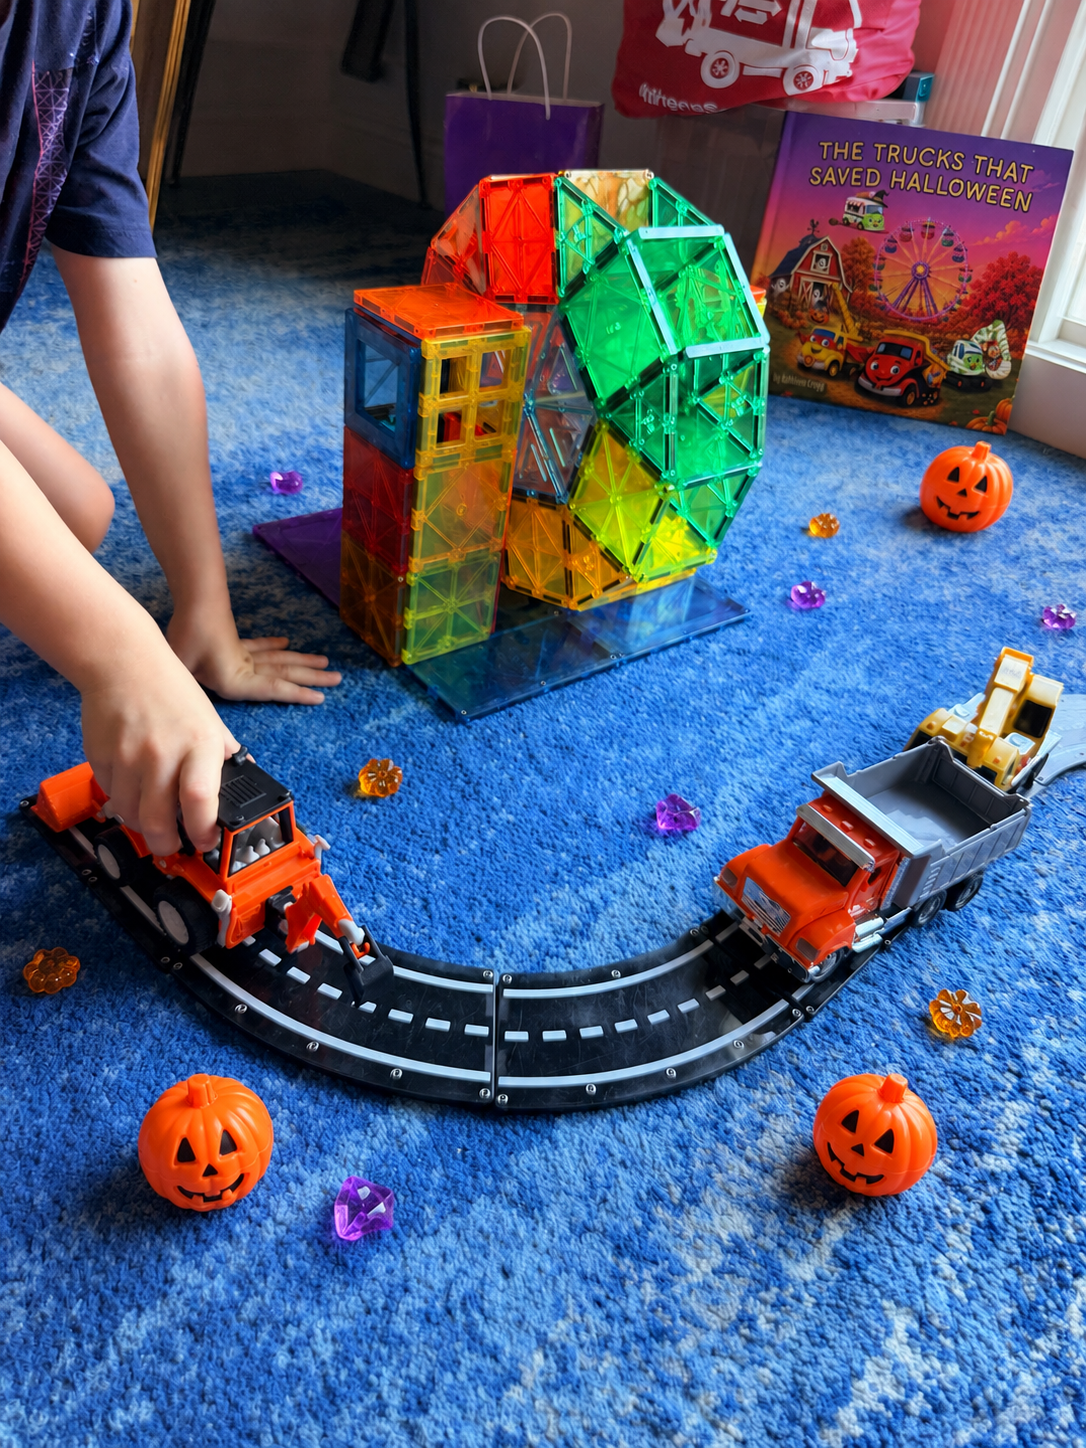
Build-your-own Halloween carnivals make fun Halloween party activities for preschoolers, too.
1. Build a Halloween Carnival With Toy Trucks 🎡
We love Halloween carnivals, so why not build one at home?
The Setup: About 5 minutes—or make building the carnival part of the activity!
What You Need
Blocks or Magnetic Tiles
Mini pumpkins
Use roads from any playsets you already own—Hot Wheels tracks, magnetic-tile roads or even roads made from painter's tape—to create a path around the playroom floor. Then use blocks, Magnetic Tiles and toys to create different destinations along the road.
You could make:
Pumpkin Patch → Carnival → Haunted Barn → Truck-or-Treat Stop
Then hand over the construction trucks and let the kids take over.
Dump Truck can deliver pumpkins to the pumpkin patch.
Excavator can move supplies.
Crane Truck can help build the carnival rides.
Kids can add booths, rides, houses, parking lots or whatever else they imagine. There really isn't a wrong way to build it.
This activity was inspired by my children's book, The Trucks That Saved Halloween, where Dump Truck, Excavator and Crane Truck work together to transform an old farm into a cheerful Halloween carnival.
We decided our carnival needed a Ferris wheel! I didn't even realize some of our magnetic-tile pieces had holes in them until I started looking for a way to build one. I happened to have a little wooden dowel saved in my craft box (craft hoarding for the win!), and it worked perfectly. I followed this Instagram video to figure out the basic construction.
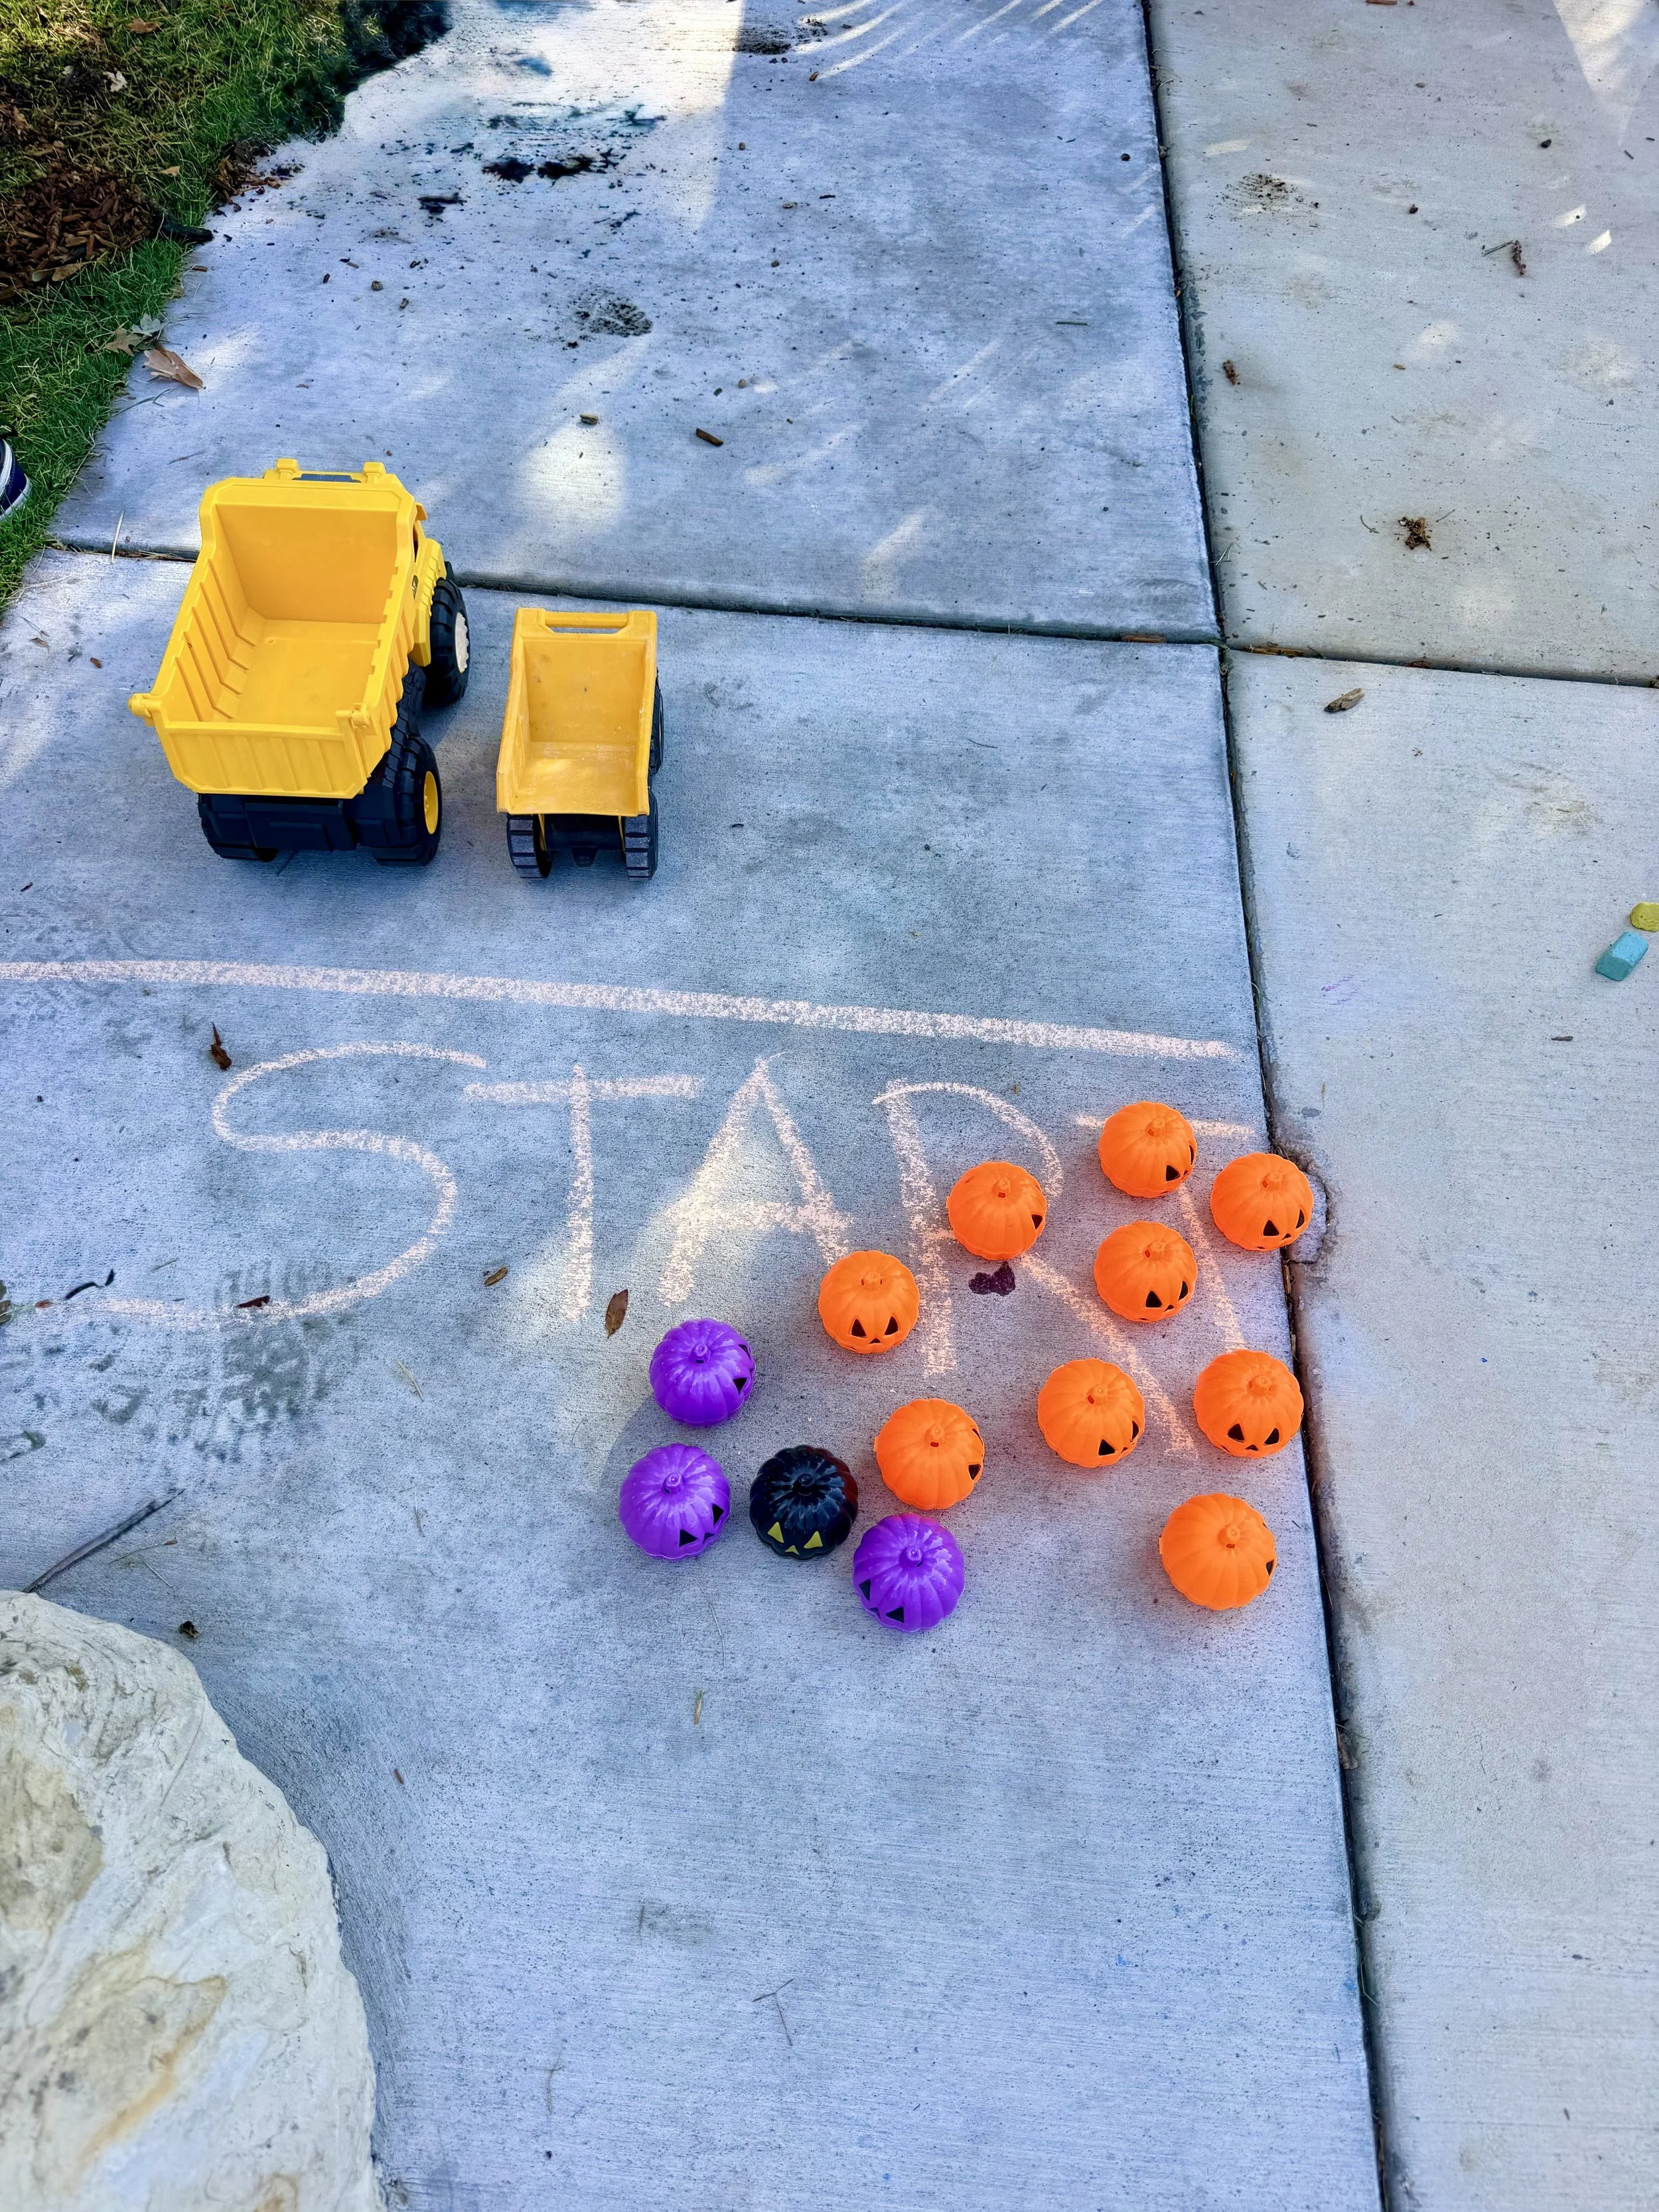
2. Have a Pumpkin Truck Race or Pumpkin Delivery 🚜🎃
Here's an EASY one—and you can play it inside or outside.
The basic idea is simple: use construction trucks to transport pumpkins from one place to another.
The Setup: About 3 minutes
What You Need
Construction trucks
Mini pumpkins
Sidewalk chalk and/or cones
Outside, use sidewalk chalk to draw a start line and finish line. You could also draw a large box and write PUMPKIN PATCH above it.
Place your mini pumpkins at the starting line or scatter them around the driveway.
Now give the kids their construction trucks.
The challenge is to get the pumpkins to the Pumpkin Patch without touching them with their hands.
Push one with a bulldozer.
Carry one in a Dump Truck.
Try to scoop one up with an Excavator.
If you have several kids, turn it into a race. You could also skip the competition and have everyone work together to get all the pumpkins safely into the patch.
Try It Inside
Scatter the mini pumpkins around a room and put a trick-or-treat bucket or container in the middle to become your Pumpkin Patch.
The kids have to use their trucks to collect and deliver all the pumpkins.
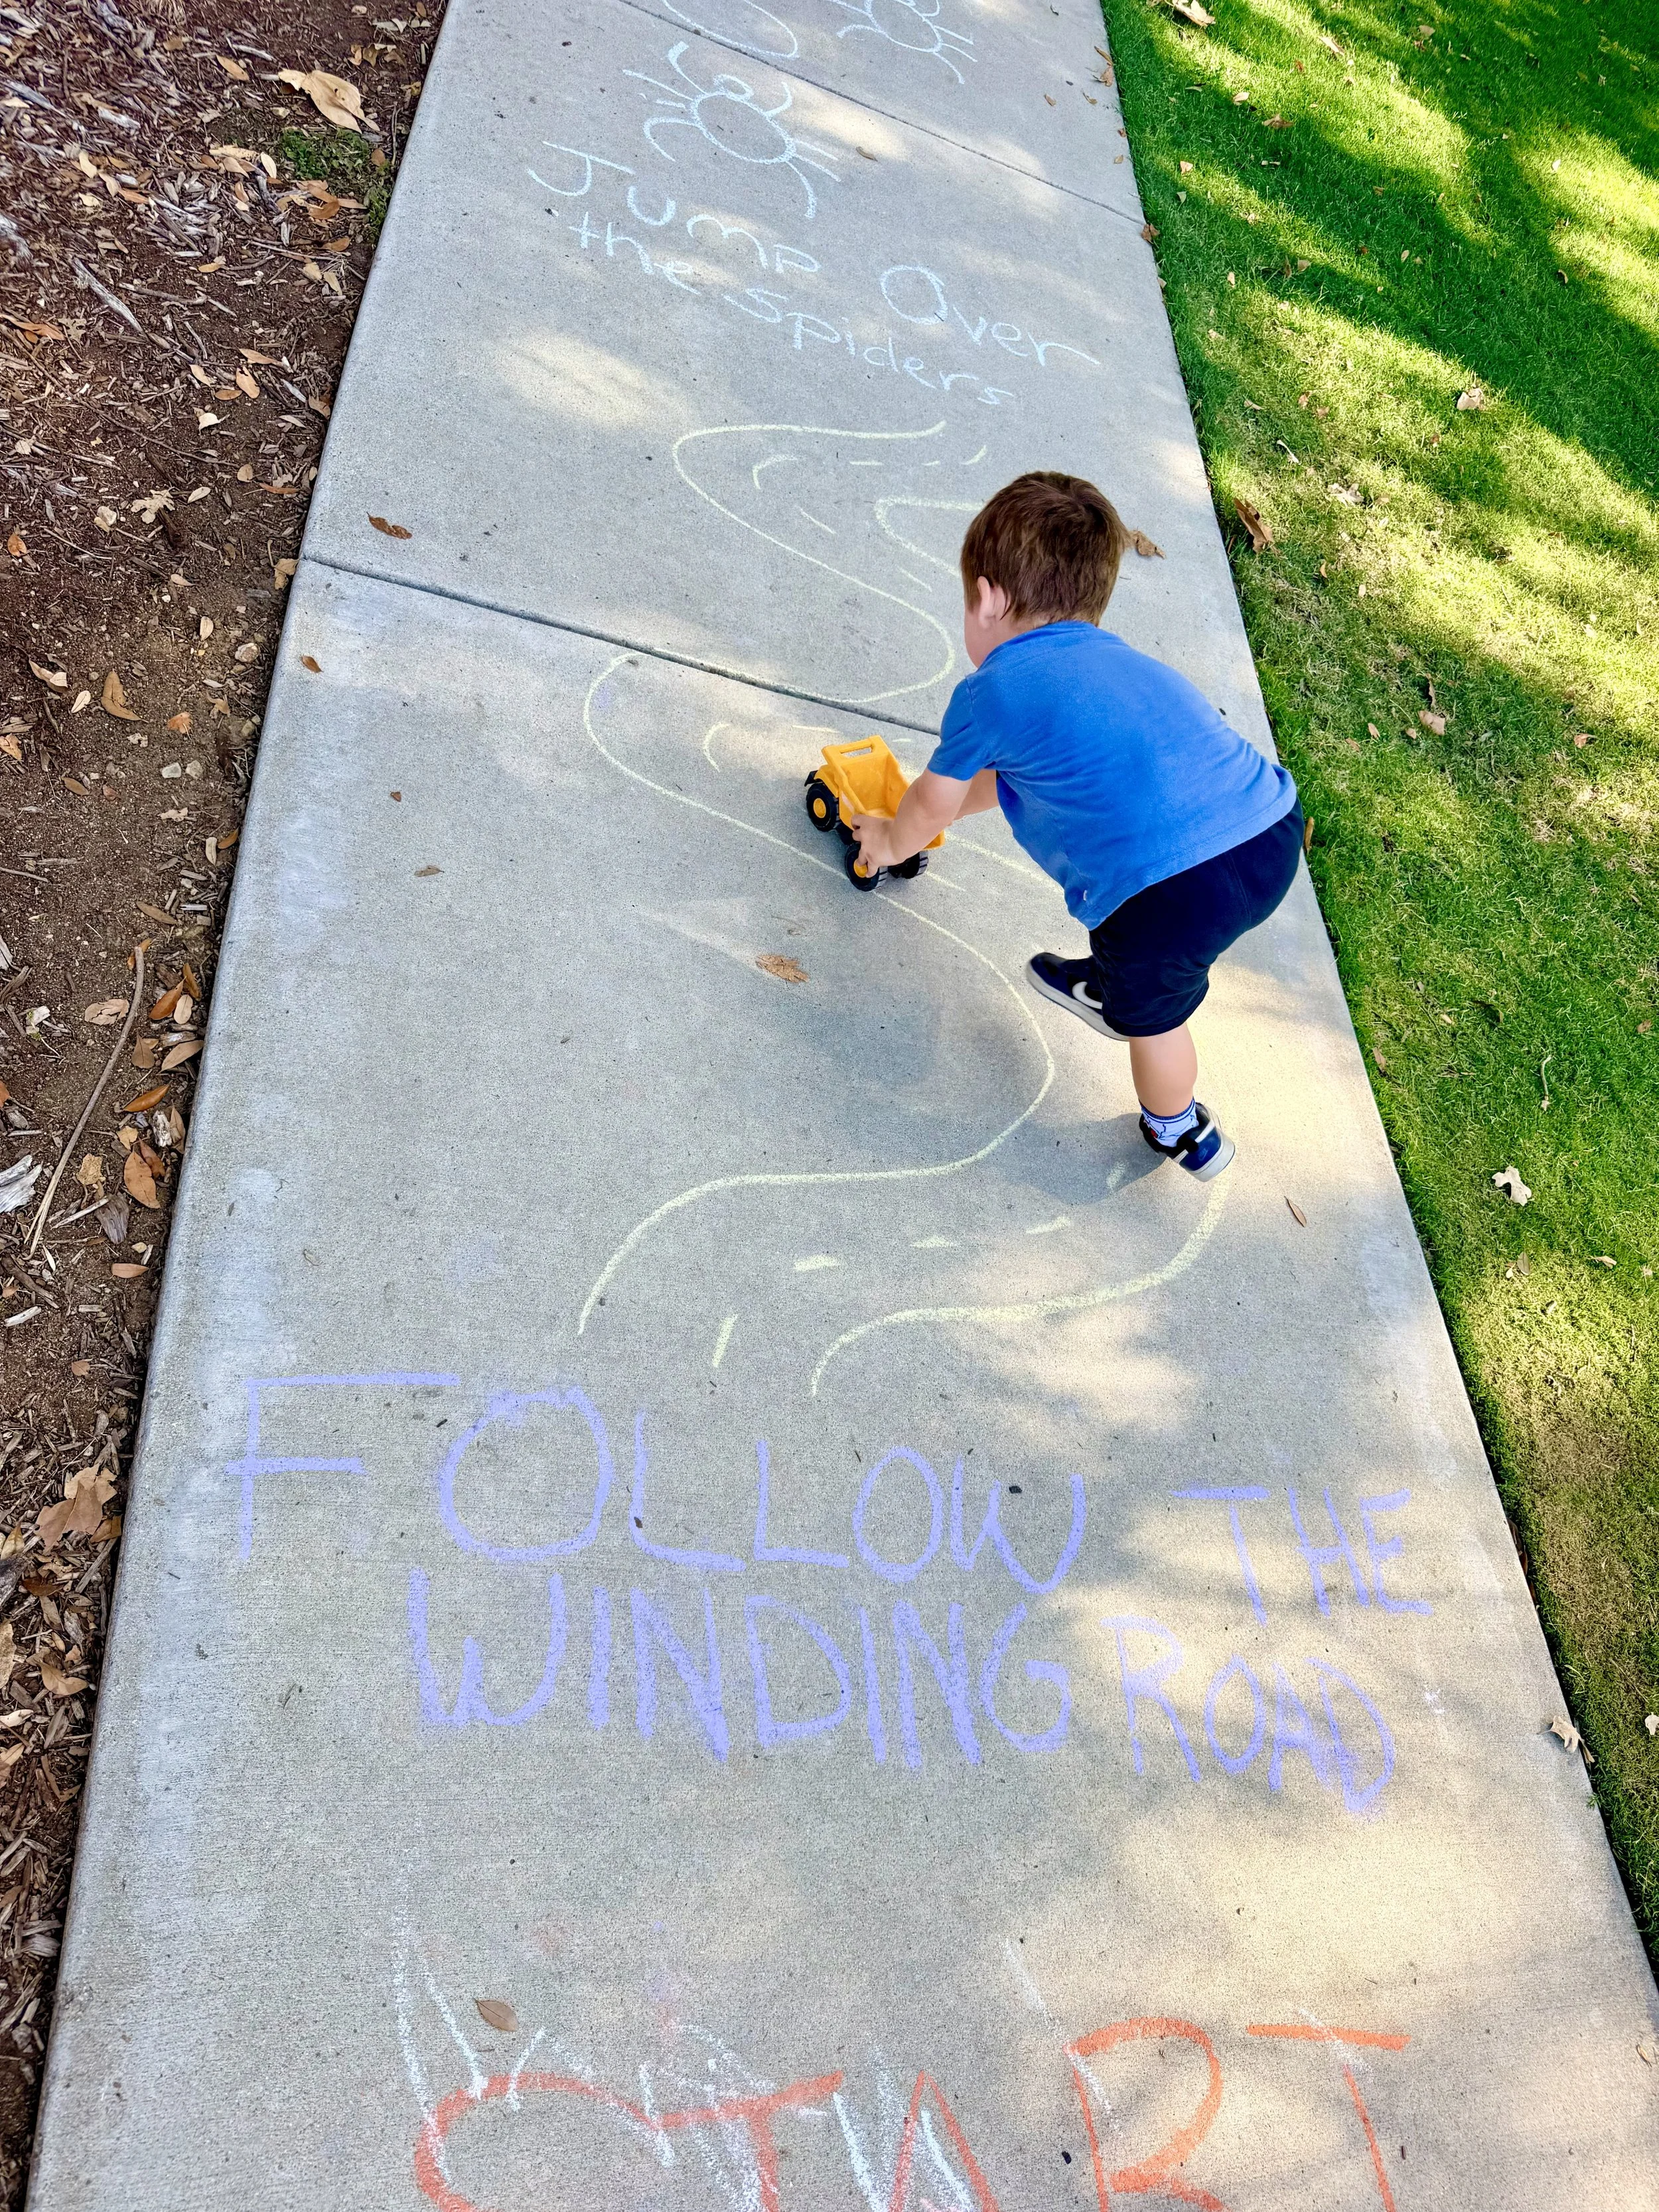
Make a Halloween Sidewalk Chalk Obstacle Course
3. Make a Halloween Sidewalk Chalk Obstacle Course
This one is perfect when the kids need to MOVE.
And you don't need to build an actual obstacle course. Your driveway and a box of sidewalk chalk are enough.
The Setup: About 5 mins
What You Need:
Sidewalk Chalk Set
Orange Cones
Draw a course that winds its way across the driveway or sidewalk.
For example:
🎃 START
➡️ Follow the winding road
🕷️ Jump over 3 spiders
🎃 Hop from pumpkin to pumpkin
👻 Tiptoe past the ghosts
🌀 Run around the cauldron 3 times
🧙🏻♀️Balance on the Witch Broom
🦇 Run to the bats
🏁 TRUCK-OR-TREAT!
Once you've drawn it, the kids can run through it again...and again...and again.
Which is sort of the point. 😂
We made ours Halloween-themed with spiders to jump over, pumpkins to hop between, ghosts to tiptoe past and bats to run toward. I also drew a winding road for the boys to follow with their construction trucks, which ended up being one of their favorite parts.
Don't worry about making the drawings perfect—mine definitely aren't! The kids knew what everything was supposed to be, and that's all that mattered. 😂
It’s also cute to have if you have a busy neighborhood for trick-or-treating.
Get the FREE Halloween truck activity pack for your truck loving preschooler or Kindergartner!
4. Go on a Halloween Scavenger Hunt 🎃
This might be the easiest activity on the entire list.
Take a walk around the neighborhood and see how many Halloween and fall things you can spot.
The Setup: 1 min
What You Need:
Halloween Scavenger Hunt List
Clipboard
Pencil or Crayon
Print or write down a list, grab a clipboard and head outside.
See if you can find:
🎃 Pumpkin
👻 Ghost
🕷️ Spider
🦇 Bat
🚜 Construction truck
🍂 Red leaf
🍁 Orange leaf
🚚 Delivery truck
🧙 Witch
💀 Skeleton
For younger kids, you can simply read the list aloud instead of worrying about checking everything off.
You could also bring a trick-or-treat bucket and collect fallen leaves or other safe little nature finds along the way.
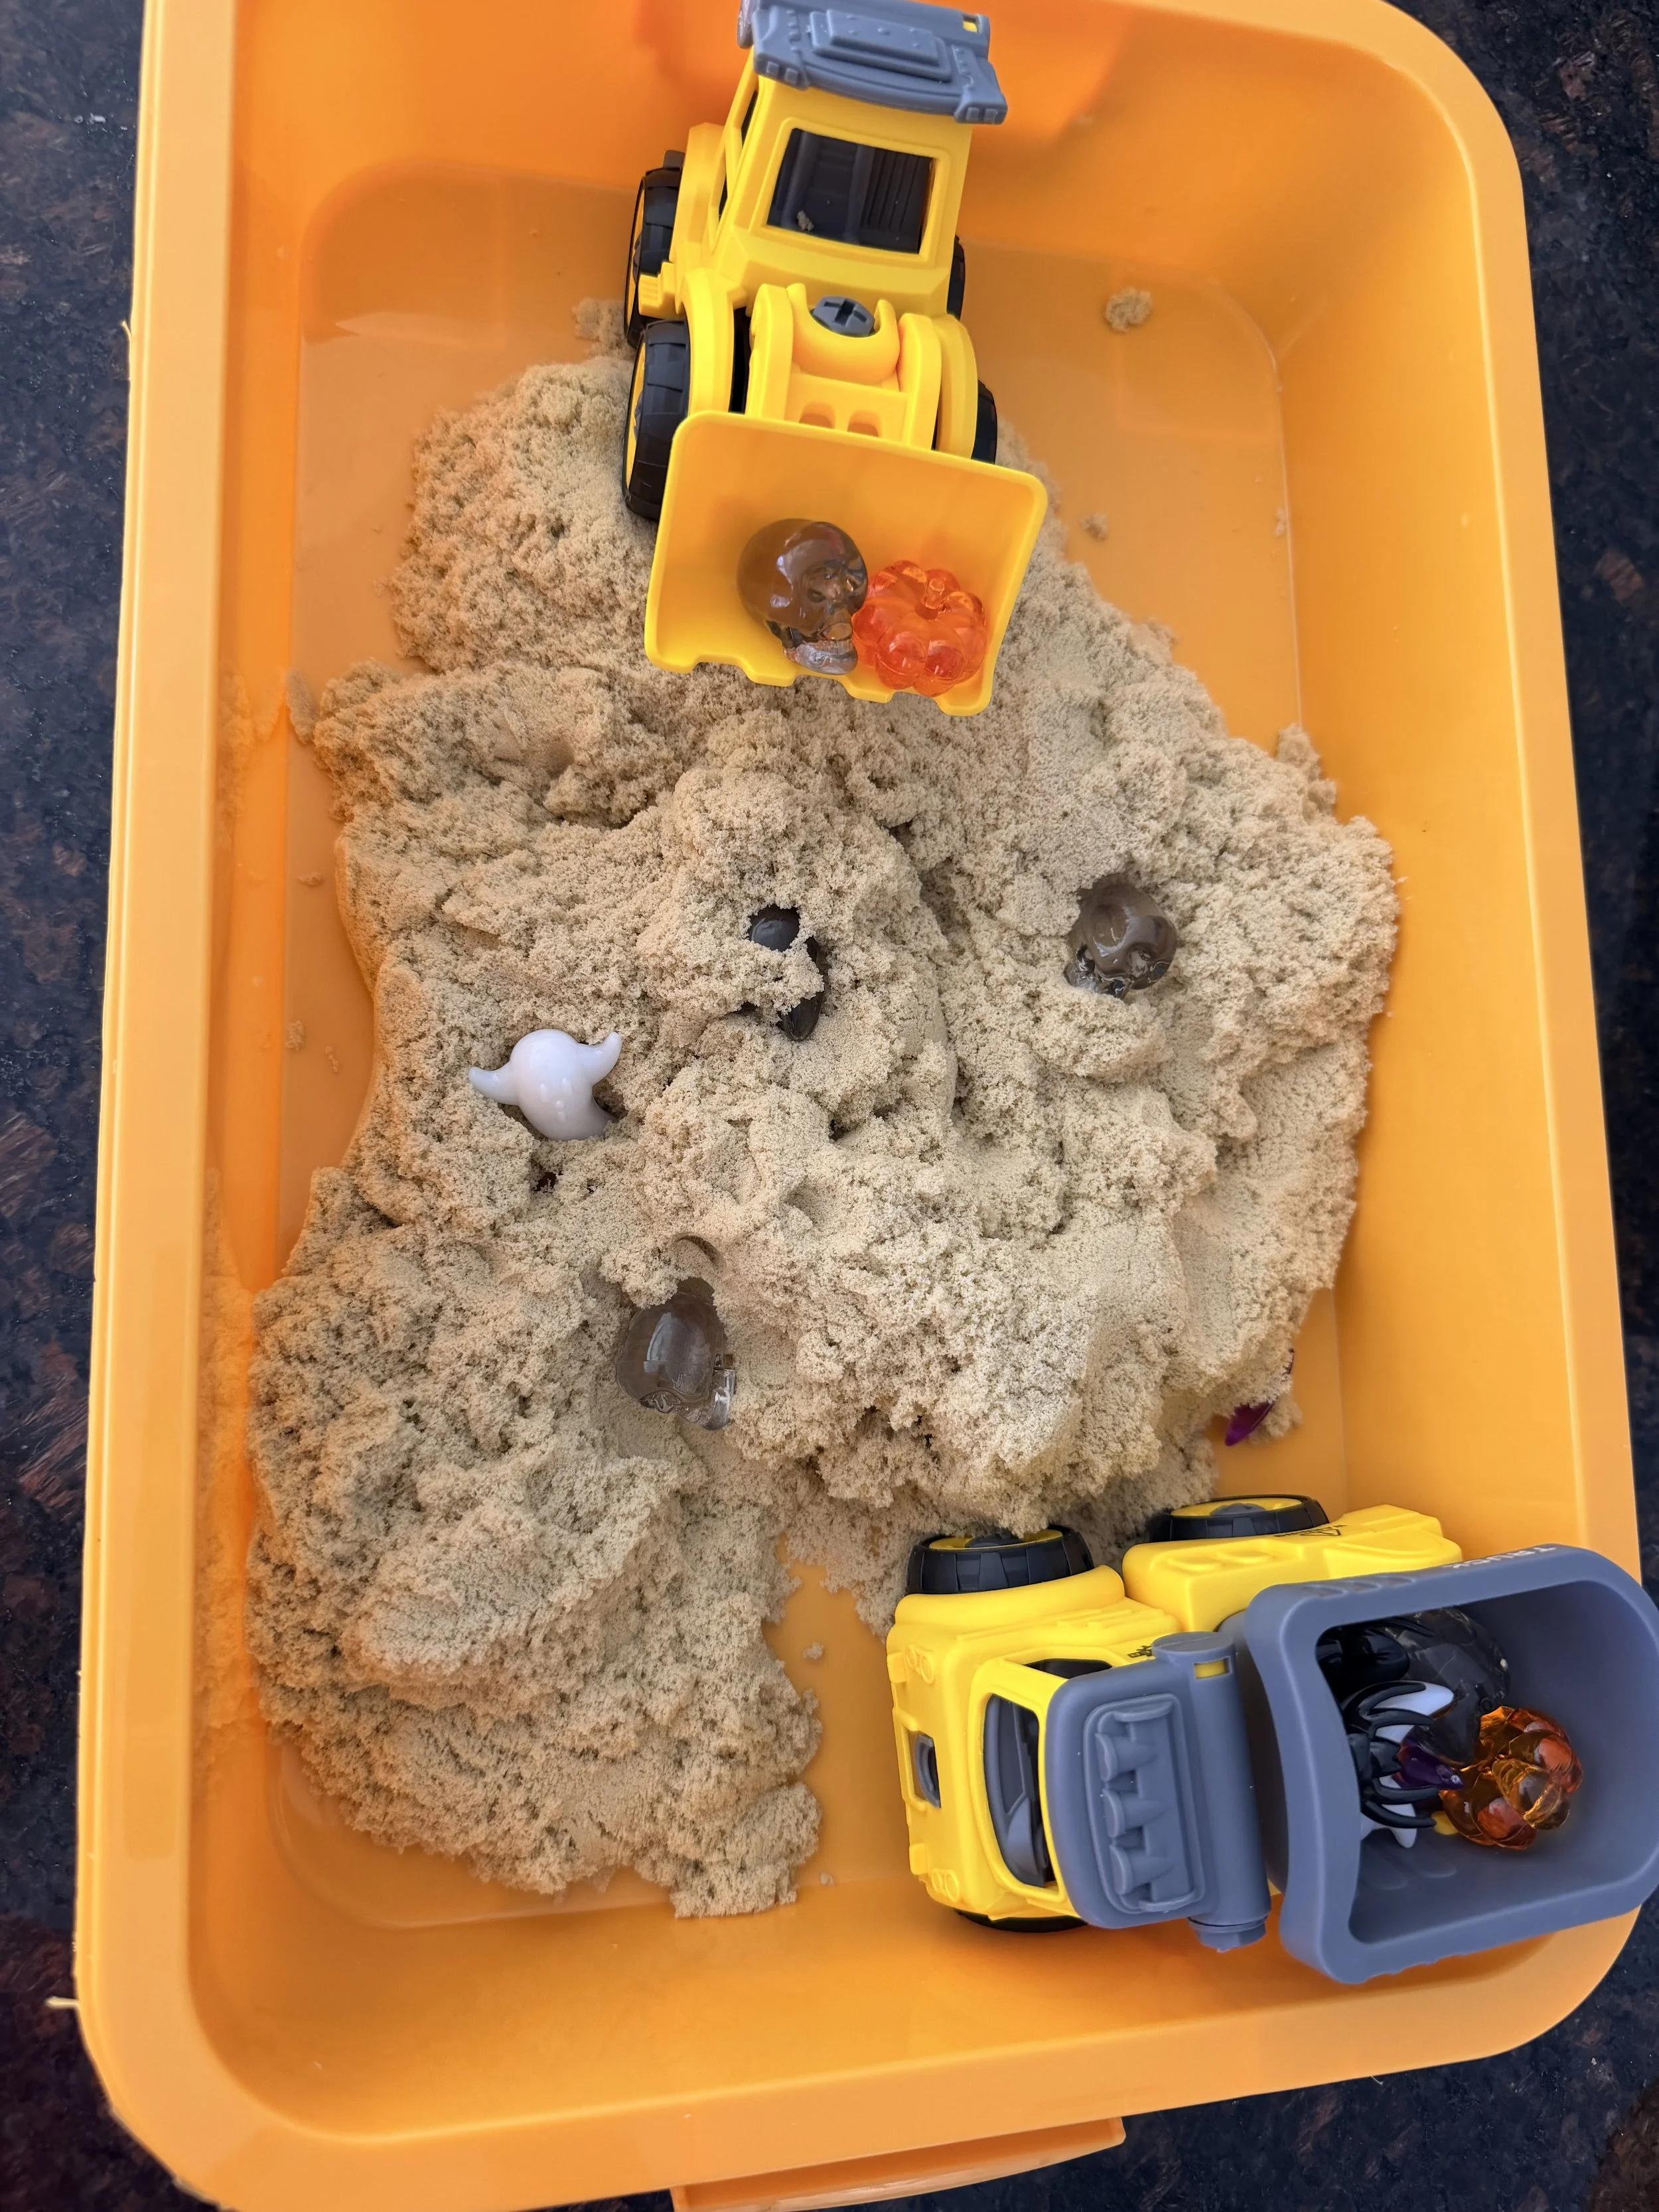
Use kinetic sand and trucks to dig for Halloween treasure
5. Dig for Halloween Treasure 💎
If your kids like digging, this one is ridiculously easy.
You can do it outside in a sandbox or make an indoor sensory bin with kinetic sand or another sensory-bin filler you already use.
The Setup: About 2 minutes
What You Need
Mini pumpkins
Plastic spiders or Halloween acrylic gems
Construction trucks
Sandbox, kinetic sand or sensory bin
Need the supplies? You can find everything I'm using on my Amazon Halloween Activity List.
Then bring out the construction trucks.
Have Excavator dig up the Halloween treasure while Dump Truck hauls everything back to the trick-or-treat bucket.
You can make this one even simpler, too. When I first brought out the mini pumpkins and Halloween gems, my boys immediately started playing with them before I even finished setting up the sensory bin! They put the mini pumpkins together and took them apart, then sorted and counted the gems by color, shape and size.
Sometimes the easiest activity is just putting out a few interesting supplies and seeing what the kids decide to do with them.
You can also turn it into a counting game:
Can you find 5 pumpkins?
Can you dig up 5 spiders?
How many gems did Dump Truck collect?
Just make sure anything small is age-appropriate for your child and supervise little ones closely.
This ties in with the next activity…
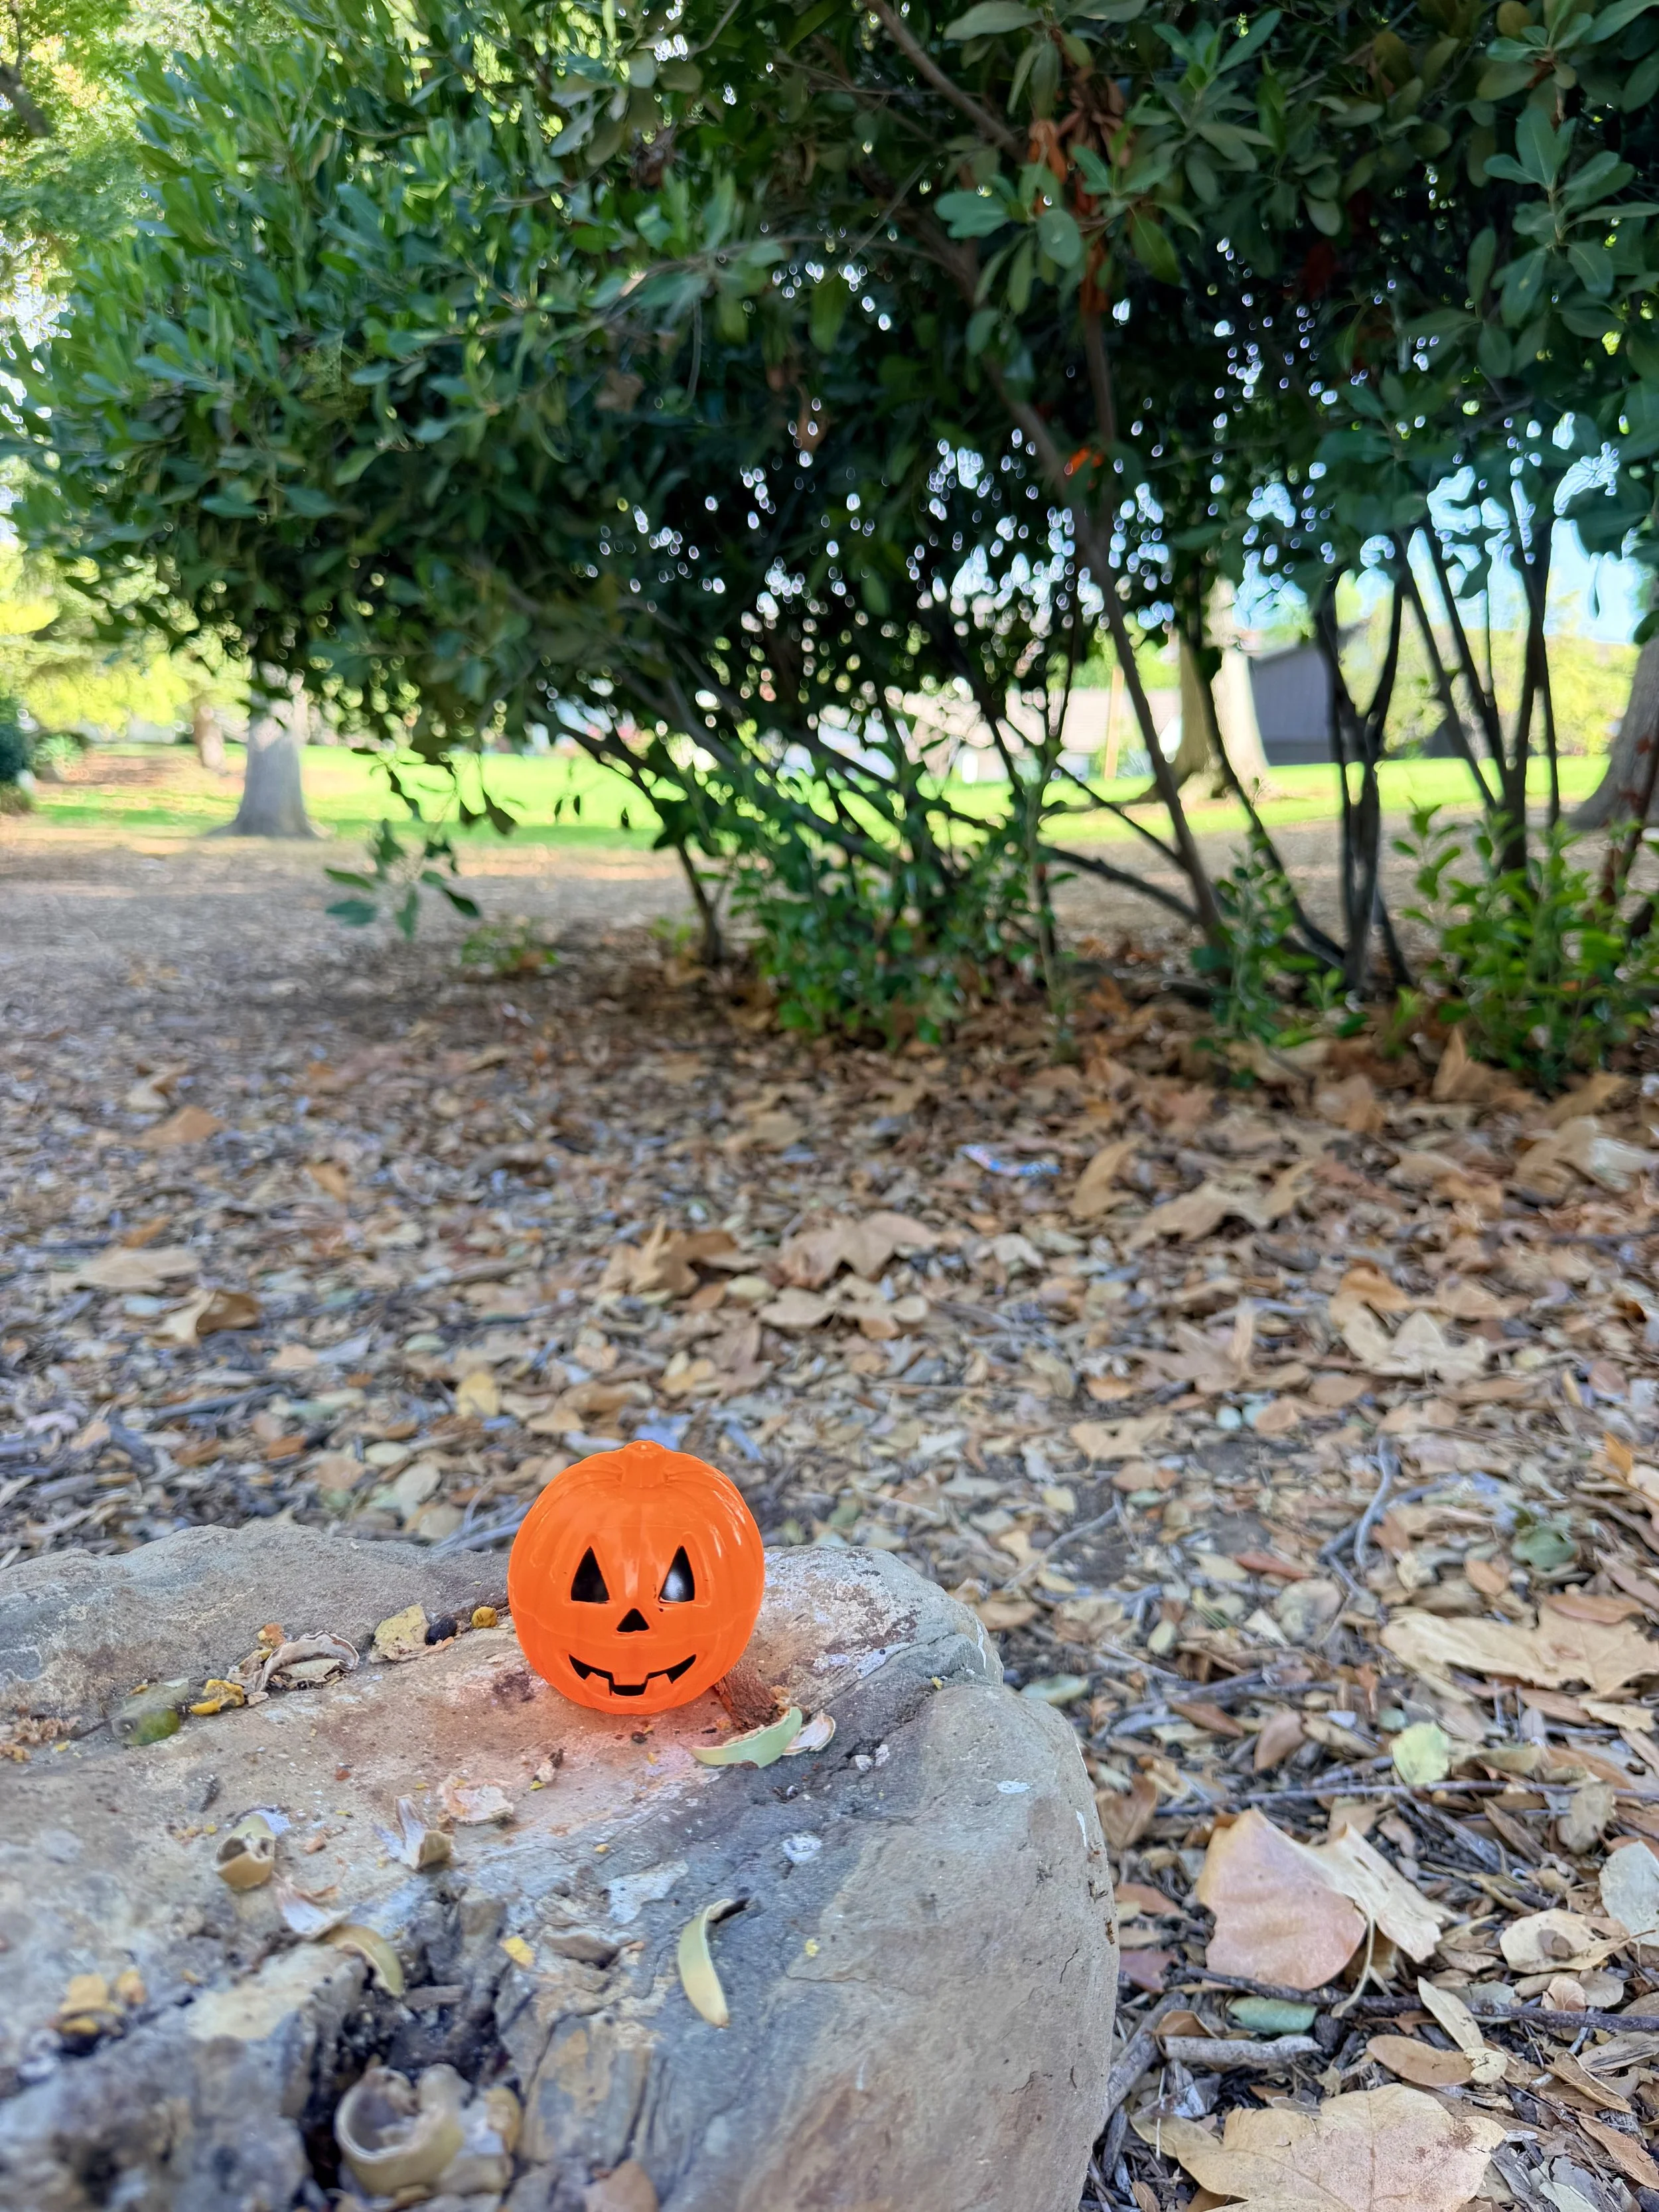
6. Go on a Pumpkin Hunt 🎃
Think Easter egg hunt...but make it Halloween. We called it Pumpkin Hide and Seek for the little ones!
The Setup: About 2 minutes
What You Need
Mini pumpkins
Construction trucks or trick-or-treat buckets
Hide mini pumpkins around the house or yard.
But instead of handing the kids an Easter basket...
Give them a Dump Truck.
😂
Every time they find a pumpkin, it goes into the back of the truck.
If you're outside, use your sidewalk chalk to draw a big PUMPKIN PATCH on the driveway.
Now the kids have two jobs:
Find all the pumpkins.
Use the trucks to deliver them to the Pumpkin Patch.
For a larger group, hide lots of pumpkins and have the kids work together to fill the patch.
This is also an easy Halloween party activity because you can hide as many pumpkins as you need for the size of your group.
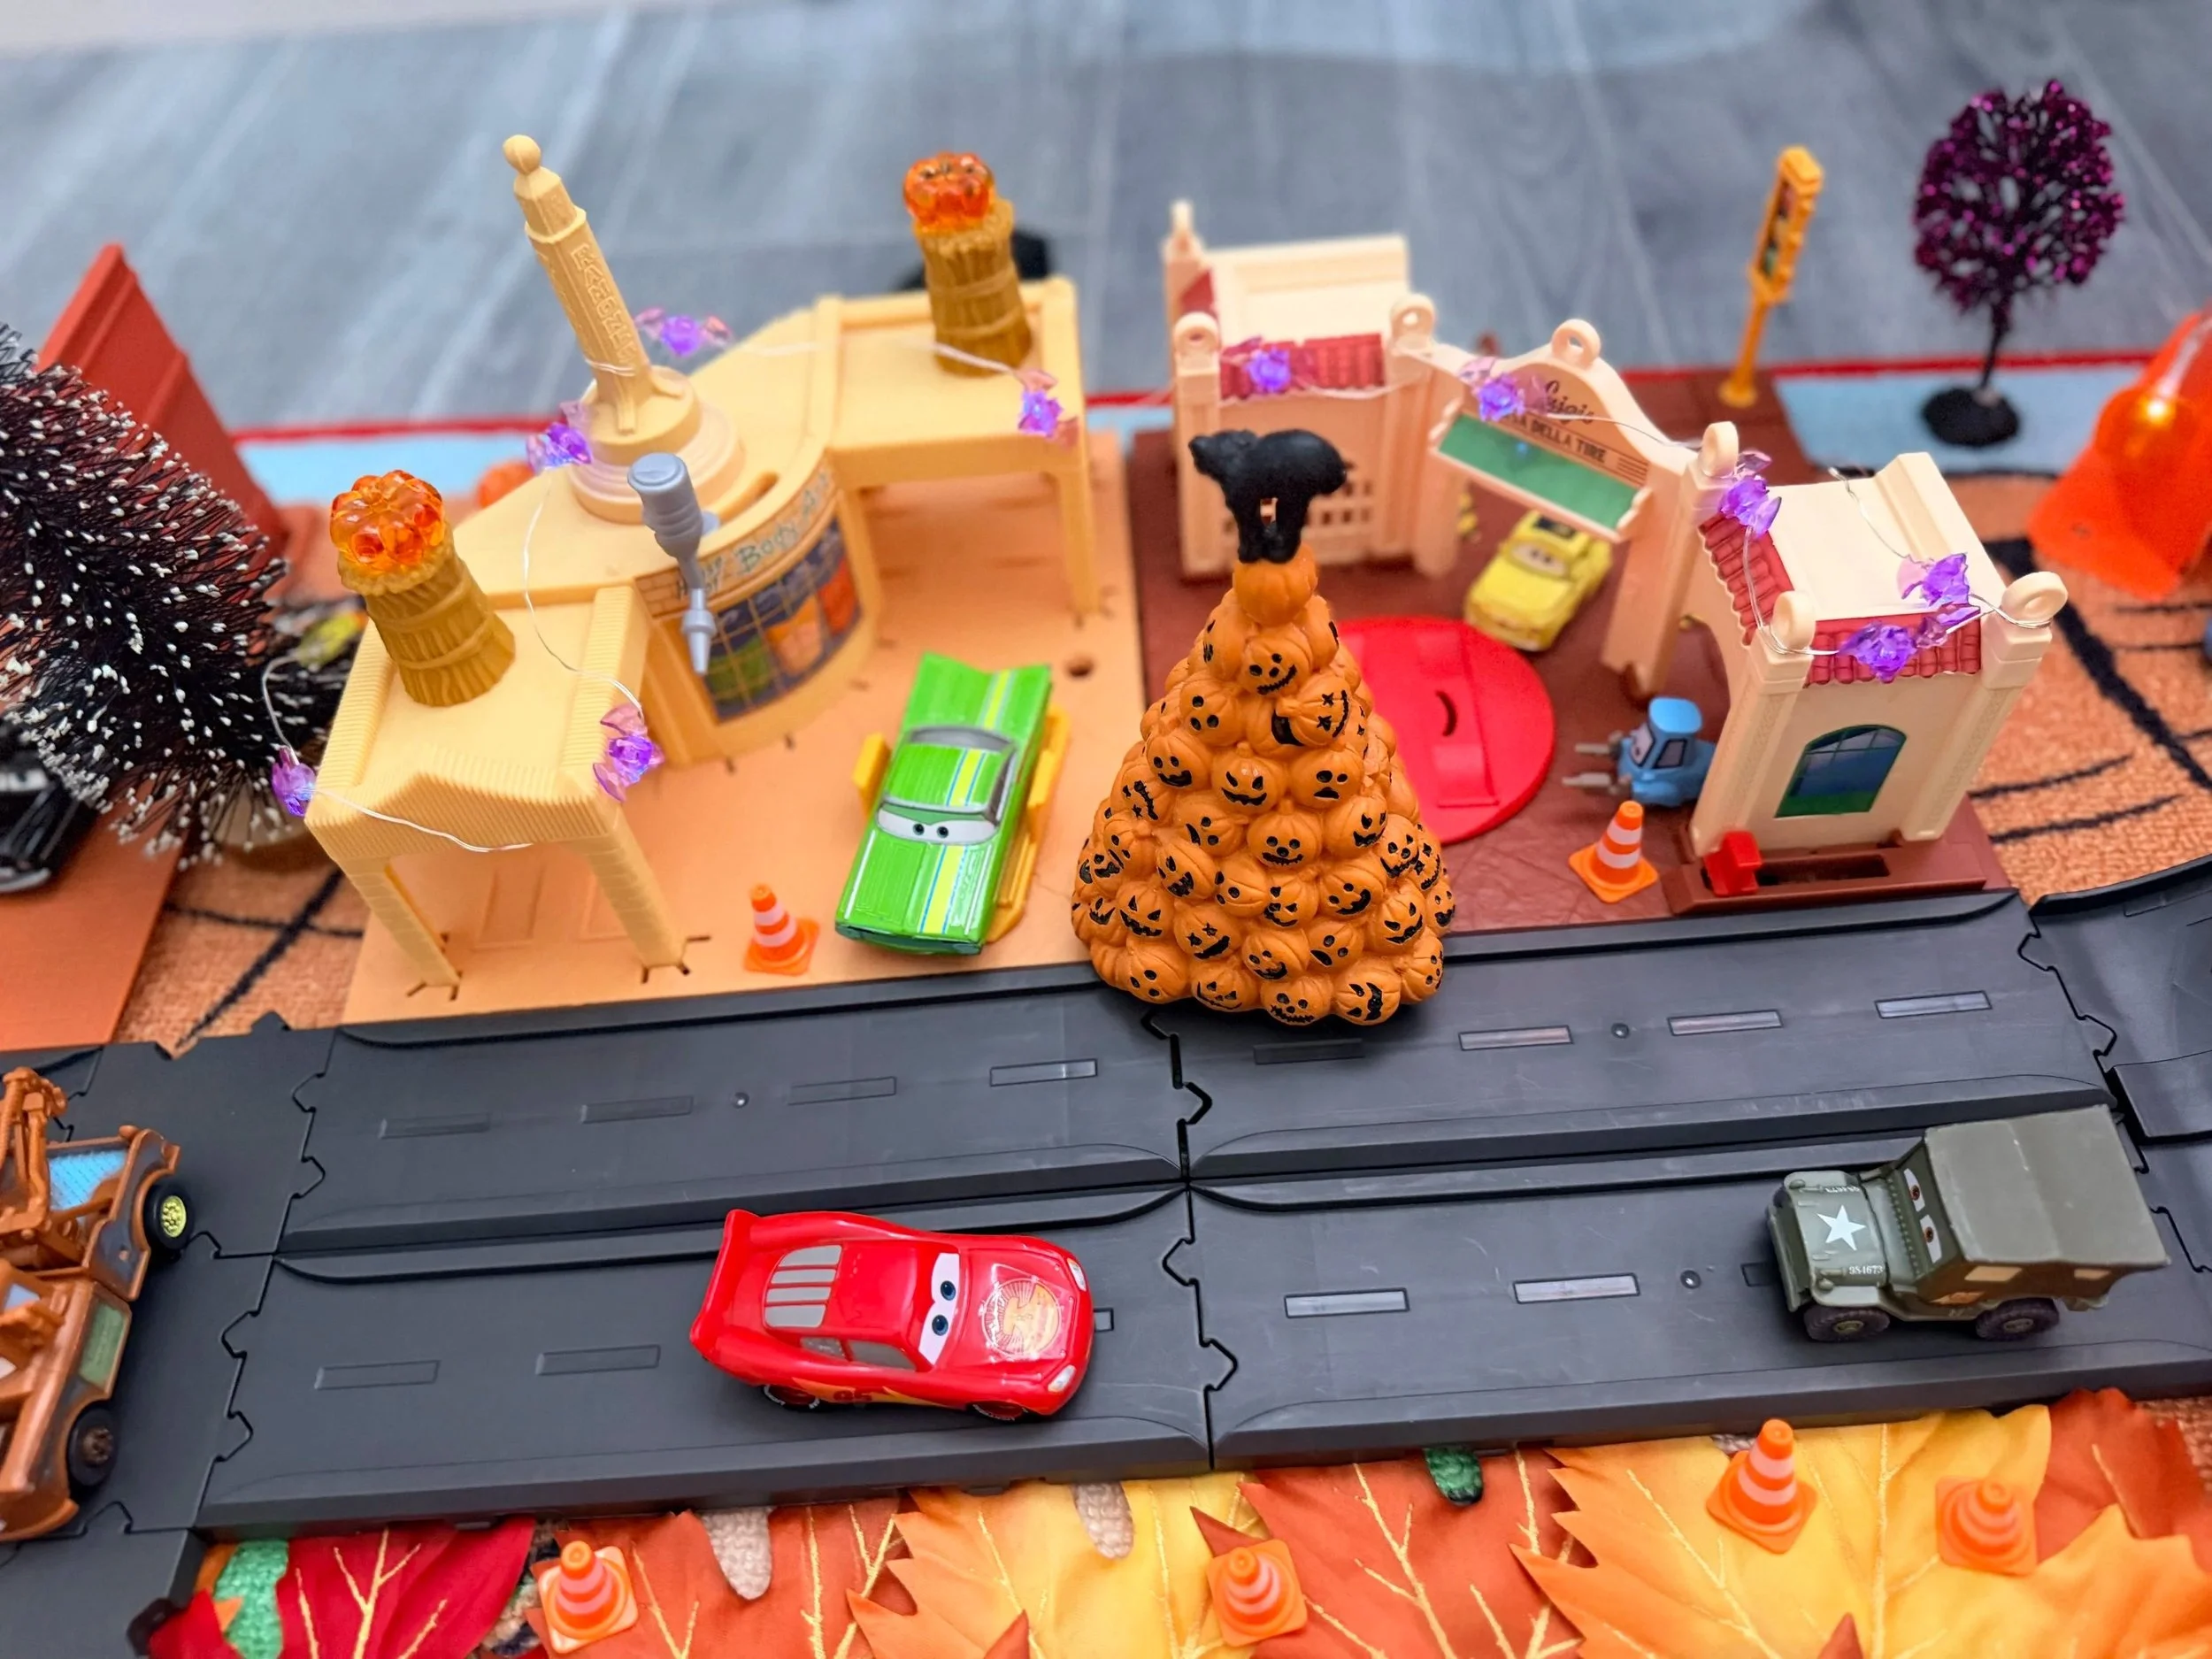
Halloween Radiator Springs play set makeover with Lightning McQueen
7. Halloween-ify a Favorite Playset
You don’t need a brand-new Halloween toy to make playtime feel seasonal! We gave our Radiator Springs playset a quick Halloween makeover with mini pumpkins, lights, spiderwebs, fall leaves and decorations we already had around the house. It took about 10 minutes to set up, cost less than $10 in new supplies, and made an old favorite feel completely new again.
The same idea would work with almost any playset your child already loves — a dollhouse, train set, toy farm, construction site or little town.
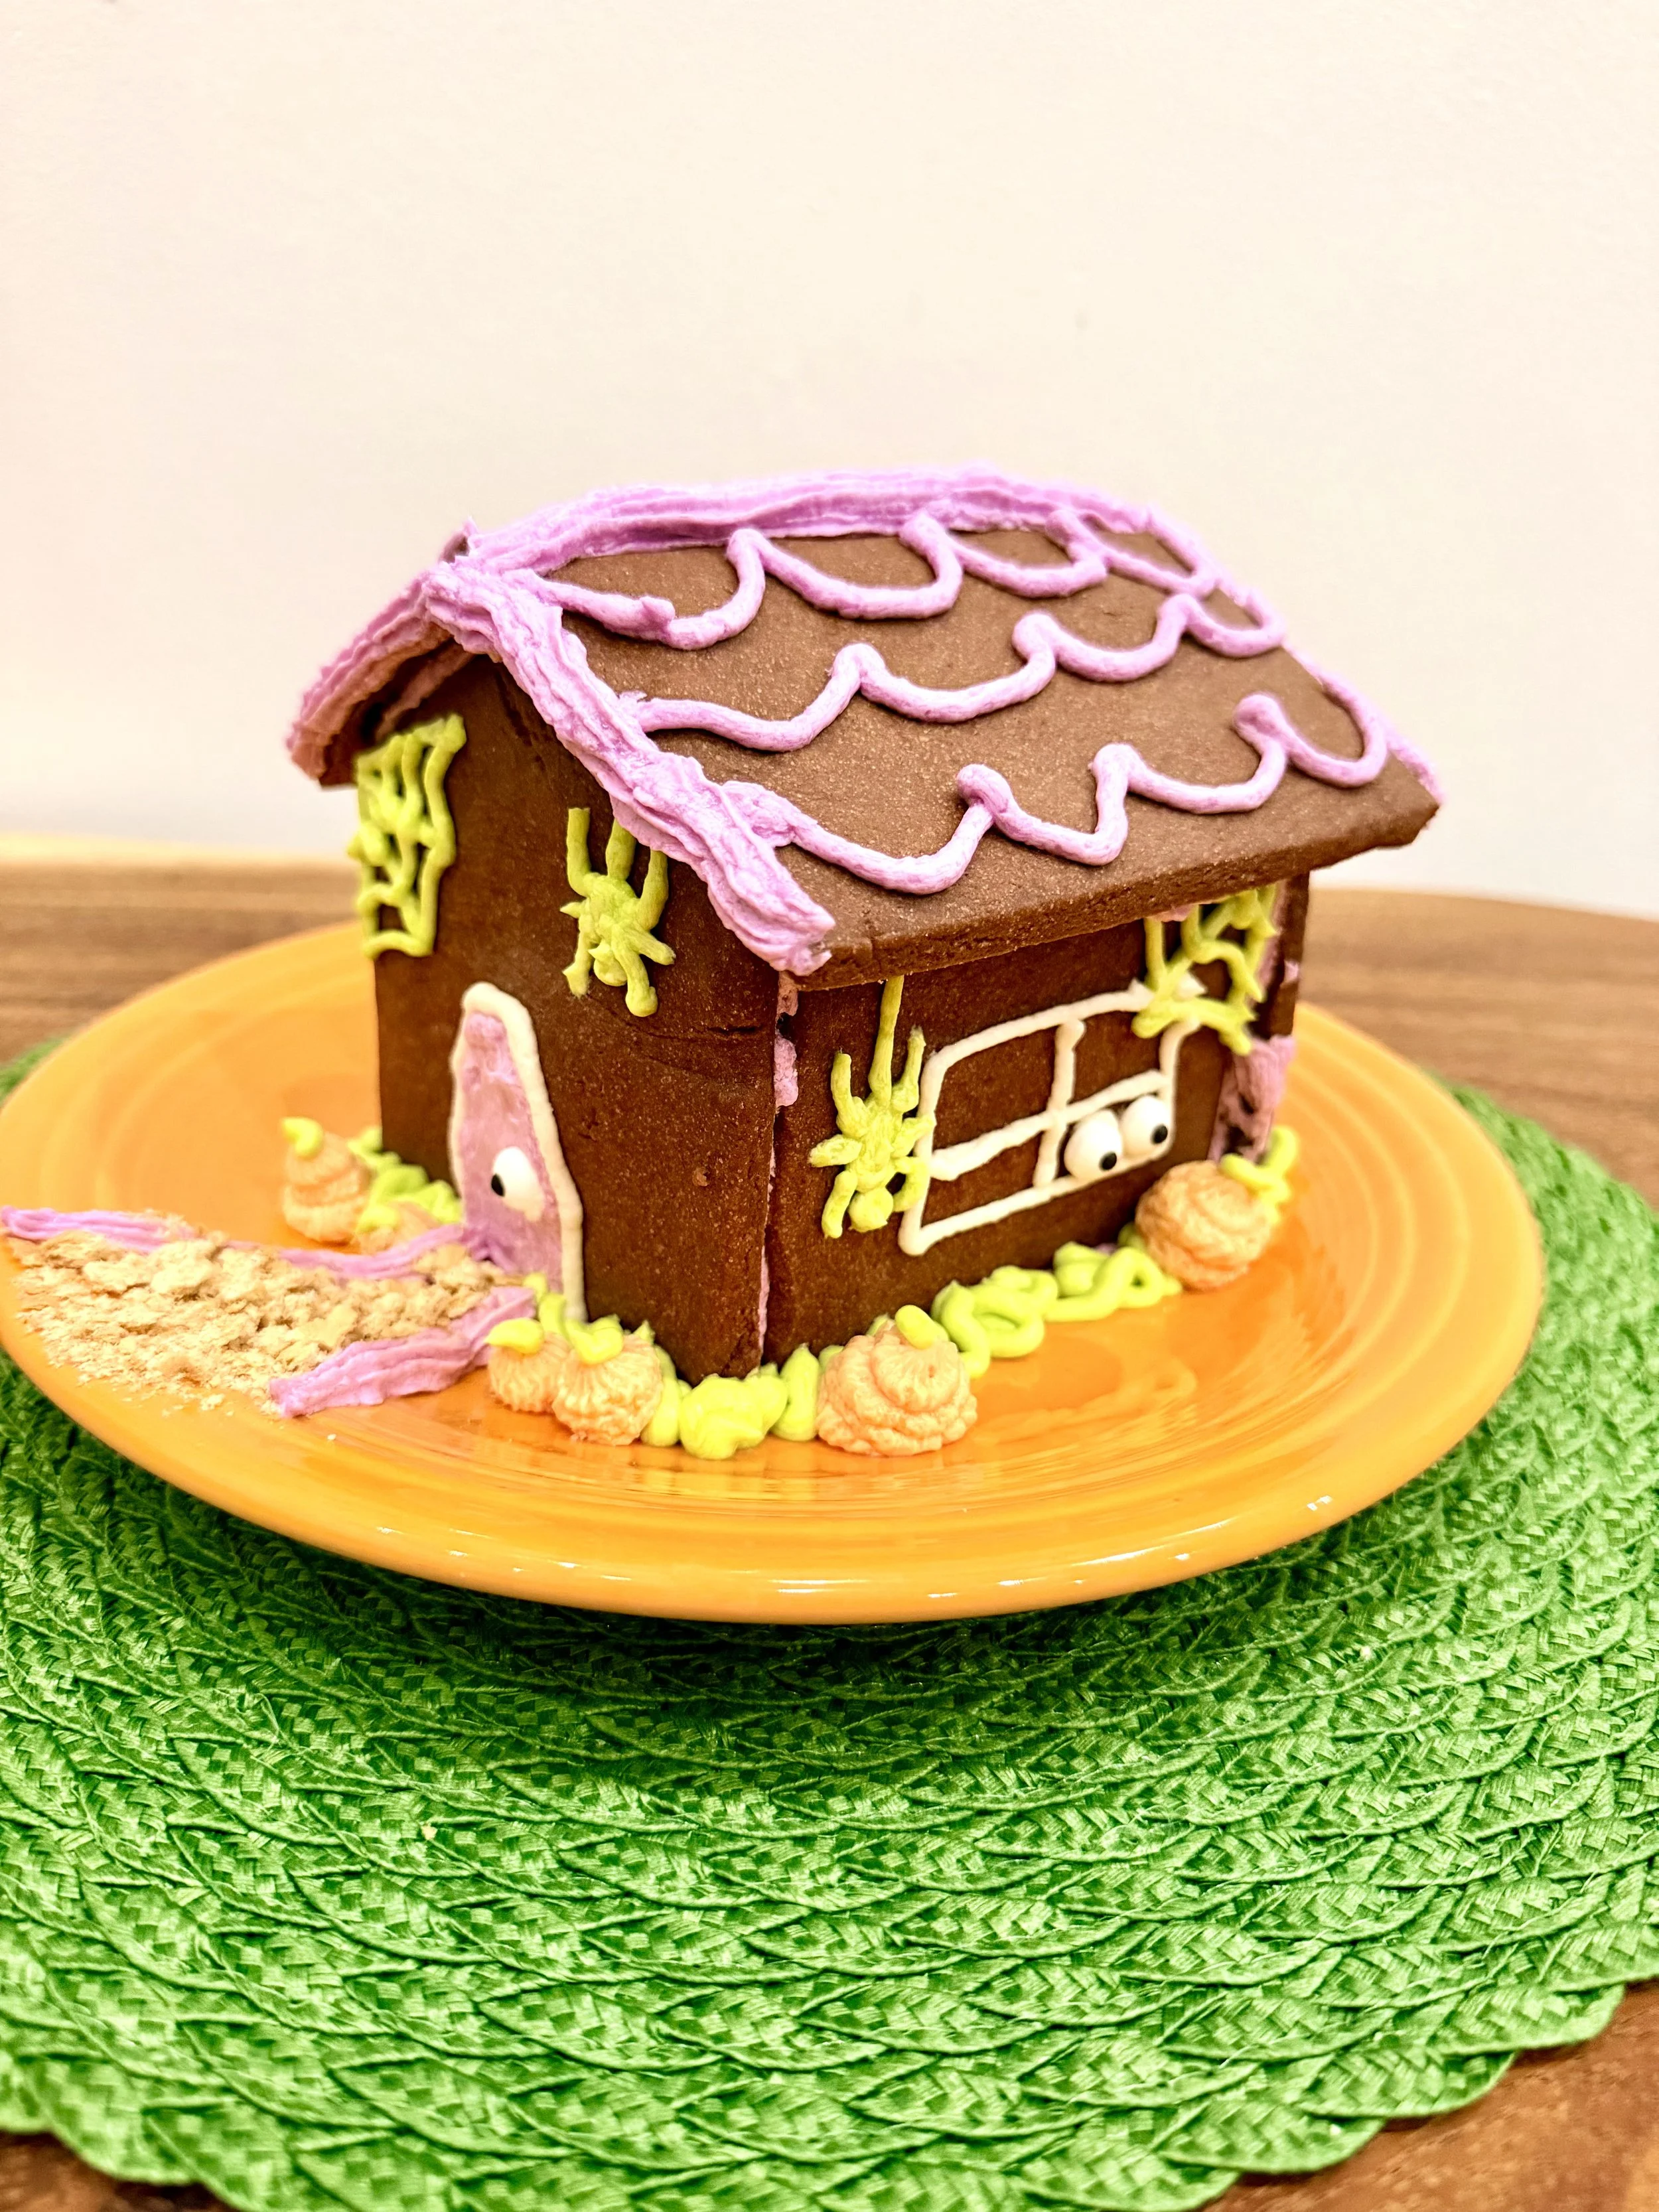
Chocolate Halloween Cookie Haunted house is a fun activity to do with kids
8. Make a Chocolate Halloween Cookie House 🍪🎃
Okay, this activity takes a little more effort than the others.
But it's also delicious.
I LOVE making sugar cookie houses, but for Halloween I wanted something darker than my usual sugar cookie dough. That's how my Chocolate Halloween Cookie House was born.
Instead of making it genuinely scary, I decorated it with bright orange, purple and green frosting and lots of colorful Halloween details.
The Setup: About 1 hour
What You Need
See my full Chocolate Halloween Cookie House recipe for the ingredients, decorating supplies and step-by-step instructions.
You can make the chocolate cookie-house pieces ahead of time, so you don't have to bake and decorate everything in one day. Make the cookies the day before, then make—or buy!—your frosting when you're ready to decorate.
Want the Easier Version?
Skip the house!
Use the same chocolate cookie dough to make regular Halloween cookies.
Put out orange, purple and green frosting, sprinkles, candy eyes and other Halloween decorations and let the kids decorate their own.
You still get the fun—and the chocolate—without having to construct an entire house.
The Trucks that Saved Halloween Children’s Book
9. Read a Not-So-Spooky Halloween Book 📚
After all that running, digging, pumpkin hauling and cookie decorating, this is the point where I'm ready for everyone to SIT DOWN. 😂
The Setup: 0 minutes
Grab a cozy spot and read a favorite Halloween picture book together.
If your kids love construction trucks, The Trucks That Saved Halloween combines trucks with all of my favorite not-so-spooky parts of Halloween.
Dump Truck, Excavator and Crane Truck are ready to truck-or-treat, but the streets are far too quiet. So the Truck Team gets to work transforming an old farm into a cheerful Halloween carnival.
There are pumpkins, carnival rides, costumes, a little Halloween magic and, of course, truck-or-treating!
It's a cheerful Halloween story about friendship and teamwork created especially for little truck lovers ages 2–6.
And if you're always looking for another Halloween book to add to your shelf, I'm also putting together a list of our favorite not-so-spooky Halloween books for toddlers and preschoolers.
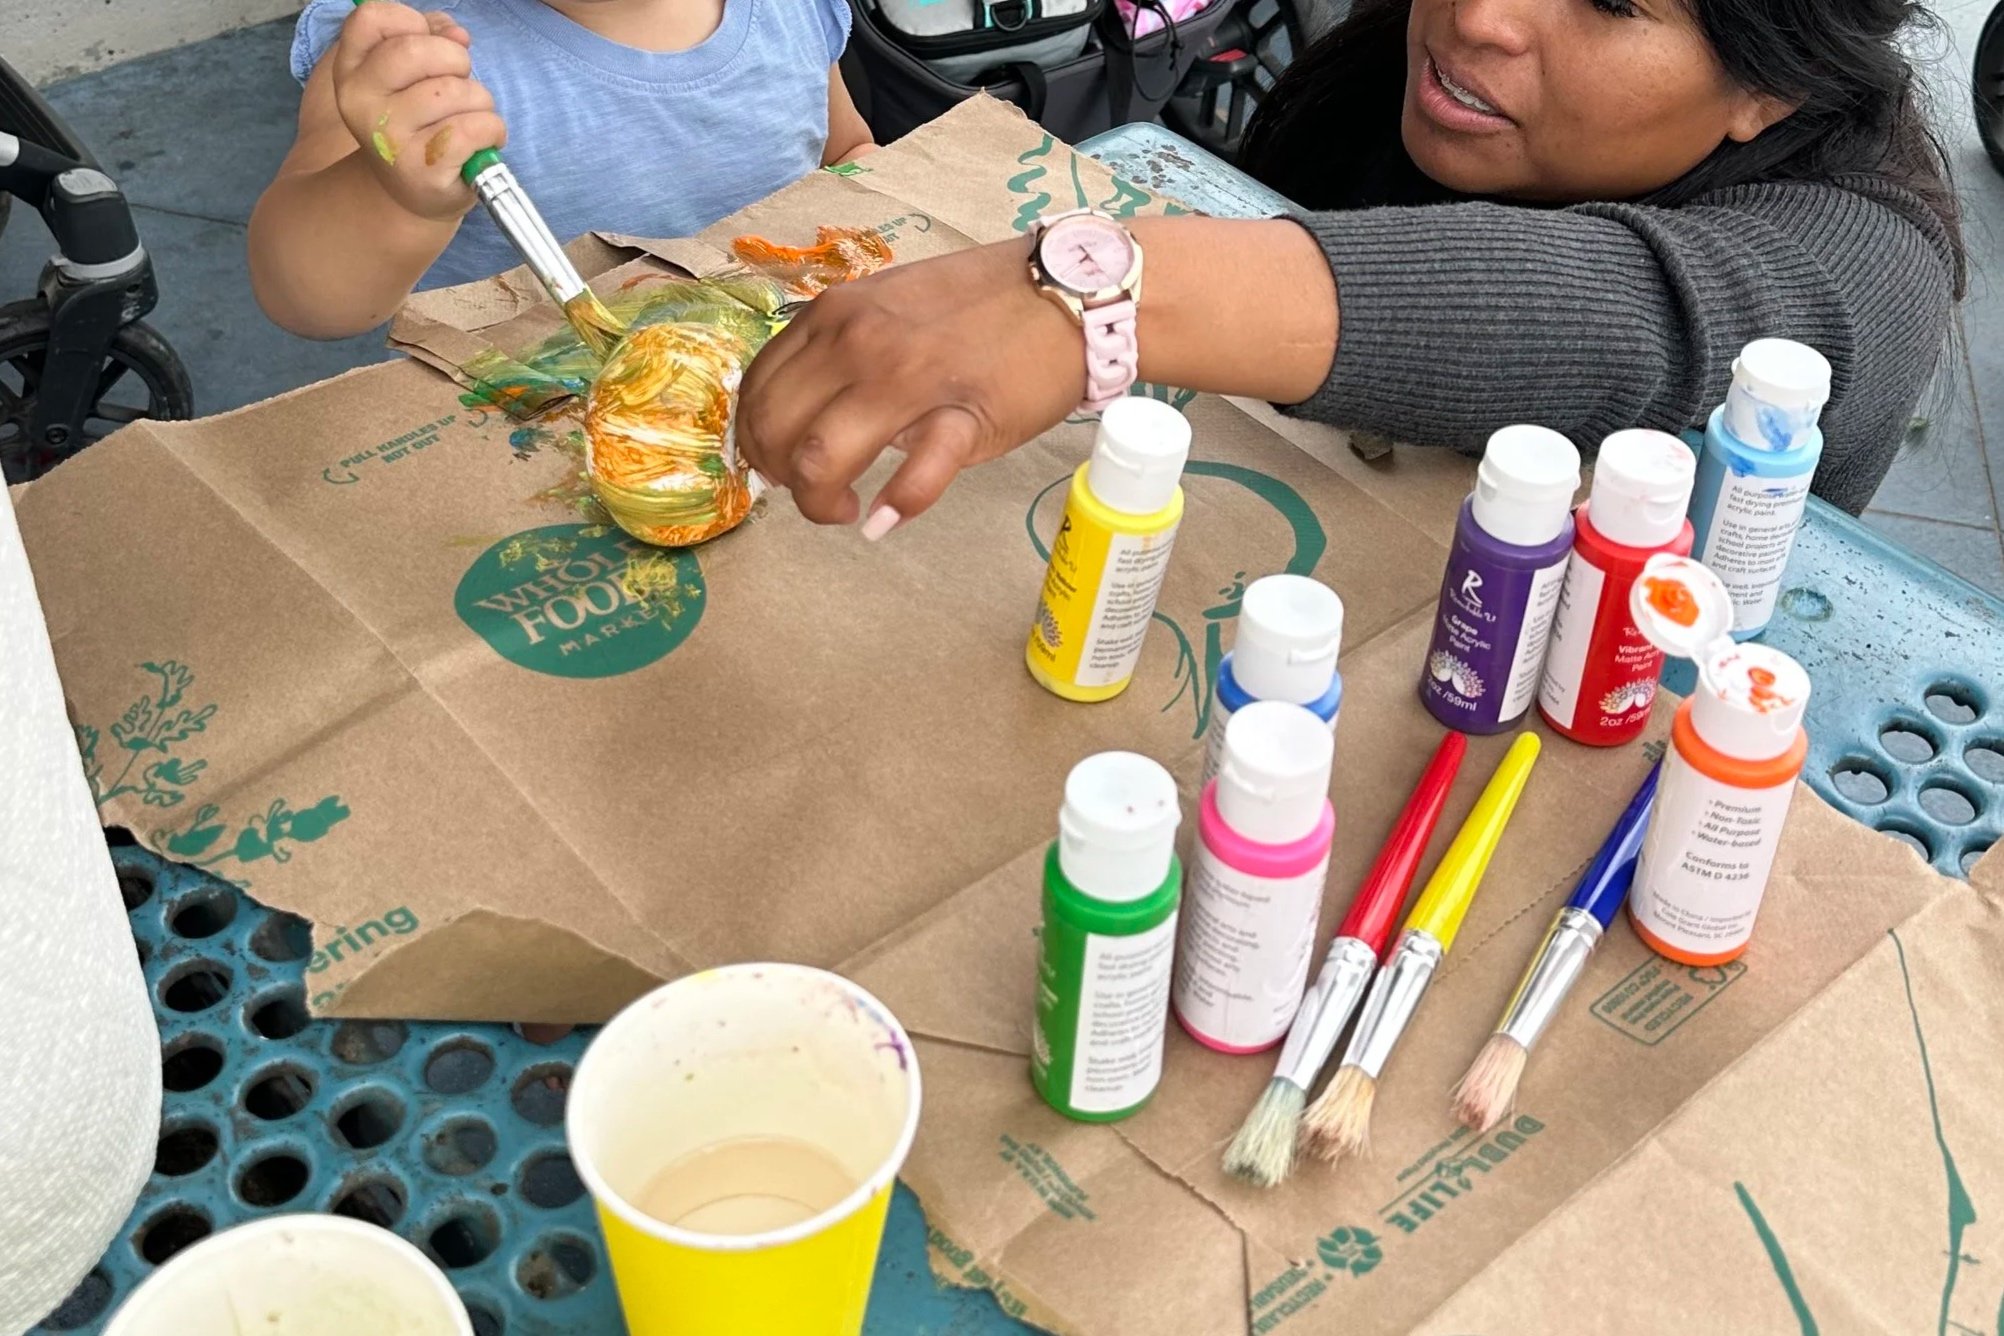
Pumpkin painting is one of our favorite easy Halloween crafts for toddlers and preschoolers.
10. Paint Pumpkins Instead of Carving Them 🎨🎃
If you're looking for easy Halloween crafts for toddlers and preschoolers, pumpkin painting is one of my favorites. You get all the fun of decorating a pumpkin without handing little kids carving tools.
This one can get a little messy, but it's something I've enjoyed doing both on my own and with my littles. We even had a little pumpkin painting party, which is a great Halloween party idea as long as you have adults willing to supervise!
The Setup: About 5 minutes
What You Need
Washable paint
Real or craft pumpkins
Paintbrushes
Halloween stickers
Water cups
Paper towels—lots of paper towels!
Set out washable paint, paintbrushes and pumpkins.
Real pumpkins work, or use craft pumpkins if you'd like to keep your creations for another year.
Kids can paint anything they want, but truck-loving kids can turn their pumpkins into construction-truck pumpkins.
Try:
💛 Yellow Crane Truck pumpkin
💚 Green Excavator pumpkin
🧡 Orange Dump Truck pumpkin
Add Halloween stickers when the paint dries, or just let the kids cover their pumpkins in whatever colors they want.
They do not need to look remotely Pinterest-perfect. Mine definitely did not! 😂
Put down something to protect your table, have water cups nearby and keep plenty of paper towels within reach.
Trust me on that last one.
I painted this donut pumpkin a few years ago at a Halloween party, and it's still one of my favorite Halloween decorations to pull out every fall!
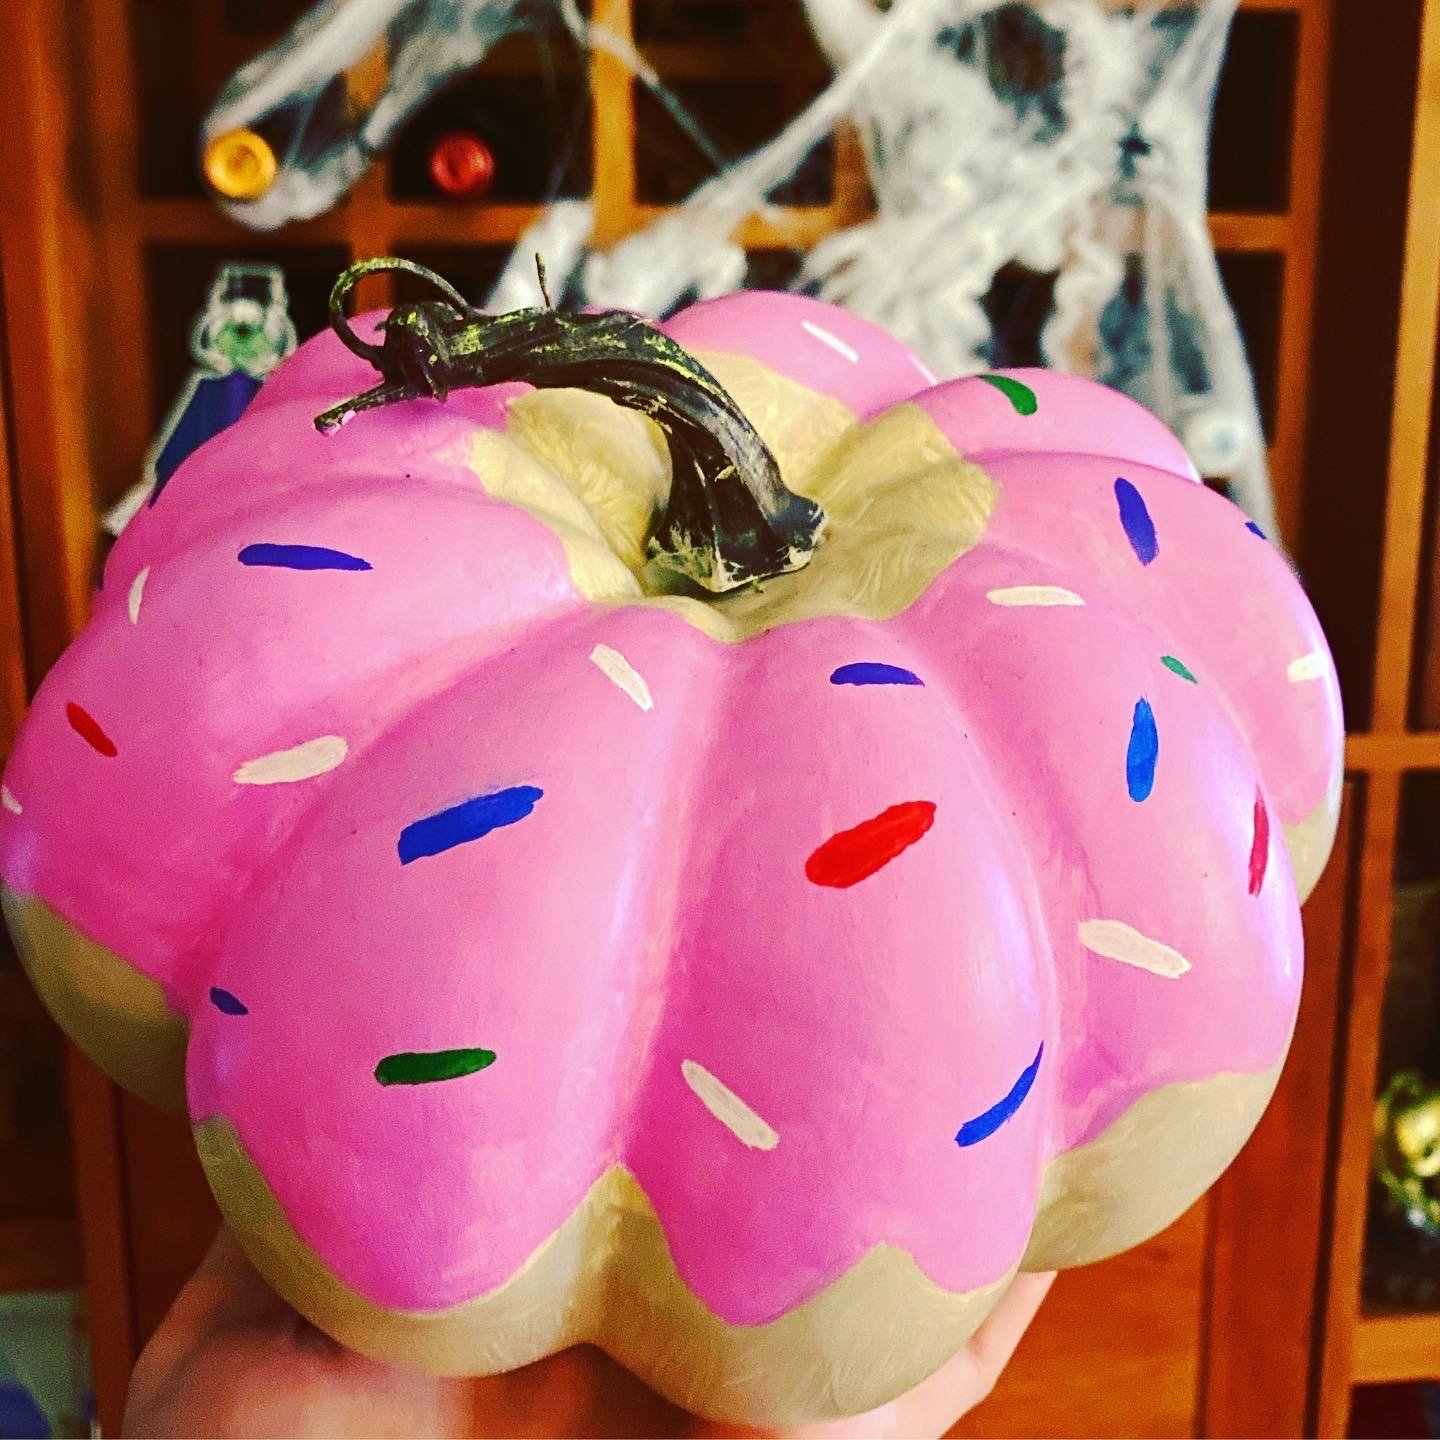
My painted pink pumpkin donut WITH sprinkles, of course!
More Halloween Fun / Resources
Looking for a few more ways to keep the Halloween fun going?
Make a Chocolate Halloween Cookie House: If you’re in the mood for a hands-on Halloween baking project, try my Chocolate Halloween Cookie House. You can build the full house or use the same dough and decorating ideas for easy Halloween cookies.
Read The Trucks That Saved Halloween: If your little one loves construction trucks, pumpkins and not-too-spooky Halloween fun, learn more about The Trucks That Saved Halloween.
Shop the Activity Supplies: You can find the mini pumpkins, chalk, trucks, gems and other supplies we reused throughout these activities on my Amazon Halloween Activity List
Easy Halloween Fun Doesn't Have to Be Complicated
You don't need a brand-new craft kit or elaborate setup every day to make Halloween feel special.
A bag of mini pumpkins, some sidewalk chalk and a few toys your kids already love can turn into a pumpkin race one afternoon, a treasure hunt the next and an entire Halloween carnival after that.
Whether you went on a neighborhood scavenger hunt, raced Dump Trucks full of pumpkins or tackled an entire Chocolate Cookie Haunted House, I hope you found something here that helps you make some sweet—and maybe slightly messy—Halloween memories together.
Happy Halloween! 🎃
Like these ideas? Share or save them for next year on your favorite Pinterest board!
More Halloween Posts:

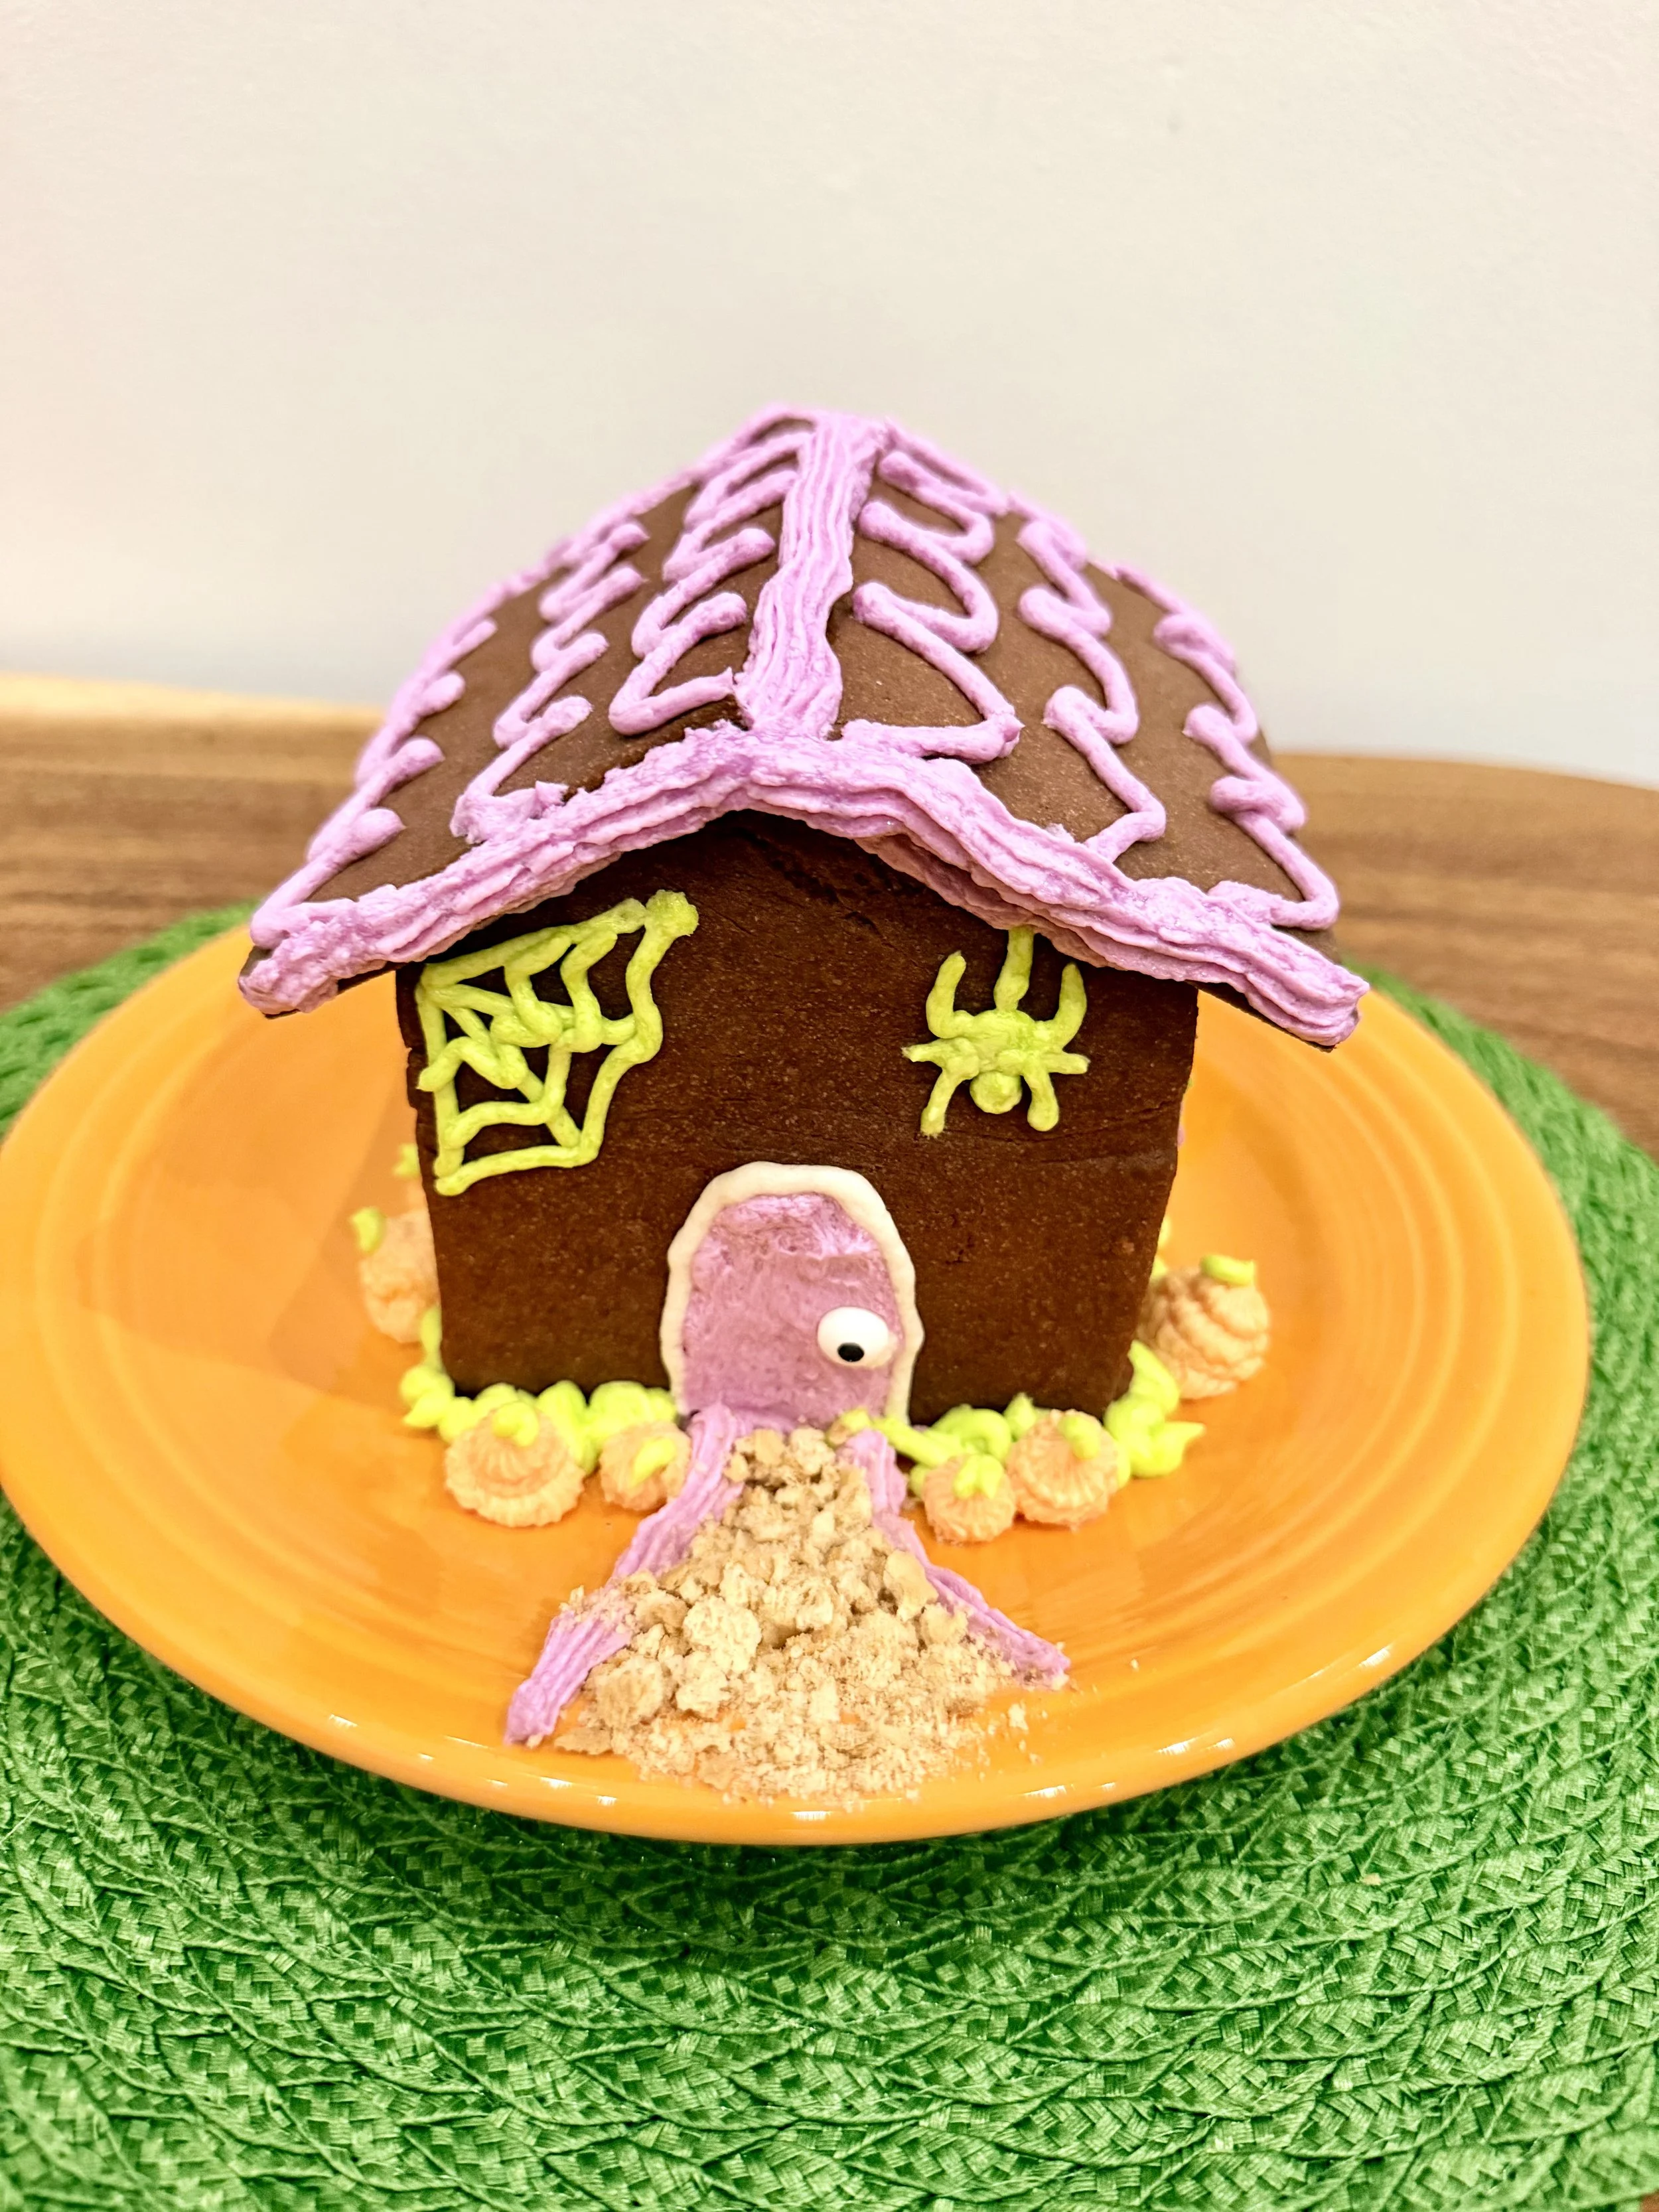
Chocolate Haunted Cookie House: How to Make a Cute Halloween Cookie House
Make a cute, not-too-spooky Halloween cookie house with chocolate cookie walls, colorful buttercream, 3-D frosting pumpkins and a friendly ghost! This kid-friendly haunted cookie house includes the full chocolate cookie recipe, decorating tips and step-by-step assembly instructions.
Halloween is one of our favorite holidays around here—besides Christmas, of course!
If you’ve been here before, you probably know that I have a thing for cookie houses. It all started because I don’t really like gingerbread, but I LOVE decorating gingerbread houses. So I made my own version using a sugar cookie house and buttercream frosting instead.
Since then, I’ve turned that same basic idea into houses for Valentine’s Day, St. Patrick’s Day, Easter and more.
So naturally, we needed a Halloween house!
Because I have little guys, though, I didn’t want our haunted house to be too haunted. I wanted something cute, colorful and just spooky enough to feel like Halloween without actually being scary.
And for the first time, I decided to make the house itself chocolate.
Chocolate Halloween Cookie House
If you’d like to see all of the different houses I’ve made, start with my Sugar Cookie House Guide, where I’ve collected my favorite ideas, tips and designs.
Why I Made a Chocolate Haunted Cookie House
I LOVE chocolate, but somehow I had never thought about making a chocolate cookie house before.
Which is funny, because the entire reason I started making sugar cookie houses in the first place is that I don’t like gingerbread!
When I started planning the Halloween version, I knew exactly what colors I wanted:
💜 Purple
🧡 Orange
💚 Green
I pictured those bright Halloween colors against a dark house.
At first, I thought I’d make my regular sugar cookie house and use black frosting.
But black frosting and I aren’t always friends.
I’m not a professional baker, and even when I use black gel food coloring, I’ve found that sometimes I get black…and sometimes I get a really dark gray.
I also LOVE buttercream frosting and knew I wanted to use it for this house. I didn’t want to add so much black food coloring that I was fighting with the frosting when the whole point of these houses is to make something that’s fun to decorate and tastes good enough to eat.
Then it hit me:
Why not make the HOUSE dark instead?
A chocolate cookie house would give me that dark Halloween backdrop while letting the purple, orange and green buttercream really pop.
Plus…chocolate.
Decision made.
A Cute Haunted House for Little Kids
Since I’m making this with my kids in mind, I wasn’t going for a creepy abandoned haunted mansion.
We’re going for cute haunted house.
Think bright frosting, colorful pumpkins, candy and a friendly ghost rather than anything genuinely frightening.
That’s generally how we like to do Halloween around here—festive and silly with just enough spooky thrown in.
I actually wanted the ghost on the house to have the same happy, friendly feeling as the ghosts in my newest children’s book, The Trucks That Saved Halloween. I wanted the book to make Halloween feel magical and fun for little kids without being scary, and that seemed perfect for our cookie house too.
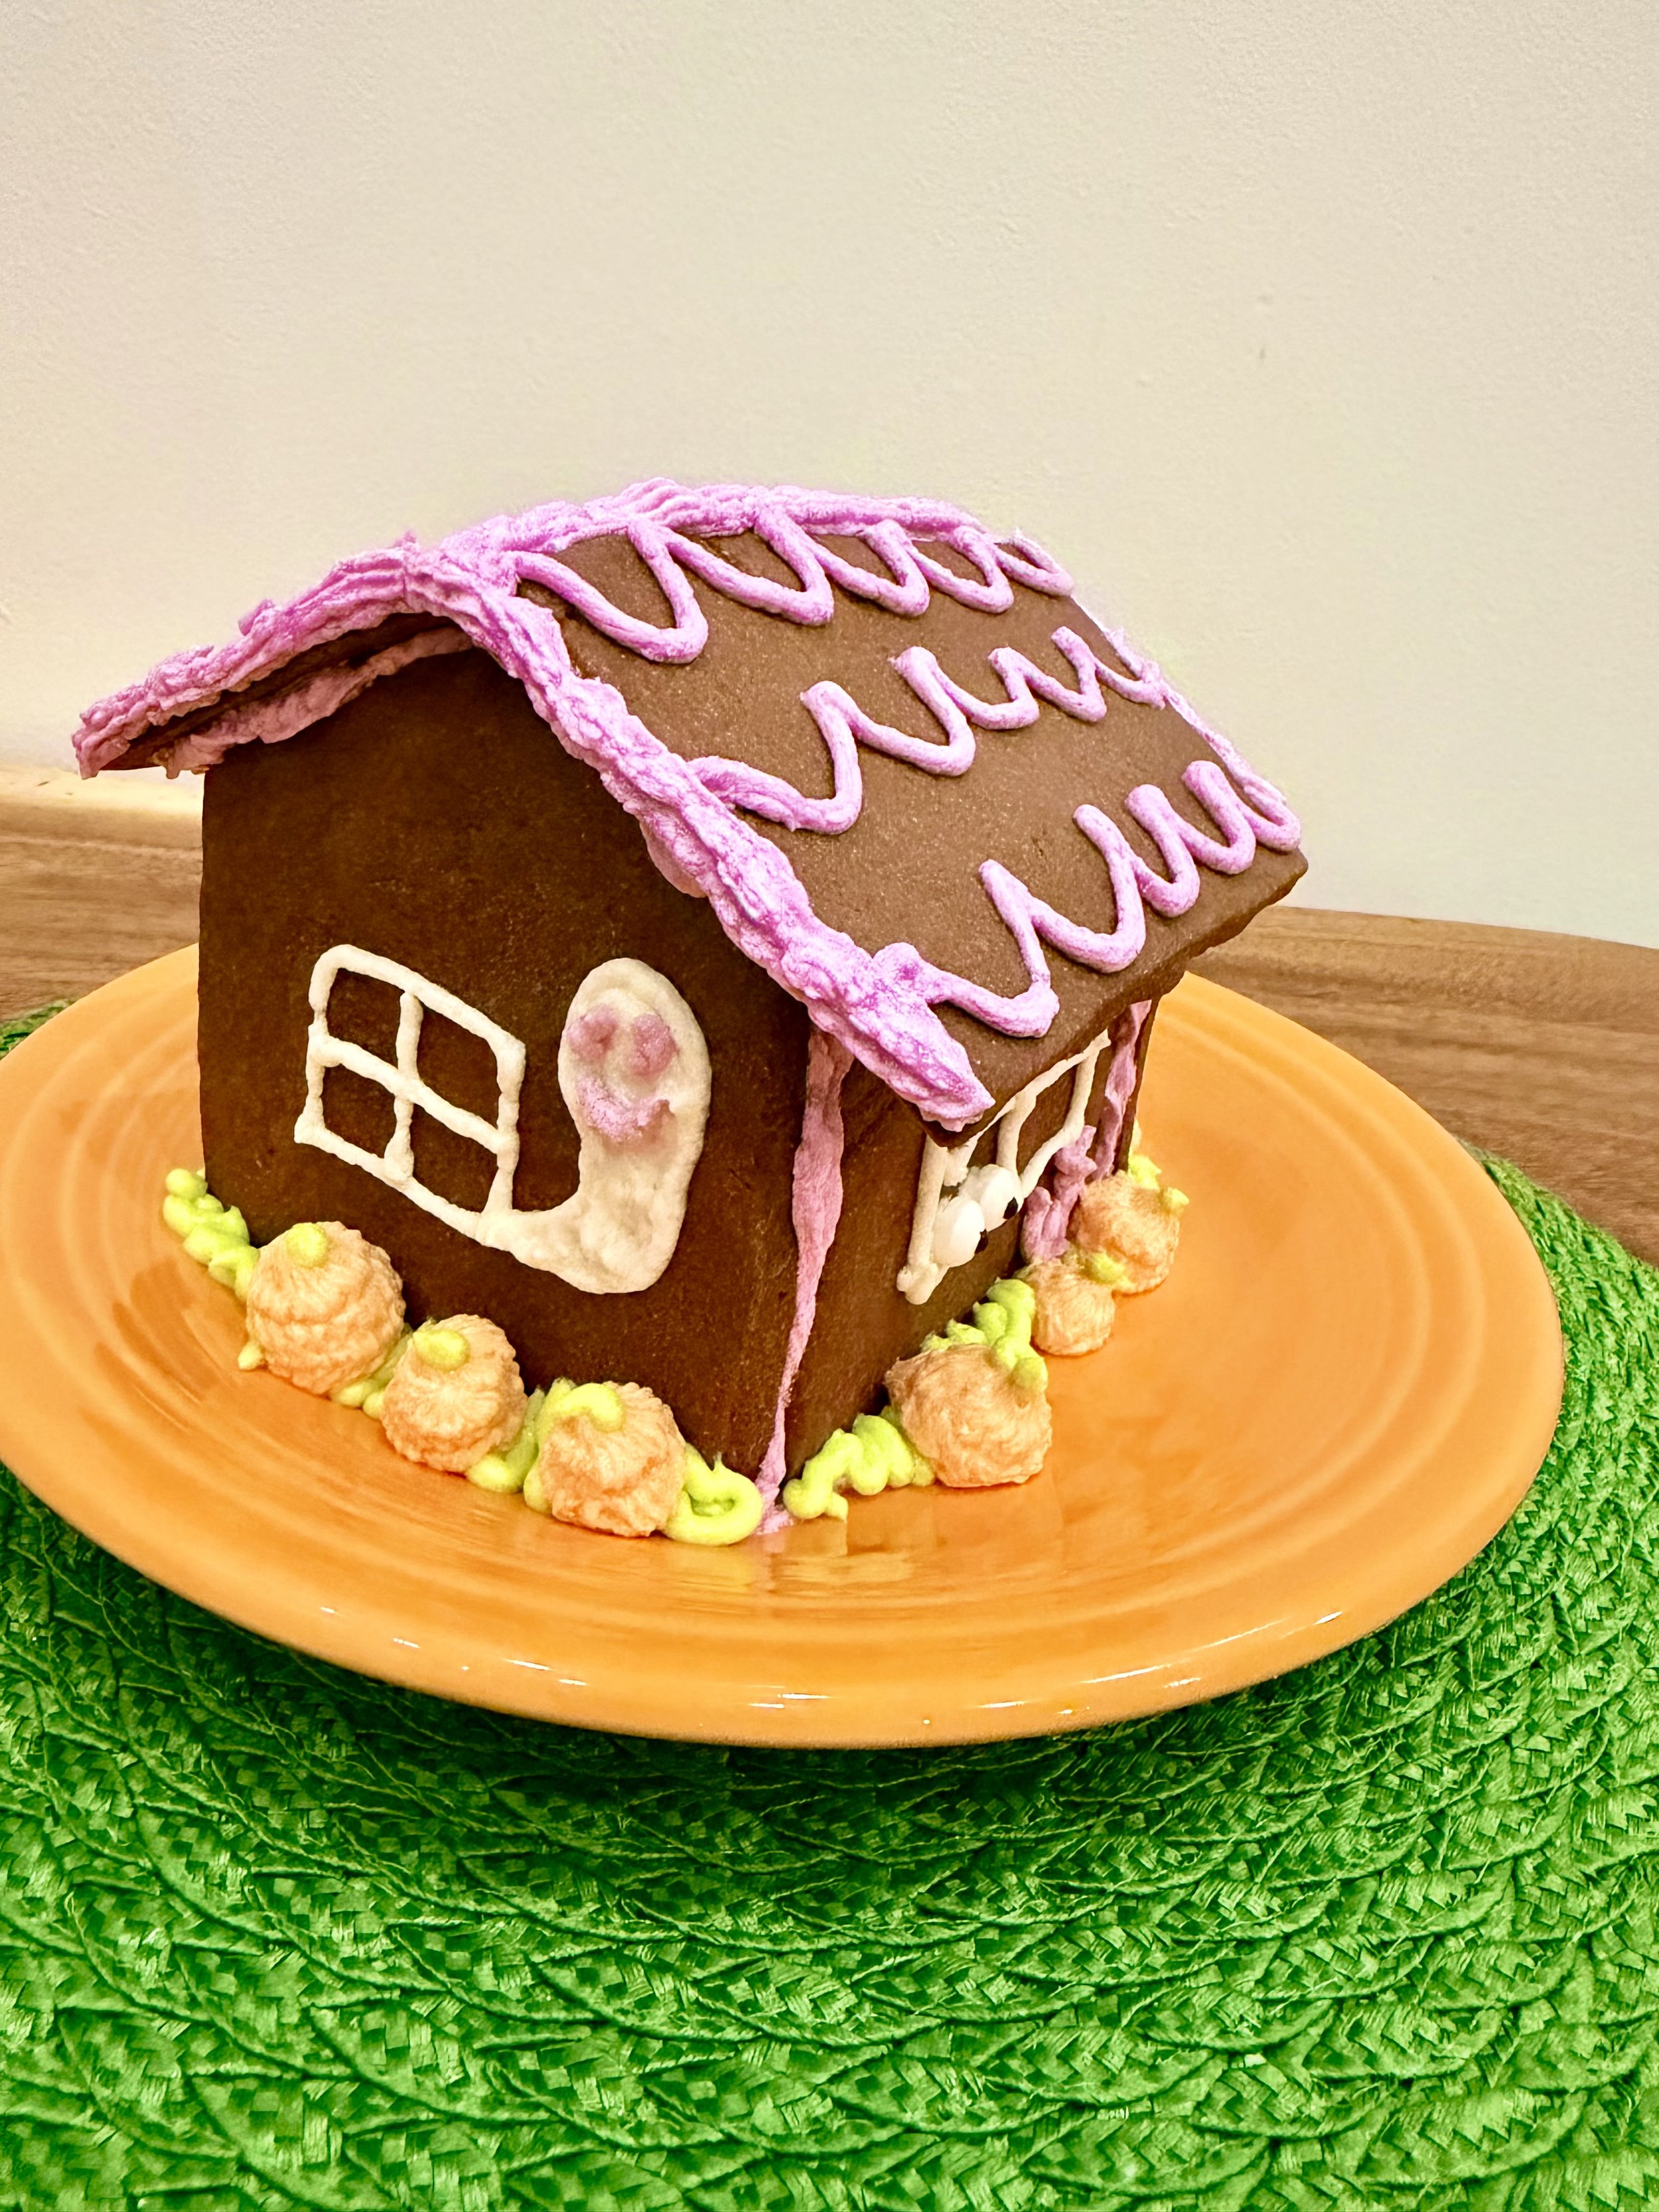
Frosting Friendly Ghost on Chocolate cookie house
Use My Cookie House Template
You don’t have to figure out how to engineer a cookie house from scratch!
I use the same basic house template for my different holiday cookie houses and change the dough, colors and decorations depending on what I’m making.
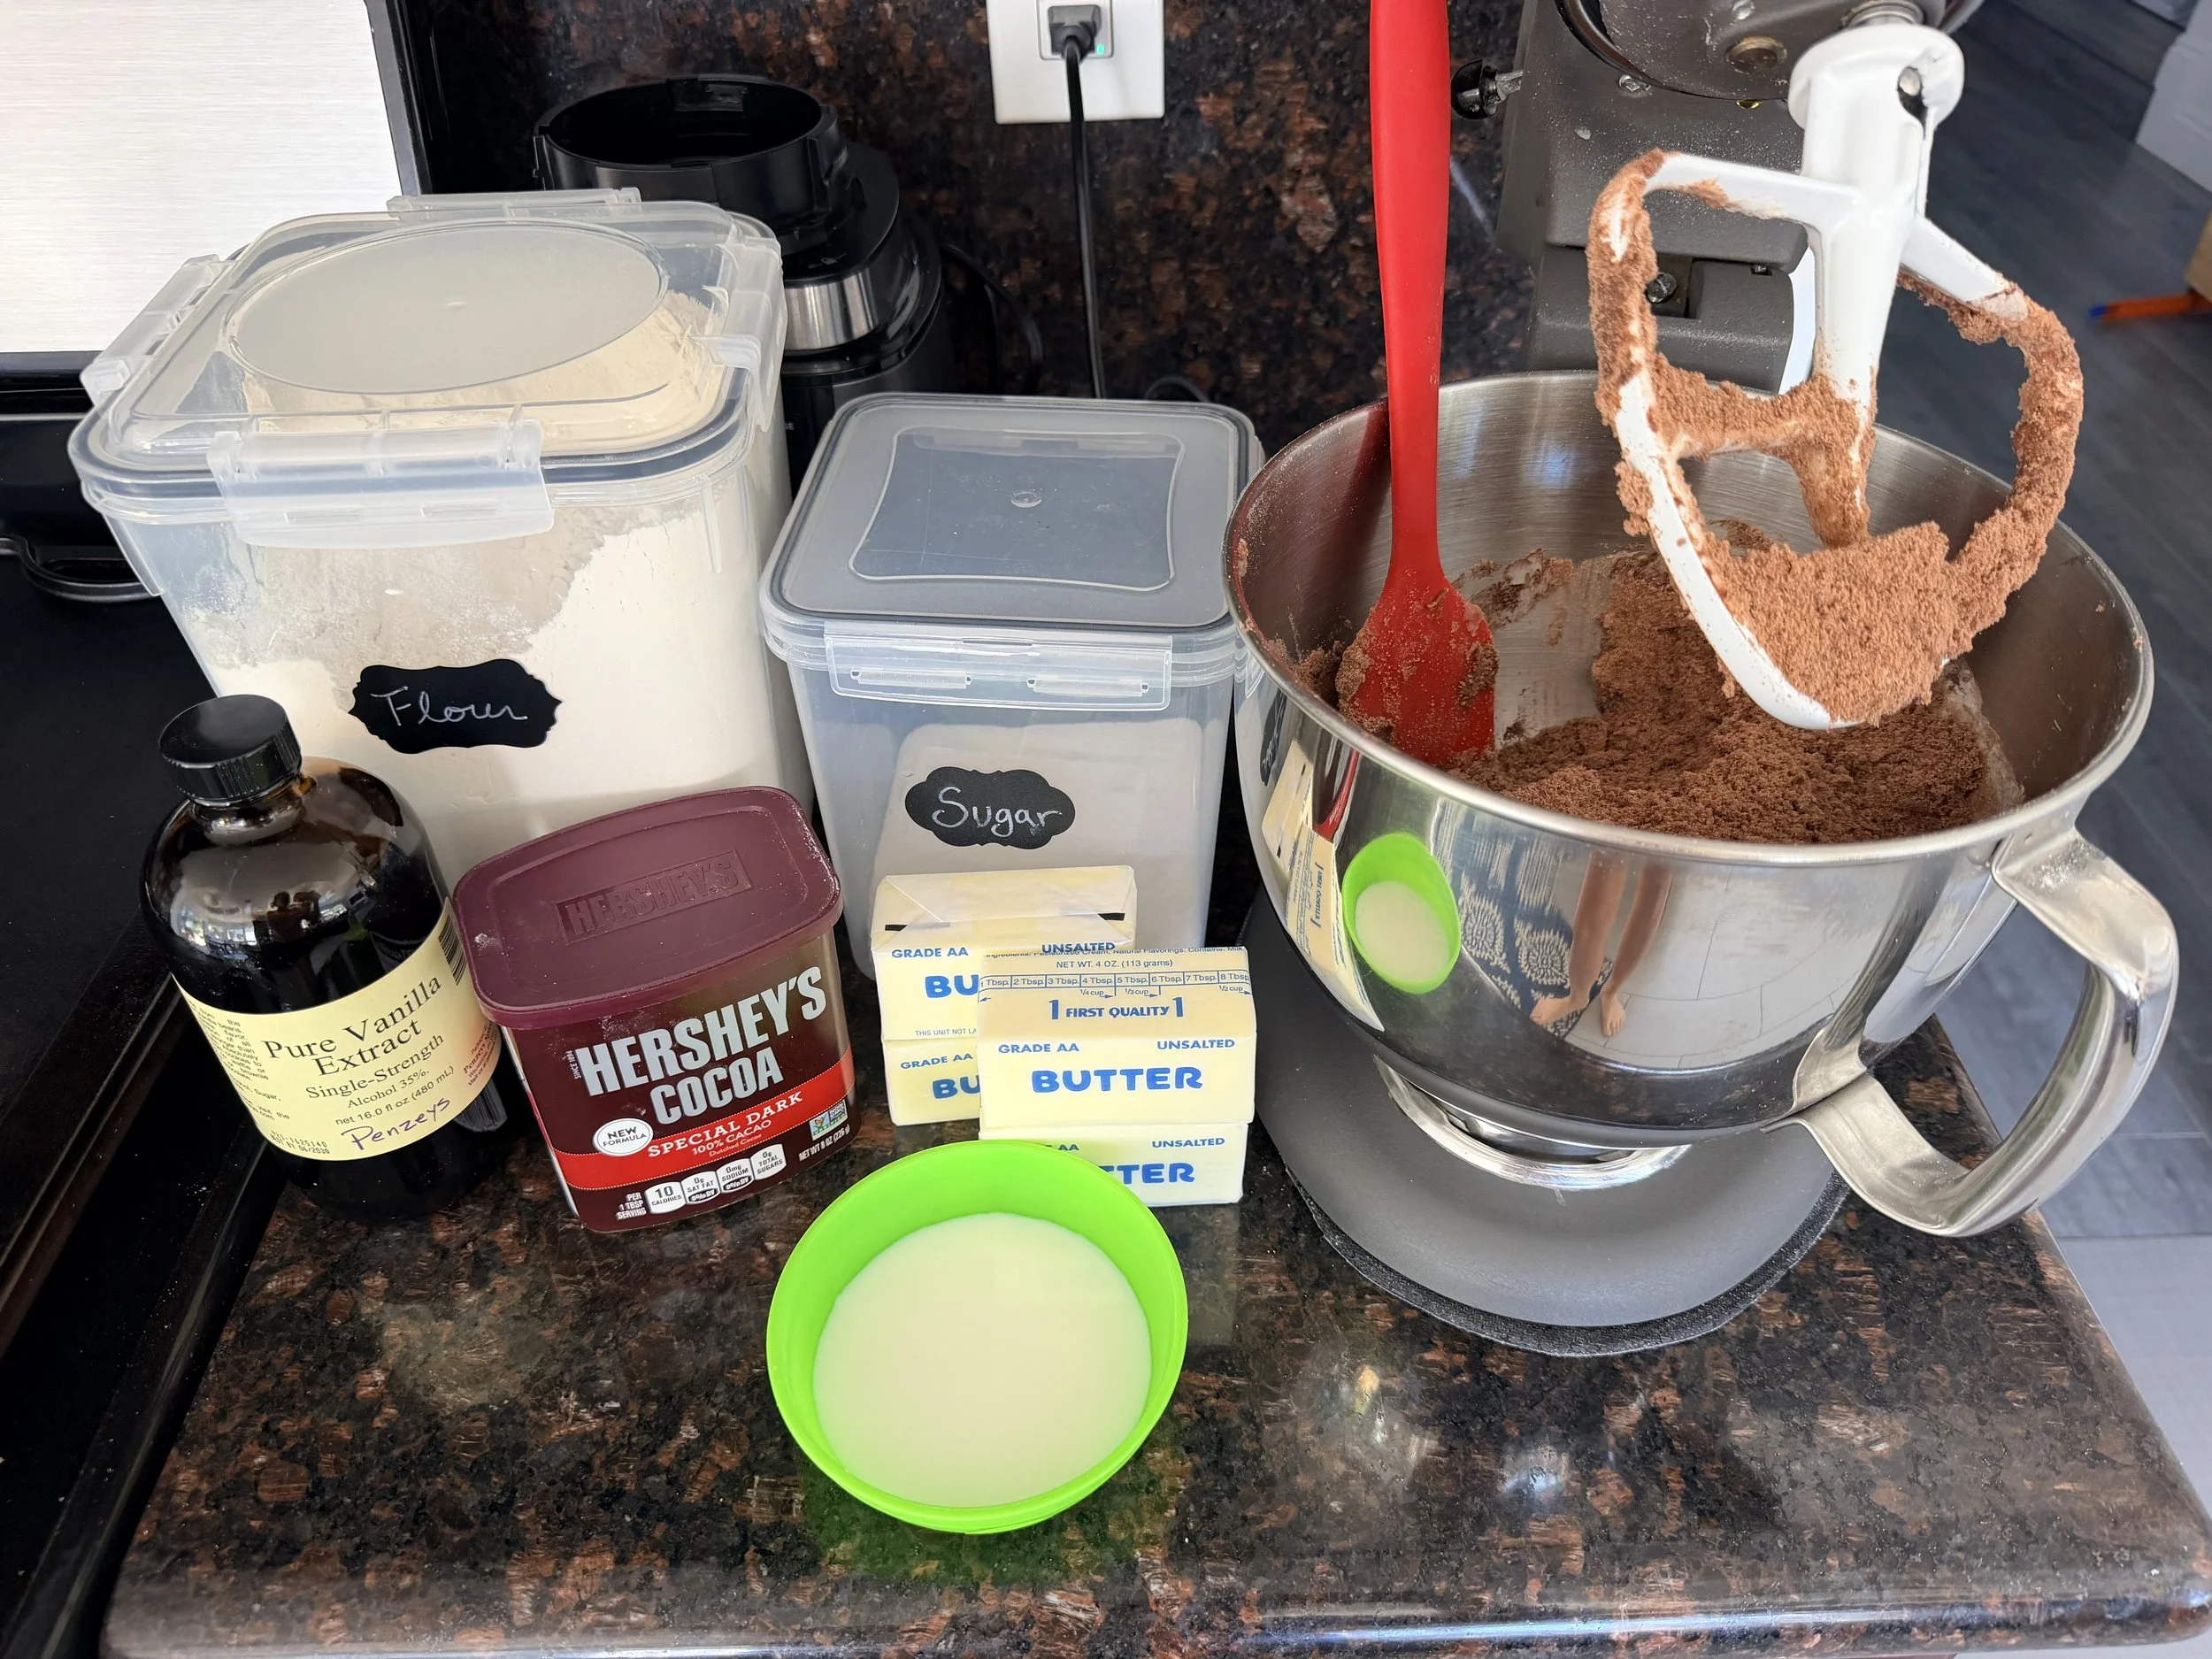
Chocolate Cookie House Ingredients - easy to make with kids!
You can also read my Printable Gingerbread House Kit Guide for more tips on working with the template and putting your house together.
For Halloween, we’re using that familiar house shape but giving it a completely different look with chocolate cookie walls, bright Halloween buttercream and spooky-cute decorations.
Making My First Chocolate Cookie House
I’ve experimented with this little house quite a bit now—from my Valentine’s Day Sugar Cookie House to my Leprechaun Trap Sugar Cookie House and Easter Sugar Cookie House—but this was my first time turning the actual cookie dough chocolate.
So yes, there was some trial and error involved!
That’s part of the fun of these houses for me.
I’m not trying to create a professional bakery showpiece. I want something I can make in my own kitchen, decorate with my kids and—most importantly—actually eat afterward.
The basic process is:
Make → Chill → Roll → Cut → Bake → Decorate → Chill → Build → Eat!
And I have one little trick that makes cutting out the house pieces much easier.
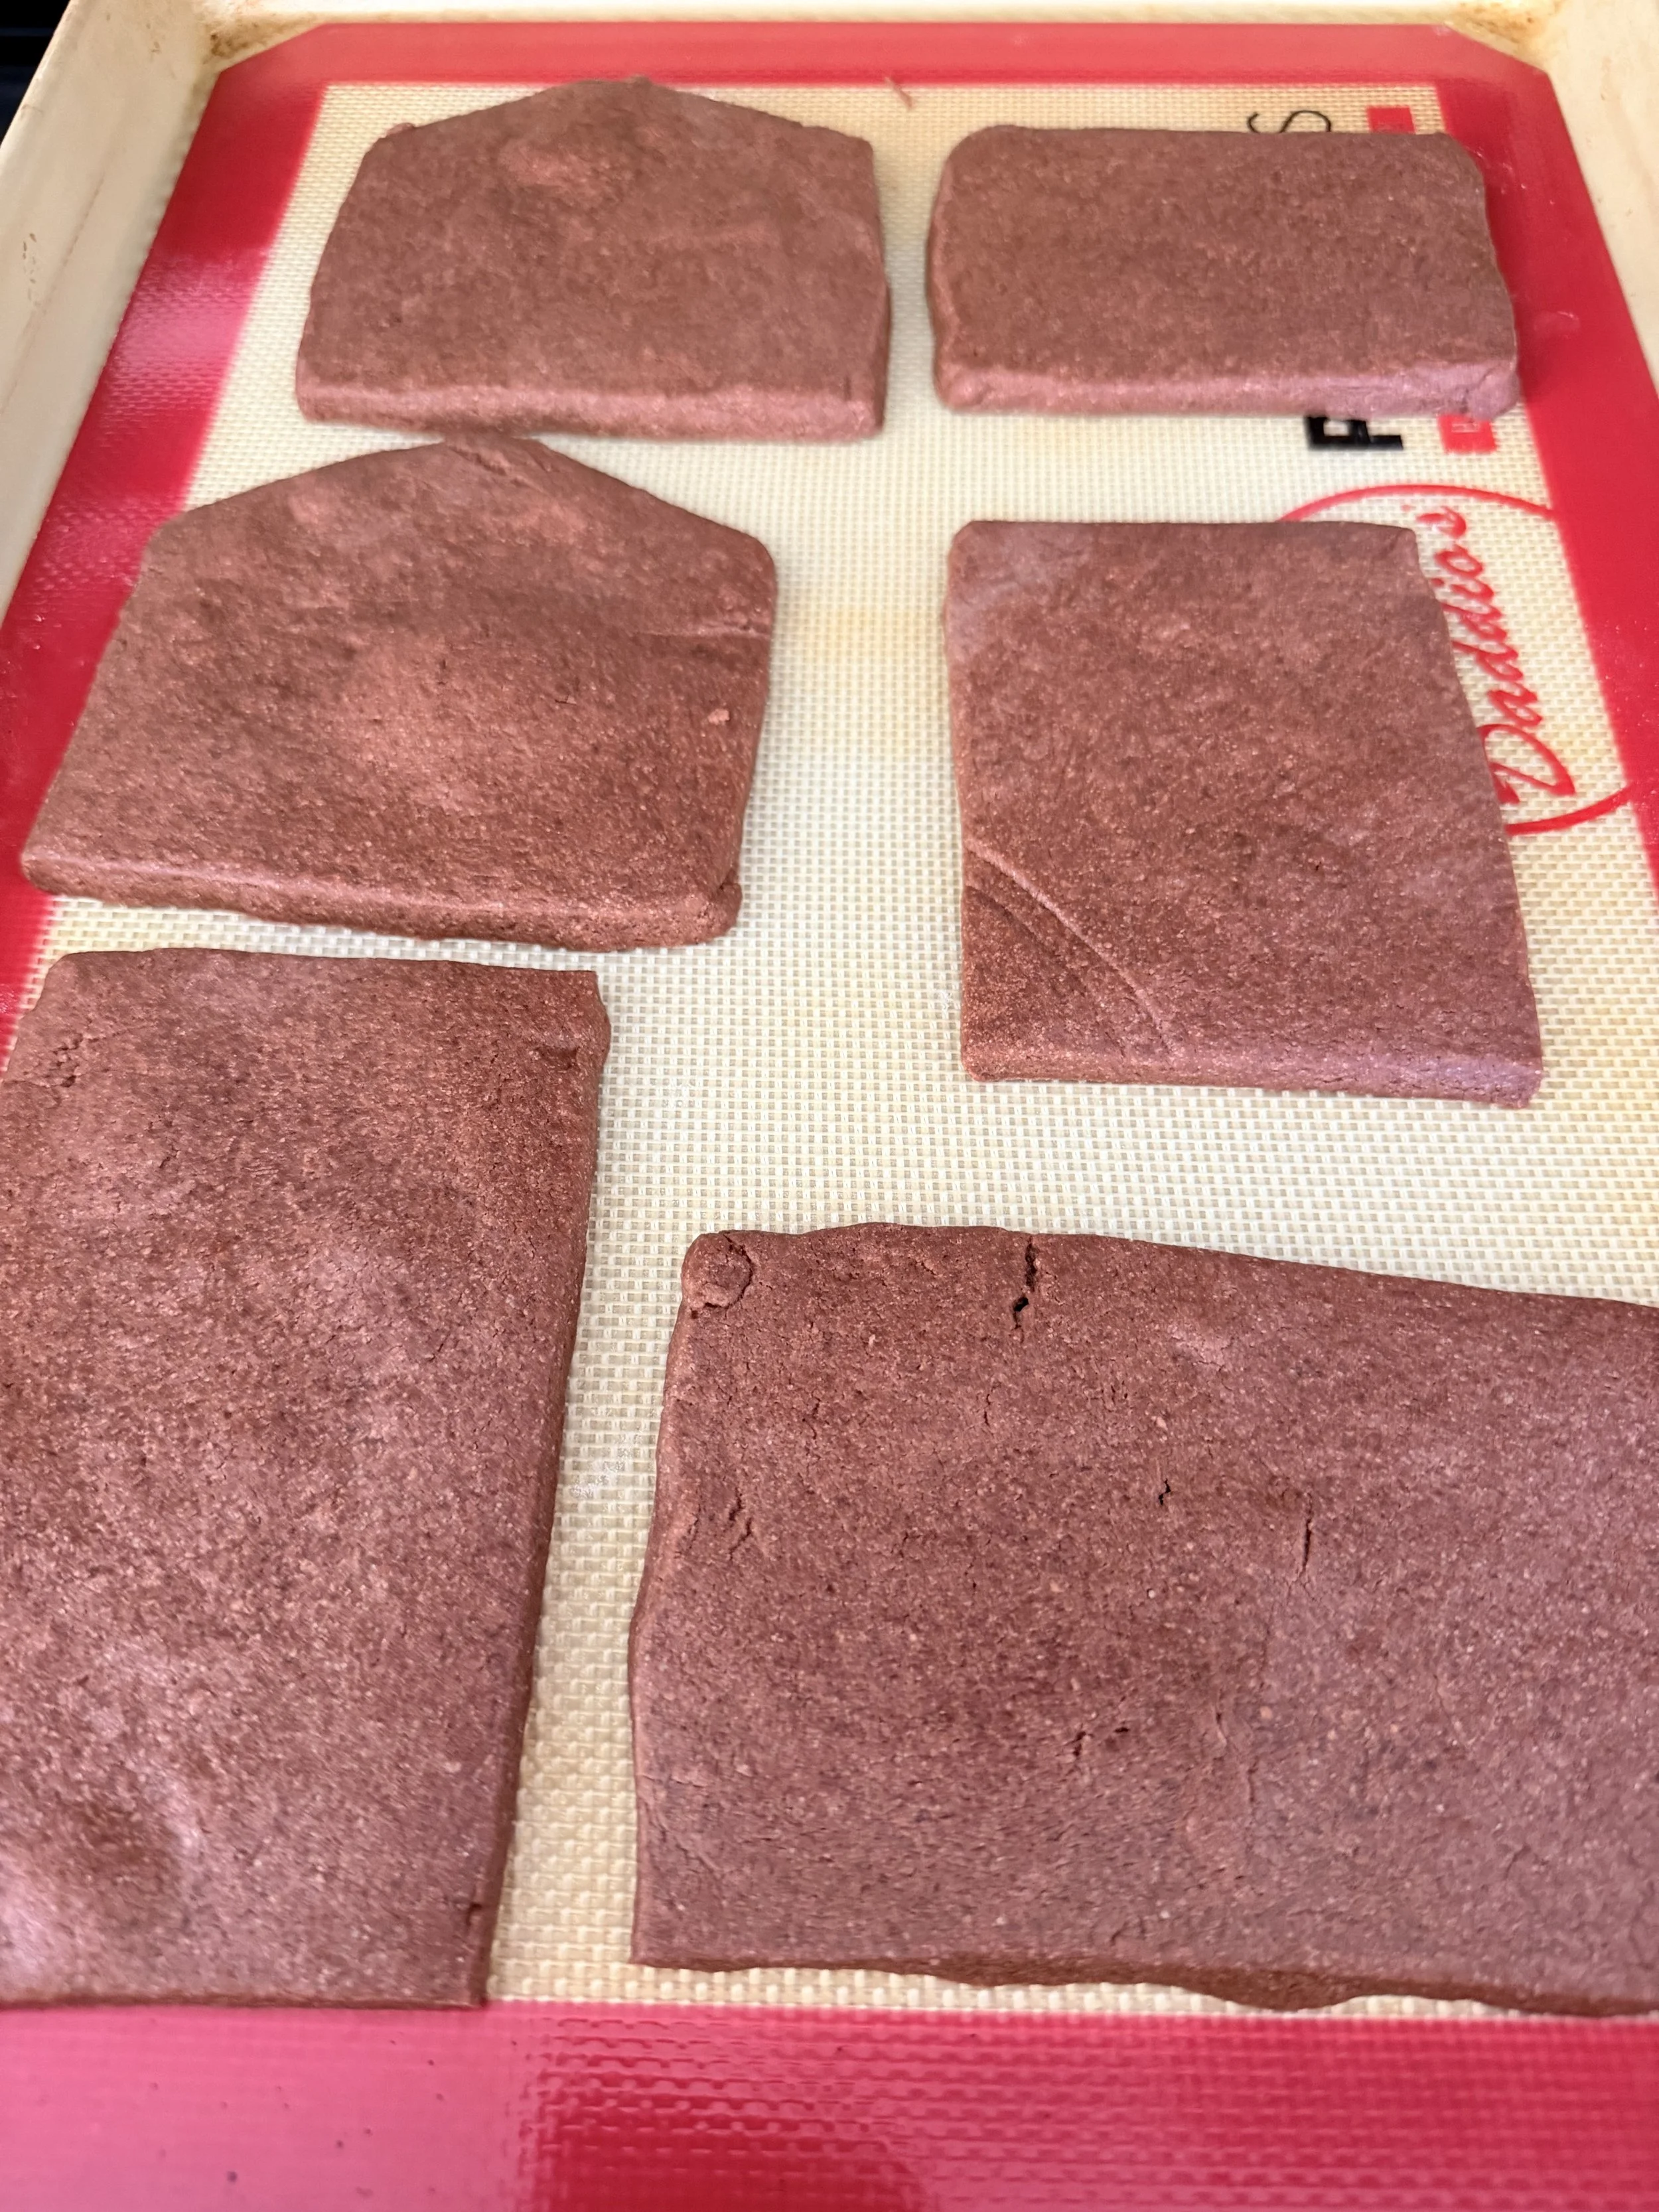
Chocolate cookie house pieces
Cut Your Cookie House With a Pizza Slicer
Once my chocolate cookie dough is rolled out, I place my house templates directly on top of the dough and cut around them.
My favorite tool for this is actually a pizza slicer!
It’s such a simple thing, but I find it much easier to get those long, straight edges with a pizza slicer than trying to work around the template with a knife.
I try to keep the dough an even thickness so all of the pieces bake consistently.
Once the pieces are baked, check your edges. If any have spread or become uneven, carefully trim them so they’ll fit together more easily when it’s time to assemble the house.
Then let everything cool completely before decorating.
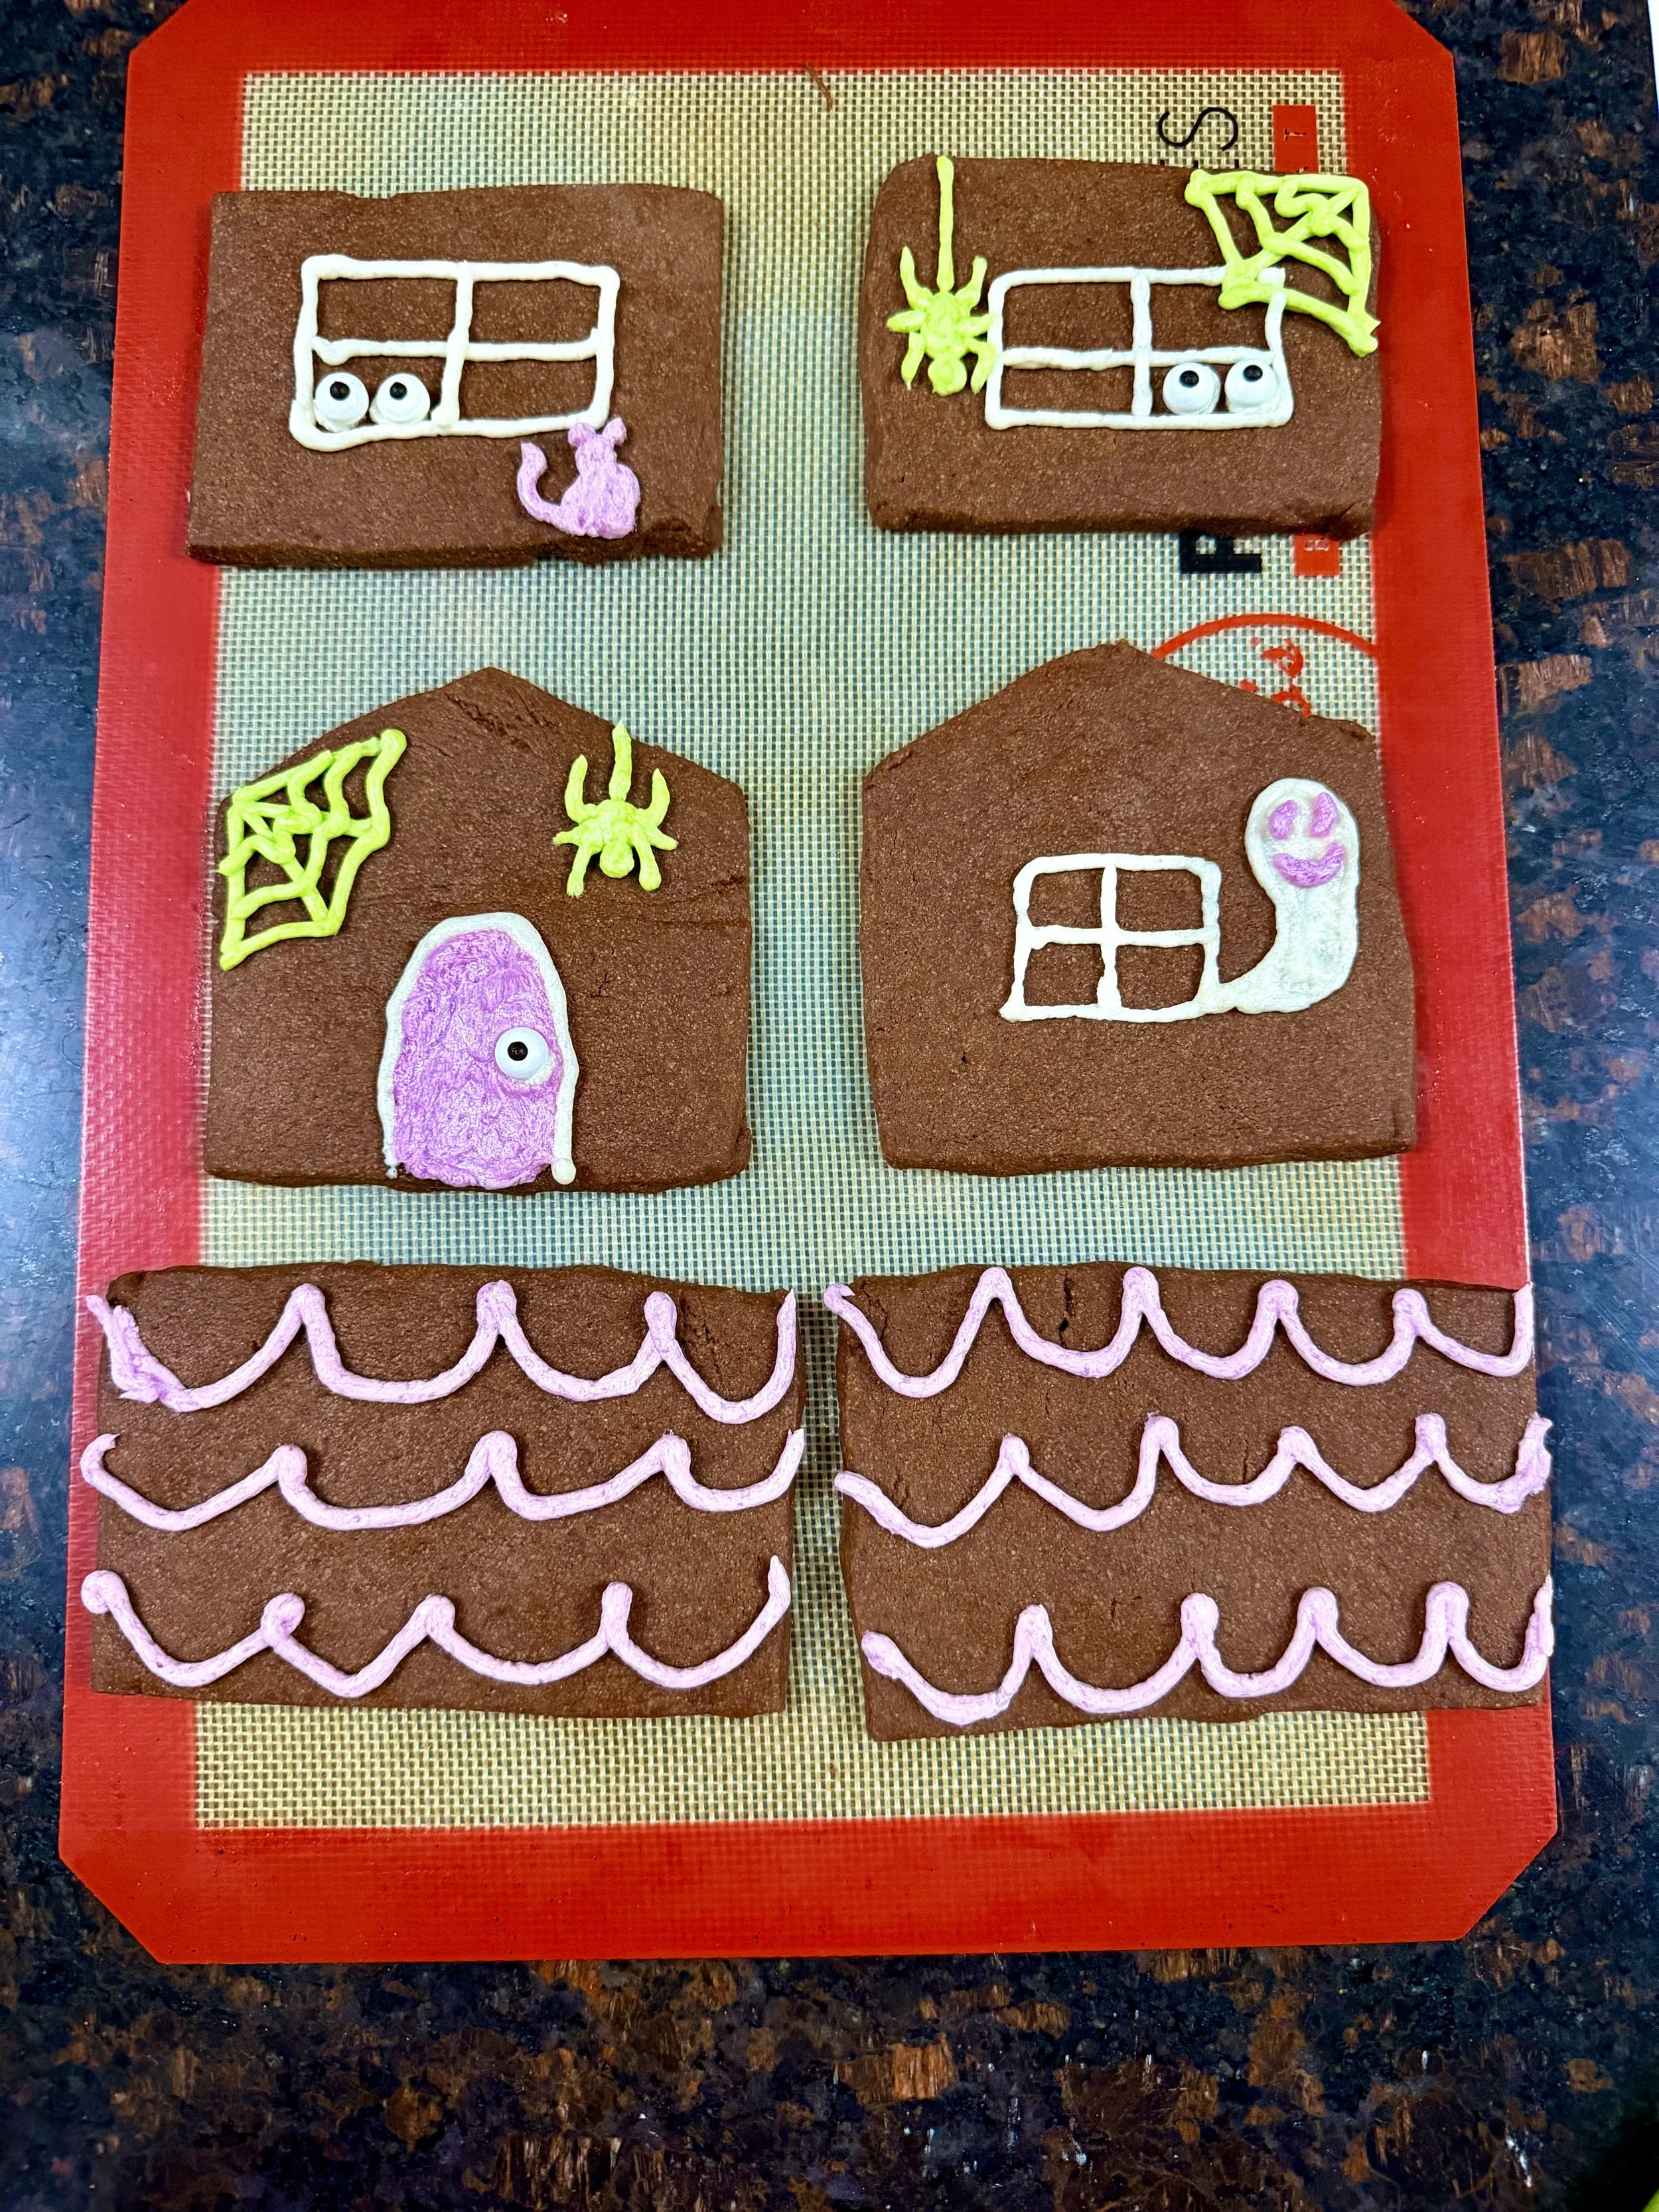
Decorate frosting on house pieces before assembly
Decorate the House BEFORE You Build It
This is probably my biggest cookie-house tip:
I decorate the pieces while they’re still flat.
I find it SO much easier.
Instead of assembling a blank house and then trying to pipe a straight line sideways onto a vertical wall, I can lay everything out on the counter and decorate comfortably.
This is when I pipe the windows, doors, roof and most of my Halloween details.
For my haunted house, I used my purple, orange and green buttercream against the chocolate cookie.
This was exactly what I had pictured when I decided to try chocolate dough. The colors really stand out against the darker cookie without me needing to make black frosting.
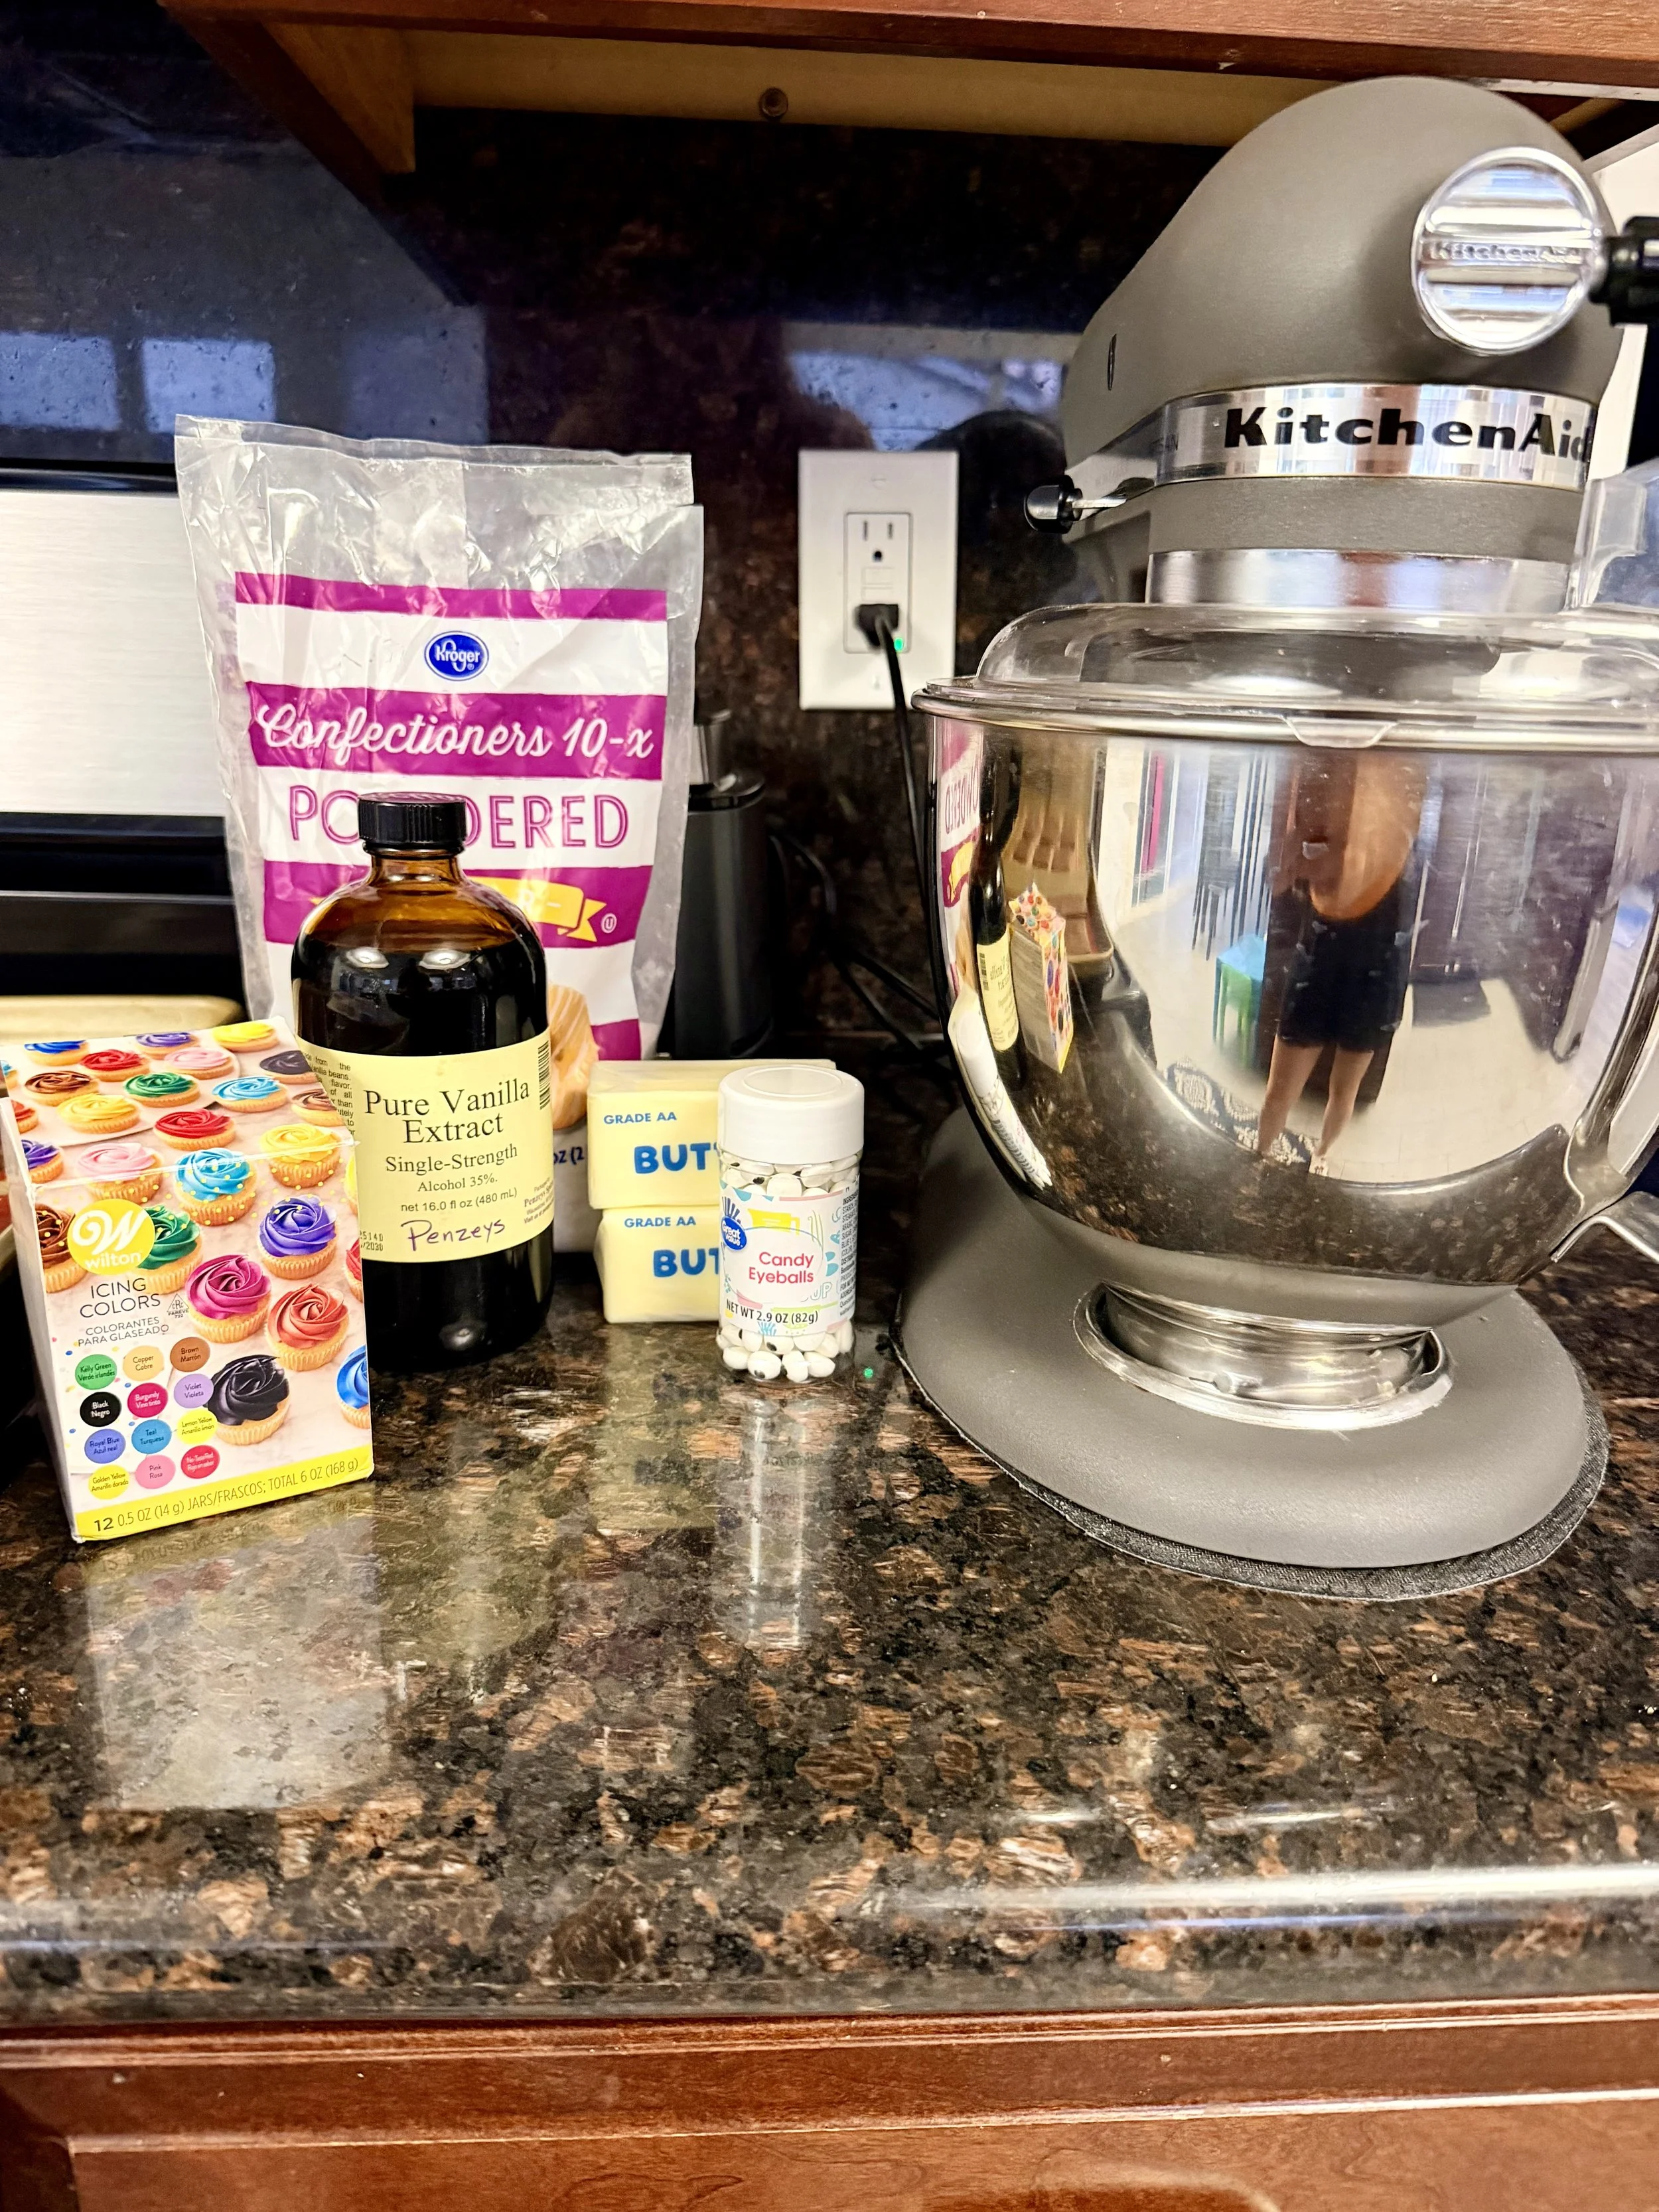
Buttercream frosting ingredients for Halloween Chocolate Cookie House
Why I Use Buttercream Frosting
There are other frostings you can use for cookie-house construction, but I’m sticking with my favorite:
Buttercream!
My intention is to eat this house.
I don’t want it to sit on my counter until December as a Halloween decoration. I want everyone to break pieces off and enjoy it.
So taste matters to me.
Buttercream is what I love to eat, which is why I continue using it for my cookie houses.
Chill the Decorated Pieces Before Building
Once I’ve decorated all of my pieces, I put them in the refrigerator so the buttercream can set a little before I start handling everything.
This also gives me the perfect built-in break.
I usually use this time to clean my kitchen.
By this point, there are mixing bowls, piping bags, frosting and cookie crumbs everywhere, so I clean everything up while the frosting firms.
Then it’s construction time!
How I Assemble My Cookie House
Once the decorated pieces have chilled and the frosting has firmed up a bit, I take everything out and start assembling.
I put the walls together first. You can use cans from your pantry to help support the walls while you’re working if you need an extra set of hands.
Once the walls are stable, I add the roof.
Since I’ve already done most of my decorating while the pieces were flat, I don’t have nearly as much detailed piping to do at this point.
Instead, I use additional buttercream to help cover seams and add the finishing touches that make the whole house come together.
Then comes the really fun part.
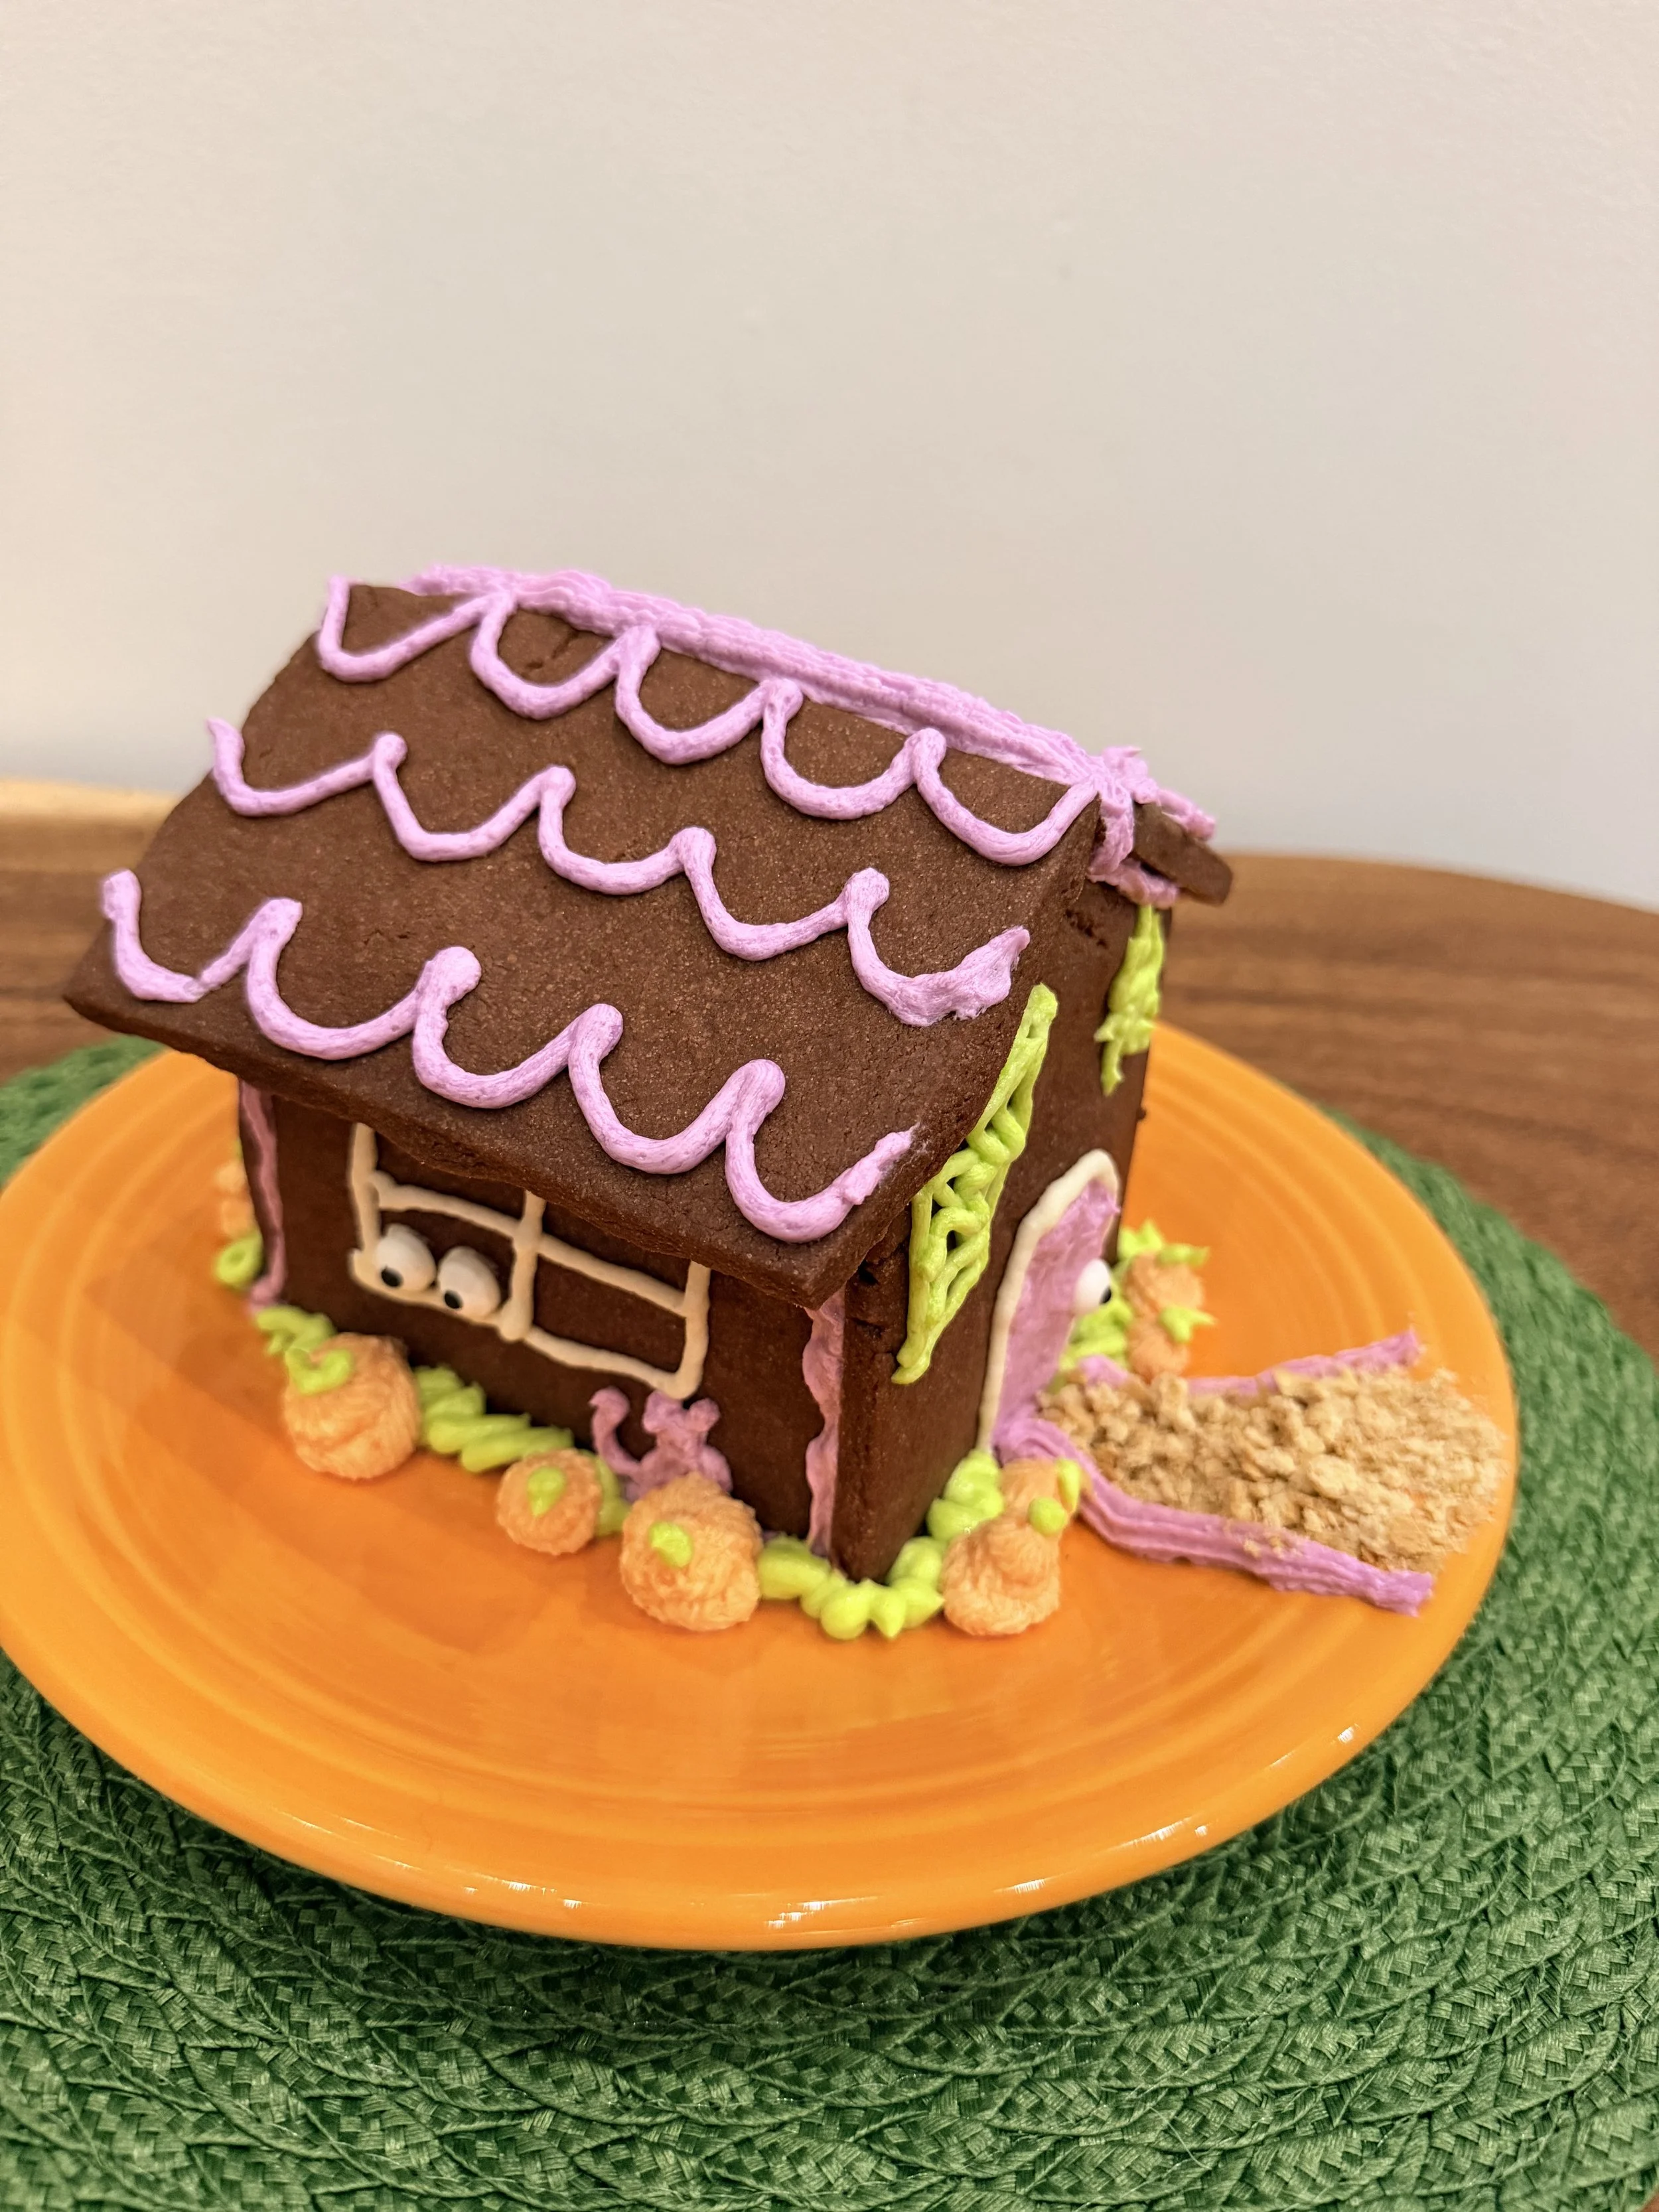
How to make 3-D Frosting Pumpkins
How Do You Make 3-D Frosting Pumpkins?
This was one of the decorating problems I really wanted to solve for the Halloween house.
I didn’t just want pumpkins piped onto the walls.
I wanted actual little 3-D pumpkins standing around the house.
I wanted them to make the cookie house feel like its own little Halloween scene, almost like a miniature pumpkin patch.
Once I figured these out, they became one of my favorite details on the entire house.
How to Make 3-D Buttercream Pumpkins
I wanted little pumpkins that could sit around the cookie house instead of simply piping flat pumpkins onto the walls. I found this cute buttercream pumpkin technique from Kaotic Krunch and adapted it for my haunted cookie house.
You'll need:
Orange buttercream frosting
A piping bag
An 8B open star piping tip or similar
A small amount of green buttercream frosting
A second piping bag with a small opening or small round piping tip
Step 1 — Fill Your Piping Bag
Fit a piping bag with an 8B open star tip and fill it with orange buttercream.
The open-star tip is what creates all of those little ridges around the pumpkin, so you don't have to pipe each pumpkin line individually.
Step 2 — Hold the Piping Bag Straight Up
Position the piping tip directly over the spot where you want your pumpkin.
Hold the bag straight up and down at about a 90-degree angle, rather than holding it sideways.
Keep the tip close to the surface without pressing it against it.
Step 3 — Pipe the Pumpkin
Squeeze the piping bag with steady pressure and keep the tip in the same place.
Don't swirl it around like you're frosting a cupcake.
Let the buttercream build upward and outward into a little round pumpkin shape.
Once the pumpkin is the size you want, stop squeezing first, then gently lift the piping tip straight up.
You should now have a little 3-D orange pumpkin with ridges already built into it!
Step 4 — Add the Green Stem
Using your green buttercream, pipe a tiny stem directly onto the center of the pumpkin.
Start with just a little bit—you can always add more.
If you want to get fancy, add a tiny green curl or leaf beside the stem. But I'm keeping mine simple!
Step 5 — Make a Little Pumpkin Patch
Repeat with pumpkins in slightly different sizes.
I actually like them better if they aren't all identical. A few tiny pumpkins mixed with slightly larger ones will make the area around the haunted house look more like a little pumpkin patch.
Tip: Practice your first pumpkin or two on a piece of parchment paper before piping them around your finished house. If they look terrible, you can scrape the frosting back into the bowl and try again. No one ever has to know!
Don’t Forget the Friendly Ghost!
Every haunted house needs a ghost.
Ours just isn’t particularly good at being scary.
I wanted a cute, happy little ghost instead, which is also a fun nod to The Trucks That Saved Halloween.
The ghosts in the book are meant to be friendly and whimsical rather than frightening, and I wanted this little guy to have the same personality.
[PHOTO: Friendly ghost on haunted cookie house]
Add Your Finishing Touches
Once the house is standing, anything goes!
This is when I add the little decorations around the base of the house, cover any seams that need some extra frosting and make the whole scene feel finished.
You could decorate your Halloween cookie house with:
Candy corn
Halloween sprinkles
Candy pumpkins
Chocolate candies
Gummy worms
Mini marshmallow ghosts
Pretzel fences
Bats
Black cats
Colorful windows and doors
Fall leaves
A candy path
More pumpkins!
There really aren’t rules here.
Make it spooky. Make it silly. Let the kids take over.
Or—in our case—make it cute and colorful.
Can You Actually Eat a Cookie House?
YES!
In fact, that’s the point of mine.
This isn’t one of those cookie houses that’s going to sit untouched as a decoration for three months.
My intention is absolutely to eat it.
That’s one of the reasons I care about making a cookie I actually like and using buttercream frosting that tastes good.
We’ll leave the finished house out for a little while so everyone can enjoy looking at it—and inevitably start sneaking pieces—but then I move it to the refrigerator.
Partly because I’m trying to keep it fresh.
And partly because I do not need to invite every ant in the neighborhood into my kitchen.
I try to have us eat the house within about one week.
If there are still pieces left after that, I break them up and put them in the freezer.
Then we can pull out a piece of chocolate Halloween house whenever we want a treat!
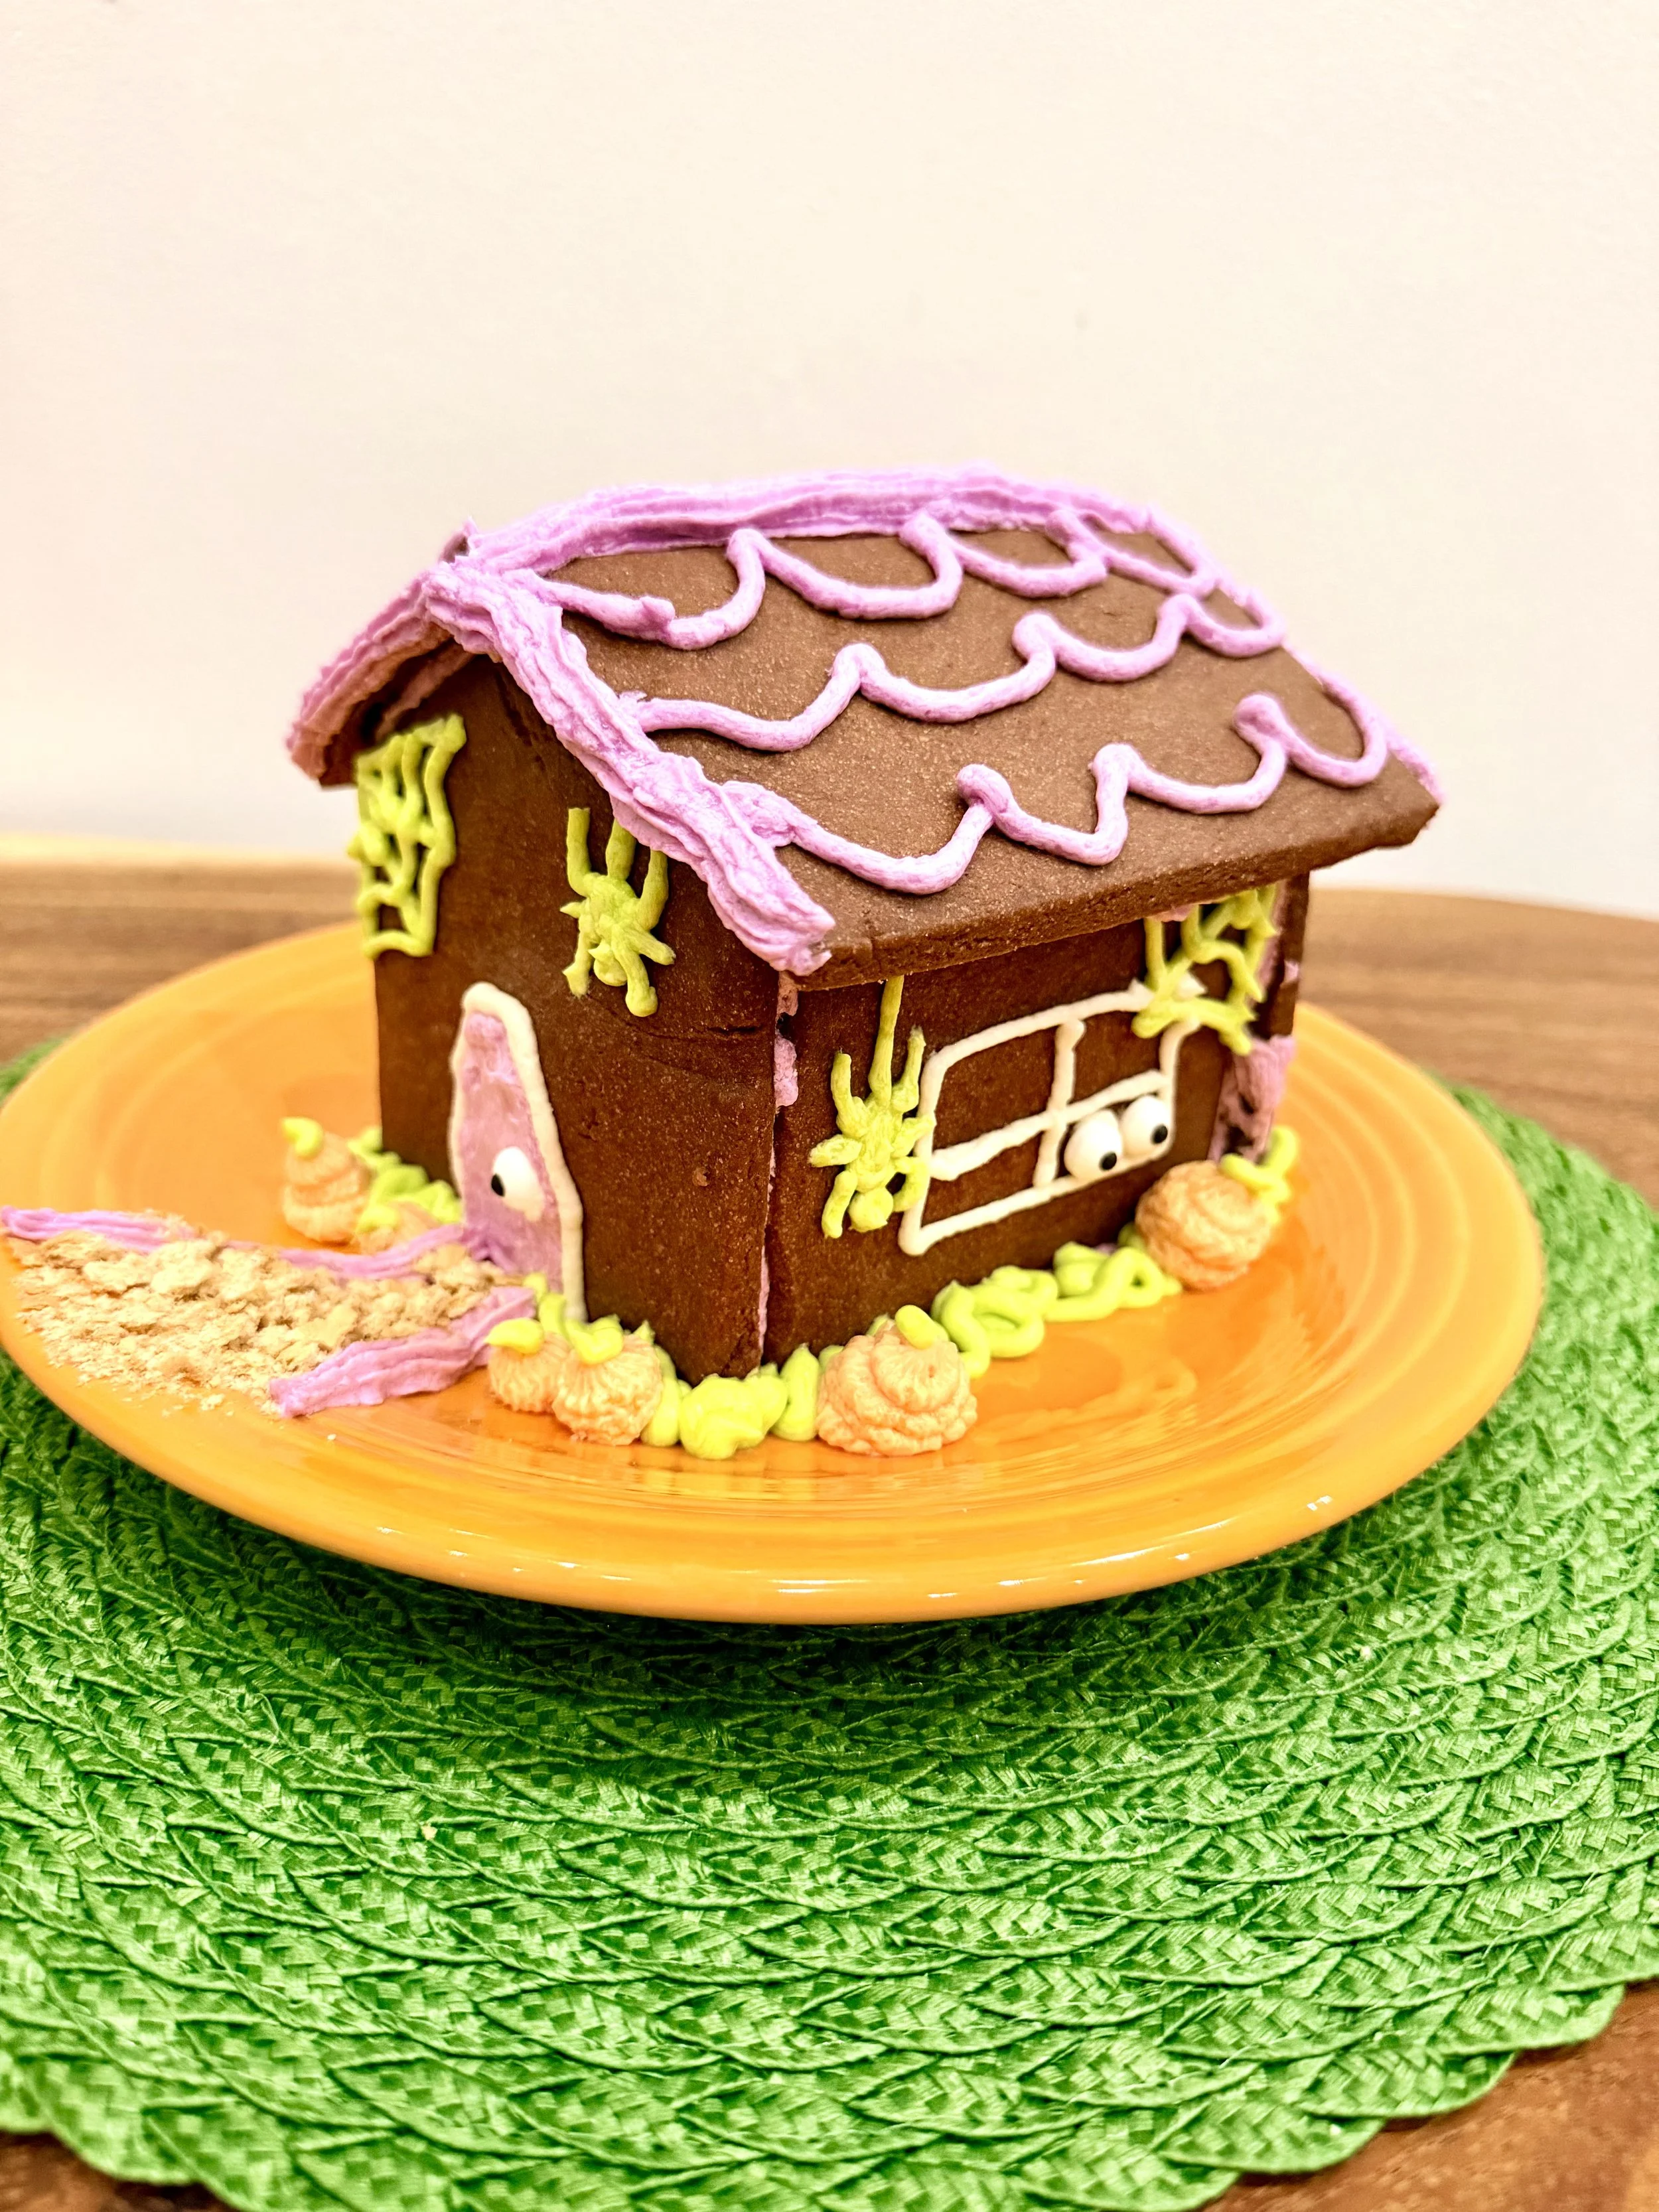
Chocolate Cookie House Recipe - Haunted Halloween House
Chocolate Cookie House Recipe
This recipe is based on the sturdy sugar cookie dough I use for my other cookie houses, adapted into a chocolate version for Halloween.
Chocolate Cookie House Ingredients
2 cups butter, softened
1 1/4 cups sugar
2 tablespoons milk
2 teaspoons vanilla extract
½ cup cocoa
4 cups all-purpose flour
Plus:
Buttercream frosting
Purple, orange and green food coloring
Halloween candy and sprinkles for decorating
Step 1 — Make the Chocolate Cookie Dough
In a large mixing bowl, beat the softened butter with an electric mixer on medium to high speed for about 30 seconds.
Add the sugar and beat until combined, scraping down the sides of the bowl as needed.
Add the milk and vanilla.
Gradually beat in the cocoa and as much of the flour as you can with the mixer. Stir in any remaining flour by hand until everything is combined.
Step 2 — Chill the Dough
Divide the dough in half and cover tightly.
Chill for about 1 hour, or until the dough is firm enough to handle and roll easily.
Can I Make the Cookie House Dough Ahead of Time?
Yes!
I actually love this option if you’re making the house with kids because you don’t have to make, chill, bake AND decorate everything in one day.
You can make the cookie dough a day ahead and keep it tightly covered in the refrigerator.
The dough can be refrigerated for up to 2 days. If it’s too firm to roll when you take it out, just let it sit at room temperature briefly until it’s workable.
Step 3 — Preheat and Prep
Once your dough is chilled and you’re ready to bake, preheat the oven to 325°F.
There’s no reason to have your oven preheating for the entire hour while your dough chills!
Line your baking sheets with parchment paper or silicone baking mats.
Get your cookie house templates and pizza slicer ready too.
Step 4 — Roll and Cut the House Pieces
Working with one portion of dough at a time, roll it on parchment paper or a silicone baking mat to approximately 1/8- to 1/4-inch thick.
For a cookie house, I like to keep the pieces toward the thicker side so they’re sturdy enough to build with.
Lightly flour the top of the dough as necessary to keep it from sticking to your rolling pin.
Place your cookie house templates directly onto the rolled dough.
Use a pizza slicer to cut around the template and create your walls and roof pieces.
Step 5 — Bake
Bake the cookie house pieces at 325°F for approximately 12–15 minutes.
Larger or thicker pieces may need a little more time, so watch the cookies rather than relying entirely on the timer.
The cookies should be set and the edges firm.
Once they’re out of the oven, check the edges of your house pieces. If needed, carefully trim any uneven areas so the pieces fit together cleanly.
Allow all of the pieces to cool completely before decorating.
Step 6 — Decorate the Pieces Flat
Lay your cooled walls and roof pieces flat on your work surface.
Decorate them with buttercream frosting, adding your doors, windows, roof details and other Halloween decorations.
It’s much easier to do the detailed decorating now than after the house is standing!
Step 7 — Refrigerate
Carefully place the decorated pieces in the refrigerator to allow the buttercream to firm.
This is when I clean the kitchen!
Once the frosting has set enough that you can comfortably handle the pieces without destroying your decorations, you’re ready to build.
Step 8 — Assemble the House
Use buttercream to attach your walls.
If necessary, place soup cans or other sturdy cans next to the walls to help hold everything upright while you work.
Once the walls are stable, carefully attach the roof pieces.
Step 9 — Add the Finishing Touches
Now cover any visible seams with additional frosting and add your pumpkins, friendly ghost, candy, sprinkles and other Halloween decorations.
Then stand back and admire your chocolate haunted house…
…before everyone starts asking when they can eat it.
More Sugar Cookie House Ideas
Apparently I can’t stop turning this little cookie house into something new for every holiday!
If you had fun making the Halloween version, try another one throughout the year:
🎄 The Original Sugar Cookie Gingerbread House
The house that started it all! My gingerbread-house alternative made with sugar cookies and buttercream frosting.
💘 Valentine’s Day Sugar Cookie House
A sweet Valentine’s version—no gingerbread required.
☘️ Leprechaun Trap Sugar Cookie House
Turn your cookie house into a colorful leprechaun trap with a rainbow path and gold coins.
🐰 Easter Sugar Cookie House
My spring bunny cottage with buttercream grass, jelly bean eggs and Easter details.
Or visit my Sugar Cookie House Guide to see all of my cookie-house tips, designs and ideas in one place.
The Trucks that Saved Halloween
More Not-So-Spooky Halloween Fun
And apparently cookie houses aren’t the only thing getting the cute Halloween treatment around here!
My newest children’s book, The Trucks That Saved Halloween, was also inspired by my love of colorful, kid-friendly Halloween fun.
Dump Truck, Excavator and Crane Truck discover that Halloween is a little too quiet, so the Truck Team gets to work transforming an old farm into a cheerful Halloween carnival filled with pumpkins, rides, games, costumes, treats and a little silly Halloween magic.
It’s a not-too-spooky Halloween adventure made especially for little truck lovers.
And yes, there are friendly ghosts there too!
READ THE STORY BEHIND THE TRUCKS THAT SAVED HALLOWEEN
Between our chocolate haunted house and the Truck Team’s Halloween carnival, I think we’re officially ready for Halloween around here.
Happy haunting! 🎃👻🍫
See the Cookie House Guide or similar blog posts:
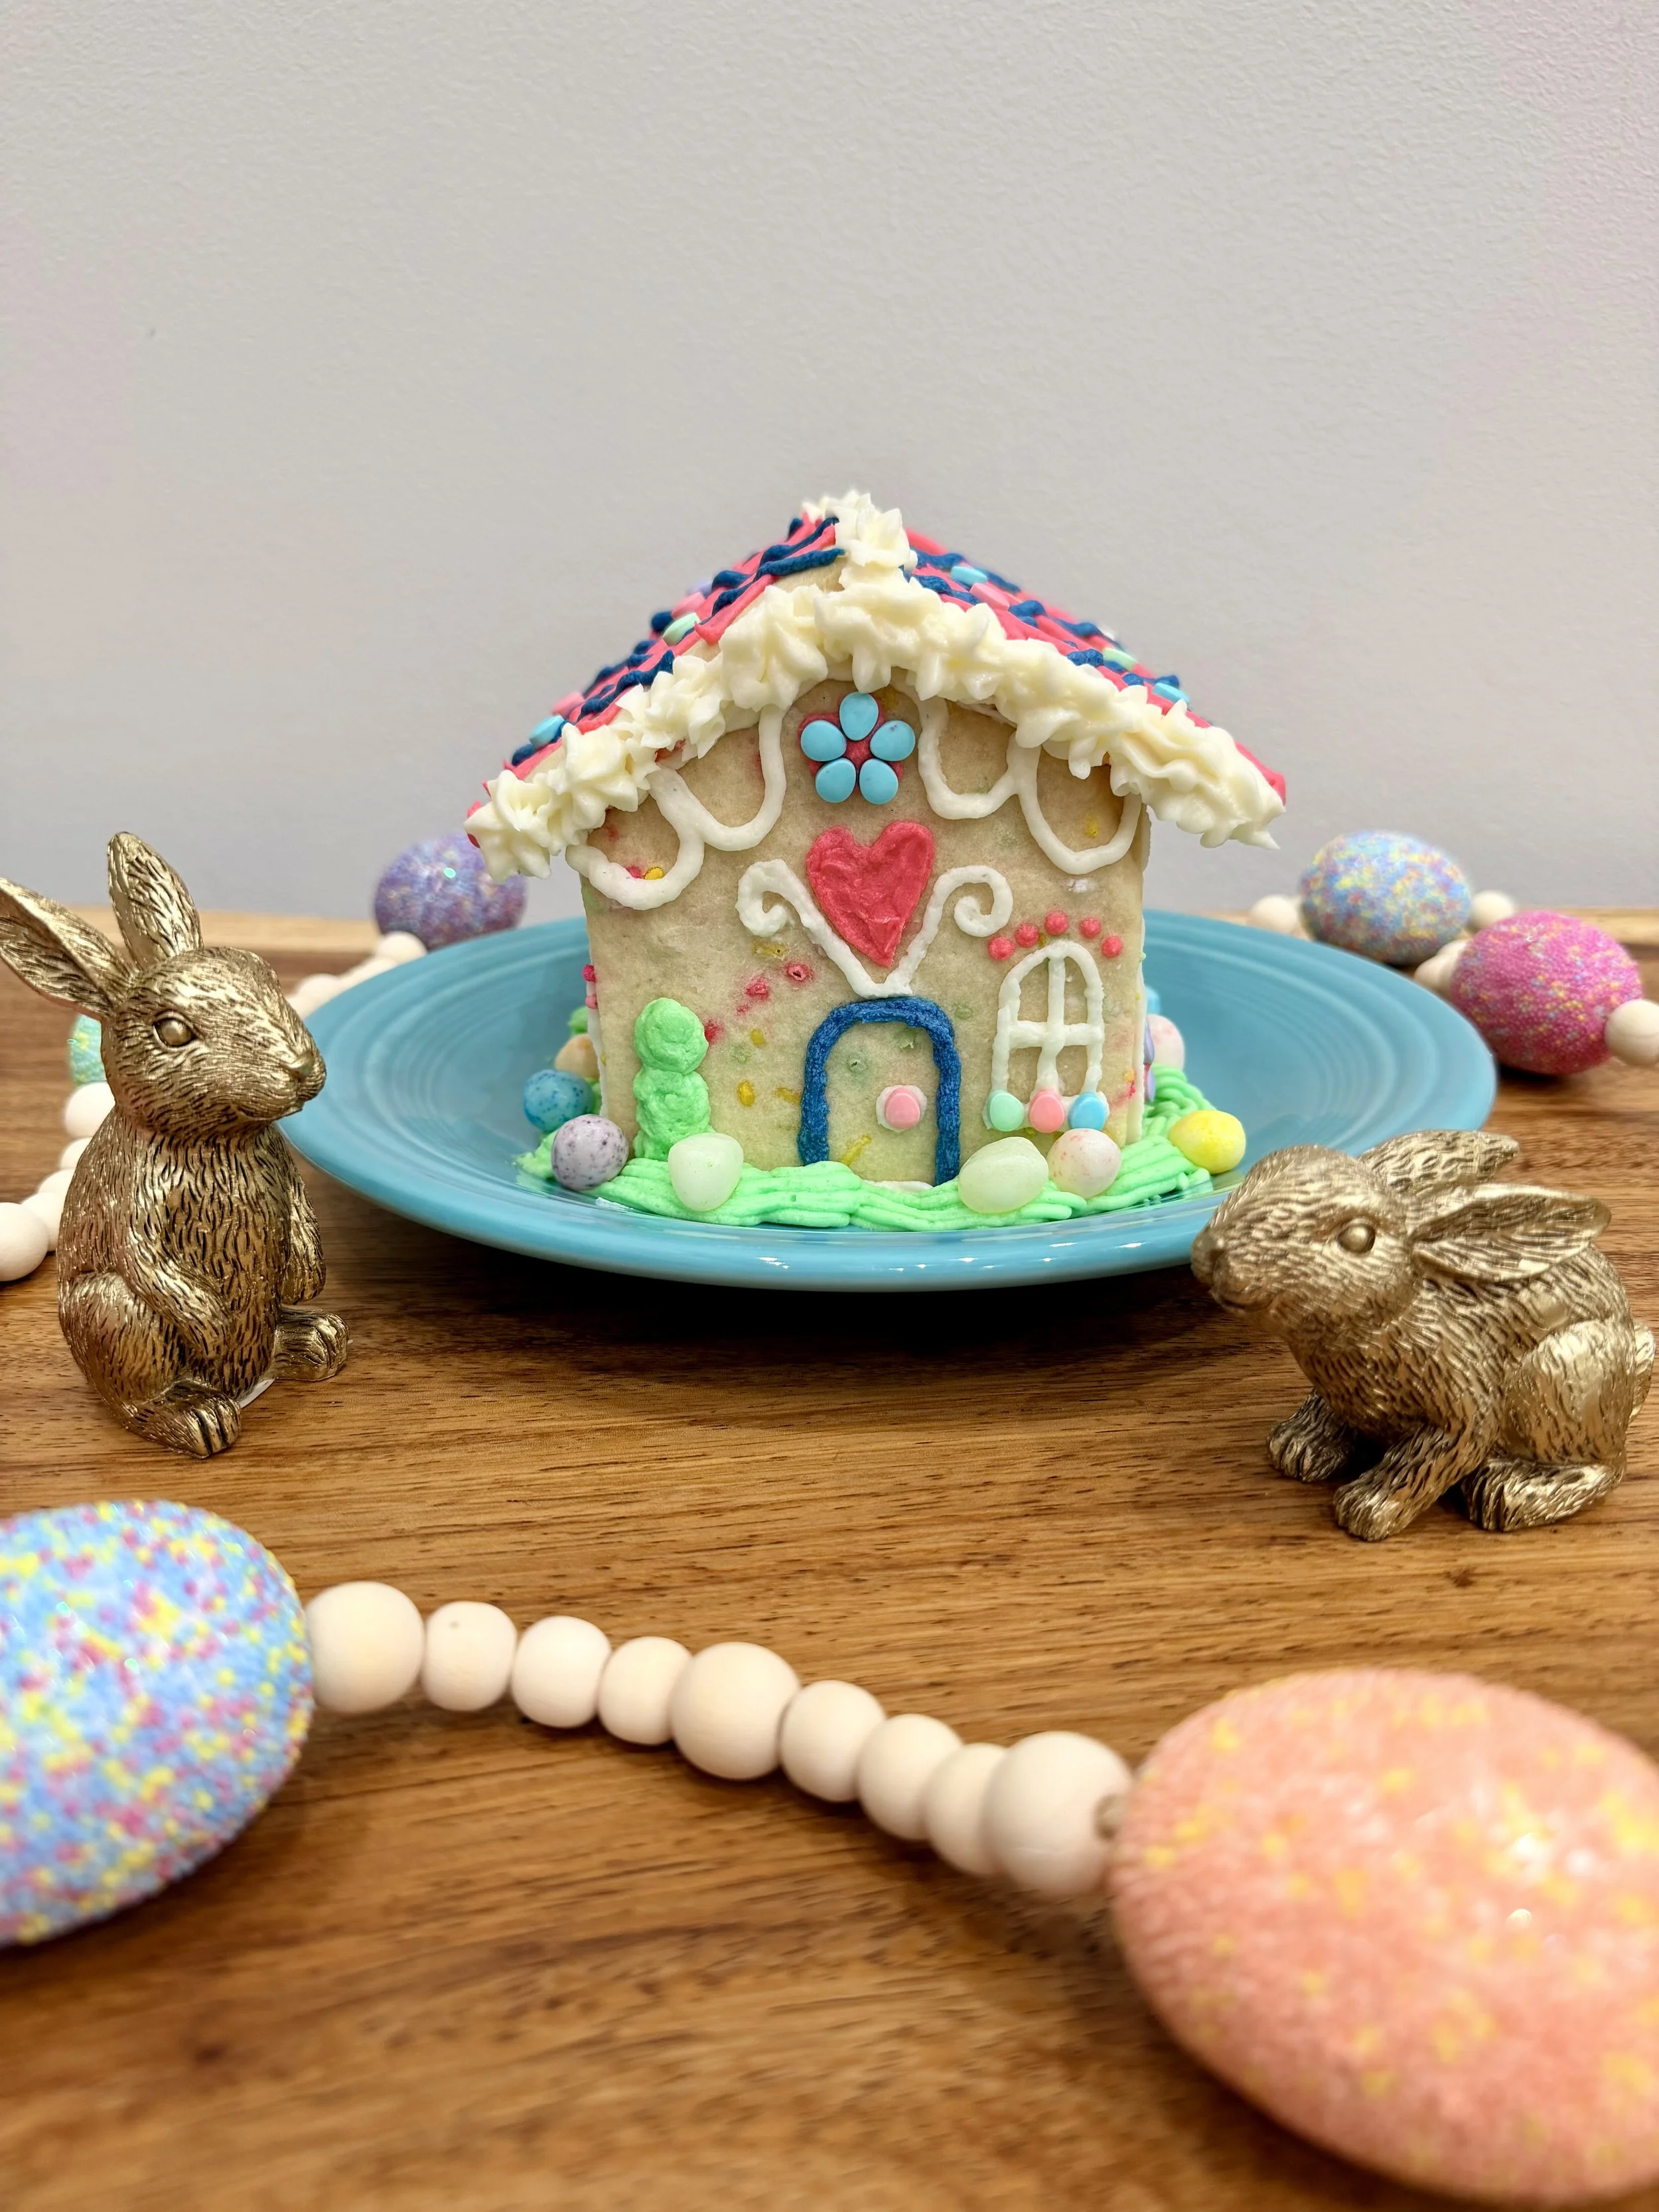
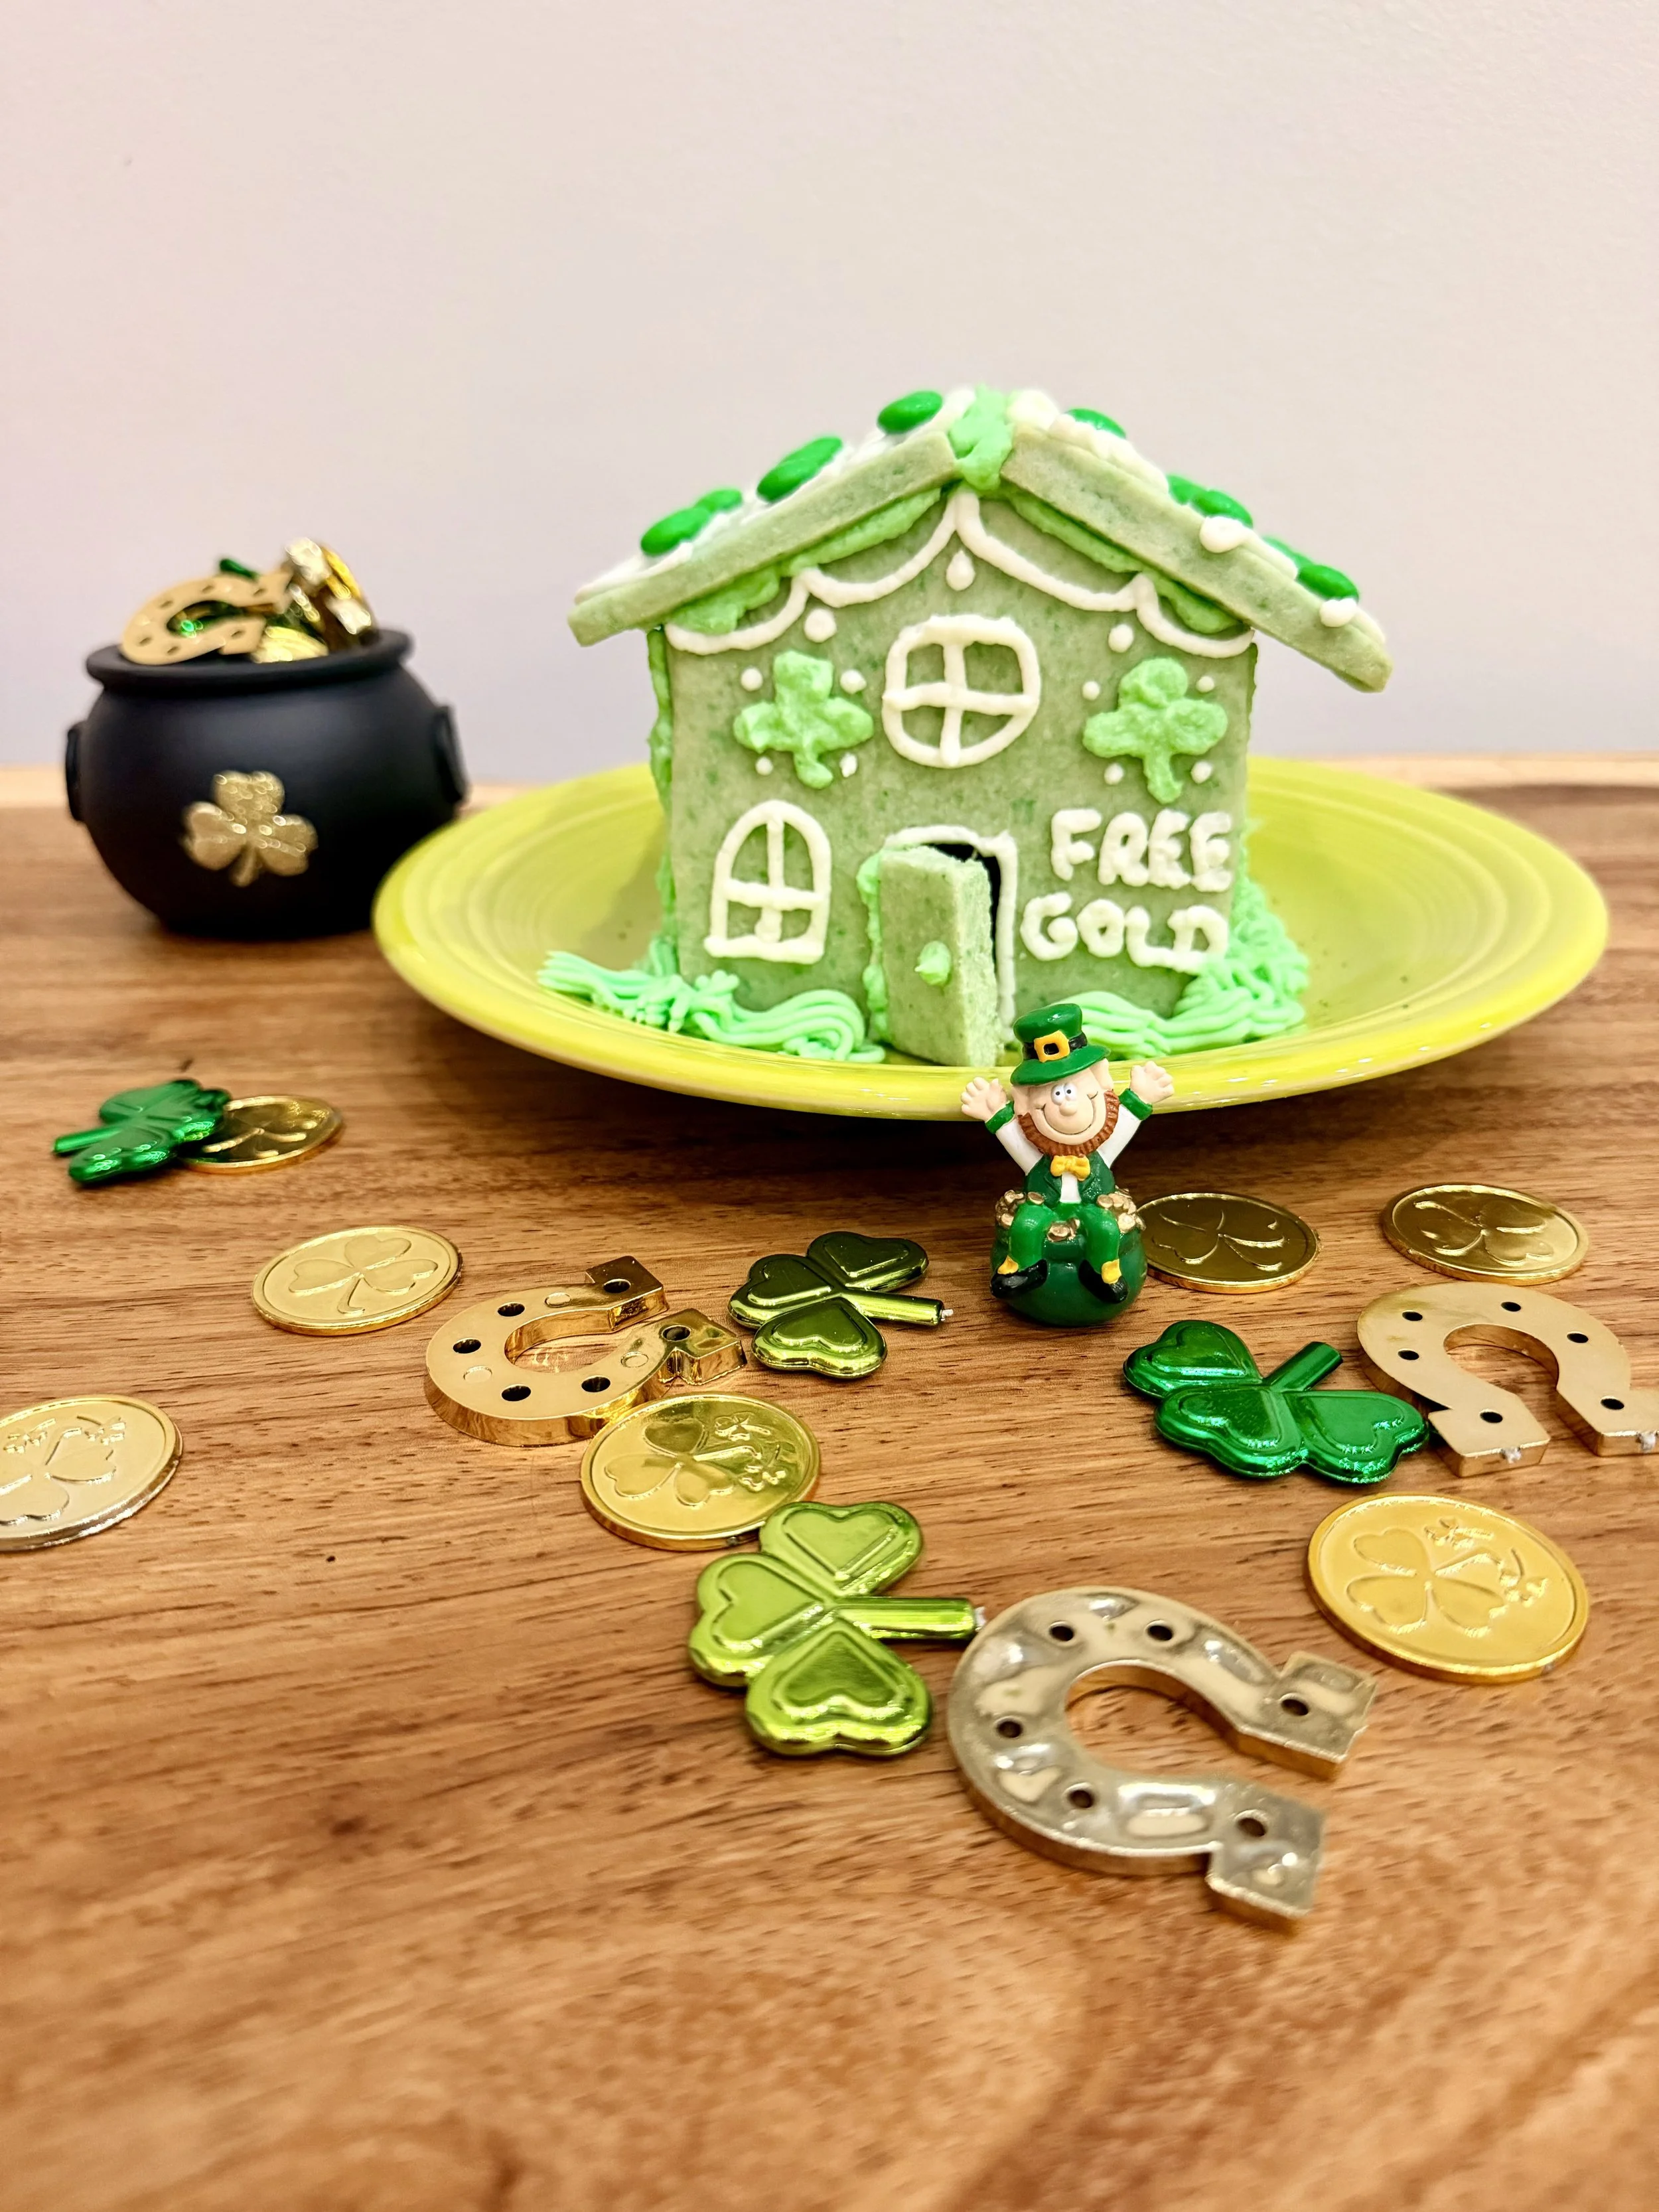
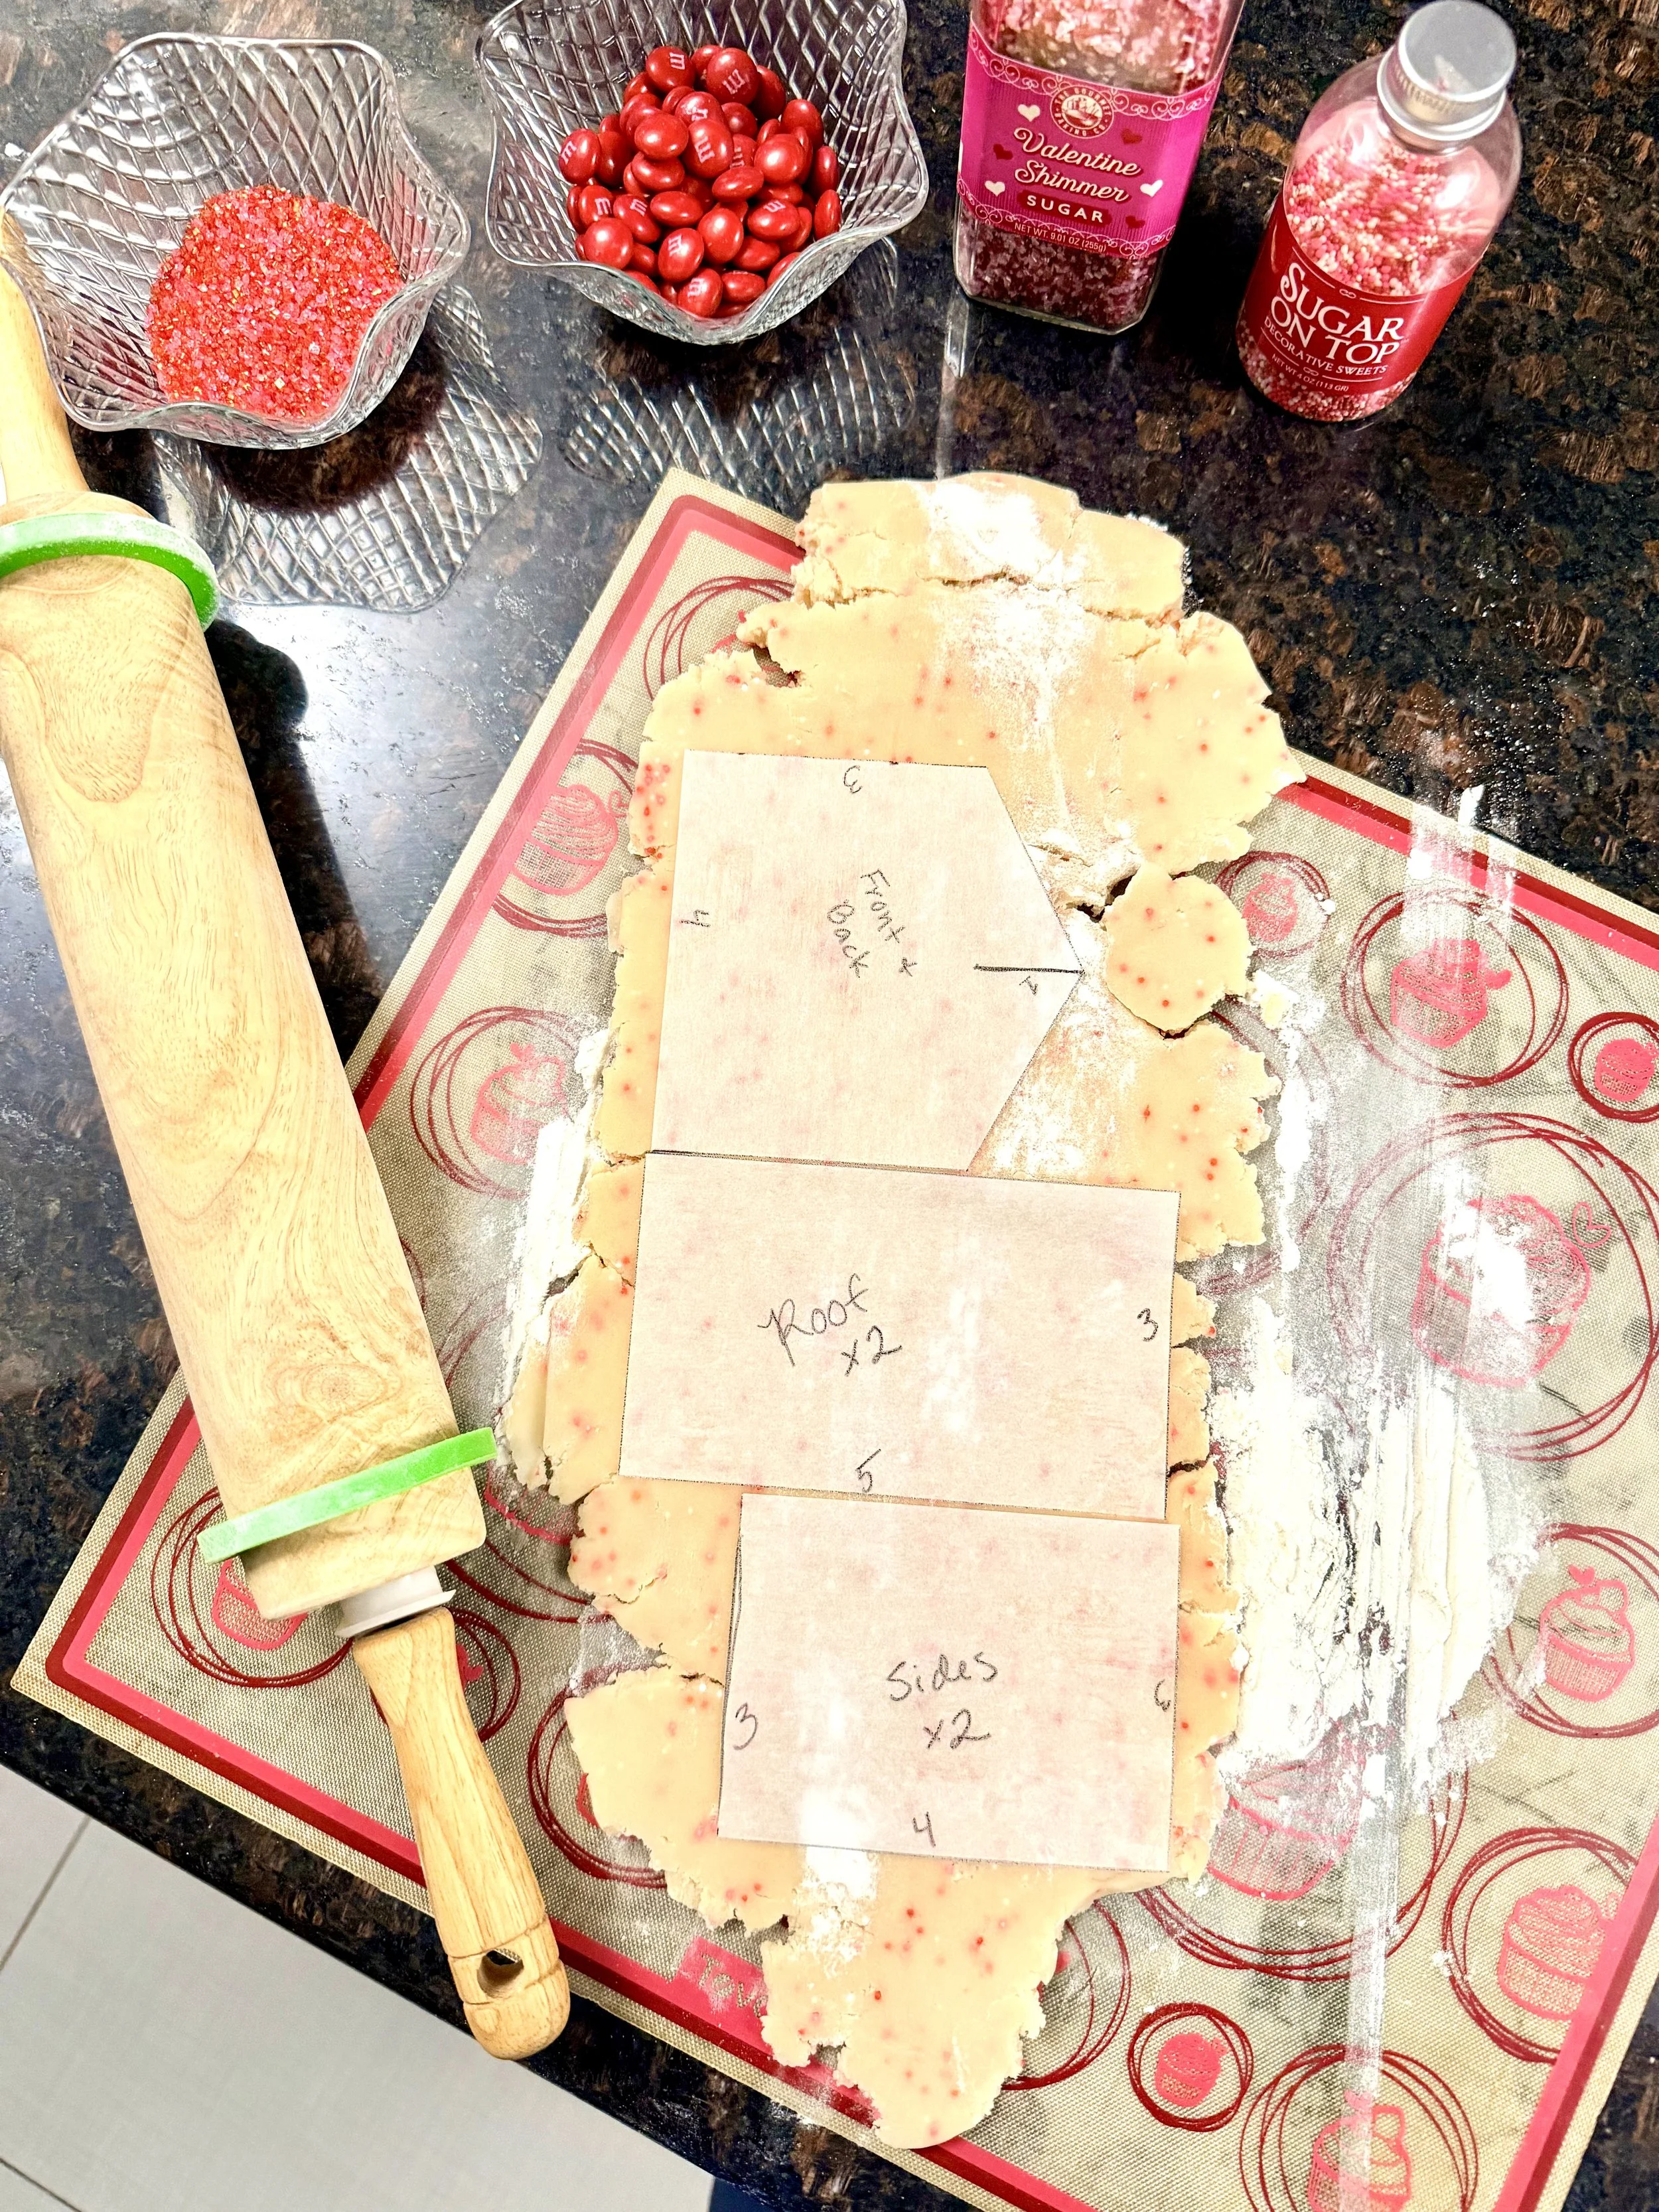
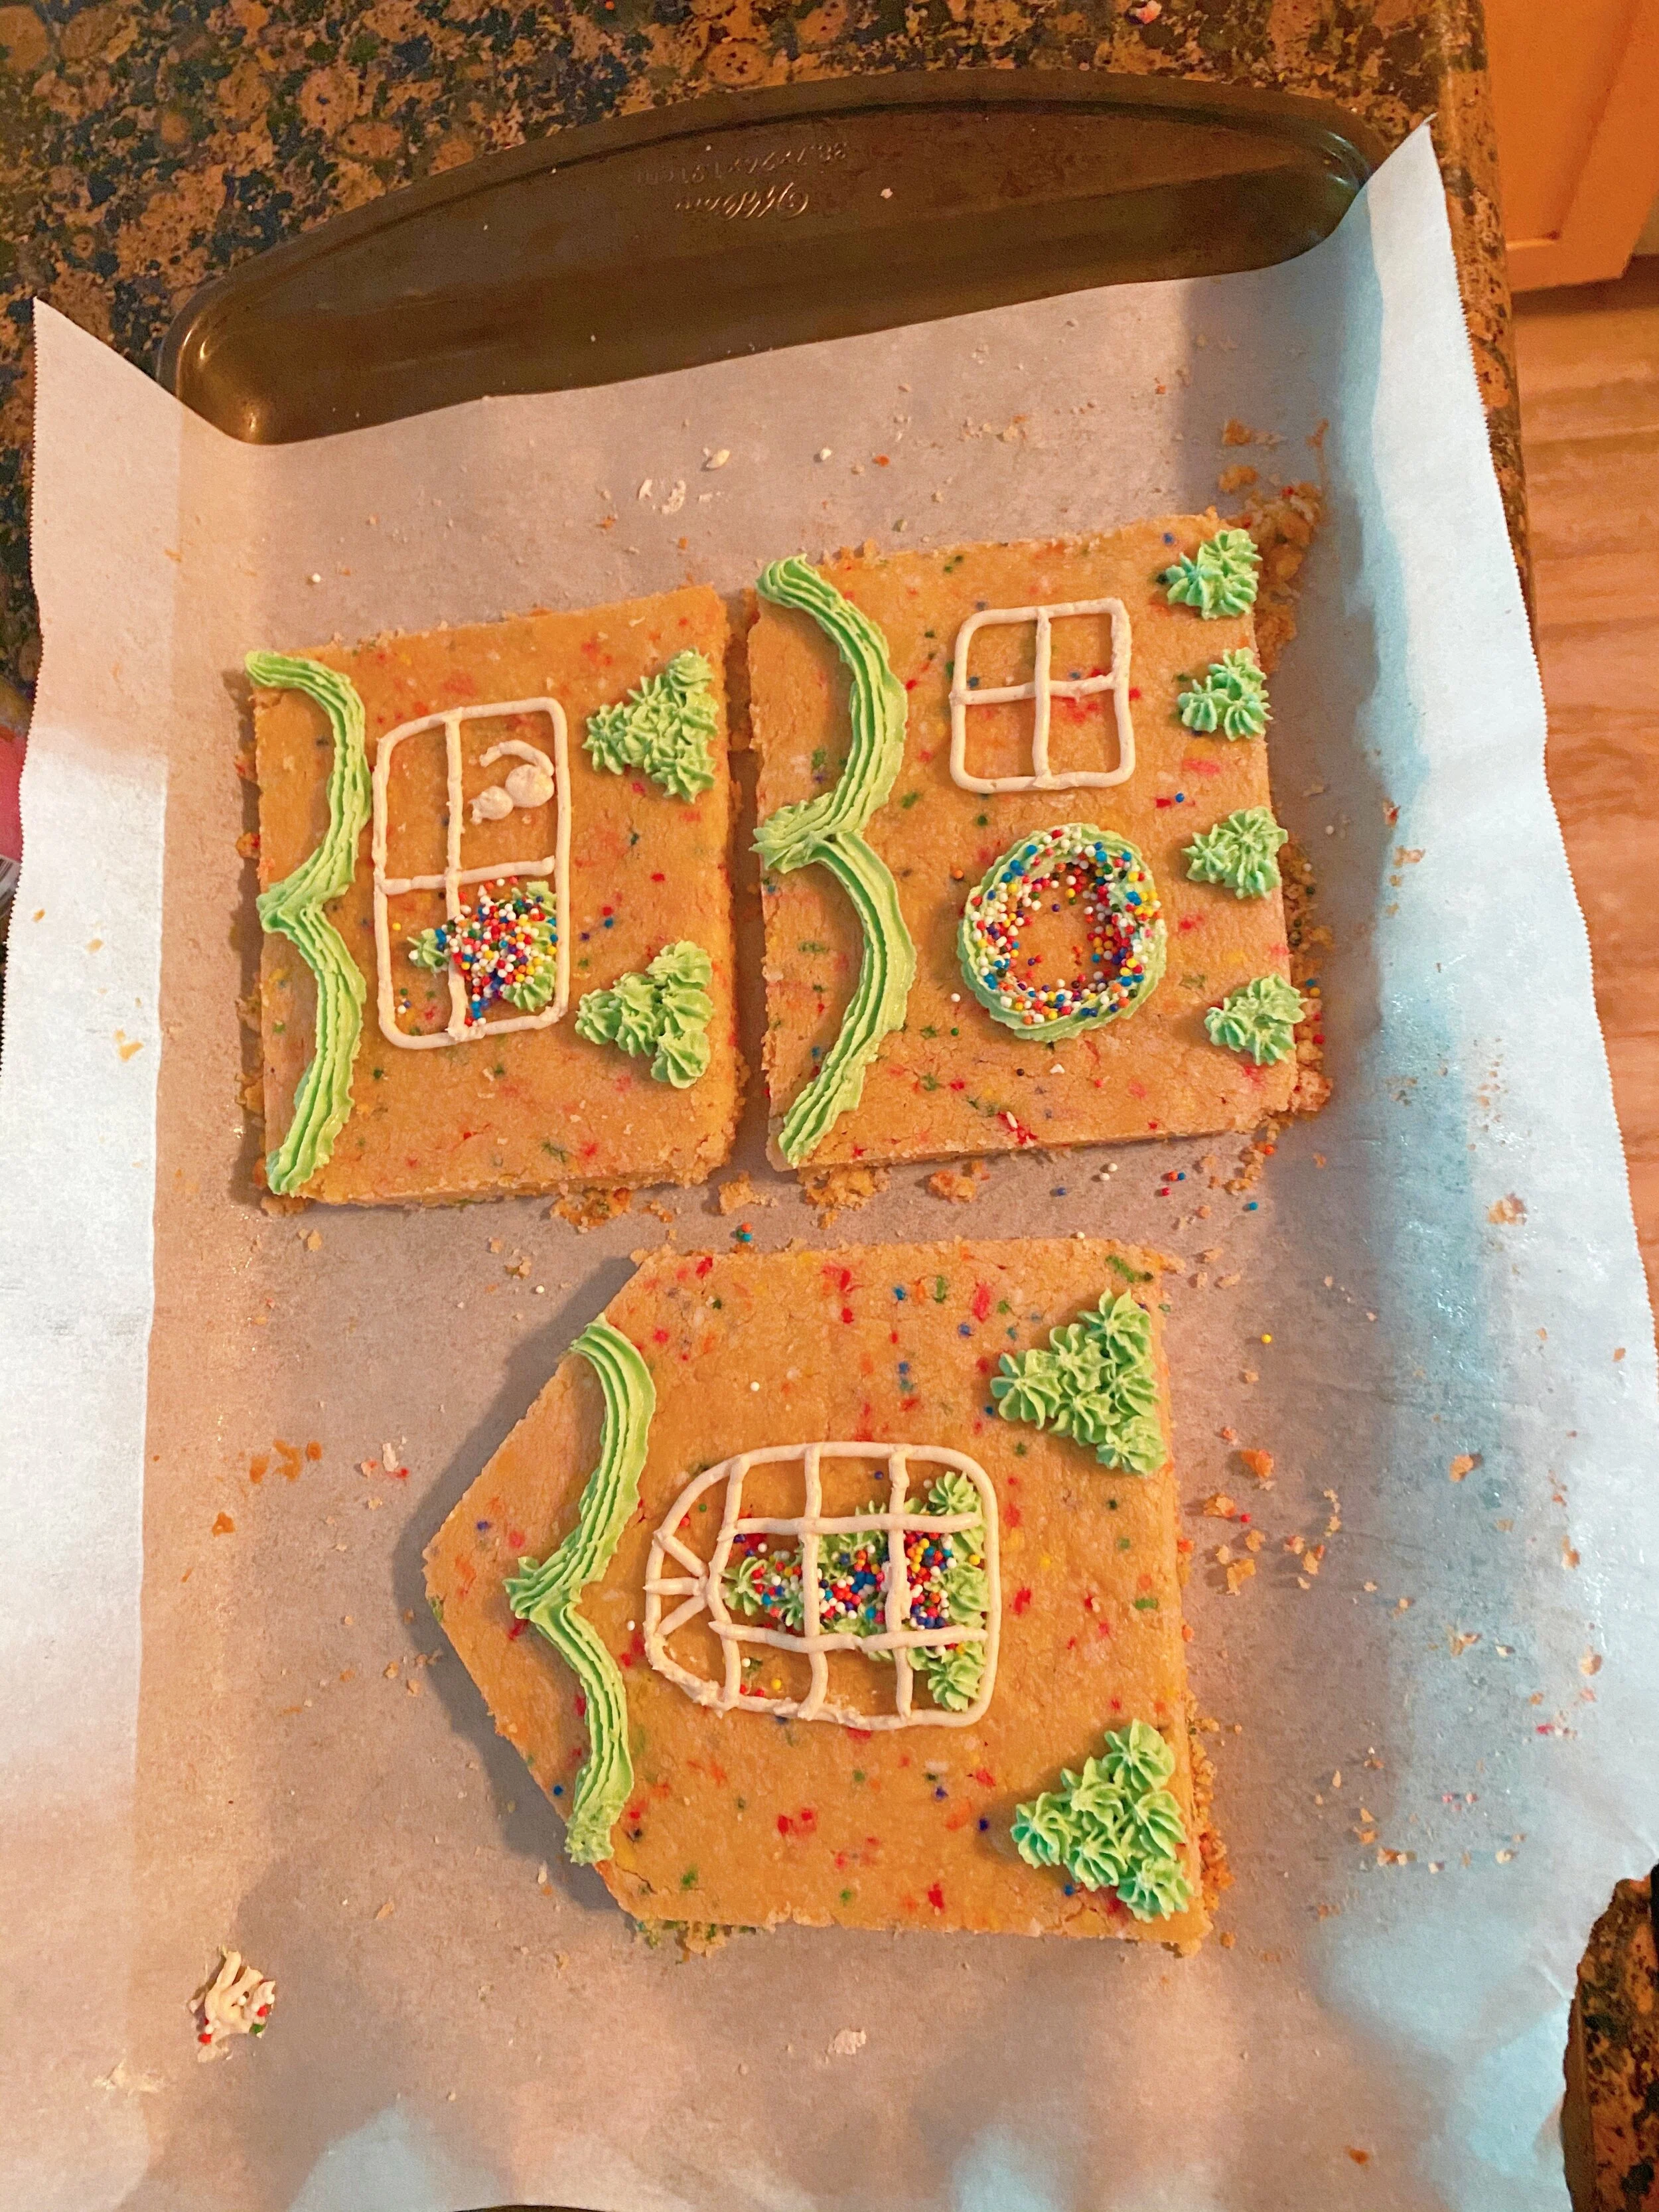
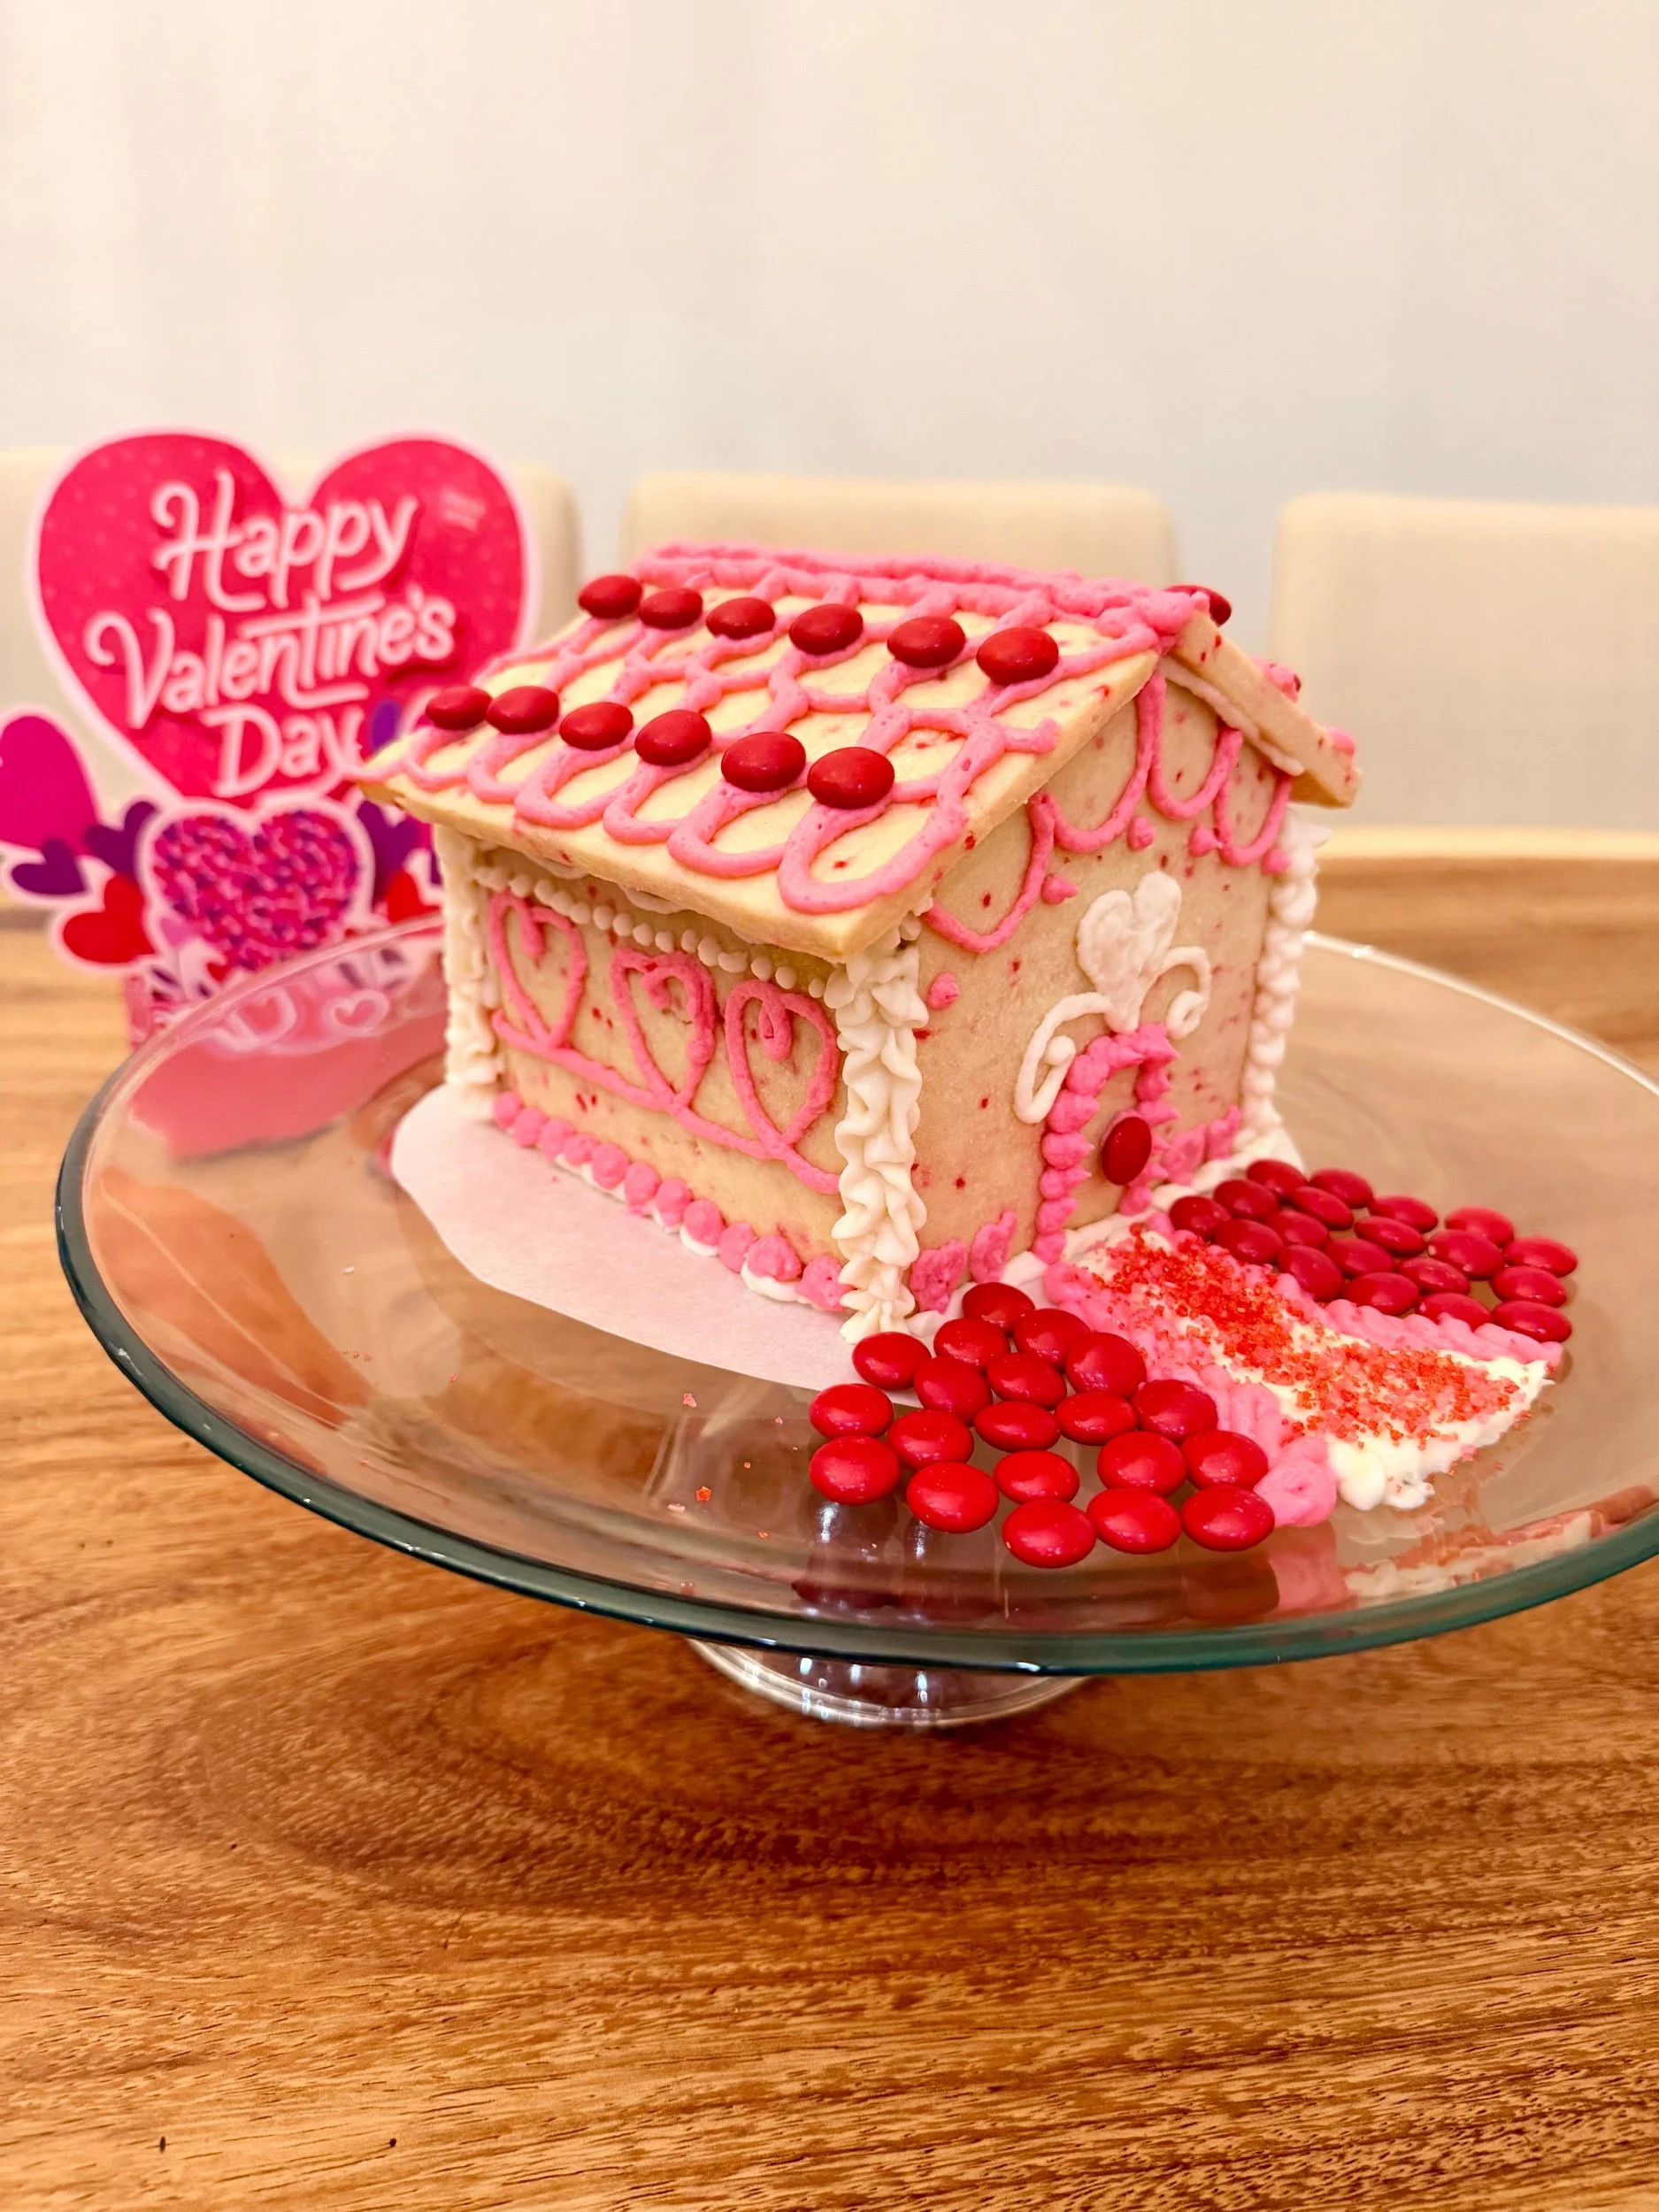
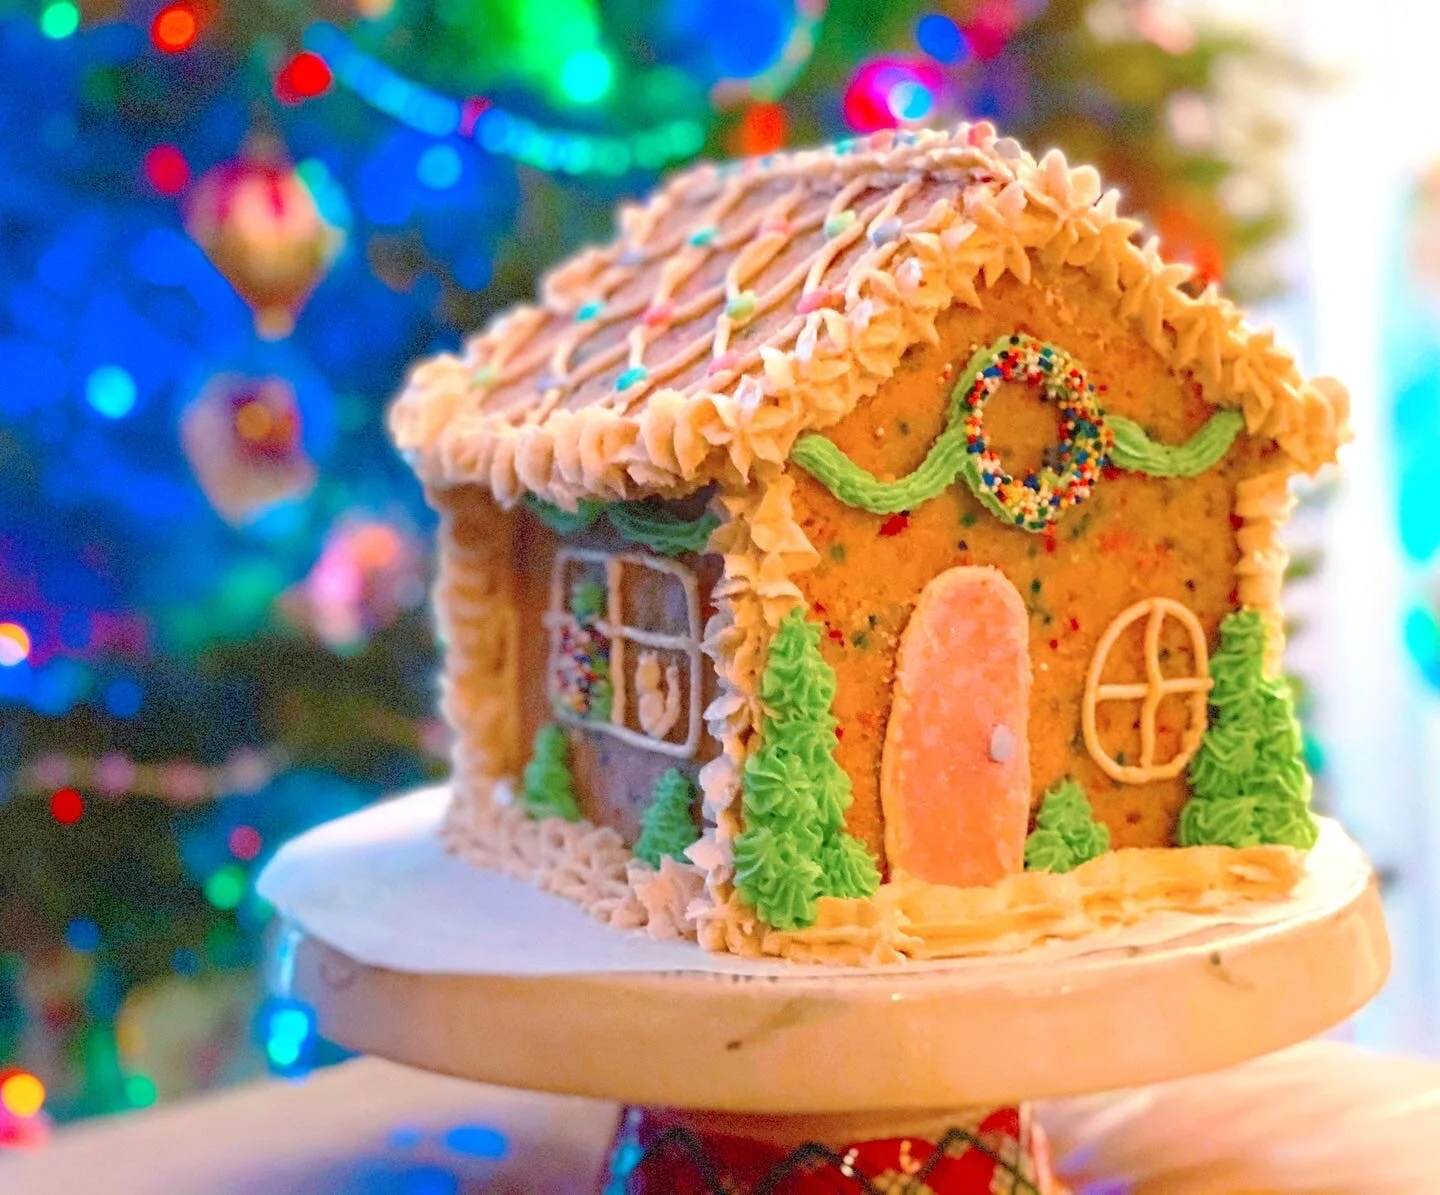
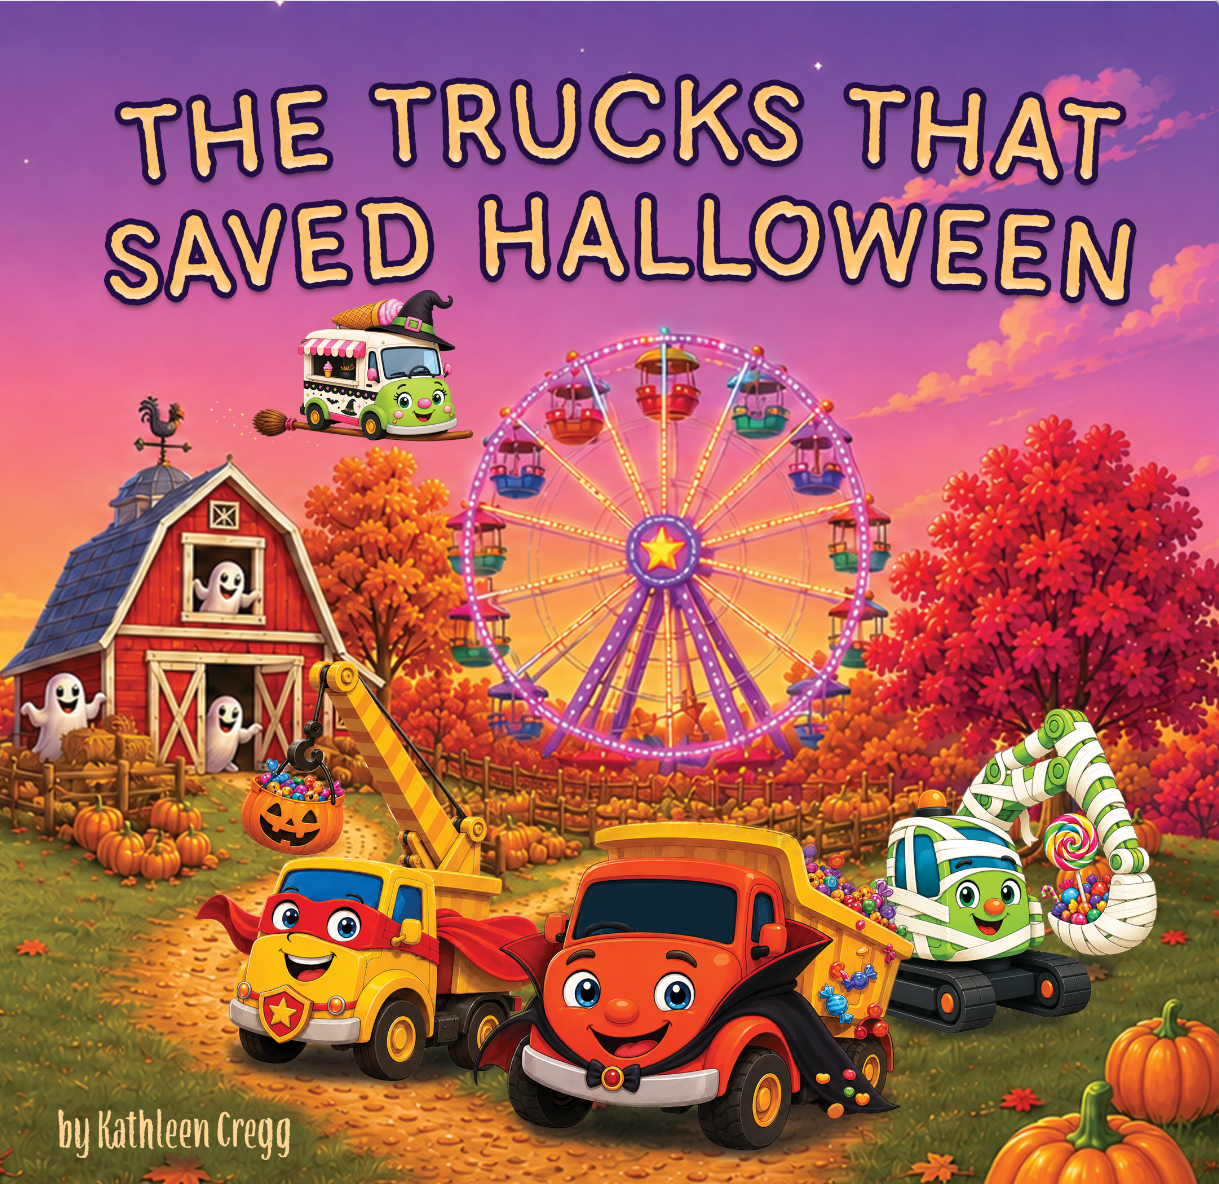
The Trucks That Saved Halloween: A Not-So-Spooky Halloween Book for Kids Who Love Trucks
Go behind the scenes of The Trucks That Saved Halloween, a colorful new Halloween book for little truck lovers! See how pumpkin patches, costumes, carnival memories, family jokes and a very special Witch Ice Cream Truck inspired the Truck Team’s newest not-too-spooky adventure.
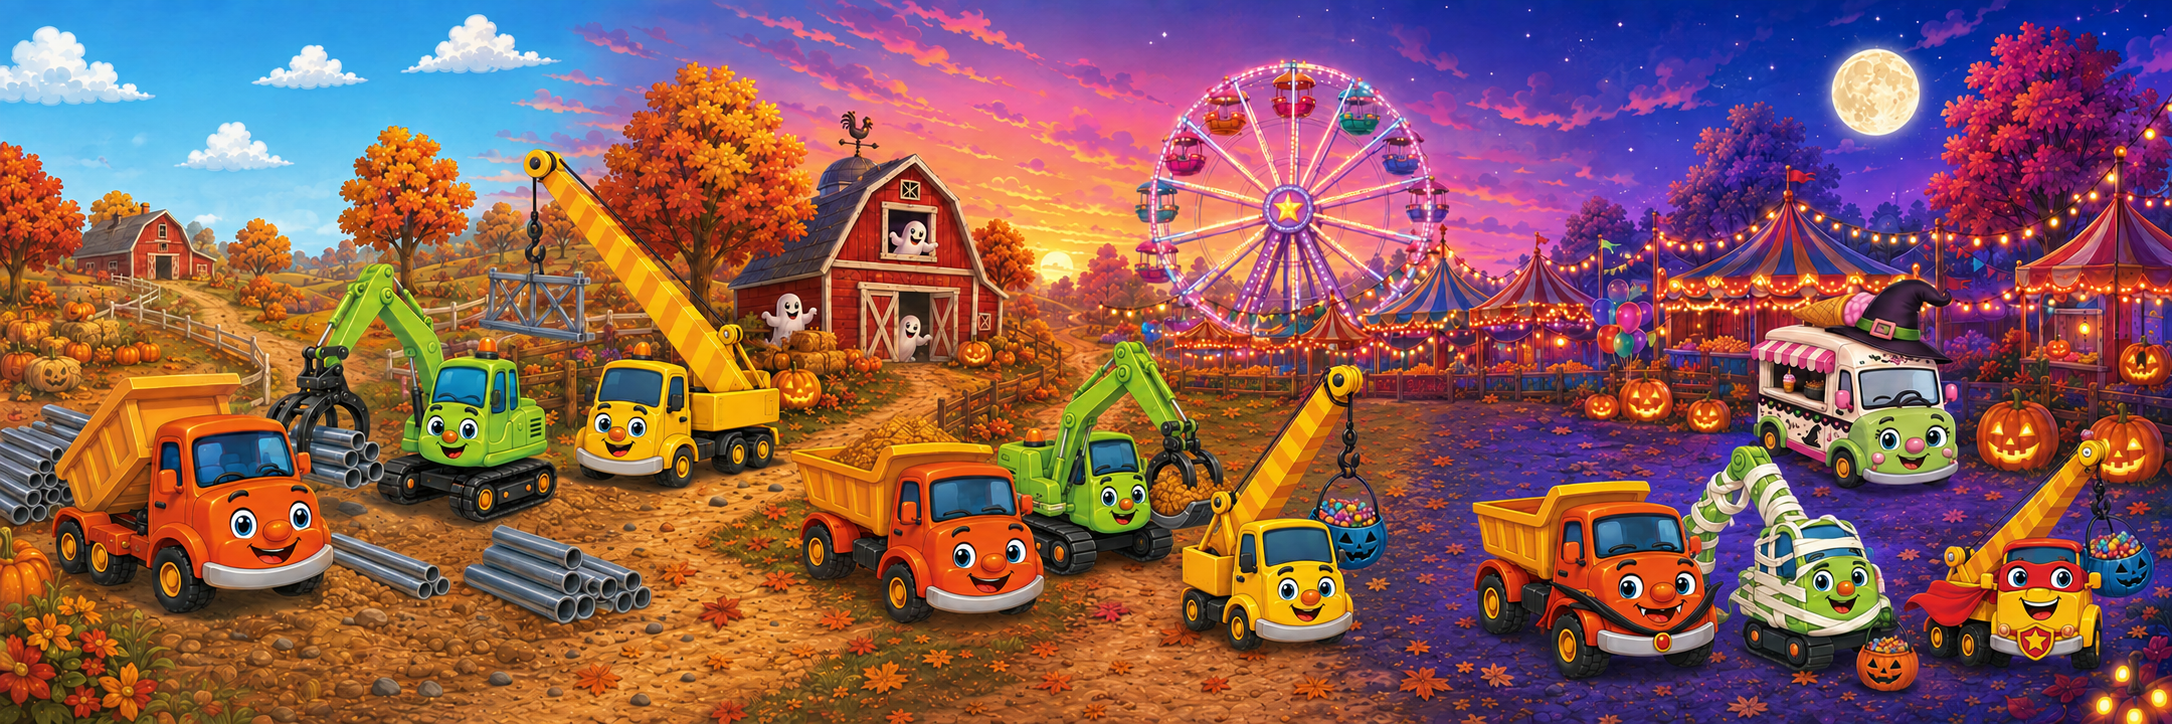
The Trucks that Saved Halloween artwork from start to finish
I can’t believe I’m saying this, but I have officially published THREE children’s books!
The Trucks That Saved Halloween is the newest adventure in The Trucks That Saved series, and I wrote it for the same reason I started this whole adventure in the first place: my boys.
I wanted to create books they would be excited to pull off the shelf again and again—full of the trucks they love, bright colors, silly little details, and stories about friendship and helping others.
And while I absolutely love how The Trucks That Saved Halloween turned out, I have to admit something:
This one was hard to write!
Get your copy - The trucks that Saved Halloween is AVAILABLE SEPTEMBER 1st!
Coming Up With The Trucks That Saved Halloween
The idea for this book didn’t come together quite as easily as my previous stories.
I knew I wanted to write a Halloween book. We have a TON of Halloween books in our house, and I was so excited about the idea of adding one of my own to our Halloween library.
I also knew one thing from the very beginning:
I wanted to dress the trucks up in costumes.
I could picture Dump Truck, Excavator, Crane Truck and their friends dressed up for Halloween, and the idea made me so happy.
But…what were they actually going to do?
Some of my favorite fall memories are going to the pumpkin patch and attending the carnival at my best friend’s school. I love everything about that classic fall festival feeling—the pumpkins, games, treats, decorations and especially the tractor ride.
My mom was actually the one who suggested that the trucks could build a carnival.
And I thought…why not build one for Halloween?!
Suddenly, I had my setting.
There was just one problem.
Were the Carnival and Costumes Two Different Books?
For a while, it really felt that way!
I had one story about the Truck Team building this amazing Halloween carnival, and another story in my head about all of the trucks choosing silly Halloween costumes.
I loved both ideas and didn’t want to give either one up.
But getting them to feel like one story instead of two stories smashed together was surprisingly difficult.
I tinkered. And rewrote. And moved things around. And tinkered some more.
Eventually, everything clicked.
The trucks could work together to transform an old farm into a cheerful Halloween carnival—and then, before it was time to truck-or-treat, there was one more problem to solve.
Crane Truck couldn’t decide what to be for Halloween!
That finally gave me a way to bring the carnival, the costumes, the friendship story and the Halloween fun together.
And I got to dress up my trucks after all.
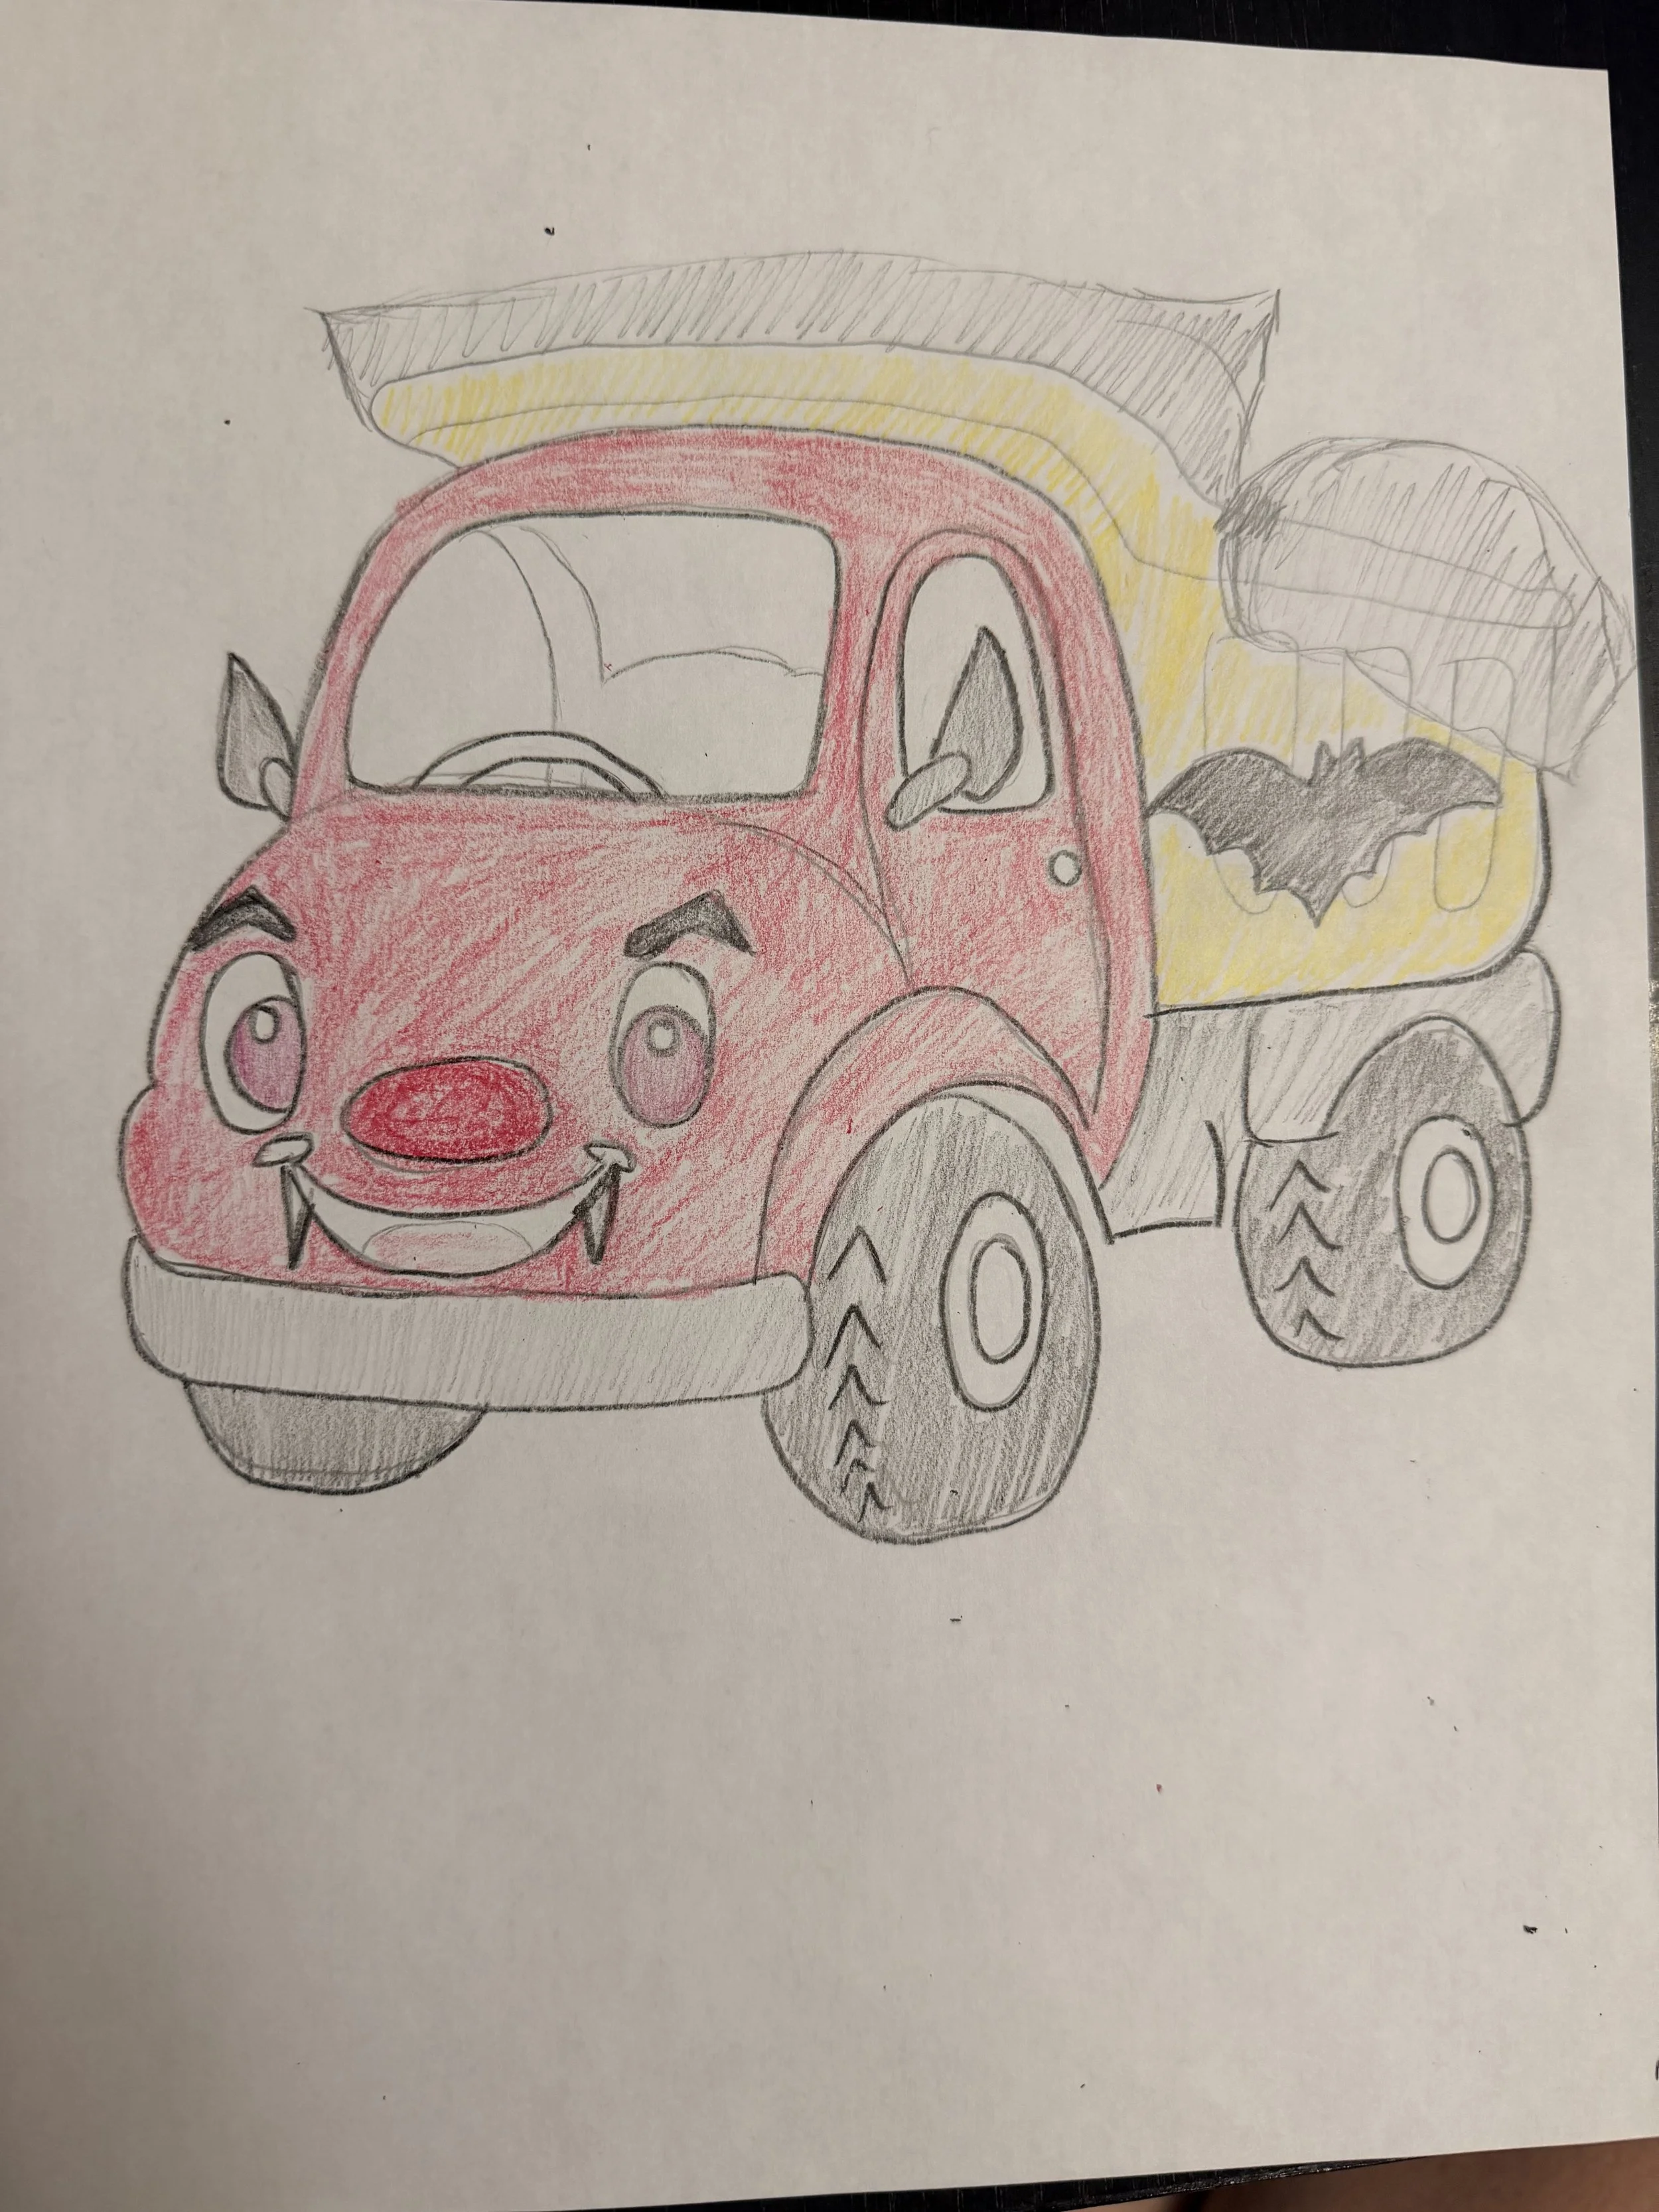
Sketch of Dump Truck dressed as a Vampire for Halloween
Creating a Bright, Colorful Halloween
Once I had the story figured out, I couldn’t wait to start working on the illustrations.
Fall is SO much fun to draw.
I knew I wanted this book to have tons of beautiful fall colors—bright orange pumpkins, golden leaves, reds and yellows—but I also wanted it to feel different from the other books in the series.
So I brought in more pinks and purples.
The story starts in a bright autumn afternoon and gradually moves toward a colorful Halloween evening filled with pink, lavender, purple and blue instead of becoming dark or scary.
That was really important to me.
I wanted Halloween to look magical, colorful and fun.
My sketches and colors needed to make me happy—and hopefully make little kids happy when they turn the pages too!
Of Course There Had to Be a Tractor Ride
One of my absolute favorite things to do at the pumpkin patch is the tractor ride, so there was no way I was making a Halloween carnival without one.
The farm became such a fun backdrop for the story.
There are pumpkins, hay bales, fall trees, a red barn, a corn maze and all those little things that remind me of going to the pumpkin patch in the fall.
It was so much fun getting to create my version of the perfect kid-friendly Halloween carnival.

Colorful cauldron element from The Trucks that Saved Halloween
The Little Details Are My Favorite Part
Some of my favorite parts of the book probably aren’t the things most people will notice first.
They’re the tiny details I added for my boys.
At one point, a leaf lands right on Crane Truck’s nose.
It makes my little one laugh, so of course it stayed.
There’s also some silly witch’s brew involved—including stinky socks.
Why stinky socks?
Because taking off our shoes and joking about everyone’s stinky feet is apparently hilarious in our house.
And the potion colors?
Blue and green, because those are my boys’ favorite colors.
Those are the kinds of details I love sneaking into these books. They may seem completely random to everyone else, but I know exactly why they’re there.
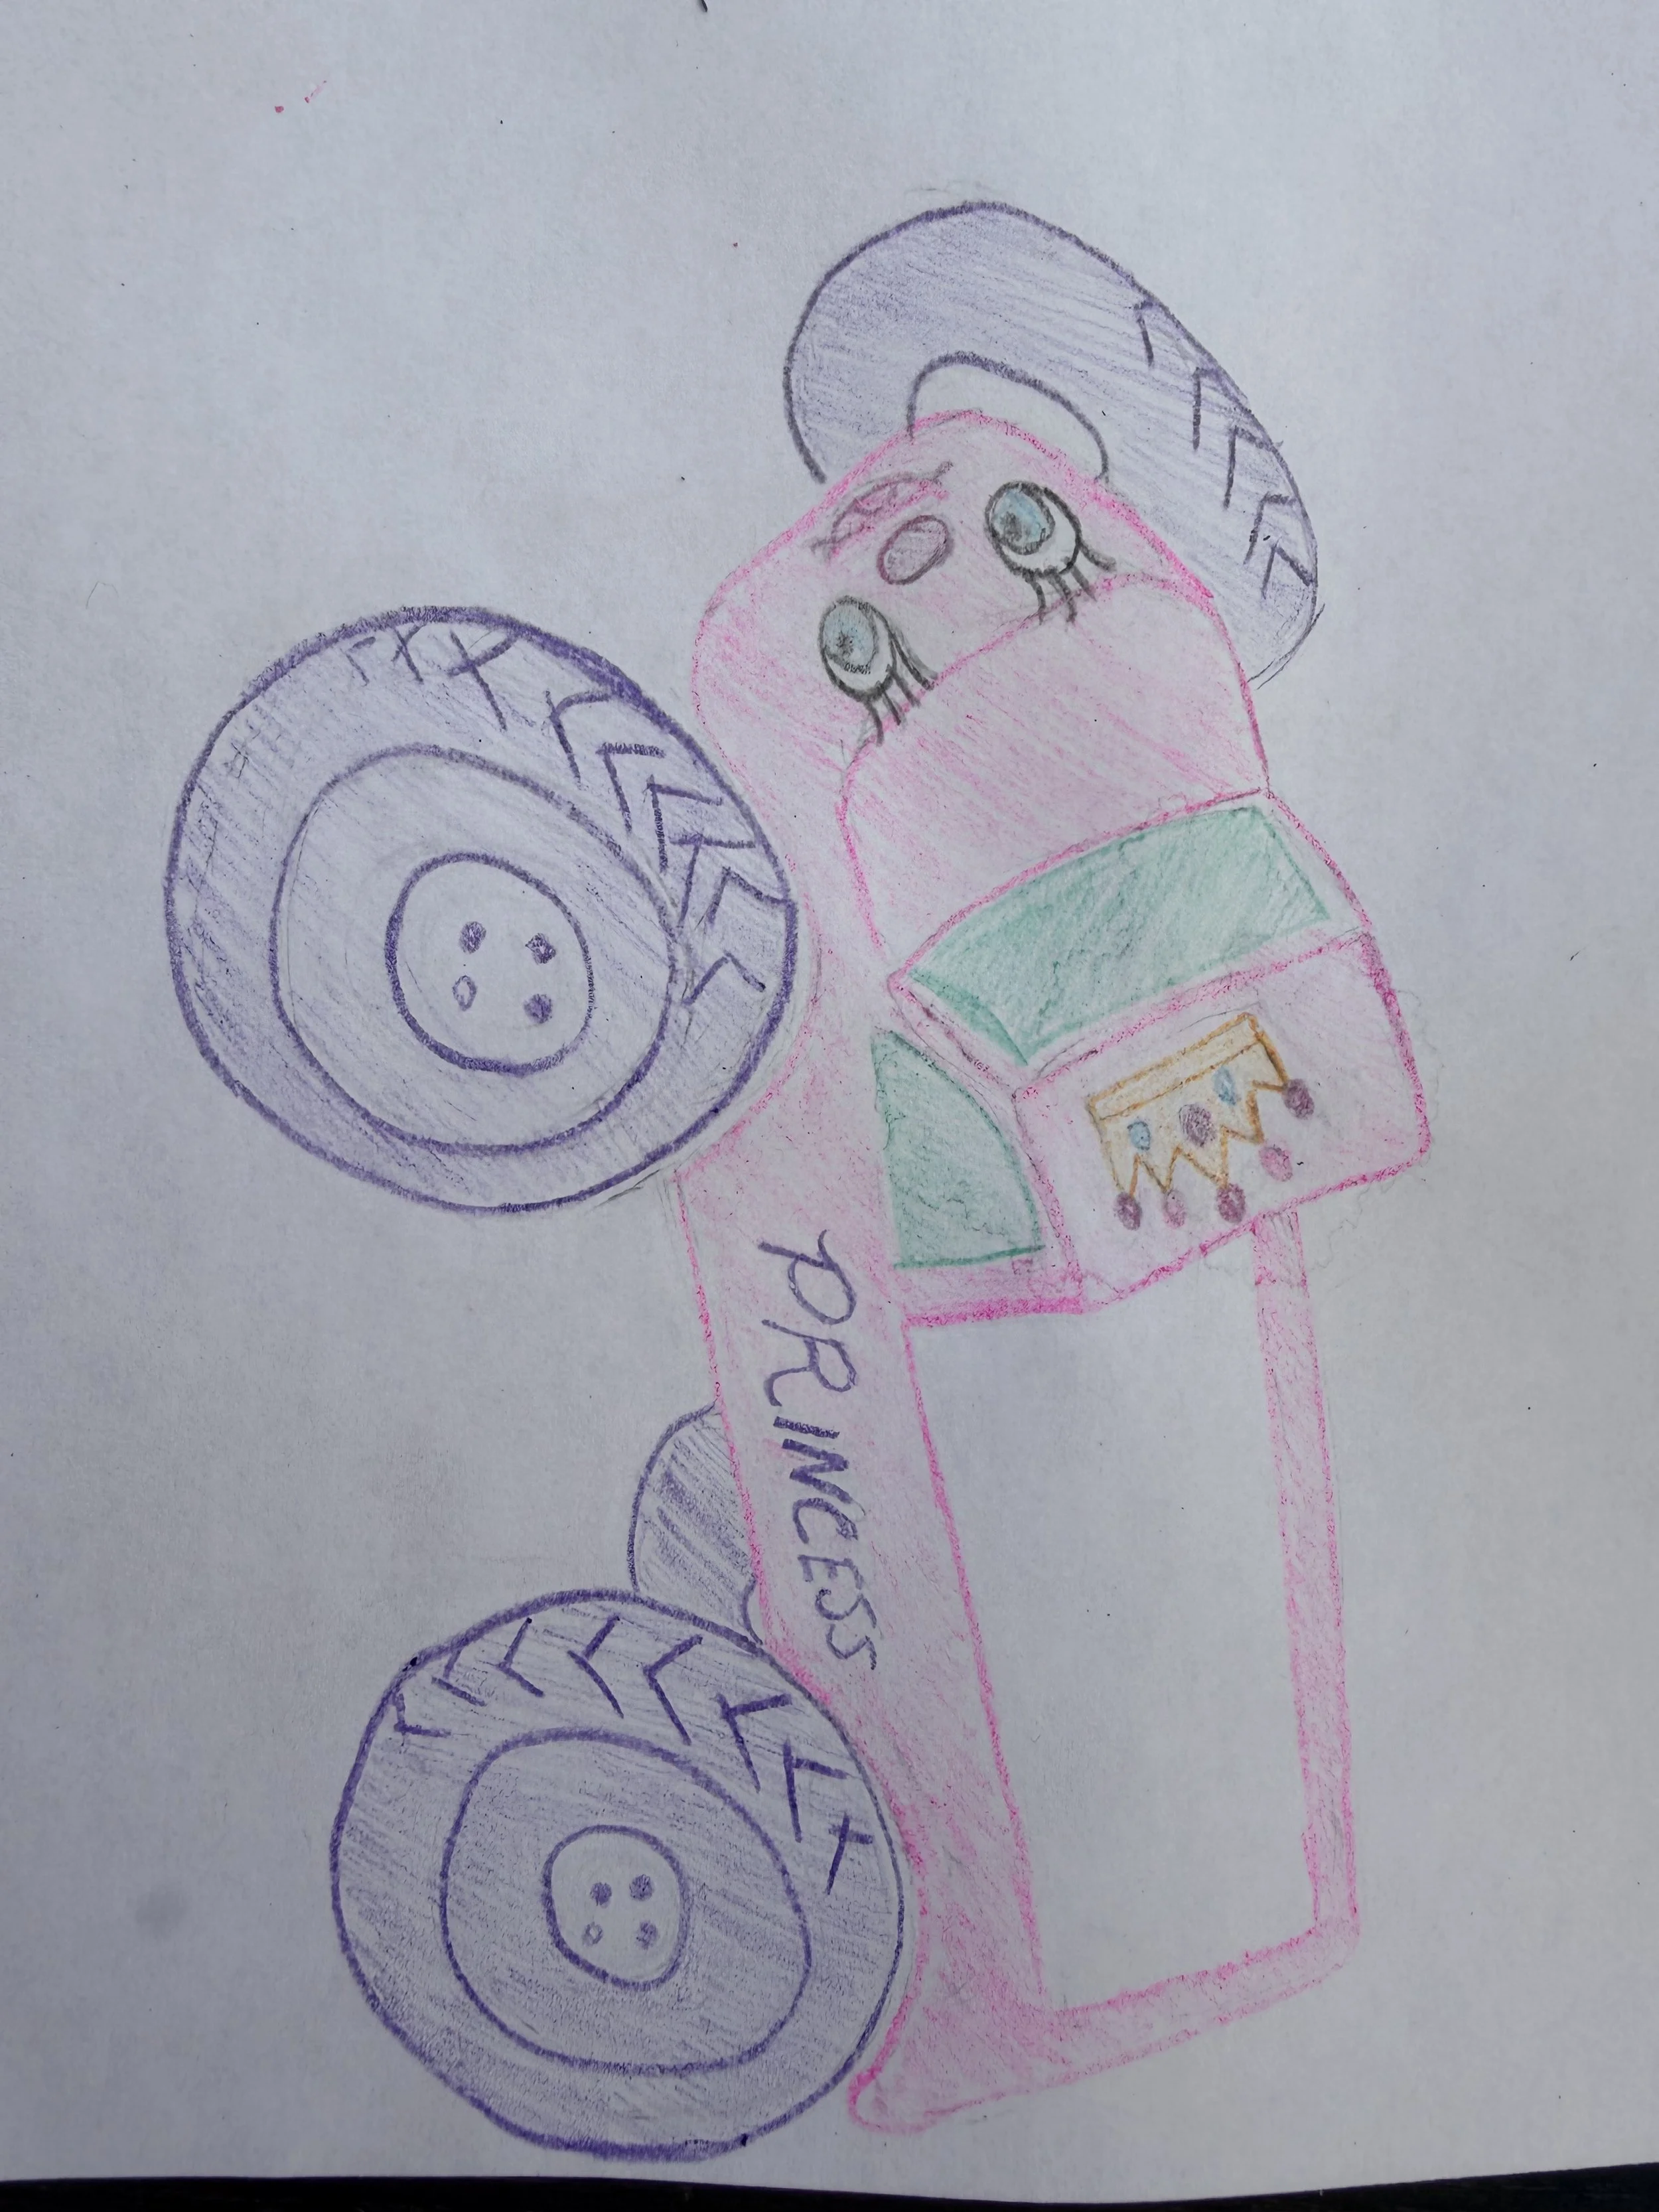
Princess Monster Truck sketch for The Trucks that Saved Halloween
Adding a Princess Monster Truck
One of my son’s friends had a very important request when she heard about the book:
It needed a princess!
And she was right.
So I added a Princess Monster Truck.
I loved getting to bring another girl character into the Truck Team world while still keeping everything silly, colorful and truck-filled.
Because princesses and monster trucks absolutely belong in the same book.
“Truck-or-Treat!”
Another idea I knew I wanted to use was truck-or-treating.
It’s such a simple little play on “trick-or-treat,” but it felt perfect for the world of the Truck Team.
It also helped me make the Halloween celebration feel especially fun and approachable for toddlers and preschoolers.
Instead of making Halloween about things being frightening, I wanted the story to focus on the parts little kids tend to love: costumes, pumpkins, candy, friends, silly surprises and getting to celebrate together.
Ice Cream Truck sketch as a witch for Halloween
My Favorite New Character: Witch Ice Cream Truck
Okay, I might have saved my favorite part for last.
I turned Ice Cream Truck into a witch.
And I LOVE her.
I knew immediately that I wanted her Halloween colors to include pink and green, which is a color combination I’ve loved forever.
There’s actually a very random childhood reason for that.
My bedroom growing up was pink, and I had a pink-and-green Laura Ashley comforter with a matching border around the room. Apparently that color combination stuck with me because all these years later, here I am putting it on a witch ice cream truck!
She has a giant floppy witch hat, pink details, a broom, Halloween treats and a candy-filled cauldron.
But there was one more thing she absolutely needed:
A black cat.
I LOVE cats, and I had a couple of black cats growing up, so there was really no question about whether my Halloween book needed one.
Of course it did.
Witch Ice Cream Truck ended up becoming one of my favorite characters I’ve created. She’s colorful and sweet and just the right amount of witchy without being scary.
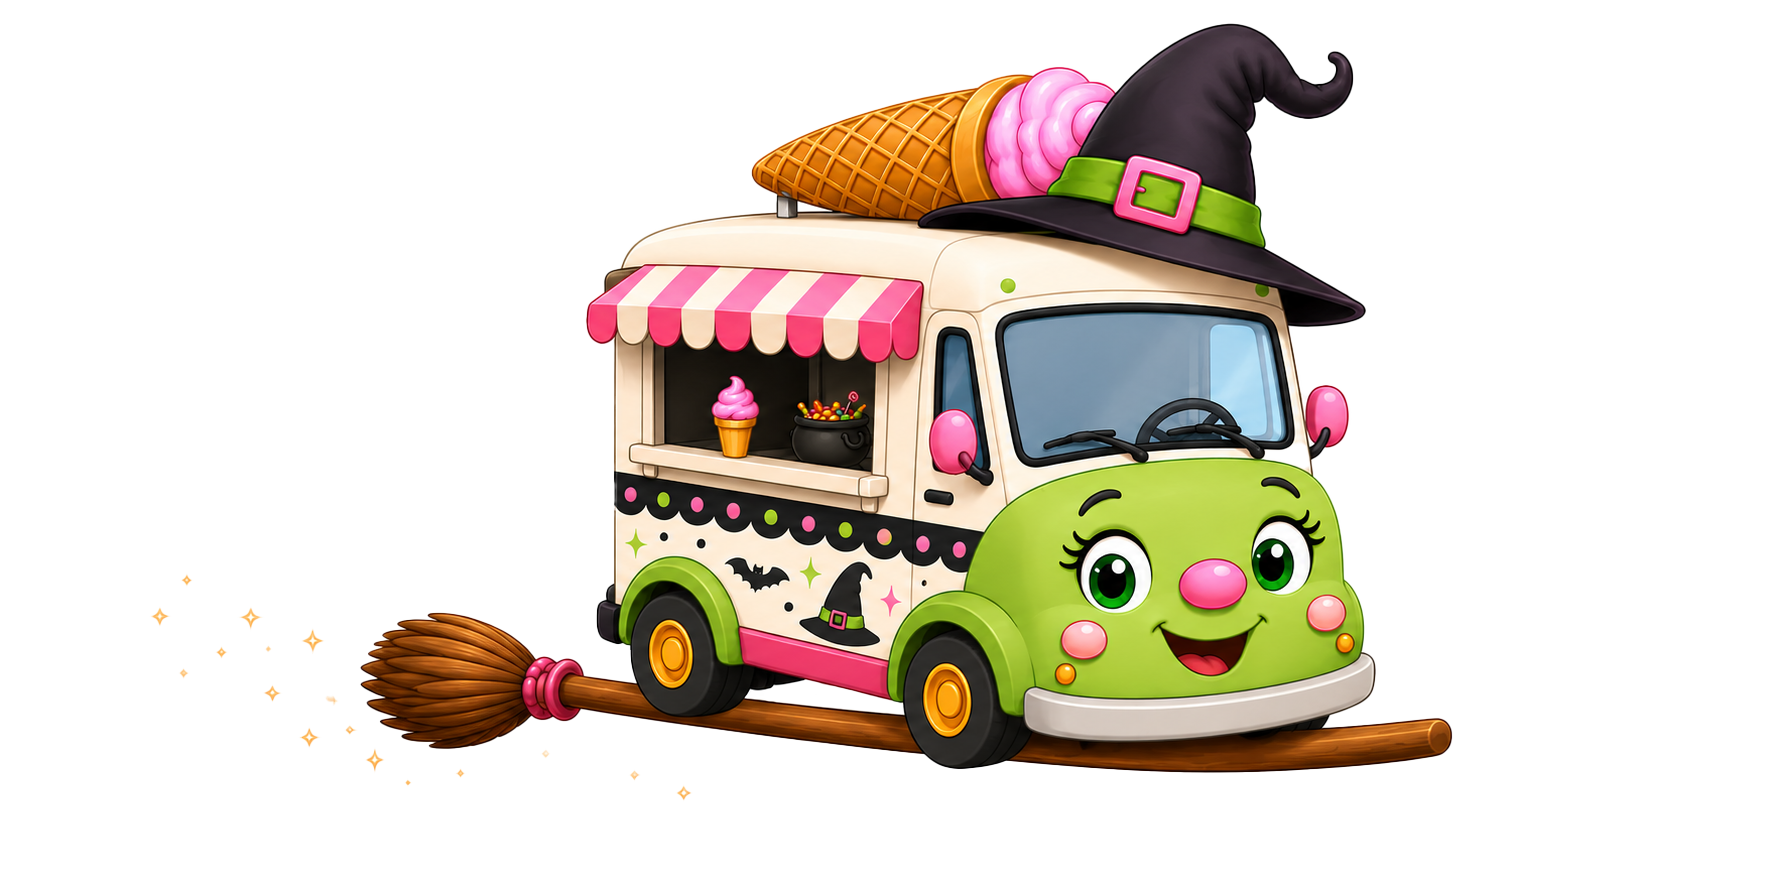
Ice Cream Truck as a witch from The Trucks that Saved Halloween
A Halloween Book for Little Truck Lovers
At its heart, The Trucks That Saved Halloween is about the same things I want all of my Truck Team stories to celebrate: friendship, teamwork, helping others and having fun together.
Dump Truck, Excavator and Crane Truck realize that Halloween needs a little help, so they do what the Truck Team does best:
They get to work.
Together they transform an old farm into a cheerful Halloween carnival filled with rides, games, pumpkins, a corn maze and plenty of treats.
And when Crane Truck needs a little help of his own, his friends are there for him too.
It’s a Halloween story filled with construction trucks, costumes and plenty of silly Halloween magic—without making Halloween too scary for little readers.
The Trucks That Saved Halloween
is especially fun for kids who love:
Construction trucks
Dump trucks, excavators and cranes
Halloween and costumes
Pumpkin patches
Tractors and hayrides
Carnivals and fall festivals
Candy and Halloween treats
Bright, colorful picture books
Silly, not-too-spooky Halloween stories
Friendship and teamwork
It’s written especially with young truck lovers and preschool-age kids in mind.
Three Books!
It still feels a little surreal to say that.
What started with me wanting to make something special for my boys has turned into three books, and seeing these characters continue to have new adventures has been so much fun.
And this book may have been the hardest one for me to figure out, but that almost makes me love it even more.
There were so many moments when I couldn’t quite figure out how the carnival and costume stories belonged together.
Now I can’t imagine the book without either one.
And after all that tinkering, I’m thrilled that The Trucks That Saved Halloween finally gets to join the very large stack of Halloween books we pull out every fall.
Only now, one of them is ours. 📚🎃🚜
Where to Buy The Trucks That Saved Halloween
The Trucks That Saved Halloween is part of The Trucks That Saved children’s book series and is perfect for little readers who love trucks, Halloween and colorful adventures.
Get your copy - The trucks that Saved Halloween is AVAILABLE SEPTEMBER 1st!
And if this is your first adventure with the Truck Team, you can also meet Dump Truck, Excavator, Crane Truck and their friends in The Trucks That Saved the Park.
Happy truck-or-treating! 🎃
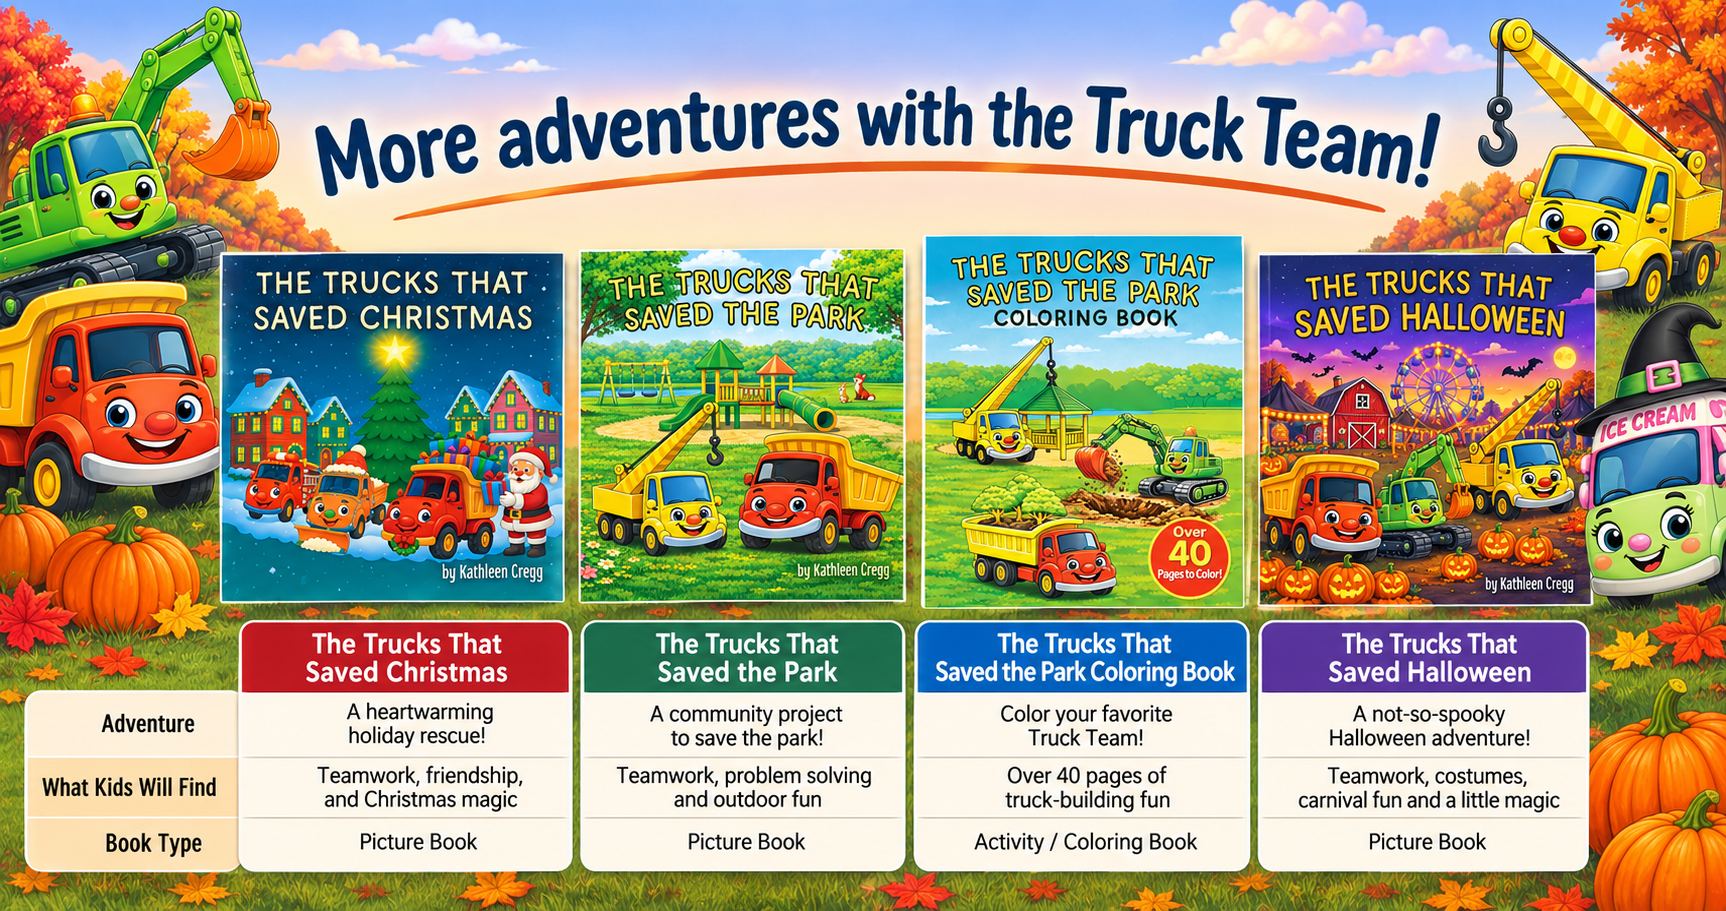
The Trucks that Saved Series and Activity Books
3-Day Santa Cruz Itinerary with Kids: The Best Things to Do, Eat & Stay
Planning a family trip to Santa Cruz? Here's our exact 3-day Santa Cruz itinerary with toddlers, including redwoods, trains, beaches, playgrounds, restaurants, and hotel recommendations.

Checking out the redwood trees in Henry Cowell Redwoods State Park
3-Day Santa Cruz Itinerary with Young Kids
The first time I visited Santa Cruz was about 15 years ago, and let's just say it was a very different kind of trip.
Fast forward to today, and we're exploring Surf City with two high-energy little boys who don't nap and need constant activity to avoid a complete meltdown.
If that sounds familiar, this itinerary is for you.
We recently spent three days in Santa Cruz with our 2- and 4-year-old boys and packed our trip with redwood forests, steam trains, mini golf, beaches, playgrounds, ice cream, and plenty of opportunities to burn energy. Santa Cruz turned out to be one of our favorite California family destinations because there is so much to do within a short drive.
Here's exactly what we did, where we ate, where we stayed, and what I'd recommend for families visiting Santa Cruz with young kids.
Find Banana Slugs with kids near the Redwood Trees in Henry Cowell Redwoods State Park
Why Santa Cruz is Great for Young Kids
Santa Cruz is one of those rare destinations that has a little bit of everything:
✔ Beaches and tide pools
✔ Redwoods and nature walks
✔ Trains and playgrounds
✔ The Santa Cruz Beach Boardwalk
✔ Family-friendly restaurants
✔ Easy day trips nearby
Most attractions are within 15-20 minutes of each other, making it easy to fill your day without spending hours in the car.
Best Things to Do in Santa Cruz with Young Kids
Neptune's Kingdom Mini Golf - Santa Cruz Boardwalk
Neptune's Kingdom Mini Golf
📍 Location: 400 Beach St, Santa Cruz, CA 95060 (Santa Cruz Beach Boardwalk)
⏰ Time Needed: 45–60 minutes
👶 Best for: Ages 3+
💲 Cost: Paid attraction
⭐ Our Favorite? Yes!
Located at the Santa Cruz Beach Boardwalk, Neptune's Kingdom is an 18-hole indoor pirate-themed mini golf course that was a huge hit with our boys.
Cannons randomly fire, seagulls pop out from hidden doors, and several holes feature glow-in-the-dark effects that kept the kids completely entertained.
If you're looking for a break from the sun or something fun to do after dinner, this is a great family activity.
Parent Tip: The course is indoors, making it a perfect option on chilly evenings or rainy days.
Santa Cruz Beach Boardwalk
📍 Location: 400 Beach St, Santa Cruz, CA 95060
⏰ Time Needed: 3–6 hours
👶 Best for: All ages
💲 Cost: Free to enter; ride tickets or wristbands required for rides
⭐ Our Favorite? Absolutely!
Even if your kids are too small for the big roller coasters, there are still plenty of rides geared toward younger children.
Our boys especially loved the smaller rides and watching the Giant Dipper race overhead. Before your visit, be sure to check the current height requirements so you know which attractions your kids can ride.
Henry Cowell Redwoods State Park
📍 Location: 101 N Big Trees Park Rd, Felton, CA 95018
⏰ Time Needed: 1–2 hours
👶 Best for: Toddlers & Preschoolers
💲 Cost: California State Park day-use parking fee
⭐ Our Favorite? Yes!
Just a short drive from downtown Santa Cruz, Henry Cowell Redwoods State Park was one of our favorite stops of the trip.
The Redwood Grove Loop Trail is flat, easy for little legs, and stroller-friendly. The giant redwood trees are impressive even for young kids.
Parent tip: Turn the hike into a scavenger hunt and see if your kids can spot a Banana Slug. Ours became completely determined to find one and it kept them engaged for the entire walk. We found several Banana Slugs around 10:00 a.m. while the forest was still cool and damp. Check around the bases of large redwood trees where it's shady and moist.
Roaring Camp Railroads train stop
Roaring Camp Railroads
📍 Location: 5401 Graham Hill Rd, Felton, CA 95018
⏰ Time Needed: 2–3 hours
👶 Best for: All ages
💲 Cost: Paid attraction
⭐ Our Favorite? Definitely!
Located right next to Henry Cowell Redwoods State Park, Roaring Camp Railroads is a must for families with young train lovers.
The historic steam train winds through towering redwood forests, crossing bridges and climbing into the mountains. It was easily one of the highlights of our trip.
This was easily one of the highlights of our trip. If your kids love trains, don't skip this one.
Monterey Bay National Marine Sanctuary Exploration Center
📍 Location: 35 Pacific Ave, Santa Cruz, CA 95060
⏰ Time Needed: 45–60 minutes
👶 Best for: Toddlers & Elementary-age kids
💲 Cost: Free
⭐ Our Favorite? Great rainy-day or break-from-the-beach activity!
Don't expect an aquarium—there aren't any live animals here—but don't let that stop you from visiting.
The Exploration Center is completely free and packed with hands-on exhibits designed for kids. Our boys loved creating waves, building a magnetic kelp forest, listening to underwater marine animal sounds, and using magnetic fishing poles to learn about recycling and ocean conservation.
It's a fun indoor stop if you need a break from the beach or are looking for something educational.
Parent Tip: The center closes at 4:00 p.m., so plan to visit earlier in the day.
Santa Cruz Wharf
📍 Location: 21 Municipal Wharf, Santa Cruz, CA 95060
⏰ Time Needed: 1–2 hours
👶 Best for: All ages
💲 Cost: Free to visit
⭐ Our Favorite? Yes—don't skip it!
Conveniently across from Monterey Bay National Marine Sanctuary Exploration Center, take a stroll down the wharf!
Even if you don't plan to eat here, the Wharf is worth visiting. The boys kept looking over the railings to watch the sea lions lounging and barking beneath the pier. There are also candy shops, souvenir stores, restaurants, and beautiful views of the beach and Boardwalk.
Santa Cruz Riverwalk Playground - Serpent Slide
Santa Cruz Riverwalk Playground
📍 Location: San Lorenzo Riverwalk, Santa Cruz, CA
⏰ Time Needed: 30–60 minutes
👶 Best for: Toddlers & Preschoolers
💲 Cost: Free
⭐ Our Favorite? Great energy burner before dinner!
If your kids still have energy to burn (ours always do!), the Santa Cruz Riverwalk Playground is a great stop.
Located near downtown, this neighborhood playground has plenty of room to climb, slide, and run around before heading to dinner or back to the hotel. It became the perfect late-afternoon reset for our family after a busy day of sightseeing.
Leo's Haven at Chanticleer County Park
📍 Location: 1935 Chanticleer Ave, Santa Cruz, CA 95062
⏰ Time Needed: 1–2 hours
👶 Best for: Toddlers & Preschoolers
💲 Cost: Free
⭐ Our Favorite? One of the best playgrounds!
Leo's Haven is absolutely worth the short drive.
This massive farm-themed playground is fully fenced, making it perfect for little explorers. There are climbing structures, slides, swings, sensory play areas, and plenty of room for kids to burn off energy.
If you're traveling with young children, I'd put this near the top of your list.
Neary Lagoon
📍 Location: Bay St & California St, Santa Cruz, CA 95060
⏰ Time Needed: 30–60 minutes
👶 Best for: All ages
💲 Cost: Free
⭐ Our Favorite? A peaceful hidden gem.
Neary Lagoon is one of Santa Cruz's hidden gems.
The floating boardwalk winds through a peaceful freshwater marsh where kids can look for ducks, turtles, fish, and birds. It's an easy walk for little legs and offers a nice change of pace from the busy Boardwalk.
If your kids enjoy spotting wildlife, this is a fun and relaxing stop.
Where to Eat with Kids in Santa Cruz
One thing we loved about Santa Cruz was how easy it was to find casual, family-friendly restaurants. With a toddler and preschooler, we usually prioritize quick service, outdoor seating, and kid-approved food over anything fancy.
El Hermoso Mar
📍 Location: 45 Municipal Wharf, Santa Cruz, CA 95060
⏰ Time Needed: 45–60 minutes
👨👩👧👦 Good For: Lunch or dinner with kids
💲 Price: $$
⭐ Our Favorite? Yes!
This was one of our favorite meals of the trip. Located near the harbor, El Hermoso Mar serves delicious Mexican food with plenty of options for kids. Our boys happily devoured tacos and quesadillas while we enjoyed a more flavorful meal than the typical kid-friendly chain restaurant.
If the weather is nice, grab your food and enjoy the harbor views nearby while the kids stretch their legs.
The Picnic Basket
📍 Location: 125 Beach St, Santa Cruz, CA 95060
⏰ Time Needed: 30–45 minutes
👨👩👧👦 Good For: Breakfast or lunch before the beach
💲 Price: $$
⭐ Our Favorite? Great quick stop!
Located across from Main Beach, The Picnic Basket is perfect before or after a beach day.
They offer a dedicated kids menu and serve casual favorites like sandwiches, salads, and grilled cheese. The atmosphere is relaxed and family-friendly, making it an easy choice when everyone is hungry and ready for a quick meal.
Bonus: They also serve scoops from Penny Ice Creamery.
The Crow's Nest
📍 Location: 2218 E Cliff Dr, Santa Cruz, CA 95062
⏰ Time Needed: 1–1½ hours
👨👩👧👦 Good For: Family dinner with harbor views
💲 Price: $$$
⭐ Our Favorite? Beautiful location!
If you're looking for a sit-down restaurant with a view, The Crow's Nest is a great family option.
Overlooking the harbor, it offers beautiful waterfront views while still being welcoming to families with young children. One of the highlights for kids is the treasure chest they can choose a prize from after their meal—a simple touch that our boys would absolutely love.
Penny Ice Creamery in Downtown Santa Cruz
Best Ice Cream in Santa Cruz
No family trip to Santa Cruz is complete without ice cream.
Penny Ice Creamery
📍 Location: Multiple locations (we visited the Downtown Santa Cruz location)
⏰ Time Needed: 20–30 minutes
🍦 Known For: House-made ice cream & toasted marshmallow fluff
💲 Price: $
⭐ Our Favorite? Absolutely!
If you only visit one ice cream shop in Santa Cruz, make it Penny Ice Creamery.
Their handcrafted ice cream is delicious, but the real star is the famous toasted marshmallow fluff they torch right on top of your scoop. Watching the marshmallow being toasted was almost as exciting for our boys as eating the ice cream itself.
There are multiple locations throughout Santa Cruz, but we especially liked the downtown location during our visit.
Marianne's Ice Cream
📍 Location: Multiple locations (we visited the Ocean Street location)
⏰ Time Needed: 20–30 minutes
🍦 Known For: Dozens of classic and unique ice cream flavors
💲 Price: $
⭐ Our Favorite? A Santa Cruz classic!
A Santa Cruz institution, Marianne's has been serving ice cream for generations.
They offer dozens of flavors ranging from classic favorites to more unique local specialties. If everyone in your family likes something different, Marianne's is a great choice because there are so many options to choose from.
It's one of those places that feels like a classic beach-town tradition.
Where to Stay in Santa Cruz with Young Kids
We stayed at the Hyatt Place Santa Cruz and it worked really well for our family.
The rooms were spacious enough for our two boys to play and unwind after a full day of activities, which is always a huge win when traveling with young kids. We also appreciated the heated pool, outdoor fire pits, and complimentary breakfast each morning.
The location made it easy to access both downtown Santa Cruz and the Boardwalk while still providing a comfortable place to recharge at the end of the day.
For families looking for a reliable hotel with plenty of space and family-friendly amenities, I would definitely consider staying here.
→ See our full review here: Hyatt Place Santa Cruz
Our boys are too big for cribs but not quite ready for regular hotel beds, so we brought our inflatable toddler beds. The room had plenty of floor space to comfortably fit both beds without feeling cramped.
Monterey Bay National Marine Sanctuary Exploration Center
3-Day Itinerary in Santa Cruz with Kids
If you have active kids who need constant stimulation to avoid a meltdown, Santa Cruz is an absolute playground. Because our boys don't nap, we packed our schedule full of redwoods, roller coasters, and beach days. Here is our exact, tried-and-tested 3-day Santa Cruz itinerary for active families.
Day 1: Tacos, Tide Air, & Twilight Mini Golf
1:00 PM – Land at San Jose Airport (SJC): Grab your rental car or bags. The drive from SJC to Santa Cruz takes about 45 minutes winding through the scenic Highway 17.
2:00 PM – Check-In at Hyatt Place Santa Cruz: We chose this as our base camp because it’s centrally located and offers crucial perks for families (more on that in our hotel review!).
3:00 PM – Neptune’s Kingdom at the Santa Cruz Beach Boardwalk: Skip the big roller coasters on arrival day if the kids are tired from travel, and head straight for a 10-minute walk to the boardwalk. We played 18 holes of pirate-themed mini golf at Neptune’s Kingdom.
Tip for parents: A few of the holes glow in the dark, which is a massive hit for high-stimulation kids.
6:00 PM – Beachside Dinner at El Hermoso Mar: Instead of a formal sit-down restaurant, grab quick tacos and quesadillas here. Walk your food over to the Aloha Terrace Group Picnic Area. It’s the perfect spot to watch boats sail by and beach volleyball games while the kids burn off their remaining energy running in the sand.
7:00 PM – Walk Back & Wind Down: Walk back to the Hyatt Place to start the bedtime routine before day two.
Day 2: Redwoods, Steam Trains, & Marine Life
8:00 AM – Fuel Up: Take advantage of the free hot breakfast at the hotel to save time and money.
9:00 AM – Hike Henry Cowell Redwoods State Park: Head inland to the mountains (about a 15-20 minute drive). Do the Redwood Grove Loop Trail. It’s completely flat, stroller-friendly, and lets the kids climb inside massive, hollowed-out Redwood trees.
Active Kid Challenge: Challenge your kids to spot a Banana Slug 🐌 on the forest floor. It kept our boys completely locked in and hunting along the trail!
10:30 AM – Roaring Camp Railroads: Right next door to the park is Roaring Camp. We hopped on the authentic steam train for a ride through the mountain forest. It’s loud, exciting, and highly engaging for kids who love trains
12:30 PM – Lunch at Georgie’s Cook House: Located right inside Roaring Camp. Expect theme-park pricing, but it's convenient: it cost us about $40 for a standard kid-friendly spread of chicken nuggets, hot dogs, hamburgers, and fries.
2:00 PM – Monterey Bay National Marine Sanctuary Exploration Center: Head back down to the beach. This center features interactive exhibits, and admission is completely free.
Note: They close at 4:00 PM, so make sure you don't arrive too late!
3:30 PM – Stroll the Santa Cruz Wharf: Walk right outside the exploration center onto the historic wharf to look for sunbathing sea lions barking under the pier.
4:00 PM – Hotel Recharge: A quick reset, snack, and outfit change back at the room.
5:00 PM – Santa Cruz Riverwalk Playground: If your kids still have energy to burn before dinner, walk over to this local playground to let them climb.
6:15 PM – Dinner: We kept it simple and ate back at the hotel to keep the mood relaxed.
7:00 PM – Dessert at The Penny Ice Creamery: You cannot leave Santa Cruz without trying this spot. They make everything from scratch, and getting a scoop topped with their famous toasted marshmallow fluff is the ultimate reward for a packed day.
Day 3: A Sweet Goodbye to Surf City
8:00 AM – Free Breakfast at Hyatt Place: One last round of free breakfast to fuel up for the road ahead.
9:30 AM – Hit the Road: Pack up the car and begin the scenic drive down the California coast!
Frequently Asked Questions About Visiting Santa Cruz with Kids
Is Santa Cruz good for toddlers and preschoolers?
Yes! Santa Cruz has a great mix of beaches, playgrounds, nature walks, trains, and family-friendly attractions. We visited with a 2- and 4-year-old and found plenty to keep them entertained for three full days.
How many days do you need in Santa Cruz with kids?
We found that three days was the perfect amount of time. It gave us enough time to visit the Boardwalk, ride the Roaring Camp train, explore the redwoods, enjoy the beach, and still have time for ice cream and playground stops.
Monterey Bay National Marine Sanctuary Exploration Center
What are the best things to do in Santa Cruz with young kids?
Some of our favorite activities included:
Roaring Camp Railroads
Henry Cowell Redwoods State Park
Monterey Bay National Marine Sanctuary Exploration Center
Santa Cruz Beach Boardwalk
Neptune's Kingdom Mini Golf
Leo's Haven Playground
Santa Cruz Wharf
Penny Ice Creamery
Is the Santa Cruz Beach Boardwalk good for toddlers?
Yes, although many rides have height requirements. There are several rides designed specifically for younger children, plus arcade games, mini golf, and the beach right next door.
Where should families stay in Santa Cruz?
We stayed at the Hyatt Place Santa Cruz and found it to be a great option for families. The spacious rooms, heated pool, free breakfast, and convenient location worked well for our trip.
What is the best ice cream in Santa Cruz?
Two local favorites are Penny Ice Creamery and Marianne's Ice Cream. Penny is famous for its toasted marshmallow fluff topping, while Marianne's offers dozens of classic and unique flavors.
When is the best time to visit Santa Cruz with kids?
Spring, summer, and early fall are all great times to visit. We visited in spring and enjoyed mild temperatures, fewer crowds, and plenty of outdoor activities.
Can you visit Santa Cruz without riding the big roller coasters?
Absolutely. Our kids were far too young for most of the larger rides, and we still filled three days with family-friendly activities including mini golf, train rides, beaches, playgrounds, redwood hikes, and ice cream stops.
See all CALIFORNIA POSTS, or here are the latest:
Hyatt Place Santa Cruz Review: A Great Family Hotel Near the Boardwalk
Planning a Santa Cruz family vacation? See our Hyatt Place Santa Cruz review, including breakfast, pool, rooms, and nearby attractions.

We were looking for a family-friendly hotel in Santa Cruz and the Hyatt Place Santa Cruz ended up being a great fit for our trip.
Location: 407 Broadway, Santa Cruz, CA 95060
We used our annual free night certificate from our Hyatt credit card, which honestly felt like a pretty great redemption.
The hotel had spacious rooms, free breakfast, a heated pool, and was close to so many toddler-friendly activities around Santa Cruz.
➡️ CHECK ROOM RATES HERE: HYATT PLACE SANTA CRUZ

Hyatt Place Santa Cruz had a very nice lobby to lounge in
Why We Chose Hyatt Place Santa Cruz for Our Family Trip
Traveling with toddlers means our hotel checklist looks a little different these days.
We wanted:
✔ Space for toddler beds
✔ Free breakfast
✔ Pool for downtime
✔ Close to the Santa Cruz Beach Boardwalk
✔ Easy access to family activities
The Hyatt Place Santa Cruz checked all of those boxes.
🚂 See our full 3-Day Itinerary in Santa Cruz with Kids and (what we did that tired them out) here: https://www.thesweetestescapes.com/blog/santa-cruz-itinerary-with-young-kids
A fridge is always handy for leftovers or holding yogurts! The Hyatt Place Santa Cruz had a nice sized mini fridge.
My biggest complaint is the powdered milk for creamer in the room, but I just went downstairs and grabbed a freshly brewed coffee with cream in the morning.
Open mini fridge (empty) in Hyatt Place Santa Cruz
Hyatt Place Santa Cruz Amenities for Families
Free Breakfast that is included with Hyatt Santa Cruz room - eggs, French toast, sausage, potatoes
Free Breakfast Included
The hotel includes complimentary breakfast in the lobby area every morning.
When you have toddlers, quick food options are a lifesaver and while this wasn’t the best hotel breakfast we’ve ever had, it absolutely worked for busy mornings.
Breakfast options during our stay included:
Fruit Loops and Cheerios for the kids
Eggs
Breakfast potatoes (hash browns or diced potatoes depending on the day)
Sausage or bacon
French toast, waffles, or pancakes
Donut holes
Bagels and toast
Yogurt and granola
Fresh fruit
Sometimes you just need food immediately with little ones and this definitely made mornings easier.
Pool at the Hyatt Place in Santa Cruz is perfect for kids
Heated Pool, Spa & Fire Pits
The pool area was another big hit for families.
Amenities included:
Heated pool
Spa / hot tub
Outdoor rinse shower before heading back to your room
Evening fire pits
S’mores kits available for purchase
One note for families with little swimmers: the pool appeared to be under 5 feet deep, which felt very kid-friendly.
Large rooms at the Hyatt Place Santa Cruz - perfect for families
Spacious Rooms Make a Huge Difference with Toddlers
One thing we loved most was how spacious our room felt.
Our boys are in that awkward phase where they’re too big for cribs but we don’t trust them on tall hotel beds yet, so we travel with our Rigalo Toddler Inflatable beds.
Sometimes hotel rooms feel cramped once we set them up, but our room at Hyatt Place Santa Cruz felt huge.
We stayed in Room 331, which had a wider layout (some rooms appear longer and narrower).
The extra width gave us room for:
Two toddler beds
Walking space around them
Storage space when not in use
Enough open floor area that the boys could literally do cartwheels
We also had a slight view of the Santa Cruz Boardwalk and even a small peek of the ocean in the distance.
My favorite part of the room was the cozy couch nook! there is an “L” shaped pull out couch sofa with a lamp overhead creating a cute little nook where we sat and read bedtime stories. I had the boys snuggle up and we read a few of our favorite books we packed including The Trucks that Saved the Park!
Cozy nook at the Hyatt Place Santa Cruz - perfect for reading books to kids
Bathroom in hotel room at Hyatt Place Santa Cruz did not have a bath tub for kids
Hyatt Place Santa Cruz is a great central location
We loved the location of the Hyatt Place Santa Cruz because it was close to the boardwalk while also being within easy driving distance of several toddler activities.
Serpent Slide at San Lorenzo Park - walking distance from Hyatt Place Santa Cruz
Things to Do Near Hyatt Place Santa Cruz with Kids
San Lorenzo Park
Location: 137 Dakota Ave, Santa Cruz, CA 95060
We walked less than 10 mins to the San Lorenzo Park that had a cute playground! It had lots of structures to climb and burn out some kid afternoon energy. There was
Santa Cruz Beach Boardwalk
Location: 400 Beach St, Santa Cruz, CA 95060
The hotel is about a 15-minute walk to the Santa Cruz Beach Boardwalk.
That said, personally I’m not sure I would choose to walk back after dark with little kids.
We drove and found parking by the boardwalk for $5 midweek in May 2026.
The valet mentioned nearby lots can reach around $30, especially on weekends.
Henry Cowell Redwoods State Park
Location: 101 N Big Trees Park Rd, Felton, CA 95018
One of our favorite stops was the flat Redwood Grove Loop Trail at Henry Cowell Redwoods State Park.
It was only about 15 minutes from the hotel and perfect for toddlers.
The loop is approximately one mile, mostly flat, and stroller friendly.
Roaring Camp Train in Santa Cruz - fun thing to do with toddlers
Ride the Roaring Camp Train Through the Redwoods
Location: 5401 Graham Hill Rd, Felton, CA 95018
Right next to the redwoods is Roaring Camp Railroads.
They offer train rides through the redwoods (we saw departures twice daily during our visit).
We were also told the Beach Train connecting the boardwalk and redwoods is beautiful, though it can be slower because it travels through town and stops frequently at crossings and intersections.

Final Thoughts: Is Hyatt Place Santa Cruz Worth It for Families?
For families traveling with toddlers and young kids, Hyatt Place Santa Cruz worked really well for us.
The highlights were definitely:
✔ Spacious rooms
✔ Free breakfast
✔ Heated pool and fire pits
✔ Close to the Boardwalk
✔ Easy access to toddler activities like Henry Cowell and Roaring Camp
If you travel with inflatable toddler beds like we do, the room size alone was a huge win.
➡️ CHECK ROOM RATES HERE: HYATT PLACE SANTA CRUZ

Hyatt House Anaheim Review: Our Favorite Family Hotel Near Disneyland
Looking for a family hotel near Disneyland? See why we keep staying at Hyatt House Anaheim with toddlers—walkability, kitchen suites, breakfast, and more.
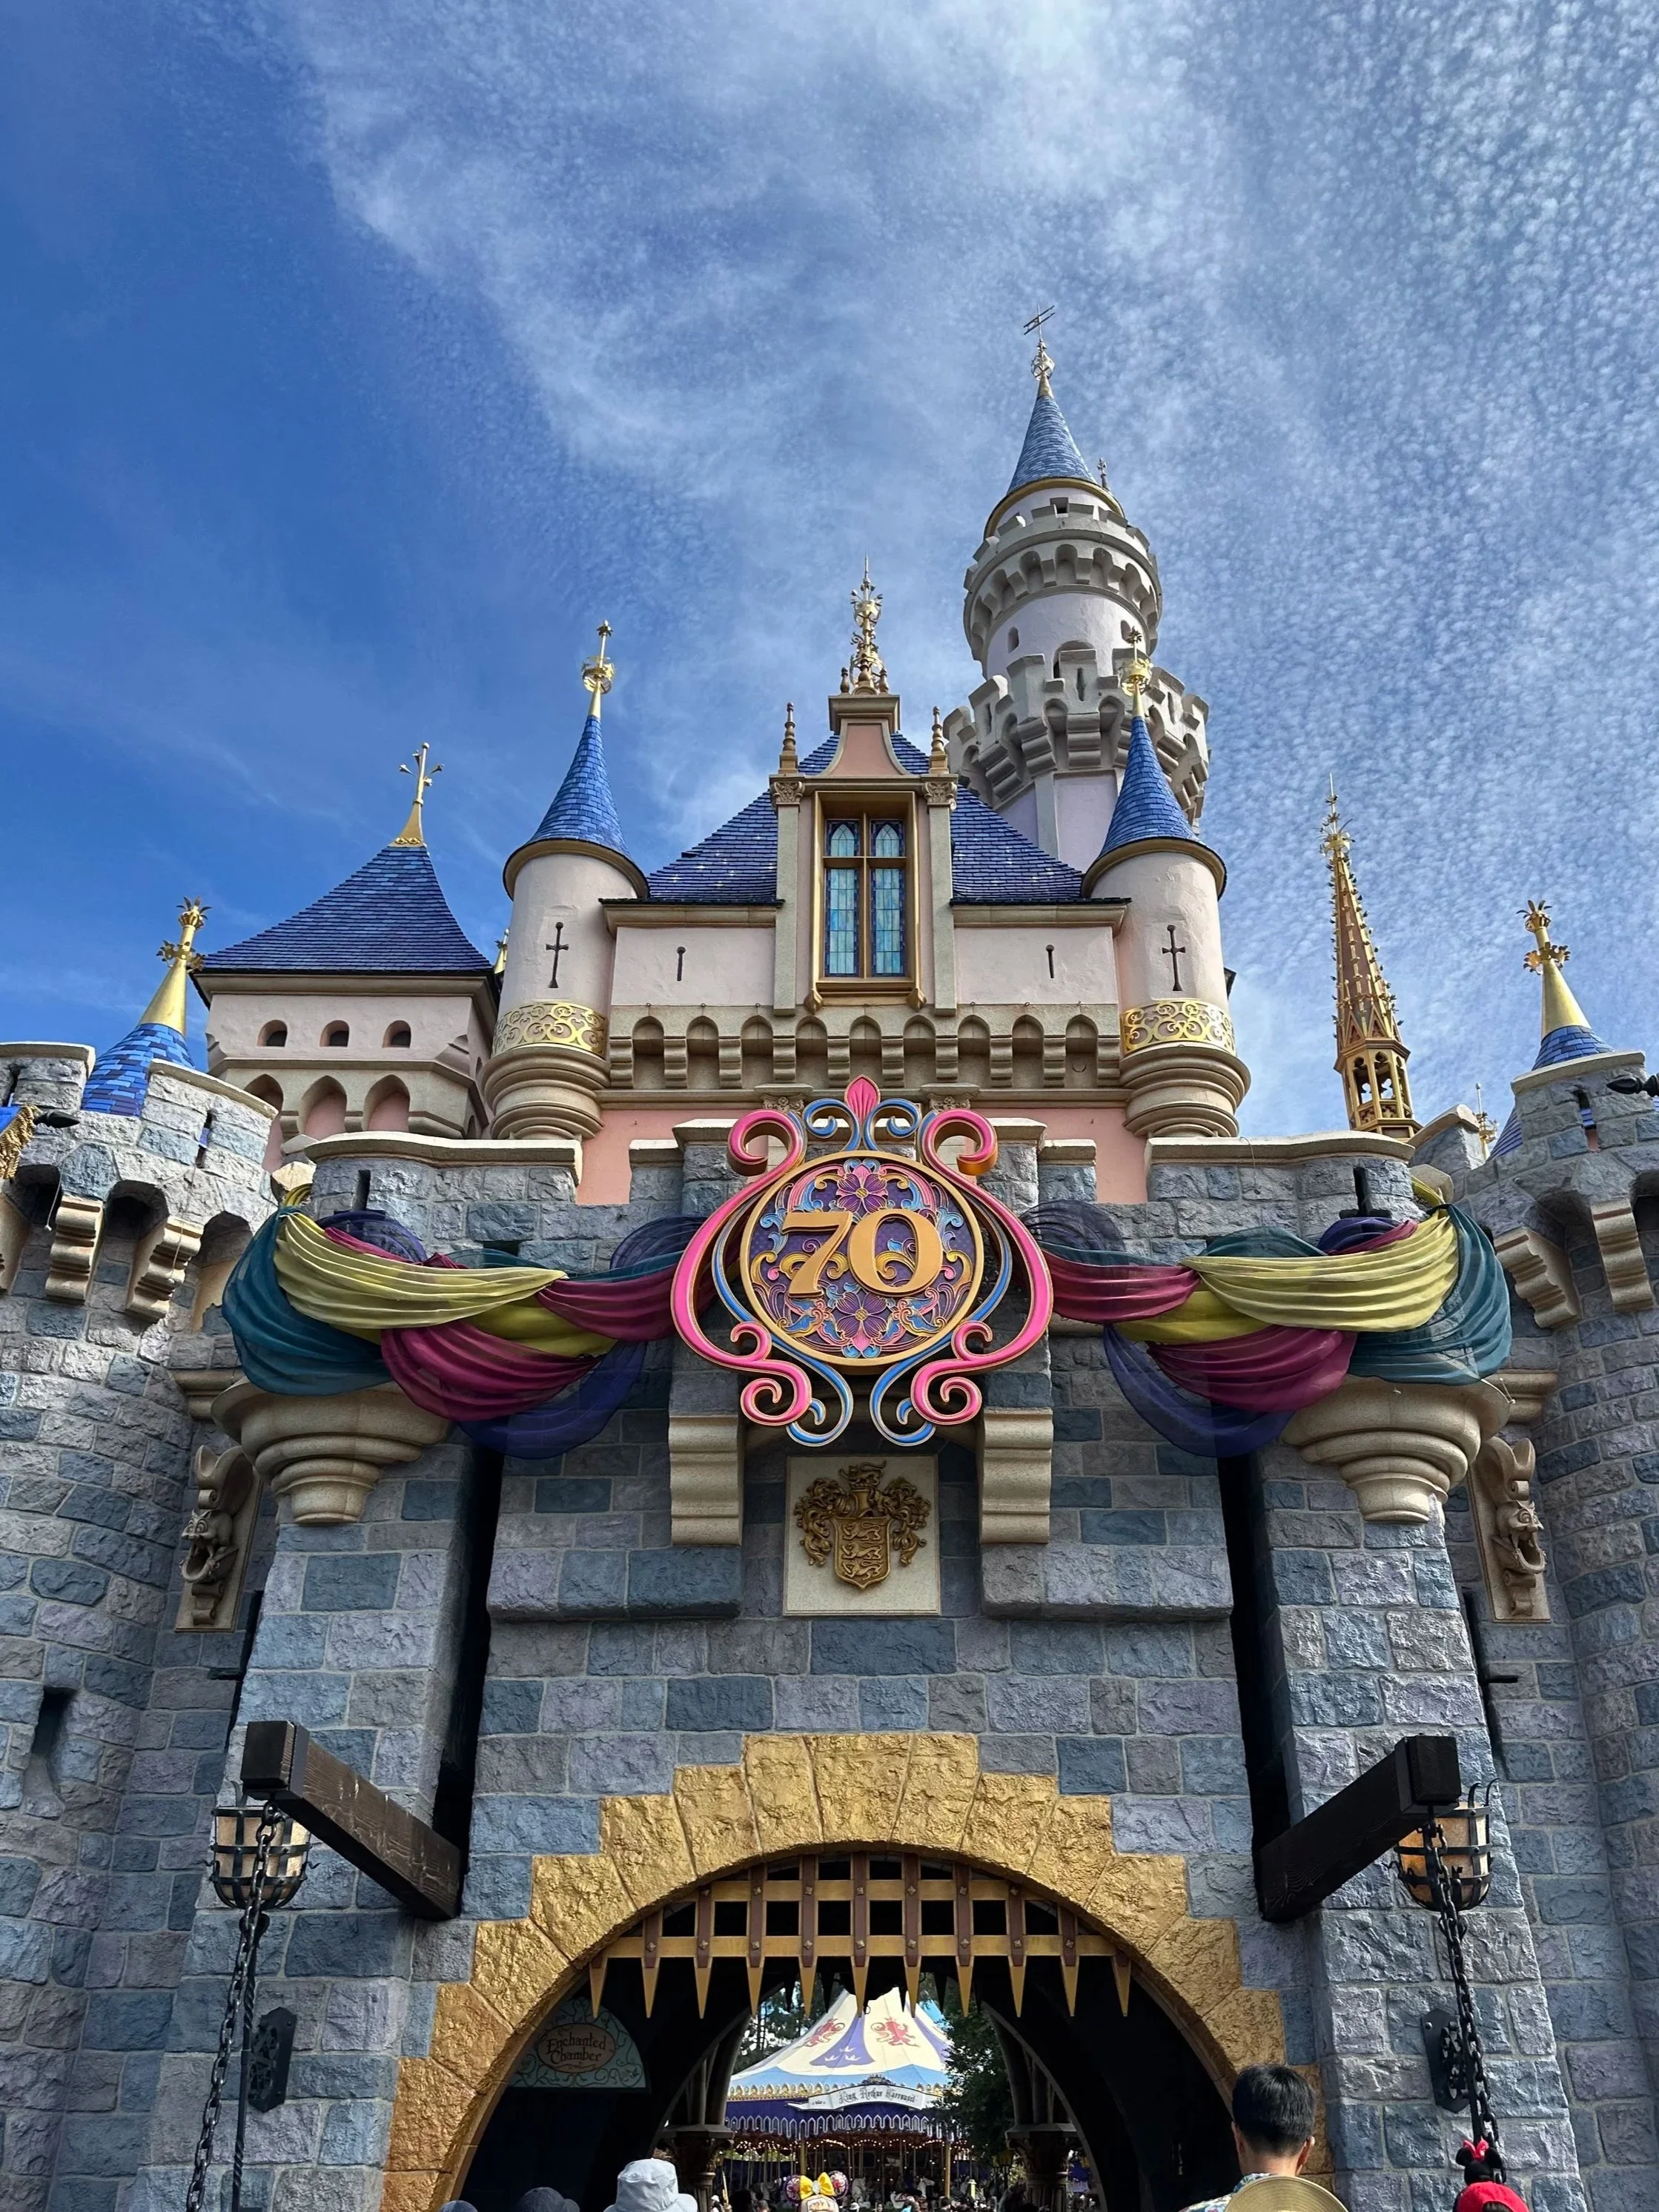
Sleeping Beauty’s Castle decorated for Disneyland’s 70th Anniversary
We love to stay at the Disneyland Resorts but if you’re looking for a budget family friendly hotel, the Hyatt House Anaheim Resort / Convention Center is one of our favorites!
Location: 1800 S Harbor Blvd, Anaheim, CA 92802
We have stayed here multiple times now and honestly… It is a closer to walk from the hotel than it is from the Disneyland parking structure.
It has become one of our favorite family hotels because it checks so many boxes when traveling with little kids:
✔ Walking distance to Disneyland
✔ Large family rooms
✔ Small kitchen area
✔ Sitting space to spread out
✔ Free breakfast
✔ Hyatt points and free night certificates can work here
As parents of little kids, having a hotel that gives us room to breathe after a long Disney day makes a HUGE difference.
➡️ CHECK ROOM RATES HERE: HYATT HOUSE ANAHEIM

Kitchen, desk, and sitting area in the kitchen suites of the Hyatt House Anahiem
Why We Keep Staying at Hyatt House Anaheim for Disneyland Trips
Disney trips with toddlers can be amazing… and also exhausting!
By the time we leave the parks our boys are usually tired, we are carrying snacks, souvenirs, maybe a stroller, and everyone just wants to get back quickly.
That is one reason we keep coming back to Hyatt House Anaheim.
The walk has always felt very manageable with kids, and once we get back we actually have room to spread out instead of all sitting on one hotel bed.
For us, it hits that sweet spot between close enough to Disneyland and comfortable enough for families. There is even an option to have a family suite with bunk beds! If you walk through Downtown Disney to the Disneyland Hotel, the distance to the Hyatt House is equivalent, if not closer!

Sitting area and couch sofa in kitchen suite at Hyatt House Anaheim
How Far Is Hyatt House Anaheim From Disneyland?
One of the biggest reasons we stay here is the location.
Hyatt House Anaheim Resort / Convention Center is within walking distance of Disneyland, and we have done the walk multiple times with kids. At half of a mile from the front door to the main entrance, that’s nothing on a Disney day!
Honestly, I have joked before that it almost feels closer than parking and walking from the structure.
After a full day at the most magical place on Earth, not needing another shuttle or long transfer is a win.
If you have little ones, strollers, or kids that suddenly “cannot walk anymore” after fireworks… being able to get back to the hotel fairly quickly is huge.

The Kitchen is equipped with everything you could possibly need - refrigerator, dish washer, coffee maker, microwave, and stove.
Hyatt House Anaheim Rooms: Why We Love Them for Families
This is probably my favorite part of staying here.
The rooms feel much more family-friendly than a standard hotel room. It’s called a kitchen suite and for good reason!
You get:
Extra space to spread out
Sitting area
Small kitchen setup complete with dish washer and electric stove
Refrigerator for snacks and drinks
More room for all the Disney stuff that somehow multiplies during the trip
We almost always stock the room with fruit, cereal, snacks, yogurt, and easy breakfast foods.
Not every meal needs to be a Disney meal.
Sometimes everyone is happier with strawberries and cereal before rope drop.

Hyatt House Anaheim rooms are perfect for families visiting Disneyland. Double beds or room for cribs and toddler beds.
Hyatt House Anaheim Free Breakfast: Is It Worth It?
I’ll be honest…
This is not the most amazing hotel breakfast we have ever had.
BUT.
Not paying for one extra Disney meal? That is a win in my book. Especially for families.
Breakfast usually works well enough for us to grab something quick before heading out, and then we supplement with our own snacks and fruit in the room.
Disney days add up fast, so saving even one meal for four people can make a difference.
Yogurt, granola, fruit, donut holes, eggs, breakfast potato option, bagels, bananas, cereal, milk, juice, COFFEE, and tea. There is something for everyone. We loved the donut holes which our little ones called bagels… 🤷🏻♀️
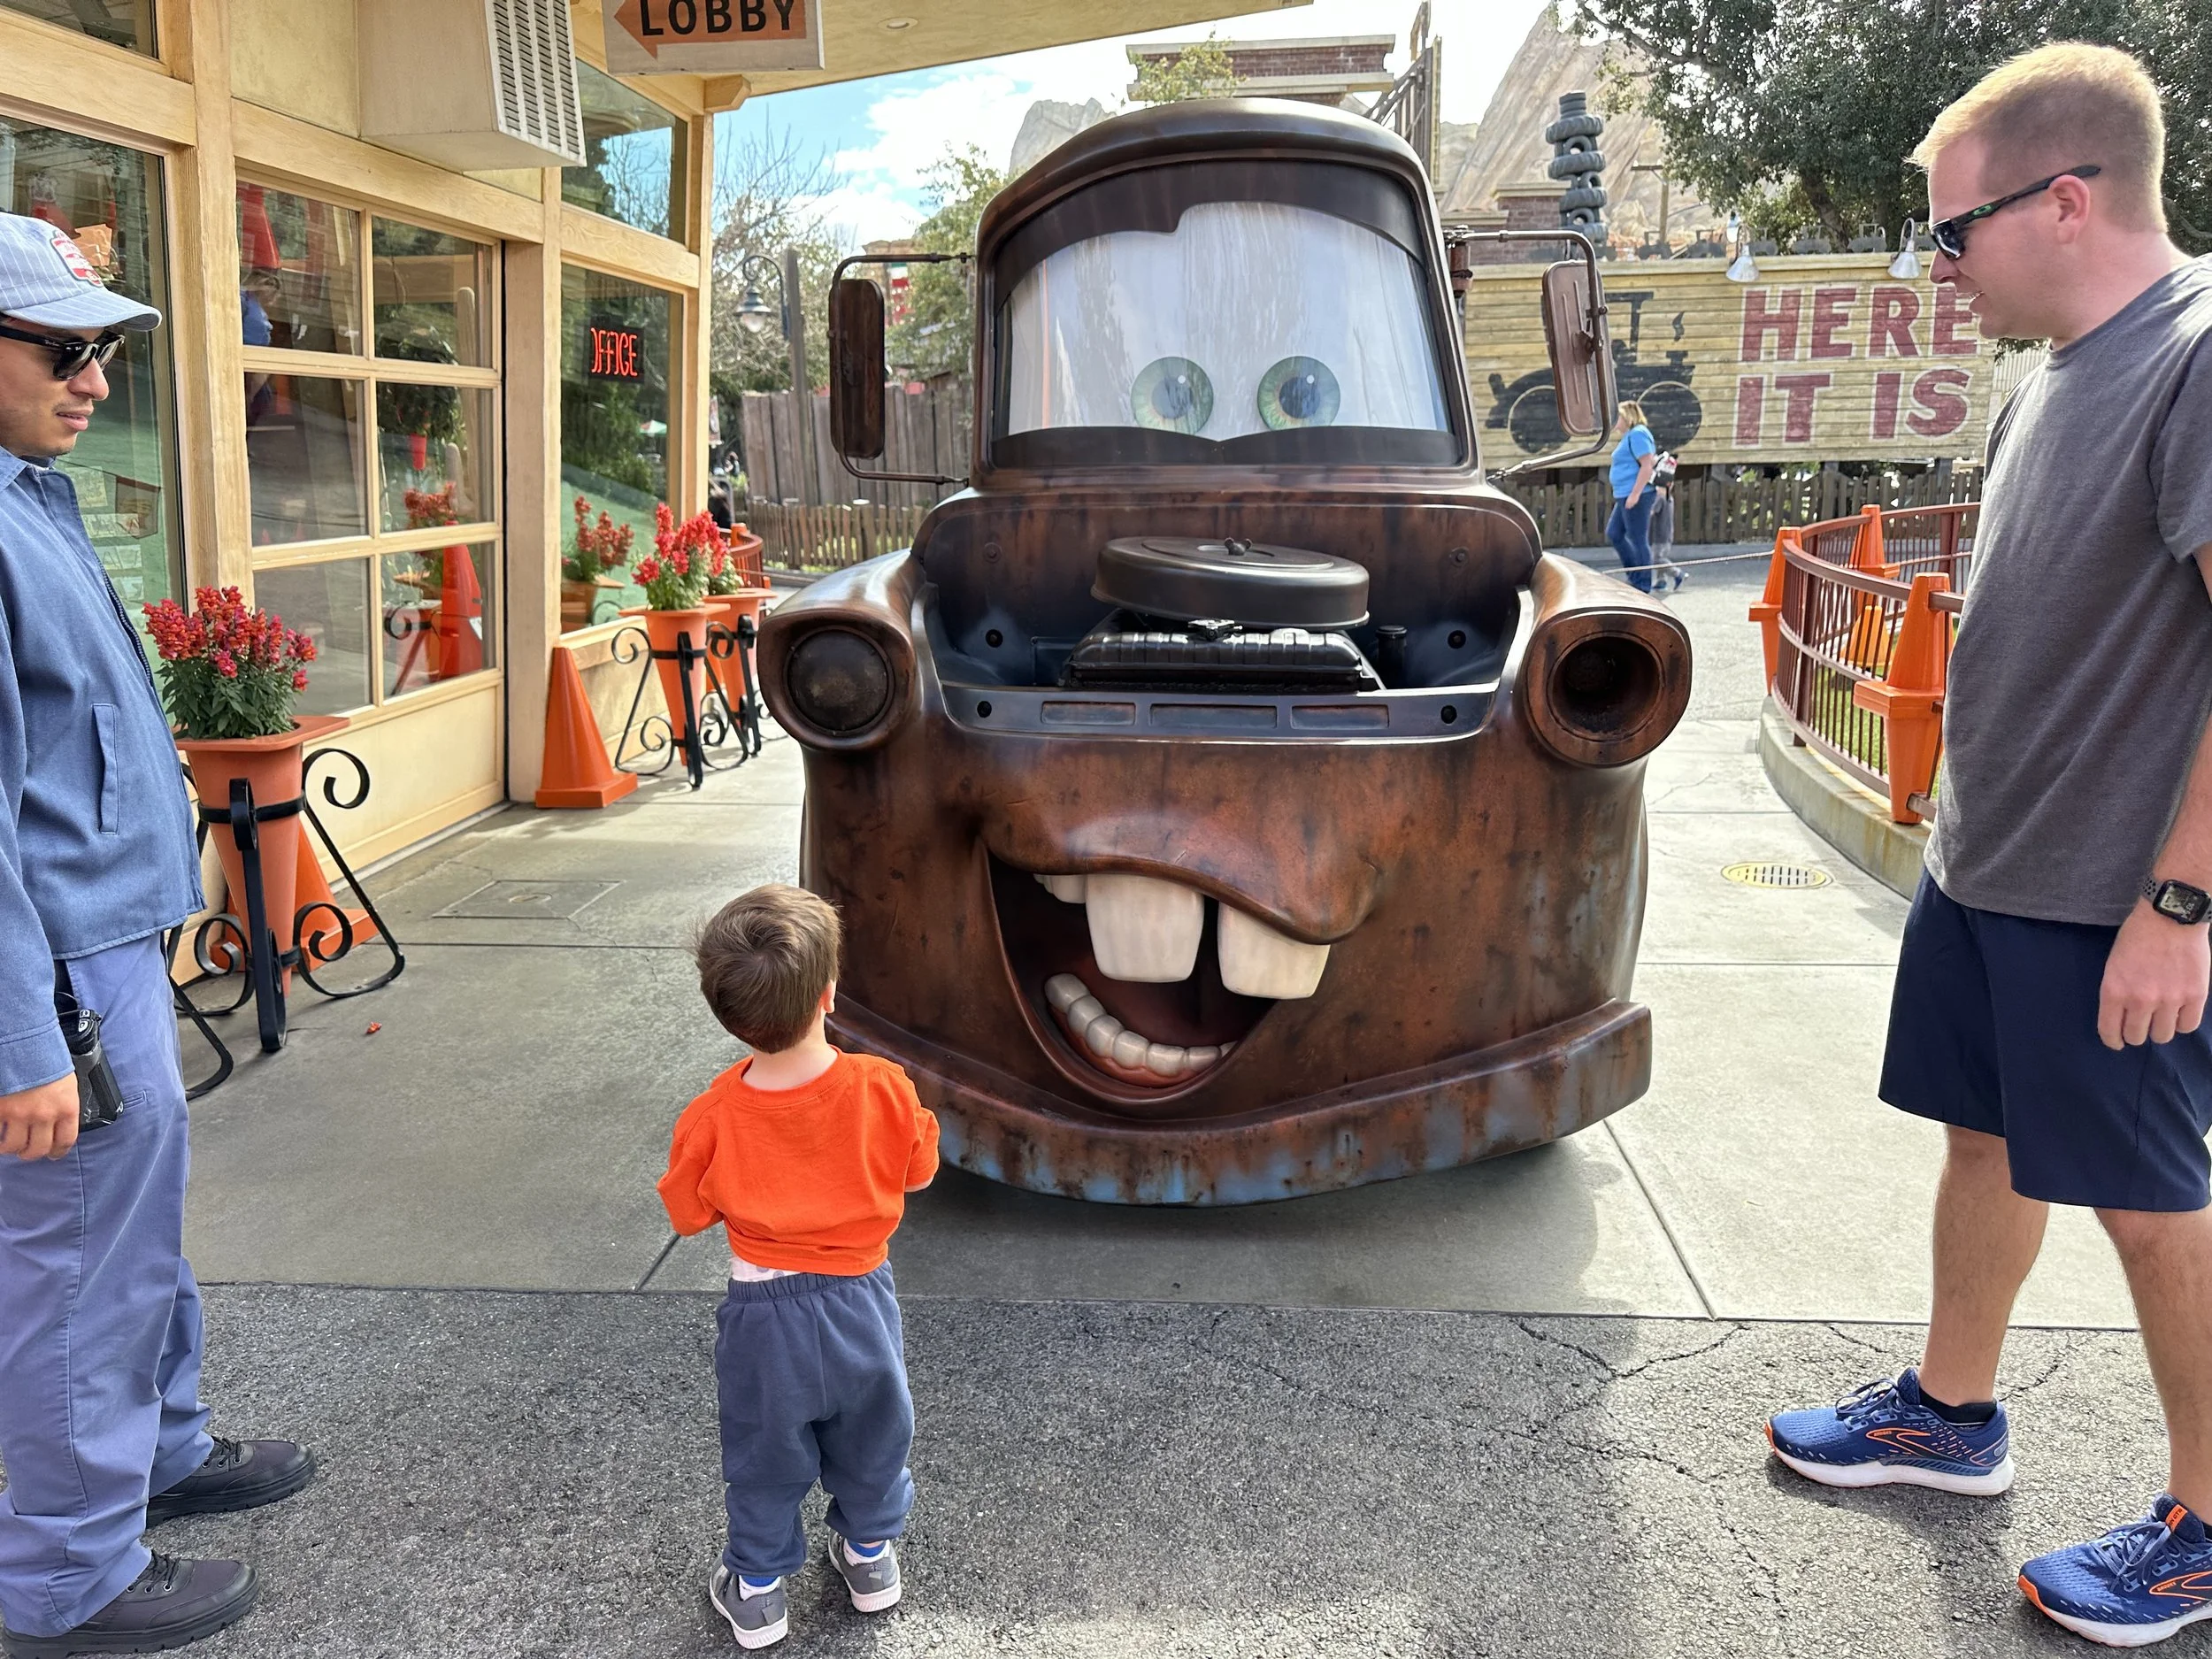
Our Toddler boy visiting Mater in Radiator Springs in California Adventure in the Disneyland Resort
PLANNING A DISNEYLAND TRIP WITH TODDLERS OR YOUNG KIDS?
→ Start here with our Disneyland with toddlers post
Using Hyatt Points at Hyatt House Anaheim
One of the extra reasons we love staying here is that Hyatt points and free night certificates can sometimes work here.
We have used Hyatt stays to help offset family travel costs before, and this hotel has become one of our favorite ways to use those benefits near Disneyland.
If you already collect Hyatt points, this one is worth checking.
Is Hyatt House Anaheim Good for Families?
For us? Absolutely.
Especially if you have:
Toddlers
Preschoolers
Kids who still nap or need downtime
Families wanting more space than a traditional room
Parents trying to keep food costs down
Pros
✔ Walking distance to Disneyland
✔ Larger family-friendly rooms
✔ Kitchen area + fridge
✔ Sitting space
✔ Free breakfast
✔ Hyatt points eligible
Cons
✖ Breakfast is fine, not amazing
✖ Popular family hotel so it can feel busy, especially in the morning and at night
✖ Disneyland days still mean tired little legs on the walk back
kids walking to their hotel - where to stay with toddler boys near the Disneyland Resort
kids walking to their hotel - where to stay with toddler boys near the Disneyland Resort
Hyatt House Anaheim vs Staying at a Disneyland Hotel
We have stayed both on-property and off-property over the years, and honestly this has become one of our favorite Disneyland hotel choices.
You get more room.
You still have walkability.
You can keep snacks in the room.
And depending on your stay, it can be significantly less expensive.
For our family, that balance has made it our repeat choice.
Hyatt House Anaheim FAQ
Is Hyatt House Anaheim walking distance to Disneyland?
Yes! Hyatt House Anaheim is about half a mile from the Disneyland entrance, and we’ve walked it multiple times with little kids.
Does Hyatt House Anaheim have free breakfast?
Yes, breakfast is included. It’s not fancy, but it saves us from buying one extra Disney meal, which is a big win for families.
Is Hyatt House Anaheim good for families?
Yes. The larger rooms, kitchen suites, sitting space, fridge, and free breakfast make it a great option for families visiting Disneyland.
Can you use Hyatt points at Hyatt House Anaheim?
Yes, Hyatt points and free night certificates may work here depending on availability.
Does Hyatt House Anaheim have kitchen suites?
Yes. Some rooms have kitchen suites with a full sized refrigerator, microwave, dishwasher, coffee maker, and electric stove.
Final Thoughts: Would We Stay at Hyatt House Anaheim Again?
Yes. Without hesitation.
This has honestly become our go-to Disneyland hotel.
The combination of location, space, kitchen setup, breakfast, and family-friendly rooms keeps bringing us back.
And when you are traveling with little kids, finding a hotel that simply makes the trip easier is worth a lot.
➡️ Book now: HYATT HOUSE ANAHEIM





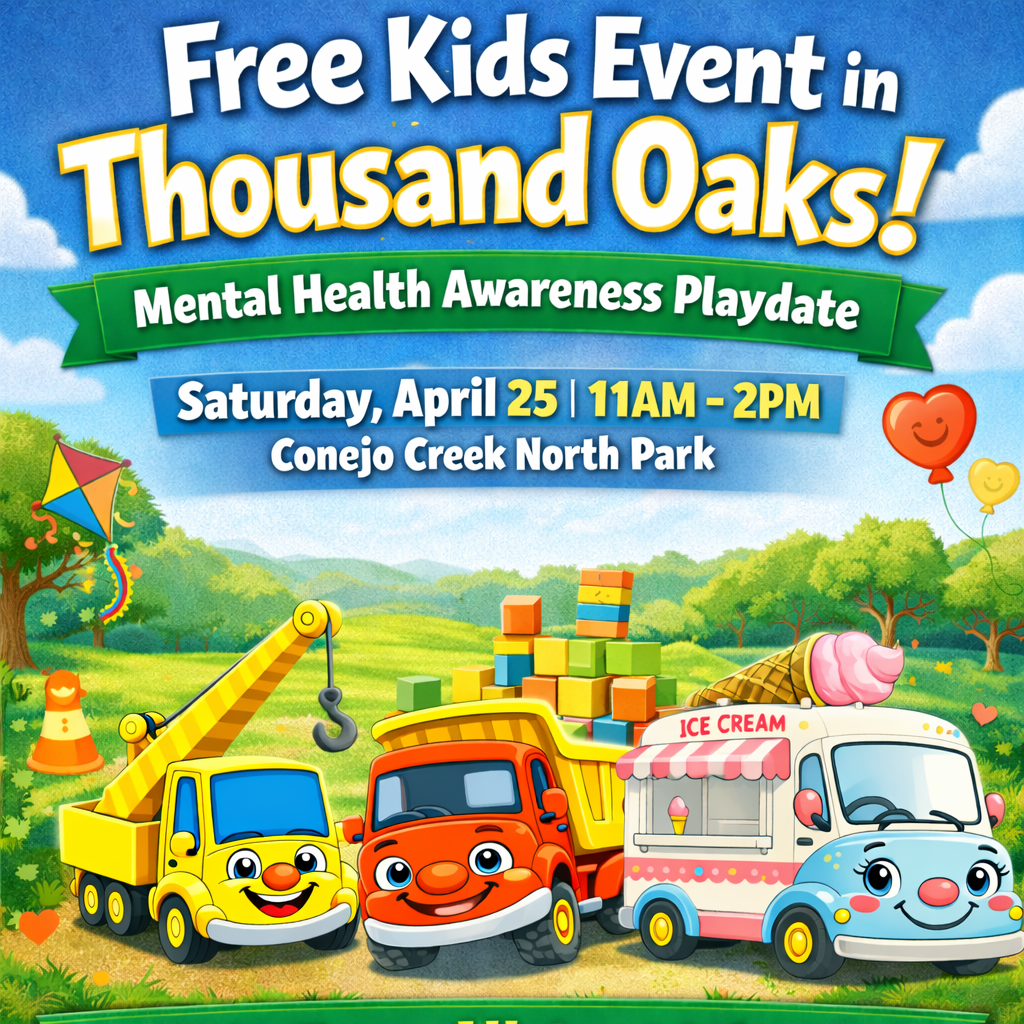
Free Kids Event in Thousand Oaks (Fun Activities, Crafts + Giveaways!)
Looking for free things to do with kids in Thousand Oaks? This family-friendly event at Conejo Creek North Park includes crafts, activities, and giveaways—perfect for toddlers and young kids. If you live in the Los Angeles area or in Ventura County come on by!
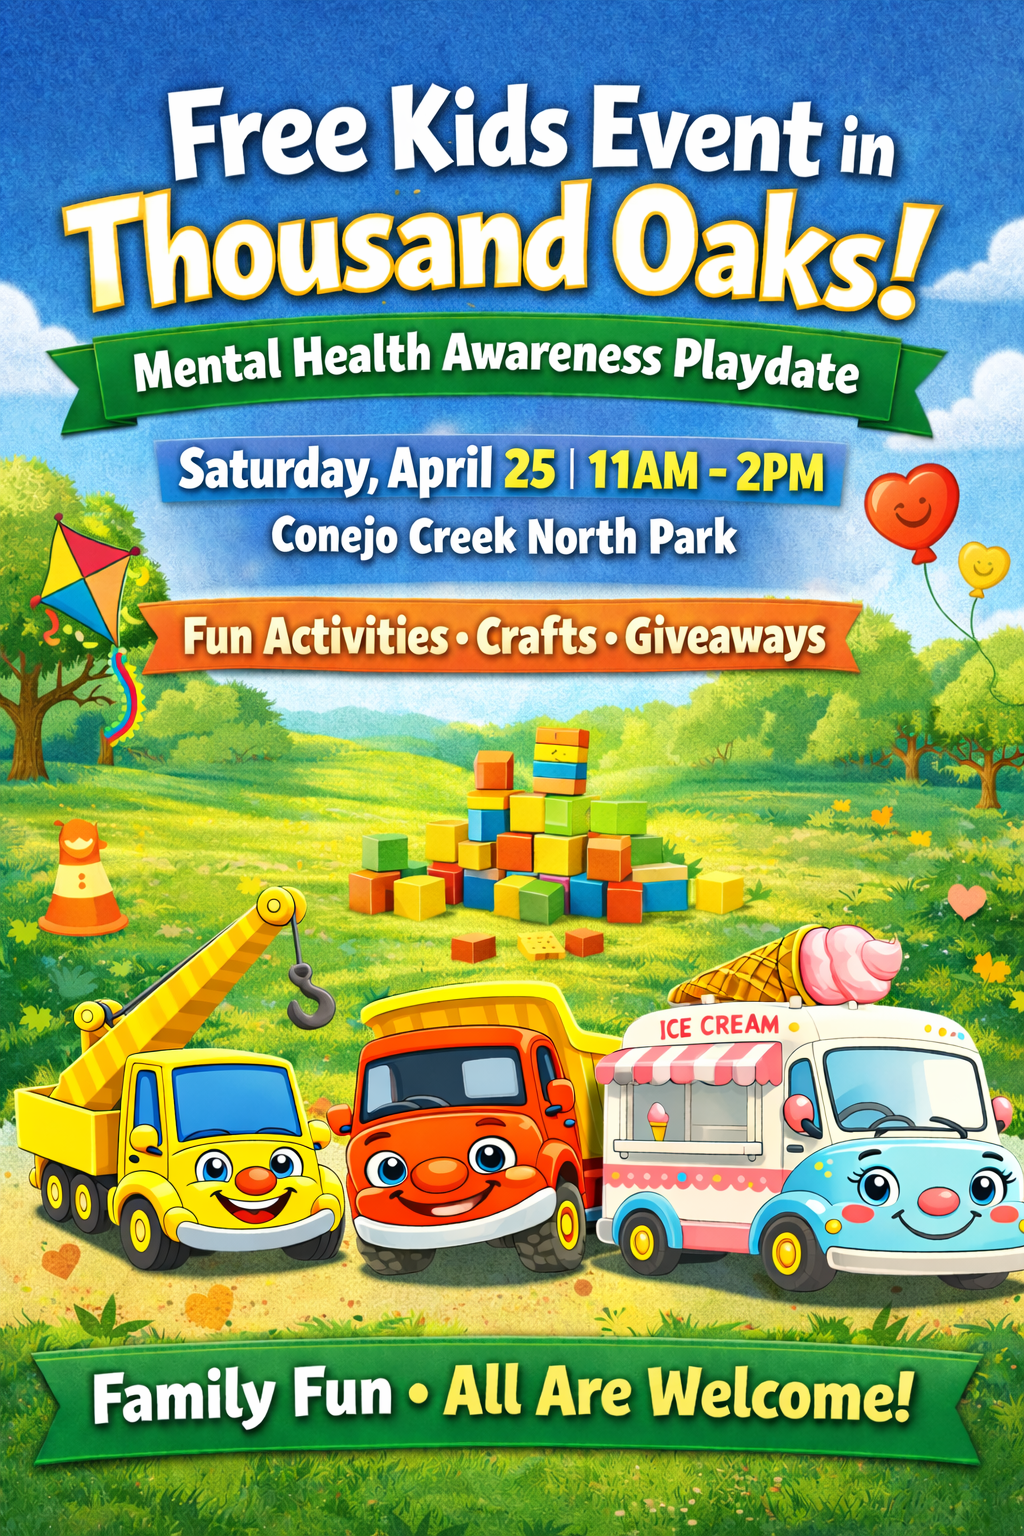
Looking for a fun (and FREE!) thing to do with your kids in Thousand Oaks? 🎉
We’re so excited to be part of a FREE family-friendly kids event hosted by Childhood Matters called the Zones of Wellness: Mental Health Awarness Community Playdate at Conejo Creek North Park—and you’re invited!
Whether you have toddlers, preschoolers, or early elementary kids, this is the perfect way to get outside, enjoy the park, and let your little ones play, create, and explore.
📍 Event Details
Event: ZOW Mental Health Awareness Playdate
Location: Conejo Creek North Park, Thousand Oaks (behind the Library) 1379 E Janss Rd, Thousand Oaks, CA 91362
Date: Saturday, April 25
Time: 11:00 AM – 2:00 PM
ZOW Event Schedule - don’t miss this event in the Conejo Valley!
🎨 What to Expect
This event is packed with fun for kids of all ages:
Hands-on crafts
Fun kids activities
Face Paint
Magic Show
Silent Auction
Outdoor playtime in a beautiful park setting
It’s the kind of easy, no-pressure outing parents love—and kids get SO excited about 💛
🚧 Come Visit Us!
We’ll be there with The Trucks That Saved series, and we would LOVE to meet you in person!
Stop by our booth for:
Truck-themed fun
Coloring pages for kids
A chance to see our books up close
👉 If your kids love trucks, construction vehicles, or anything with wheels—they’re going to LOVE this.
🧃 Make It a Full Family Day
Conejo Creek North Park is such a great spot to spend the day. You can:
Pack a picnic (we like to sit at the picnic tables to watch the ducks and turtles by the water!)
Let the kids run around the playgrounds (there are two!)
Enjoy some fresh air and sunshine ☀️
Go to the library (it’s our favorite!), grab a new book, and say hi to the fish!
It’s the perfect way to turn a simple event into a full family outing.
🖍️ Free Truck Coloring Pages (Grab Yours!)
Before you go, don’t forget to download your FREE truck coloring pages—perfect for keeping kids entertained at home or on the go.
👉 Download your free printables here
💛 Why We Love Events Like This
As a mom, I’m always looking for:
Screen-free activities
Easy weekend plans
Things that don’t cost a fortune
This event checks all the boxes—and we’re so honored to be part of it.
📌 Save This for Later
Planning your weekend?
Be sure to save this post to Pinterest so you don’t forget!
✨ Final Tip
If you’re local to Thousand Oaks, definitely add this to your weekend plans—it’s one of those easy YES activities that kids remember.
And if you come… come say hi! 👋
We’d love to meet you 💛
More Family Fun Posts:
🌎 Earth Day with Kids: Simple, Sweet & (Mostly) Mess-Free Ideas
Looking for simple Earth Day ideas for kids? These fun, screen-free activities are perfect for toddlers and young children—easy, meaningful, and mom-approved.
Earth Day is coming up (April 22nd), and if you’re anything like me… you love the idea of doing something meaningful and engaging with your kids—but it also needs to be simple, doable, and not turn your house into a full construction zone! 😅
The good news? Celebrating Earth Day with little ones doesn’t have to be complicated. A few small activities can go a long way—and honestly, kids think it’s all pretty tree-mendous 🌳 (I had to, haha)
GRAB OUR FREE DOWNLOAD: Free Earth Day Activity Pack for Kids 🌿
Here are a few of our favorite easy ways to celebrate Earth Day with kids!
Earth Day is celebrated every year on April 22nd and is all about taking care of our planet. It’s a day to slow down, get outside, and teach kids simple ways to help—like picking up trash, planting something new, or just appreciating nature. Even the smallest actions can make a big difference!
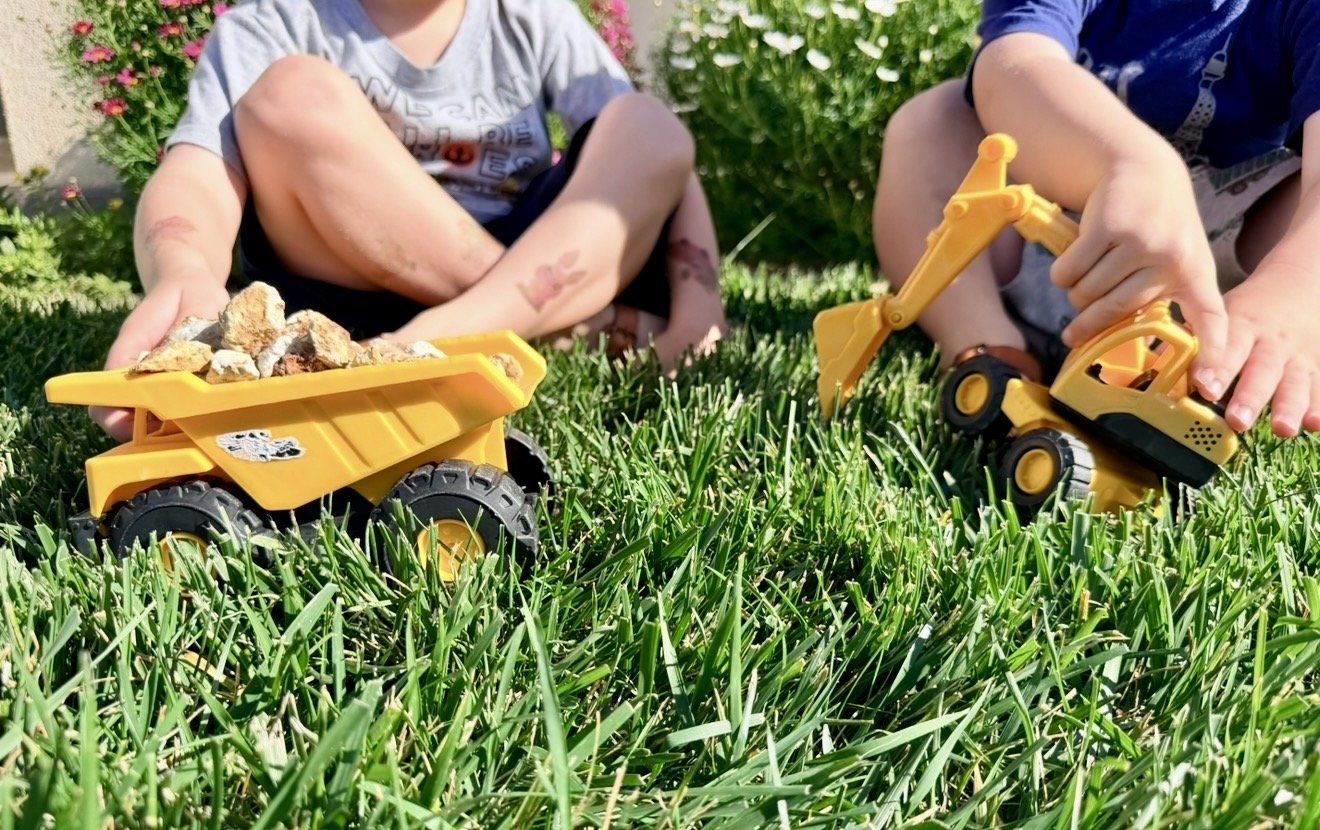
Saving the yard one load at a time 🌱🚧 our tiny clean-up crew reporting for duty
🌱 1. Backyard “Clean-Up Crew” Mission
Turn your kids into an official clean-up crew for the day (bonus points if you bring out toy trucks 👷♂️).
Grab:
A small bucket or bag
Gloves (or just brave little hands)
A “mission” mindset
Let them collect sticks, leaves, or any little bits around the yard or park.
👉 You can even say:
“Today we’re helping save the park!”
Suddenly it’s not cleaning… it’s a full-blown adventure. I need to apply this method inside too.
🌼 2. Plant Something (Anything Counts!)
No garden? No problem.
Plant flowers in a pot
Start herbs on a windowsill
Even tossing seeds in dirt = success
Let your kids water it and check on it each day. It’s a tiny reminder that big things grow from small beginnings 🌿
(Also a great lesson in patience… for all of us 😅)
A little Earth Day quiet time 🌎🎨 (screen-free and yes… trucks are involved, obviously 🚧💛)
🎨 3. Earth Day Coloring + Activity Time
This is my go-to when I want something calm, screen-free, and actually engaging.
Think:
Mazes
Simple “look & find” activities
It’s the perfect mix of fun + learning—and a great reset moment in the day.
👉 If your kids love trucks, you already know how this goes…
suddenly the dump truck is helping clean the park and the ice cream truck shows up at the end 🍦 (as it should)
🌿 Free Earth Day Activity Pack for Kids
If you’re looking for a simple way to celebrate Earth Day with your kids (without overcomplicating it 🙃), I put together a free printable Earth Day activity pack that makes it easy and fun.
It includes a mix of screen-free activities that little kids actually enjoy:
A cute Earth Day coloring page with our favorite truck friends
A nature scavenger hunt you can take outside
Easy Earth Day ideas you can do together
These are the kinds of activities we do with our boys — simple, hands-on, and just enough structure to keep them engaged without feeling like “work.”
👉 Perfect for toddlers, preschoolers, and early learners
💛 Why we love this
Earth Day doesn’t have to be a big production to be meaningful.
Even small things — like going on a nature walk, planting something tiny, or picking up a few pieces of trash — help kids start to understand how to care for the world around them.
And honestly… adding a fun printable just makes it feel a little more special ✨
📥 Download your free pack
👉 Grab your free Earth Day Activity Pack here
(Print it at home, bring it outside, or save it for a rainy day — it’s one of those easy wins you’ll come back to every year.)
🌼 Pro tip
If you want to stretch this into a full afternoon activity:
Do the scavenger hunt first
Come back and color
Read The Trucks That Saved the Park together
Then talk about one small way your family can help the Earth
Simple, meaningful, and zero stress 🤍
The tiniest Earth Day discovery 🐞🌿 (and suddenly the walk became very important)
🚶♀️ 4. Take a “Nature Walk”… But Make It Fun
Instead of just walking, turn it into a game:
Can you find:
Something green 🌿
A flower 🌼
A rock 🪨
A bug 🐞
Little scavenger hunts = instant engagement.
And if snacks are involved? Even better.
♻️ 5. Talk About “Helping the Earth” (Kid Version)
My kids love to help and always ask if we can recycle anything we throw away. For our talk, we kept it super simple:
Throw trash away
Reuse what you can
Take care of nature
No big lectures needed—just small, everyday habits. The kids took it to heart, the hardest thing for us now is that our bath tub is full of reusable containers!
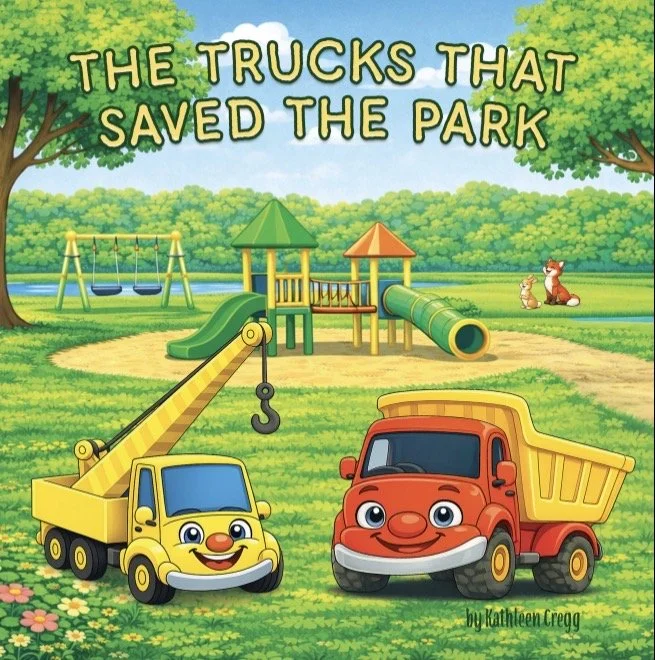
We love reading The Trucks That Saved the Park—
it follows Dump Truck, Crane Truck, Excavator, Cement Truck, and their hardworking friends as they come together to rebuild a park for everyone to enjoy.
From clearing debris and planting trees to building safe paths and playground spaces, the trucks show that even the biggest changes start with small acts of helping.
And along the way, they learn something really important— that caring for a community isn’t just about building… it’s about listening, helping, and making space for everyone!
💛 The Sweetest Part
At the end of the day, Earth Day doesn’t have to be perfect.
If your kids:
picked up a few sticks
colored a page (maybe from our Earth Day Activity Pack)
planted one tiny seed
…you’re doing it right!!
Because raising kind, curious little humans who care about the world around them?
That’s what really matters 🌎
✨ And if you’re looking for an easy, screen-free activity to add to your day, you can find our printable truck activity pack —perfect for quiet time, travel, or just a little break in between adventures.
Pin this for later 📌 so you have a few easy Earth Day ideas ready to go!
Earth Day Activities Kids Love - Easy and low prep
More fun family posts!
Printable Gingerbread House Kit (DIY Template for Kids)
Create a festive gingerbread house with this printable DIY kit for kids and families. Includes templates and instructions. Instant download.
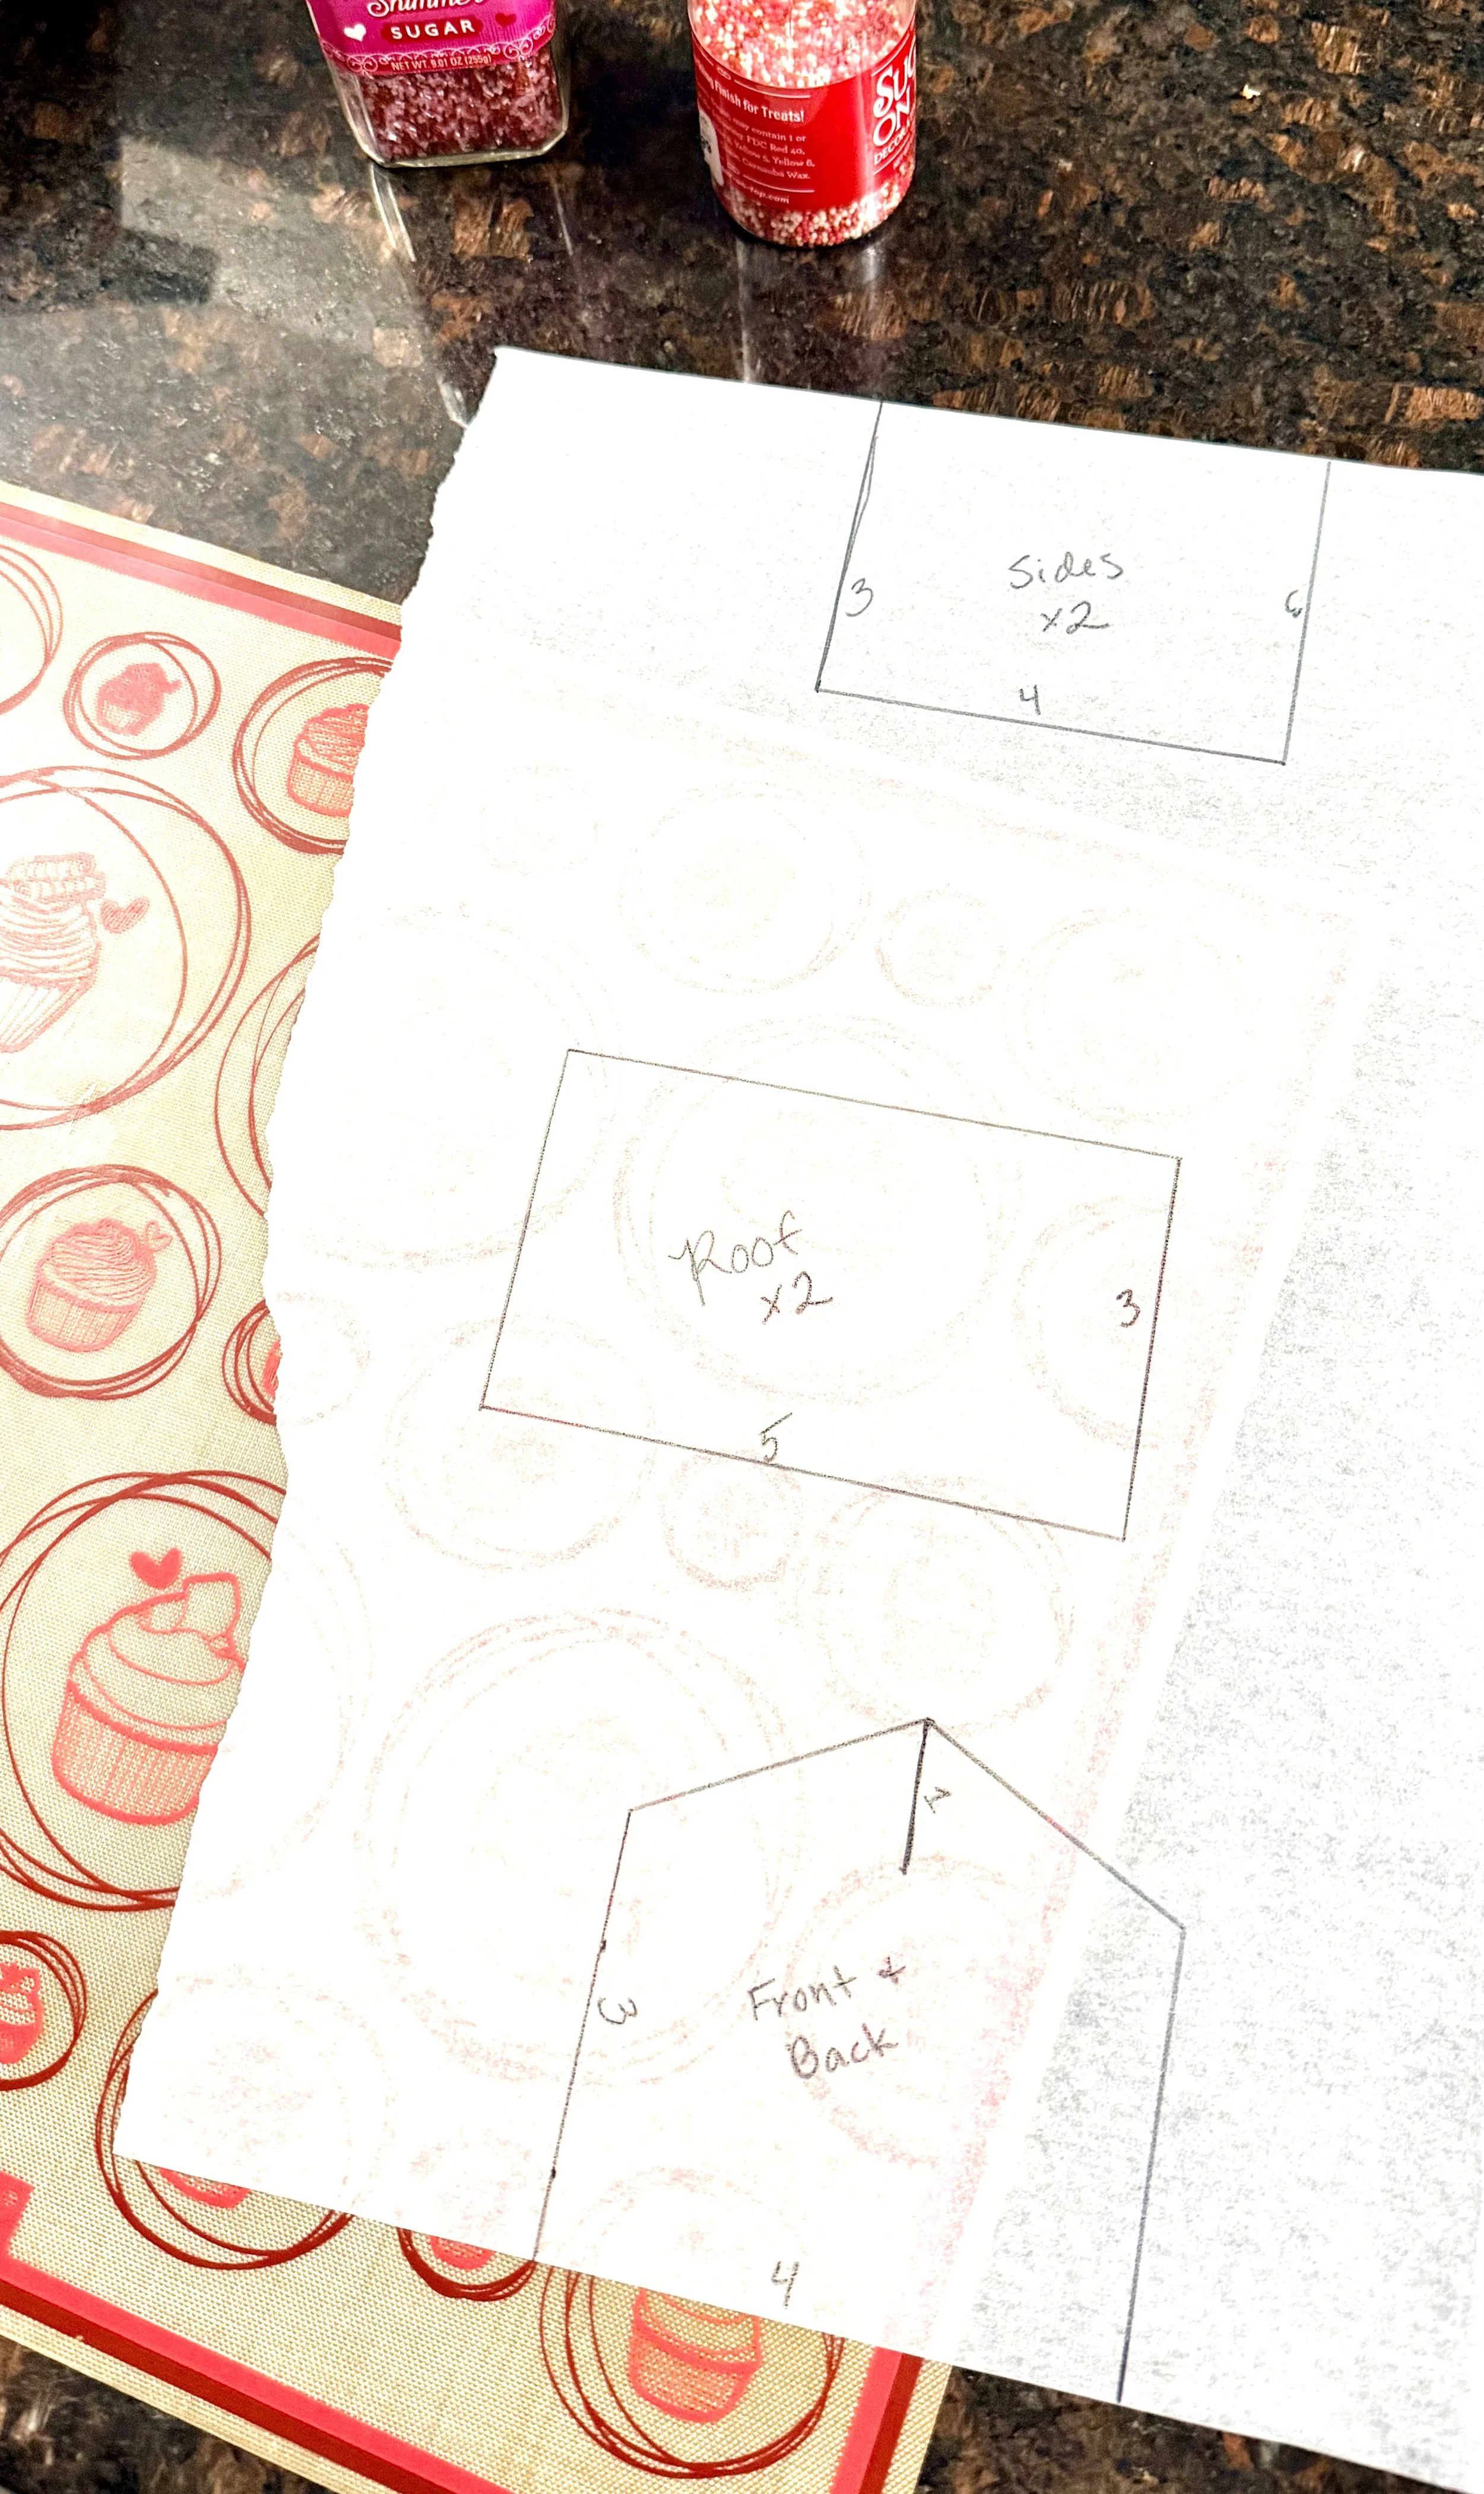
Guessing dimensions without a Printable Gingerbread House Kit
Creating a gingerbread house is one of the most magical holiday traditions—but baking, cutting, and assembling can feel overwhelming, especially with kids. This printable gingerbread house kit makes it simple to enjoy the fun without the stress.
Designed for families, classrooms, and holiday parties, this DIY kit gives you everything you need to build a festive gingerbread house using easy-to-follow templates and instructions.
👉 Get the Printable Gingerbread House Kit
Instant digital download – perfect for kids and families
What Is a Printable Gingerbread House Kit?
A printable gingerbread house kit is a digital download that includes pre-sized templates and instructions you can print at home. Instead of guessing measurements or struggling with fragile baked pieces, you’ll have a clear plan that makes assembling a gingerbread house much easier—especially with kids helping.
This kit works whether you:
Bake your own gingerbread
Use graham crackers
Want a practice run before making an edible version
What’s Included in the Gingerbread House Kit
✔ Printable gingerbread house templates (PDF)
✔ Step-by-step building instructions
✔ Decorating ideas that work for kids
✔ Tips to help prevent cracking and collapsing
✔ Instant digital download (no waiting!)
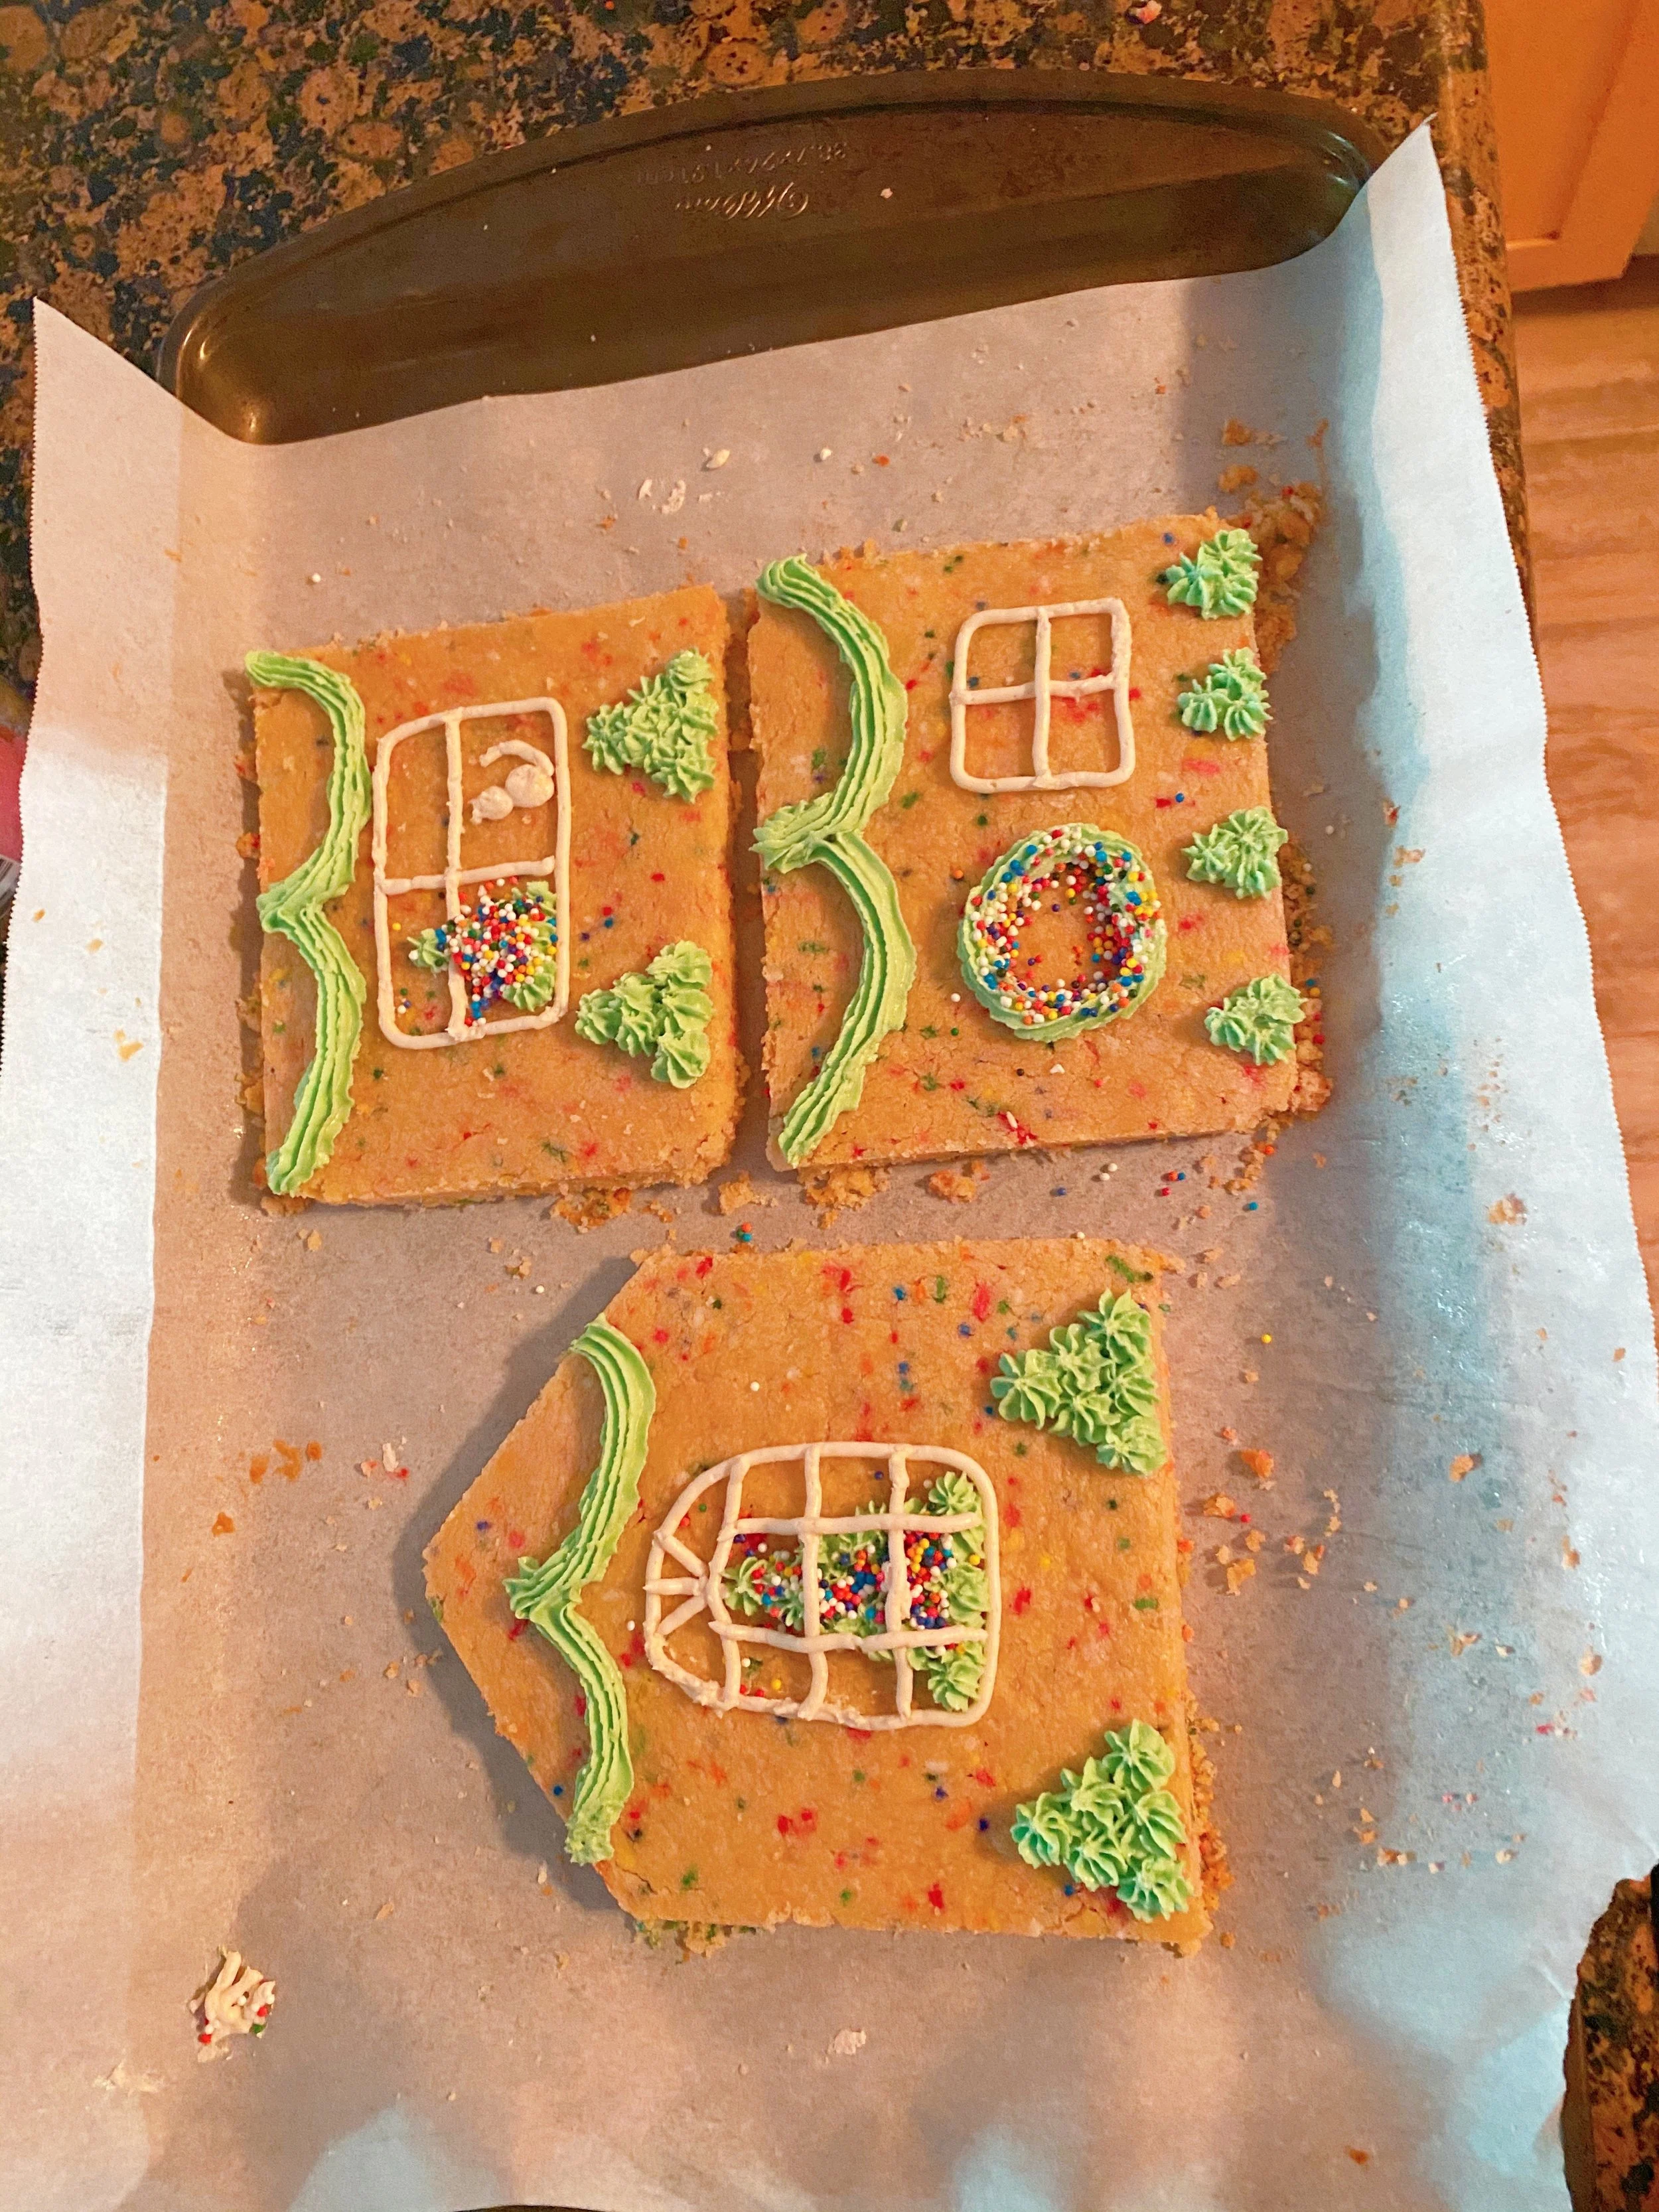
Why Families Love This Gingerbread House Kit
Why Families Love This Gingerbread House Kit
Kid-friendly: Simple shapes and clear instructions
Low stress: No guesswork or complicated measuring
Reusable: Print and use year after year
Flexible: Works with gingerbread, graham crackers, or cardboard
This makes it a great option for:
Christmas Eve traditions
Holiday baking with kids
Classroom or homeschool activities
Family holiday parties
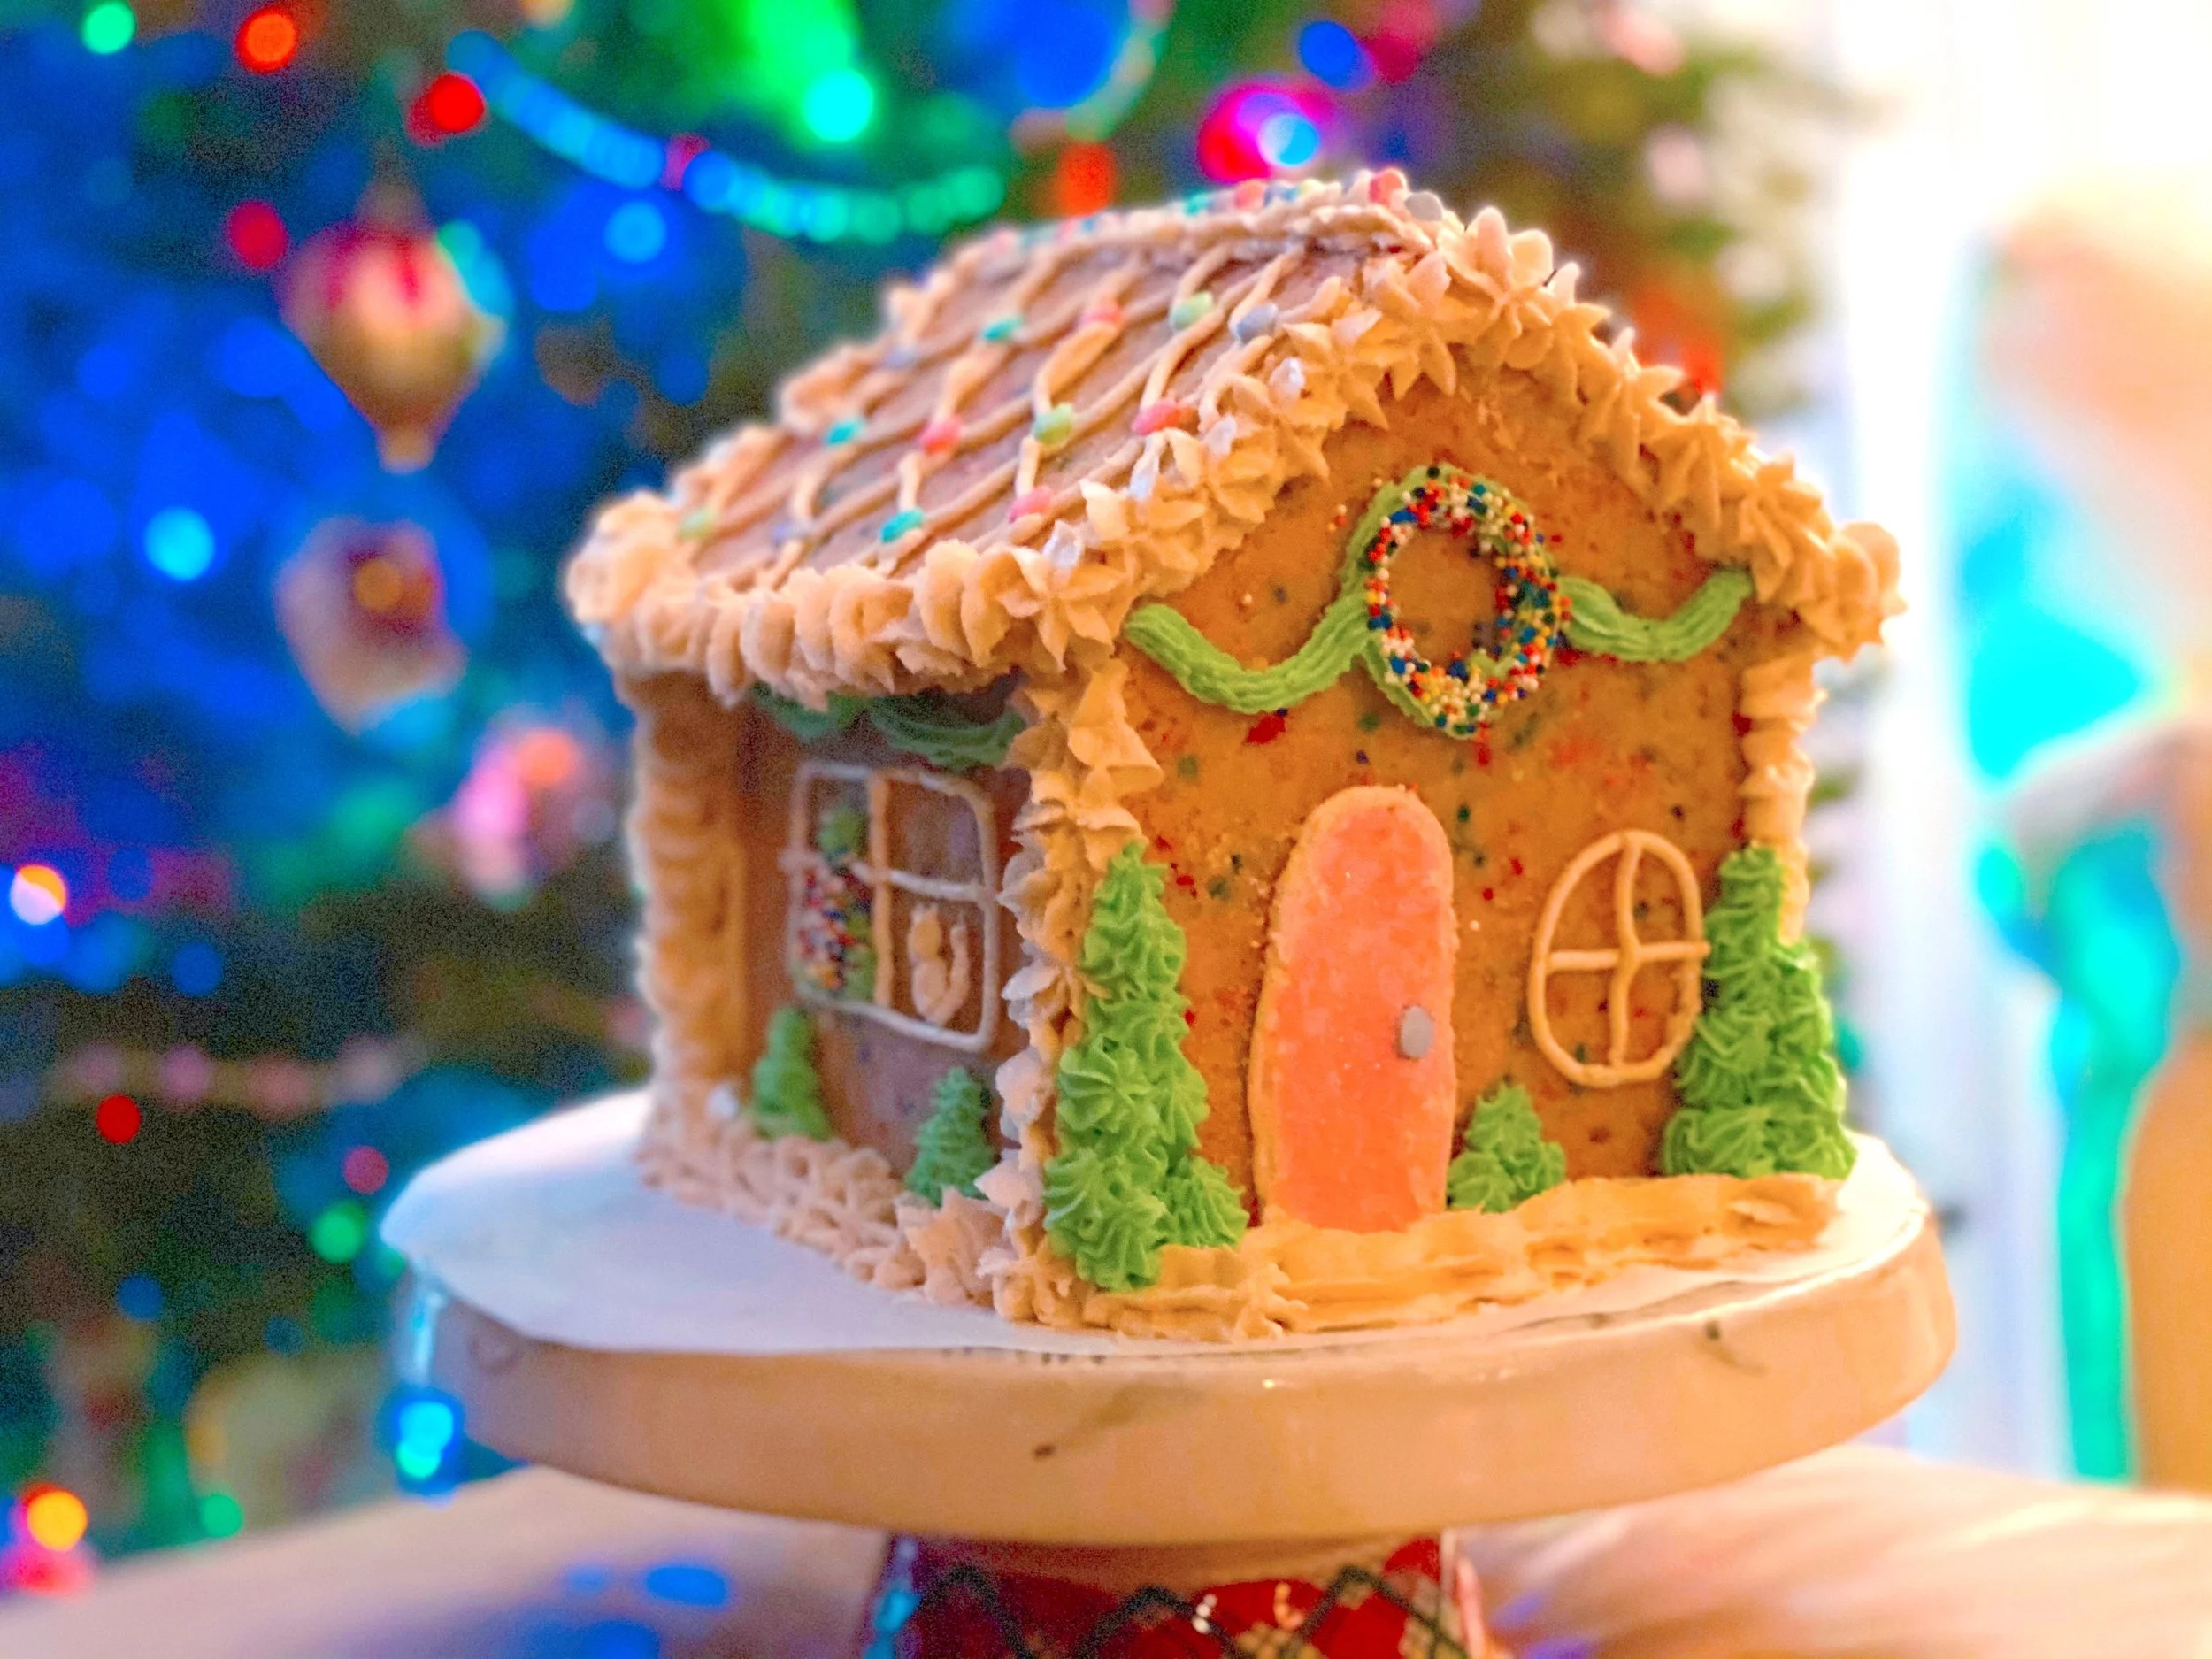
How to Use the Printable Gingerbread House Kit
Download and print the templates on standard 8.5×11 paper
Cut out the template pieces
Roll dough and using your template pieces, cut around dough creating panels (roof, side, front, and back)
Bake your house panels
Decorate with your favorite sprinkles or treats
Assemble using royal icing or buttercream frosting
Display and enjoy!
The instructions are written so kids can follow along with adult help.
Gingerbread House vs. Sugar Cookie House
If you love decorating but want an easier edible option, you might also enjoy making a sugar cookie house instead of a gingerbread house.
👉 See our Sugar Cookie House Tutorial for Kids
(Perfect if you want softer cookies and less breakage)
Frequently Asked Questions
Is this a physical gingerbread house kit?
No. This is a digital download that you print at home. Ingredients and candy are not included.
Is this gingerbread house kit good for kids?
Yes! It’s designed to be kid-friendly and works best with adult supervision.
What paper size should I use?
Standard US Letter (8.5×11). No special printer needed.
Can I reuse this kit every year?
Yes. Once purchased, you can print and reuse it for personal use.
Make Gingerbread Houses a Holiday Tradition
Creating a gingerbread house doesn’t have to be complicated to be special. With this printable gingerbread house kit, you can skip the stress and focus on what matters most—making memories, laughing through the decorating mess, and starting a holiday tradition your family will look forward to year after year. Whether you’re baking with kids, hosting a classroom activity, or planning a cozy Christmas afternoon at home, this easy DIY kit helps turn a simple idea into a meaningful experience.
This printable gingerbread house kit takes the pressure out of holiday baking and lets you focus on what matters—making memories together.
👉 Get the Printable Gingerbread House Kit – Instant Download
More Baking Posts:
Sugar Cookie House Guide (Easy, No Gingerbread Required!)
This sugar cookie house guide covers recipe for dough, assembly, decorating ideas, frosting tips, and a free template for Christmas, Valentine’s Day, and creative kid builds.
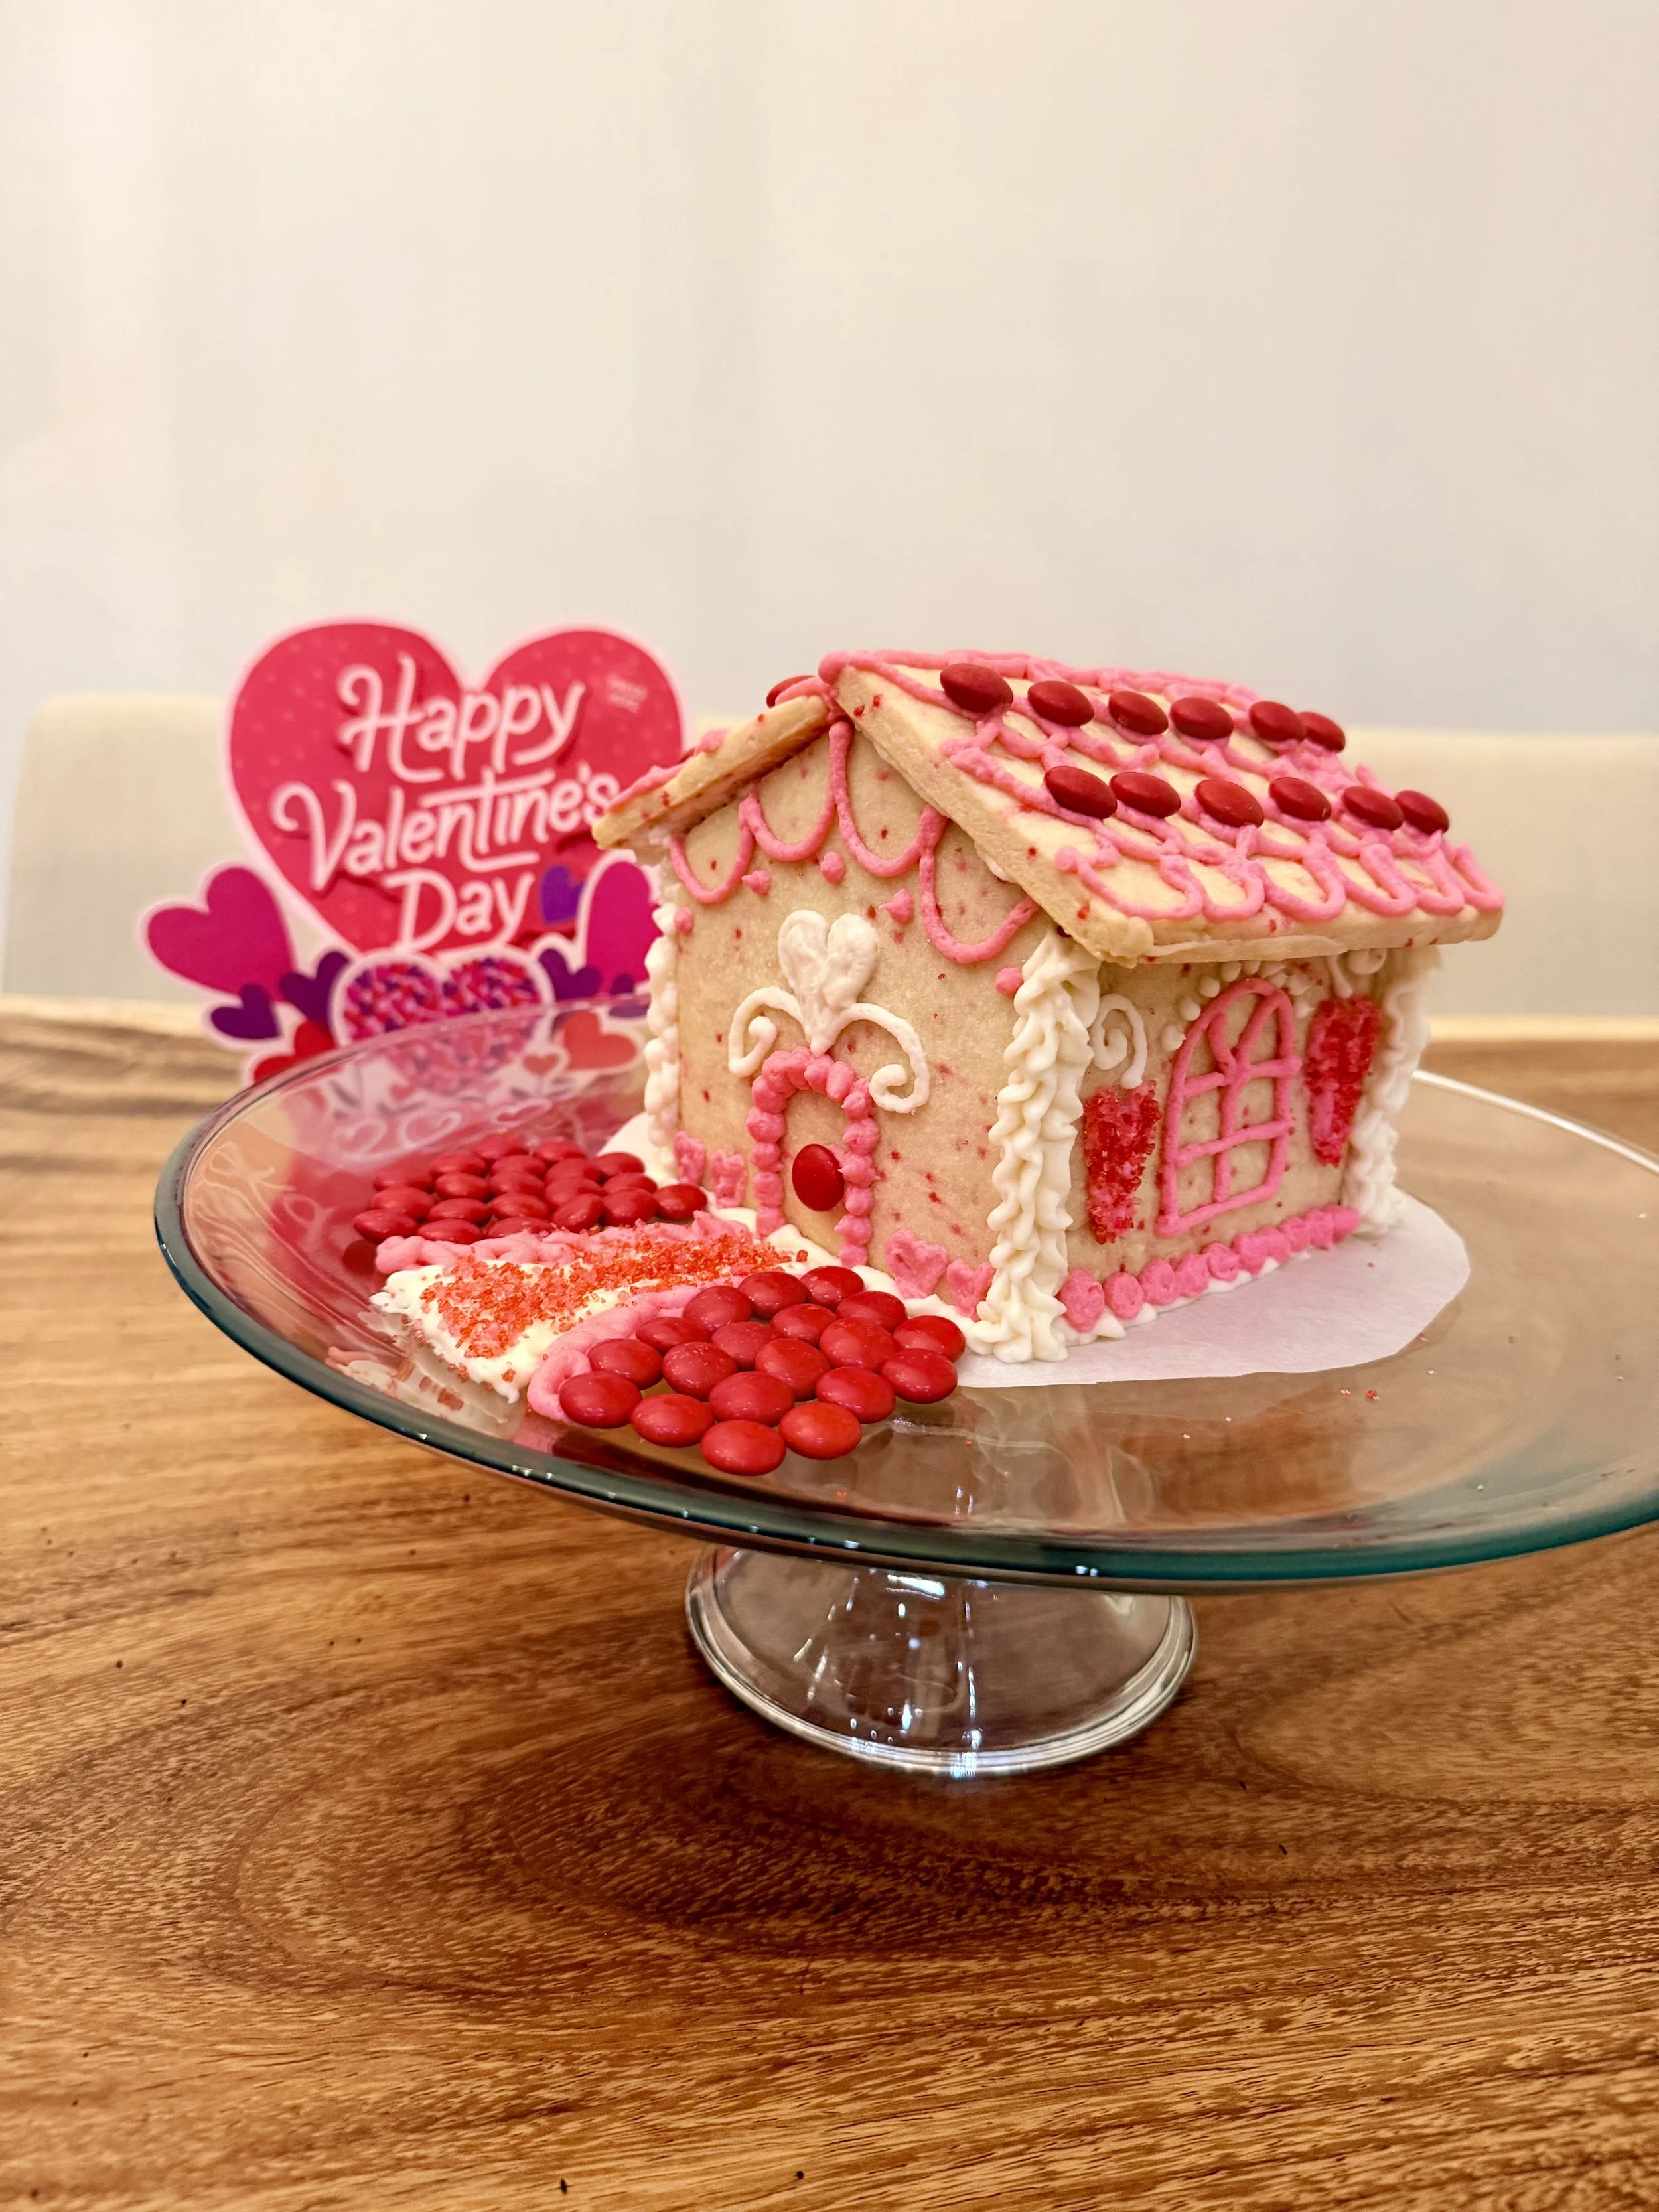
Valentine Sugar Cookie House
How to Make a Sugar Cookie House without Gingerbread- Easy and Kid-Friendly
If you love making gingerbread houses like I do, but don’t love gingerbread, this sugar cookie house guide is for you! A sugar cookie house is a fun, festive alternative that works for Christmas, Valentine’s Day, and beyond—with soft cookies, easy dough, and decorations your whole family will actually enjoy eating.
Whether you’re building a classic holiday house or a pink-and-pastel Valentine’s Day version, this guide walks you through everything you need to know, with links to step-by-step seasonal tutorials.
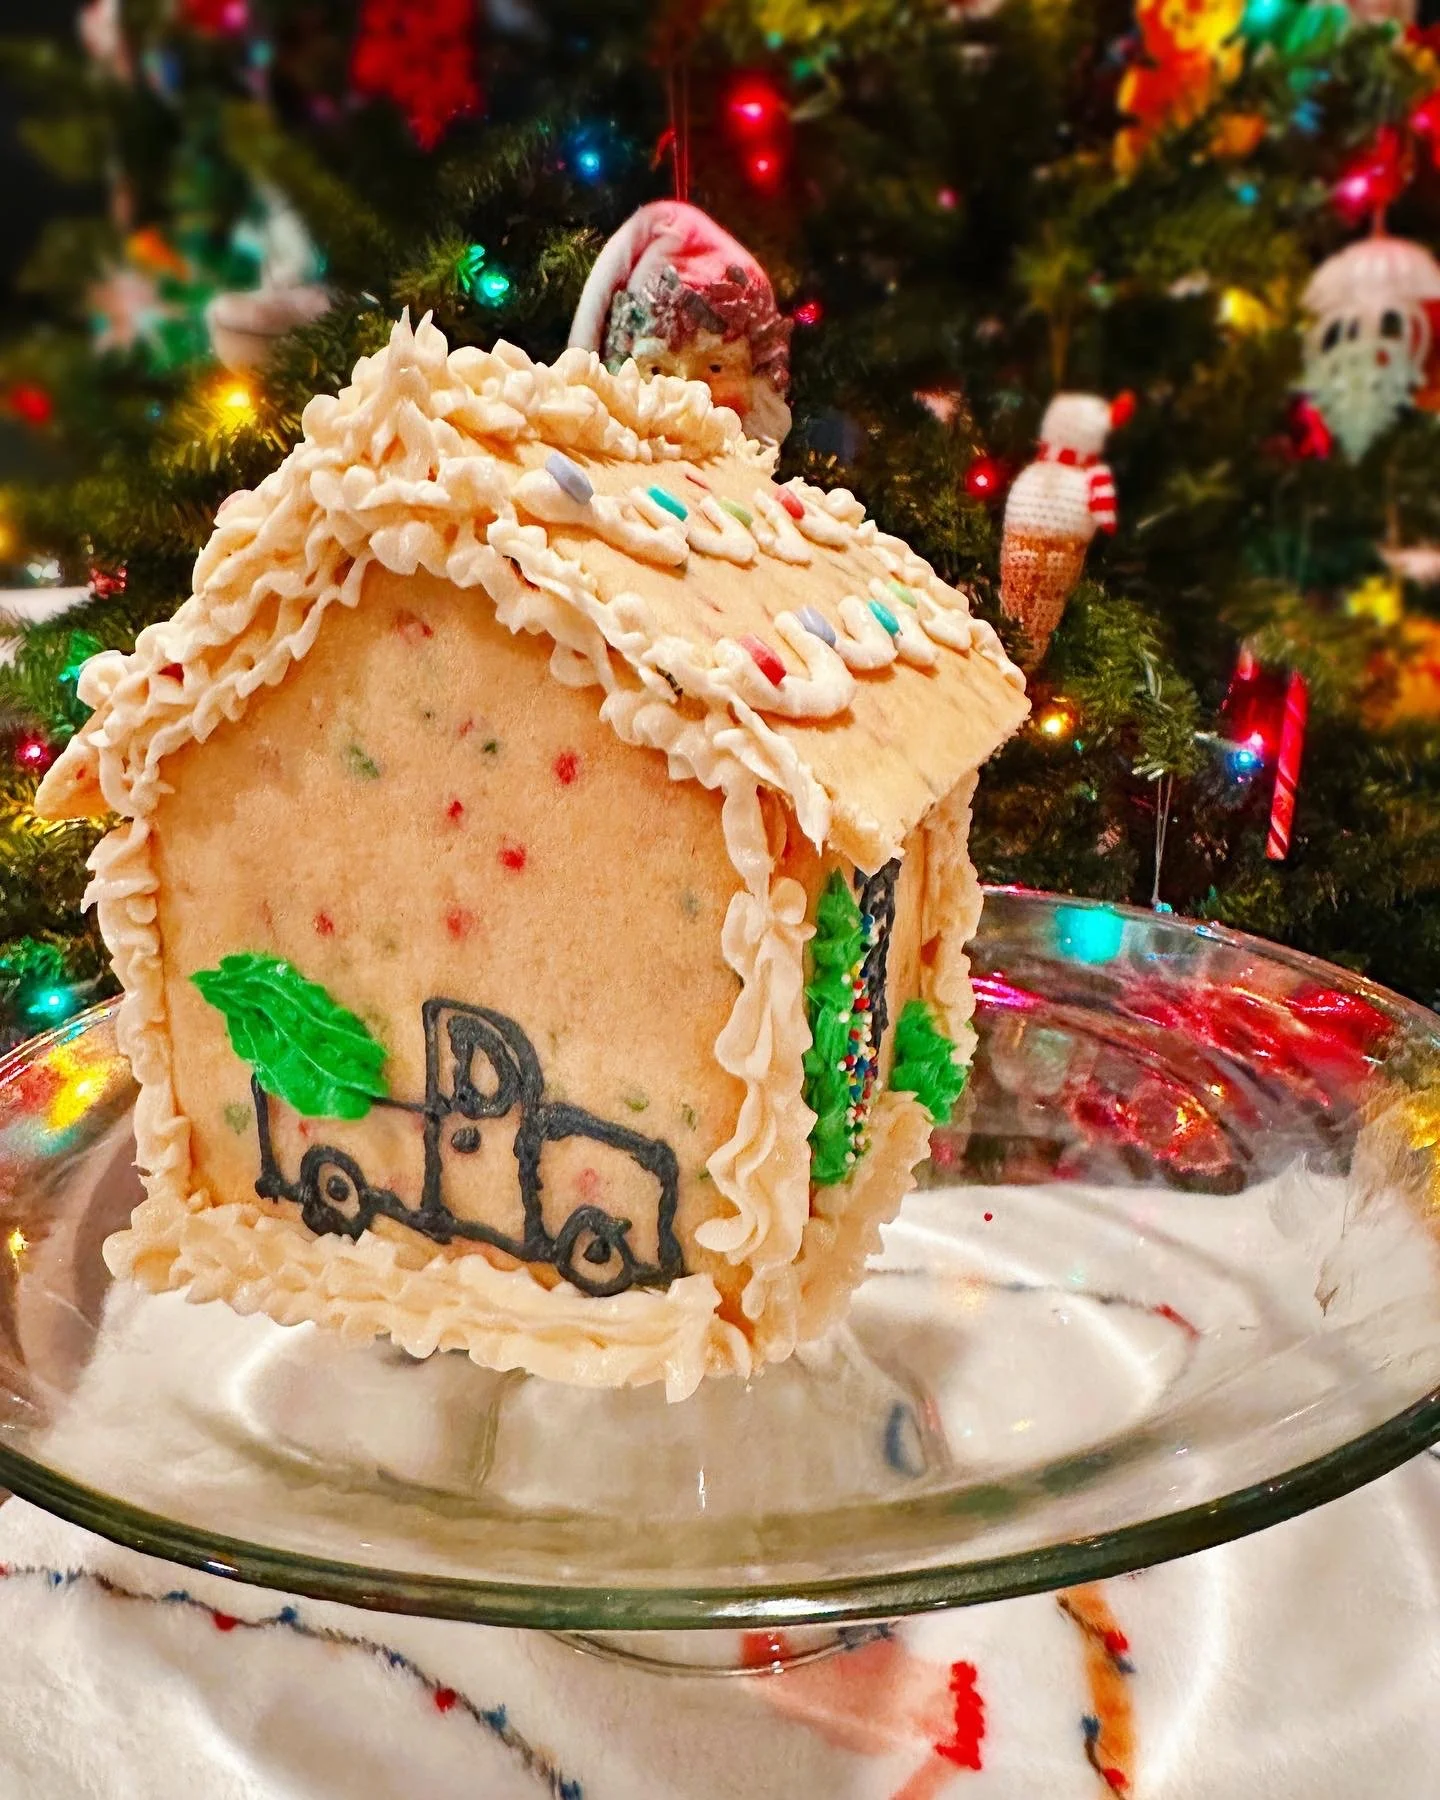
Sugar Cookie House with Trucks Design
Why Make a Sugar Cookie House Instead of Gingerbread?
Sugar cookie houses are easier, tastier, and more kid-friendly than traditional gingerbread houses.
And look — there is absolutely nothing wrong with classic gingerbread. It smells festive and looks beautiful. I’m just not the biggest fan of eating it!
Over the years, I started experimenting with a sugar cookie house as a gingerbread alternative — and I honestly haven’t looked back.
If you’ve ever searched for:
gingerbread house alternative
easy gingerbread house ideas
best gingerbread house glue
no eggs gingerbread house
You might actually be looking for something simpler.
That’s where sugar cookies shine.
Why families love a sugar cookie house:
✔️ Softer cookies that are actually edible (YUM 😋)
✔️ No molasses or heavy spices required — just pantry staples
✔️ Easier dough to roll and bake evenly
✔️ Sturdier structure with buttercream “glue”
✔️ Works for multiple holidays — not just Christmas
If you’ve ever struggled with rock-hard gingerbread, broken walls, or icing that won’t hold, sugar cookies are a total game changer.
I use the same simple template and base dough for Christmas, Valentine’s Day, St. Patrick’s Day, Easter, and beyond. Once you learn the method, you can decorate it any way you want.
It’s less stress.
More creativity.
And way more fun to eat..
Shop my list - These are the tools I use when building my sugar cookie houses.
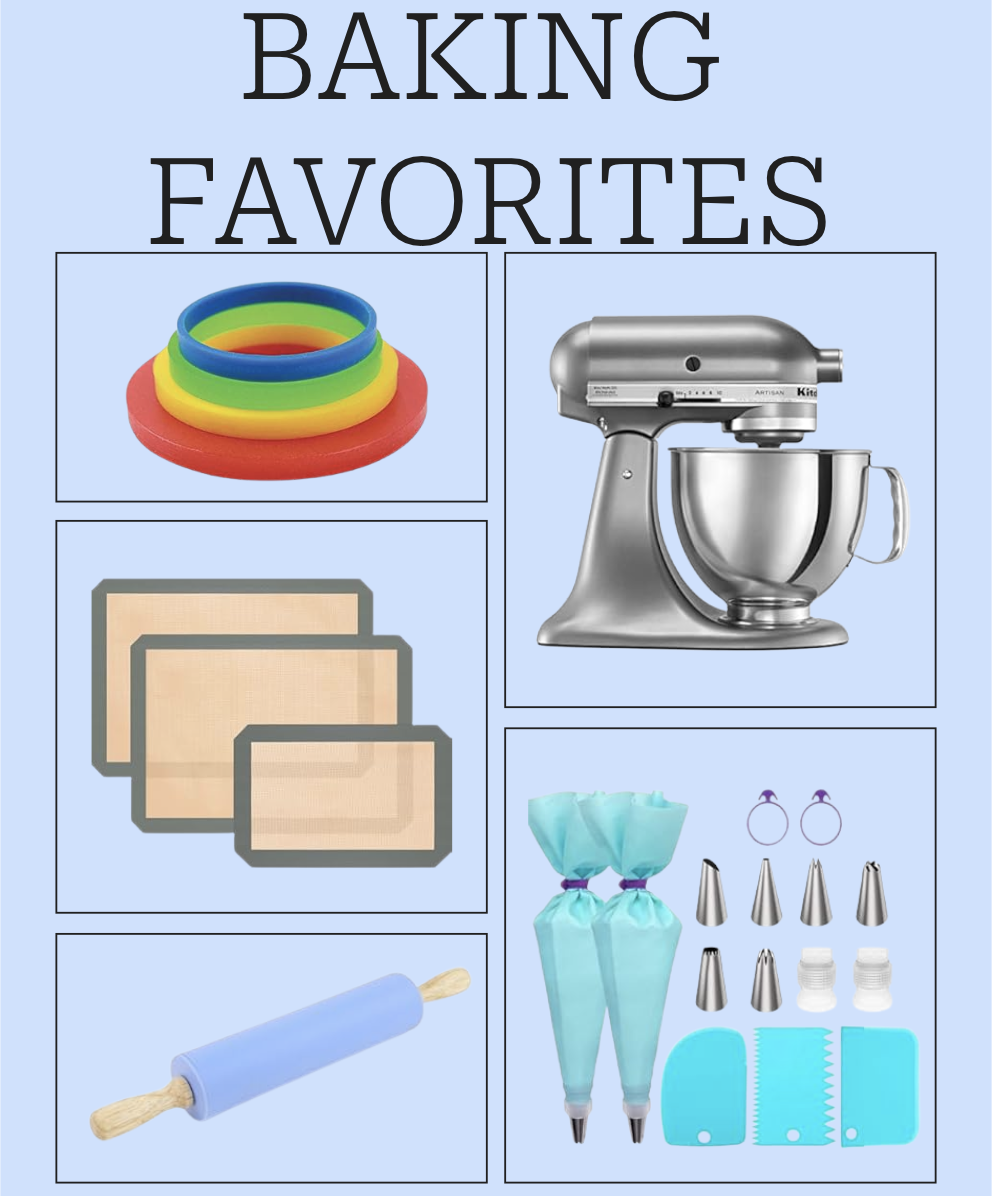
These are the baking tools I use every time I make a sugar cookie house—from mixing the dough to piping the final details.
What Is a Sugar Cookie House?
A sugar cookie house is built using sturdy sugar cookie panels instead of gingerbread. The cookies are baked slightly thicker to hold their shape, then assembled with frosting and decorated based on the season.
You can customize:
Roof style
Door and window shapes
Icing colors
Holiday-specific candy decorations
Check out my favorite Sugar Cookie Houses Pinterest board for design ideas!
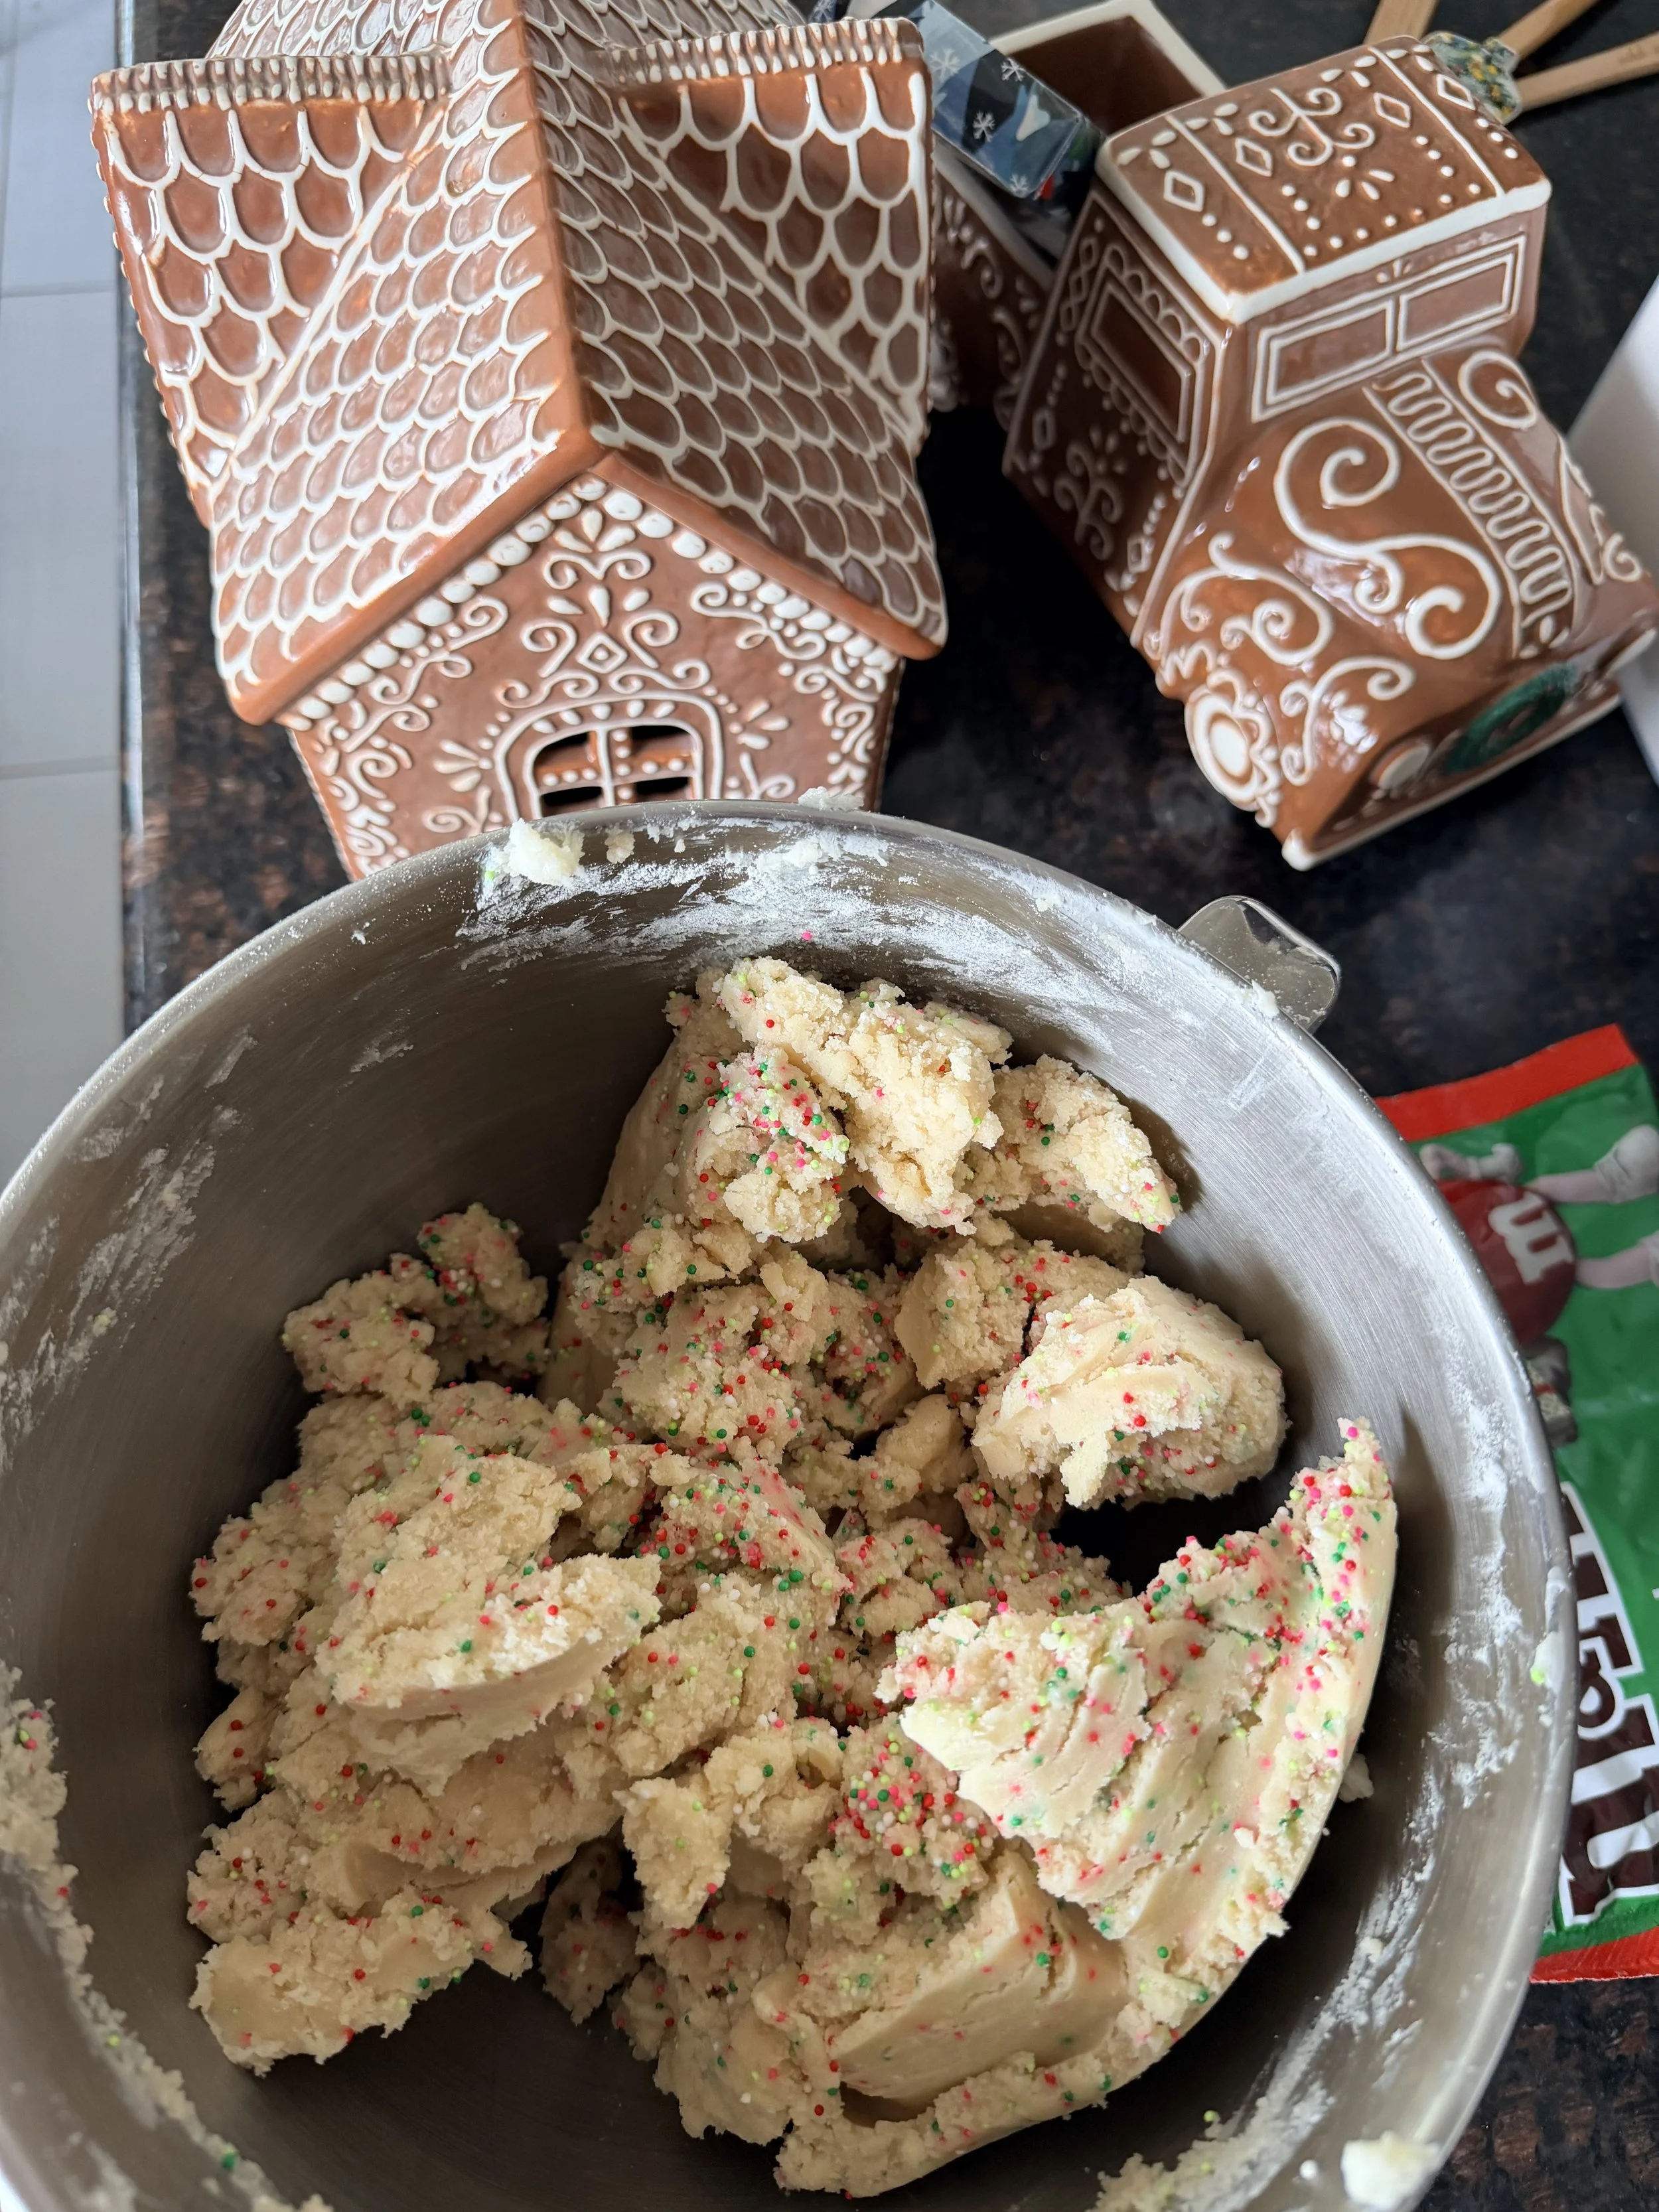
Sugar Cookie Dough with Sprinkles
Sugar Cookie House Dough Basics
A good sugar cookie house dough should be:
Firm but not dry
Rolled evenly
Baked until set (not browned)
💡 Tip: Chill the dough before cutting shapes to prevent spreading.
You’ll find exact measurements and baking times inside each seasonal tutorial below.
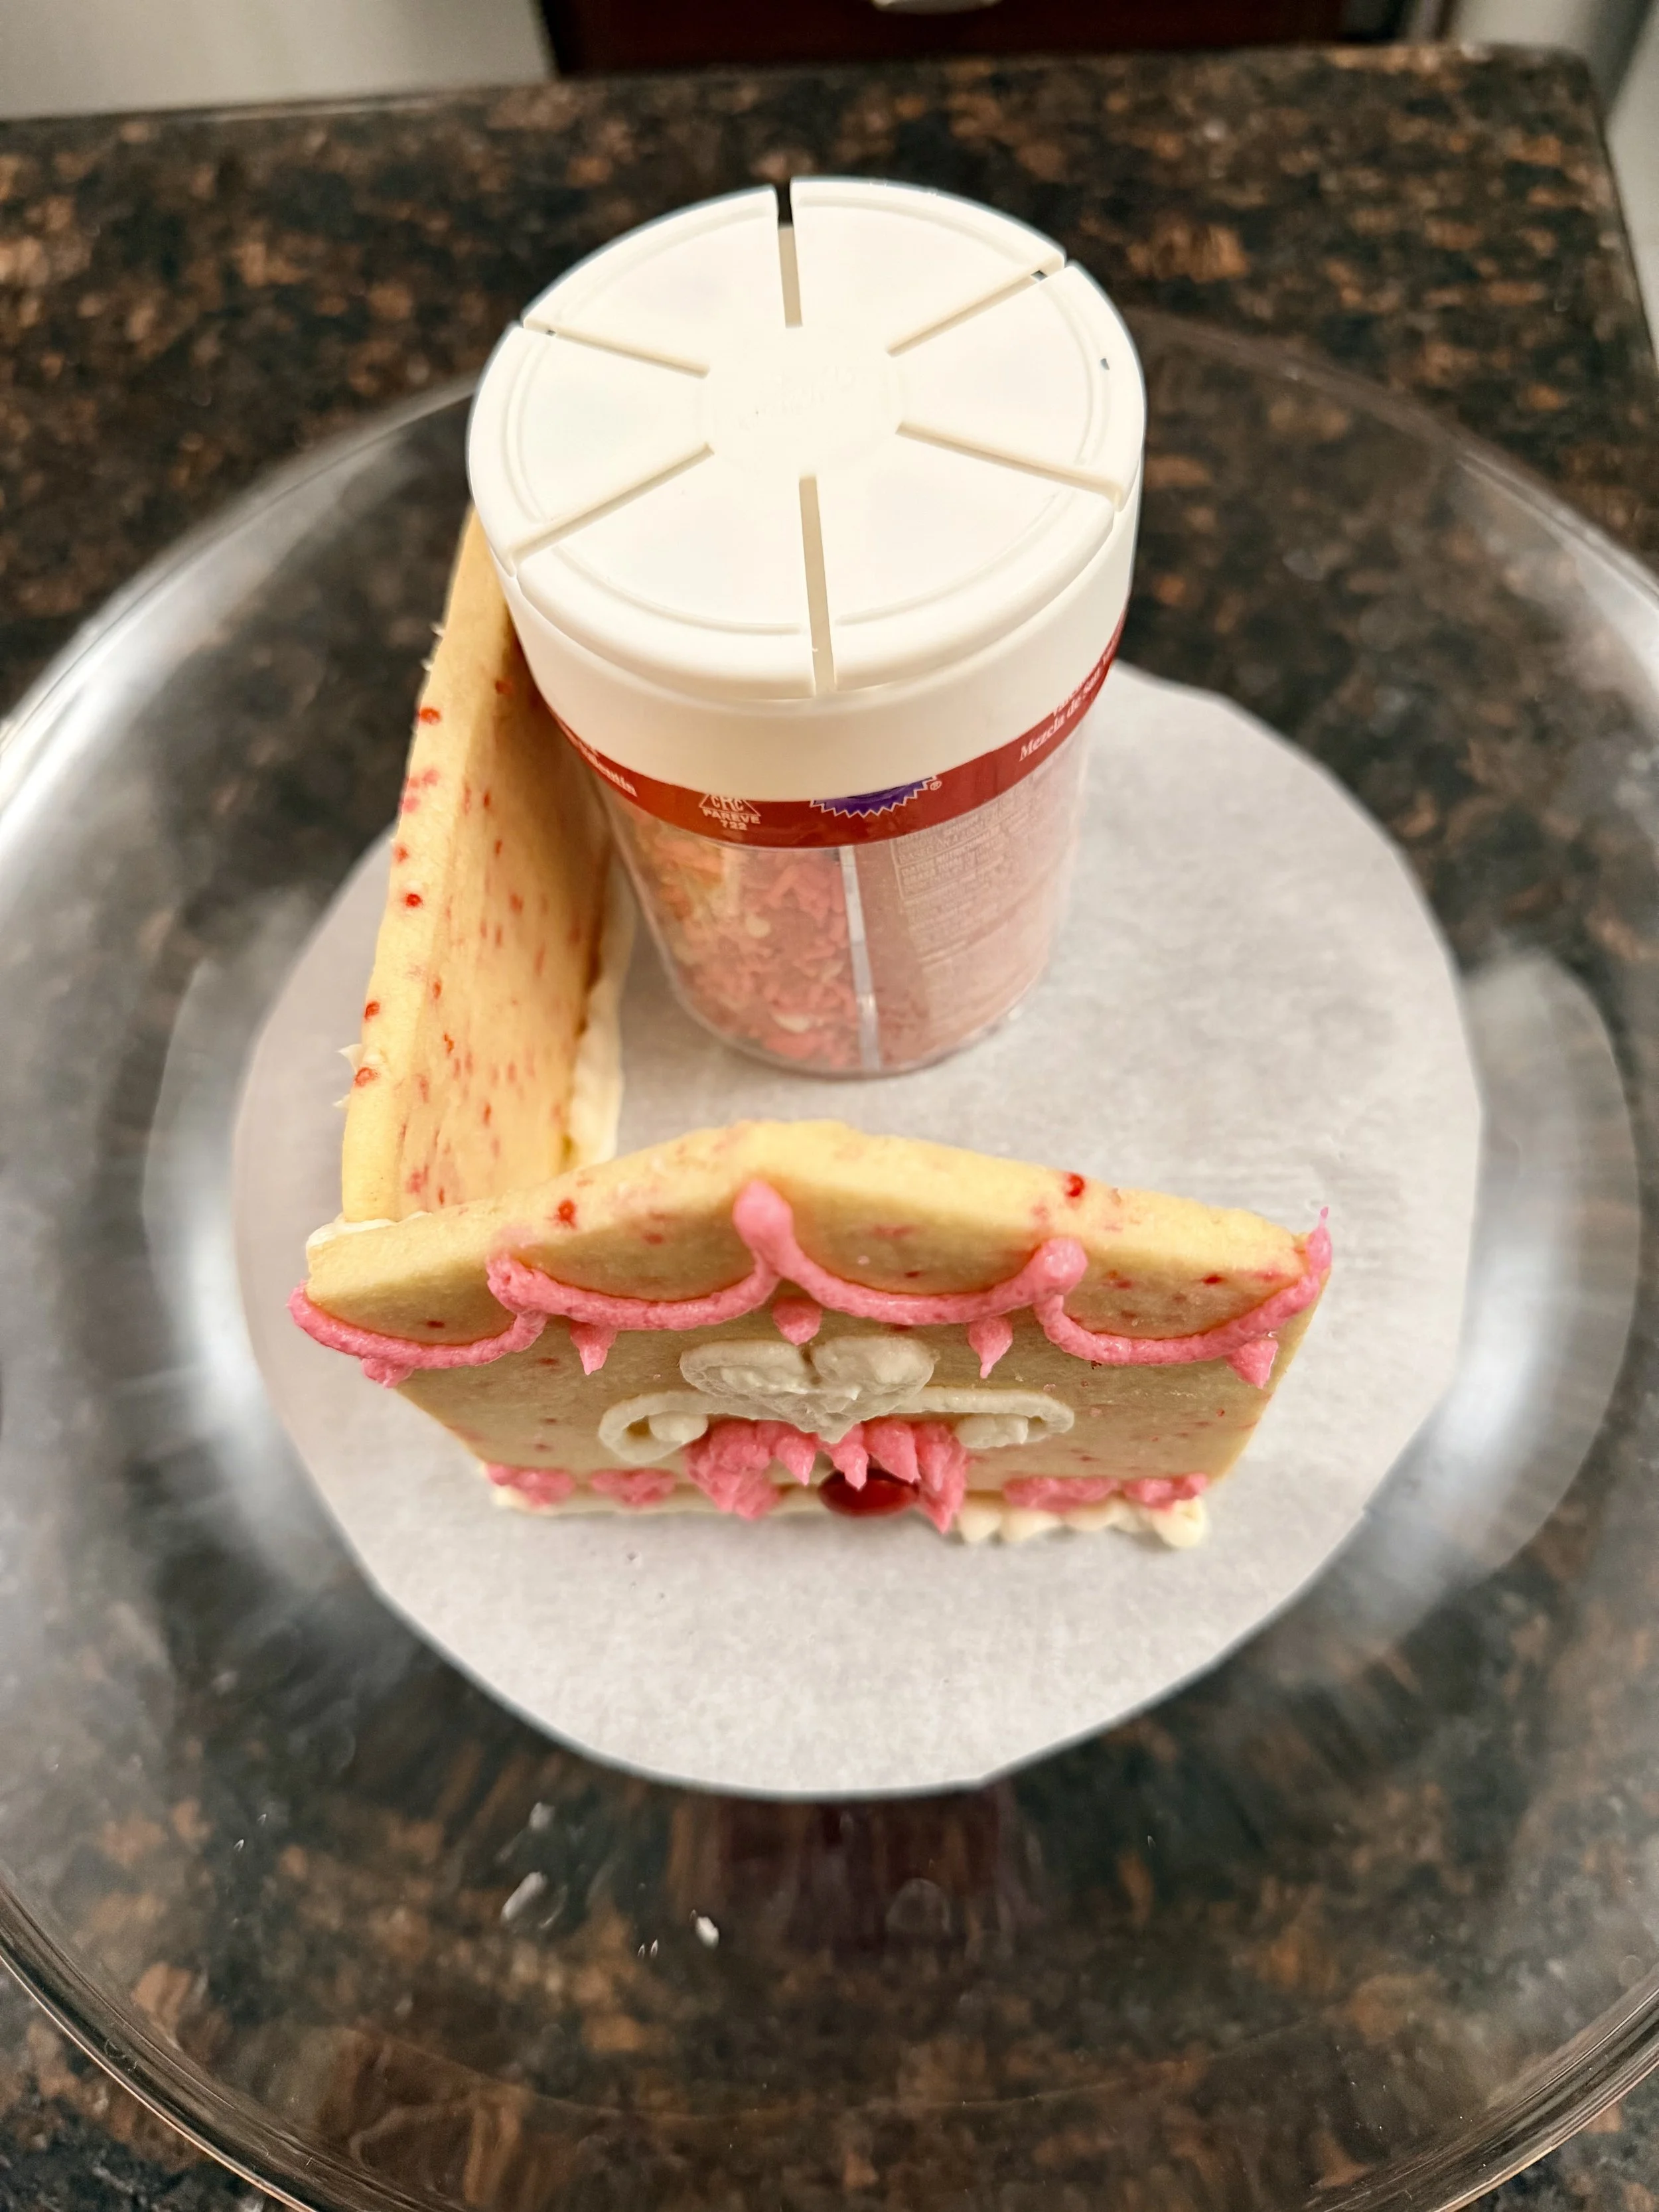
How to Assemble a Sugar Cookie House - Step by Step! Use containers to support the cookie walls while assembling
How to Assemble a Sugar Cookie House
Assembly is the same no matter the holiday.
Basic steps:
Bake and cool cookie panels completely
Decorate all pieces and refrigerate for 15 mins at least to let the frosting set
Pipe thick frosting along edges
Assemble walls first and let set
Add roof panels
You can use buttercream frosting (yes, really!) or royal icing depending on your preference.
See our Valentine’s Day post for more info about Buttercream Frosting do’s and don’t’s.
See the full sugar cookie house come together in this quick timelapse before we turn it into a leprechaun trap.
A quick timelapse of assembling the sugar cookie house before decorating it as a St. Patrick’s Day leprechaun trap.
Free Sugar Cookie House Template (Printable)
To make building a sugar cookie house even easier, we created a free printable sugar cookie house template you can use to cut consistent wall and roof pieces every time. This template works perfectly for sugar cookie dough and can be reused for different holidays and designs.
👉 Download the free sugar cookie house template here:
https://www.thesweetestescapes.com/shop/gingerbread-house
This template works for Christmas sugar cookie houses, Valentine’s Day houses, and any themed sugar cookie build.
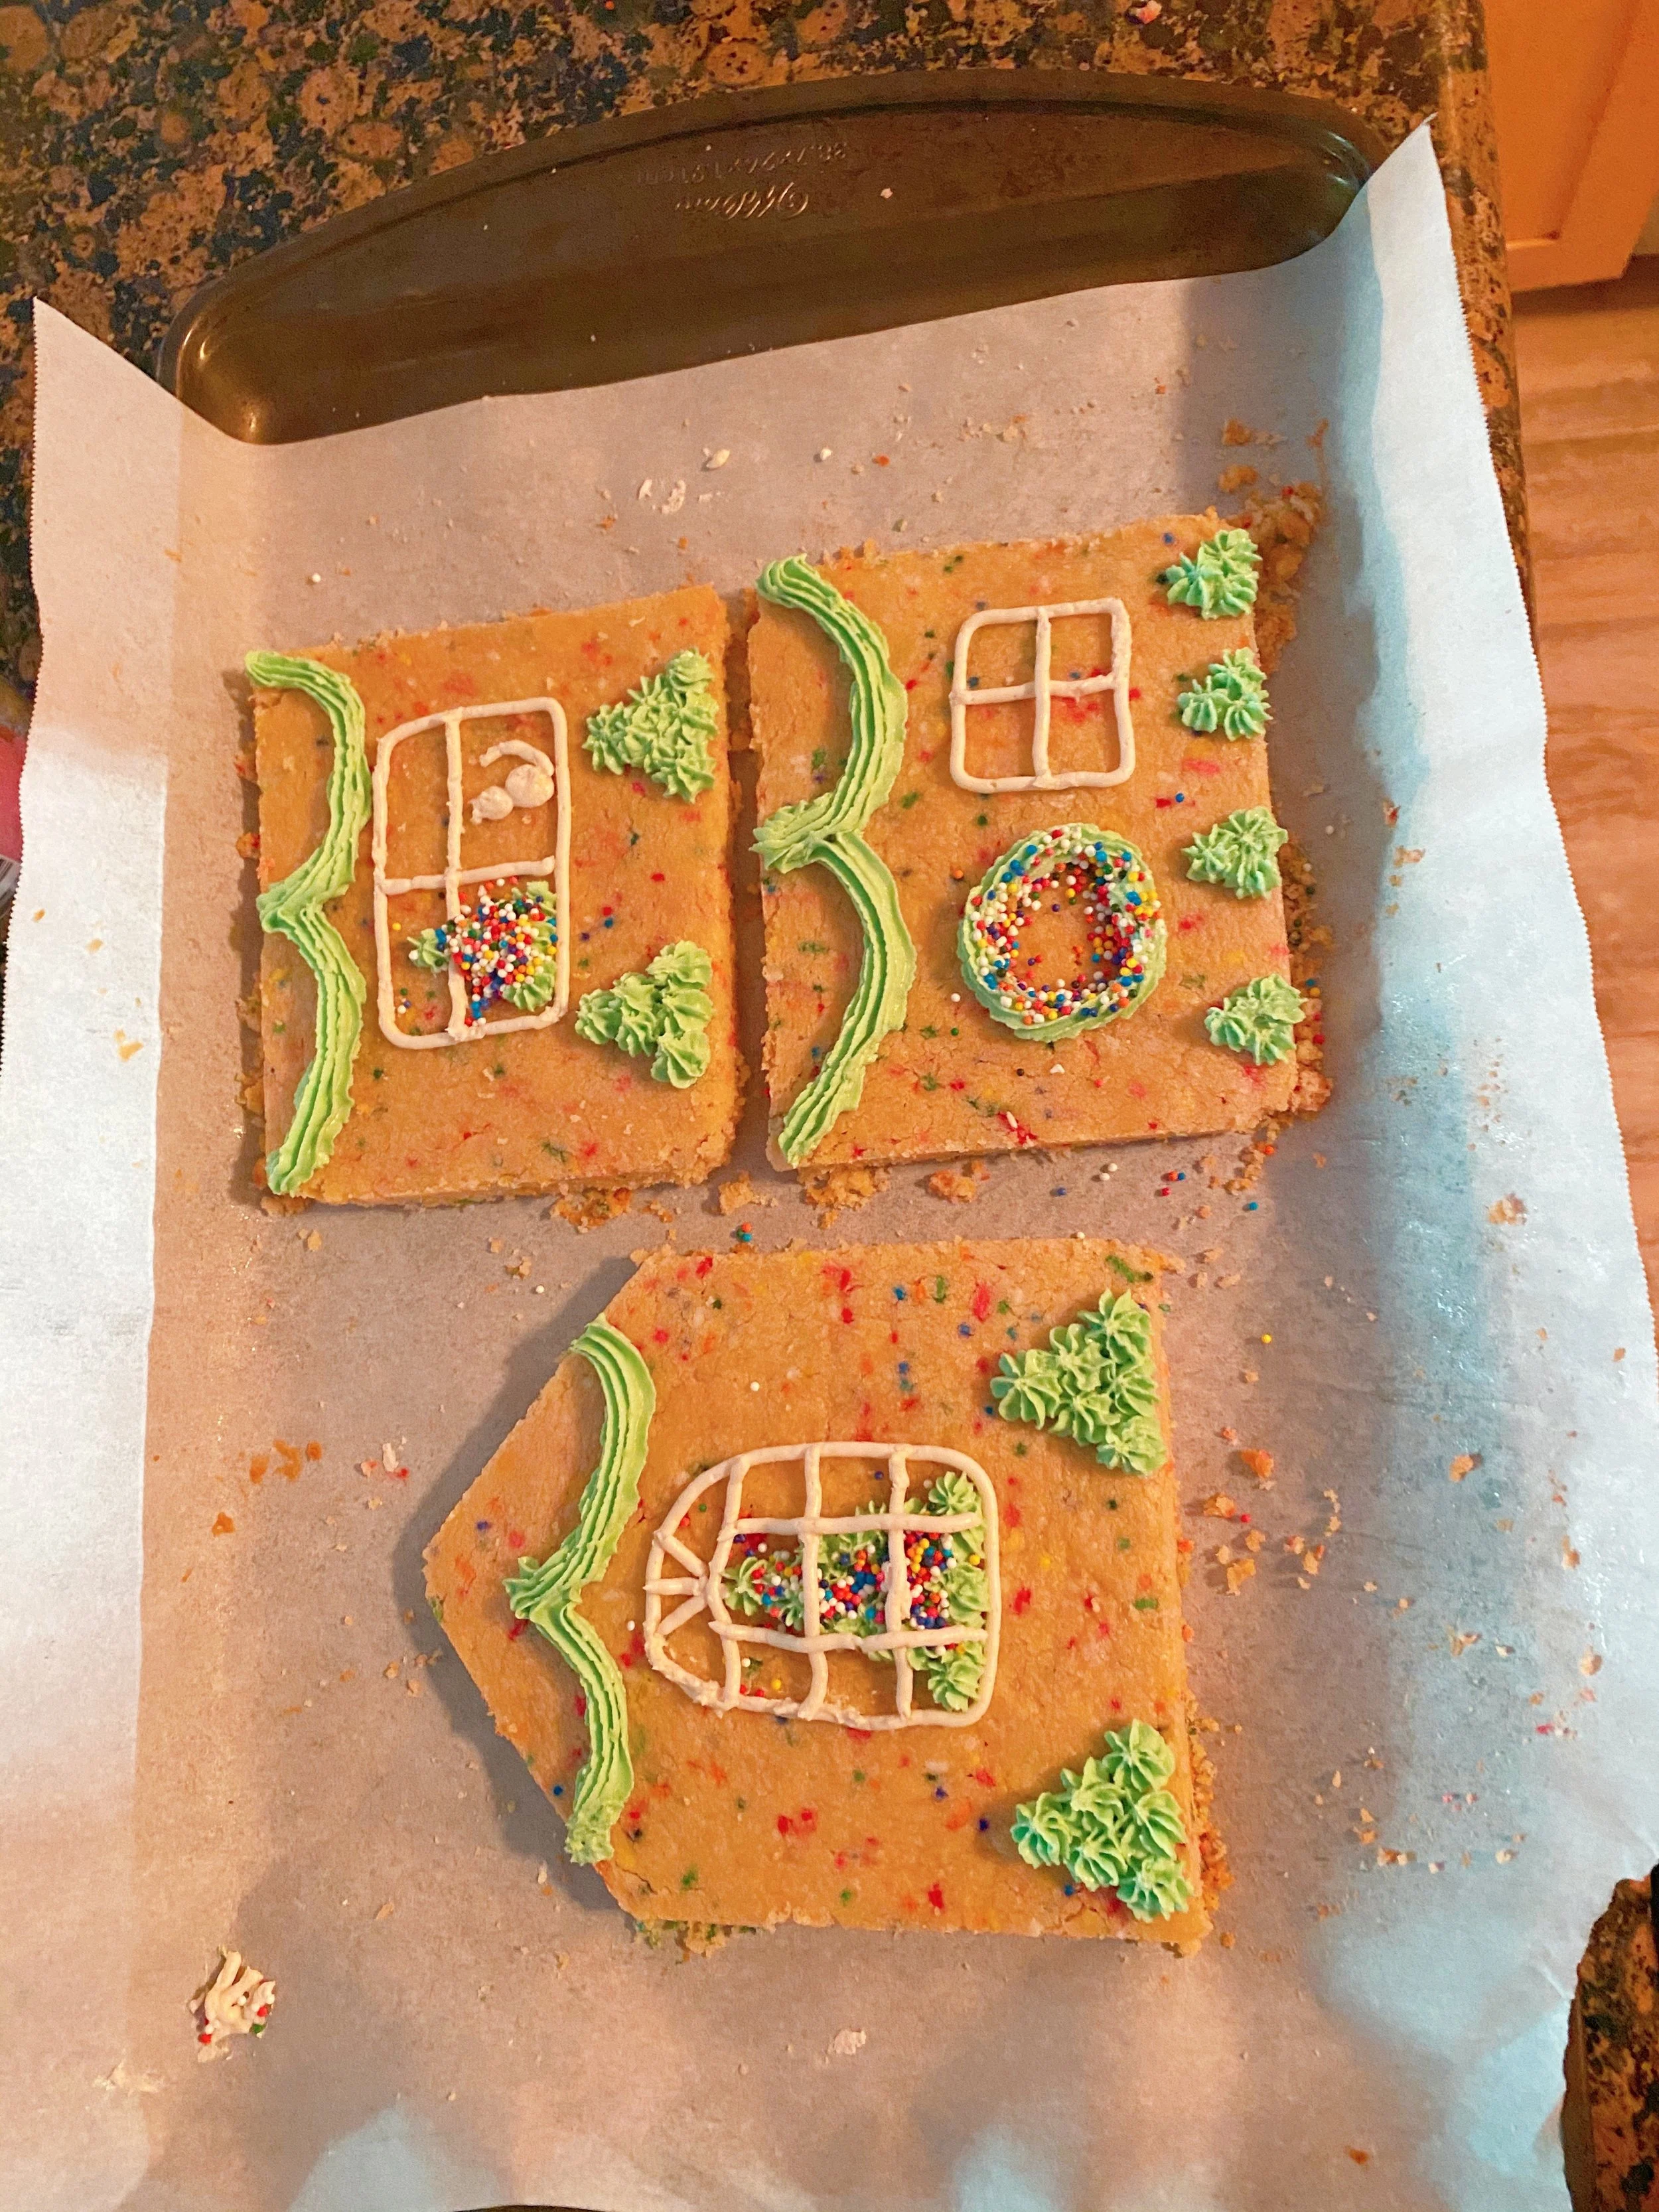
Sugar Cookie House Design Ideas - Side walls and back
Sugar Cookie House Design Ideas and Gingerbread Accessories
One of the best things about a sugar cookie house is how easy it is to customize for different holidays, themes, and skill levels. Whether you’re decorating with toddlers or creating a show-stopping centerpiece, these ideas work beautifully with sugar cookie dough.
Popular sugar cookie house designs and Gingerbread accessories include:
Classic house with piped frosting and sprinkles
Minimalist house with simple lines and powdered sugar
Candy-covered house for kids who love decorating
Pastel or themed houses for holidays like Valentine’s Day or Easter
💖 Lace-Inspired (Perfect for Valentine’s Day)
Uses piped icing to mimic lace patterns
Great for Valentine’s, weddings, baby showers
Elegant look without extra baking steps
👉 For step-by-step decorating and recipes, explore our seasonal sugar cookie house tutorials below.
Save these sugar cookie house design ideas on Pinterest so you can come back when it’s time to bake.
How to Make a Sugar Cookie House for Christmas, Easter, Valentine’s Day, or St. Patrick’s Day
Making a sugar cookie house for Christmas, Easter, Valentine’s Day or St. Patrick’s Day is simple when you use the same base template and decorate it for the season.
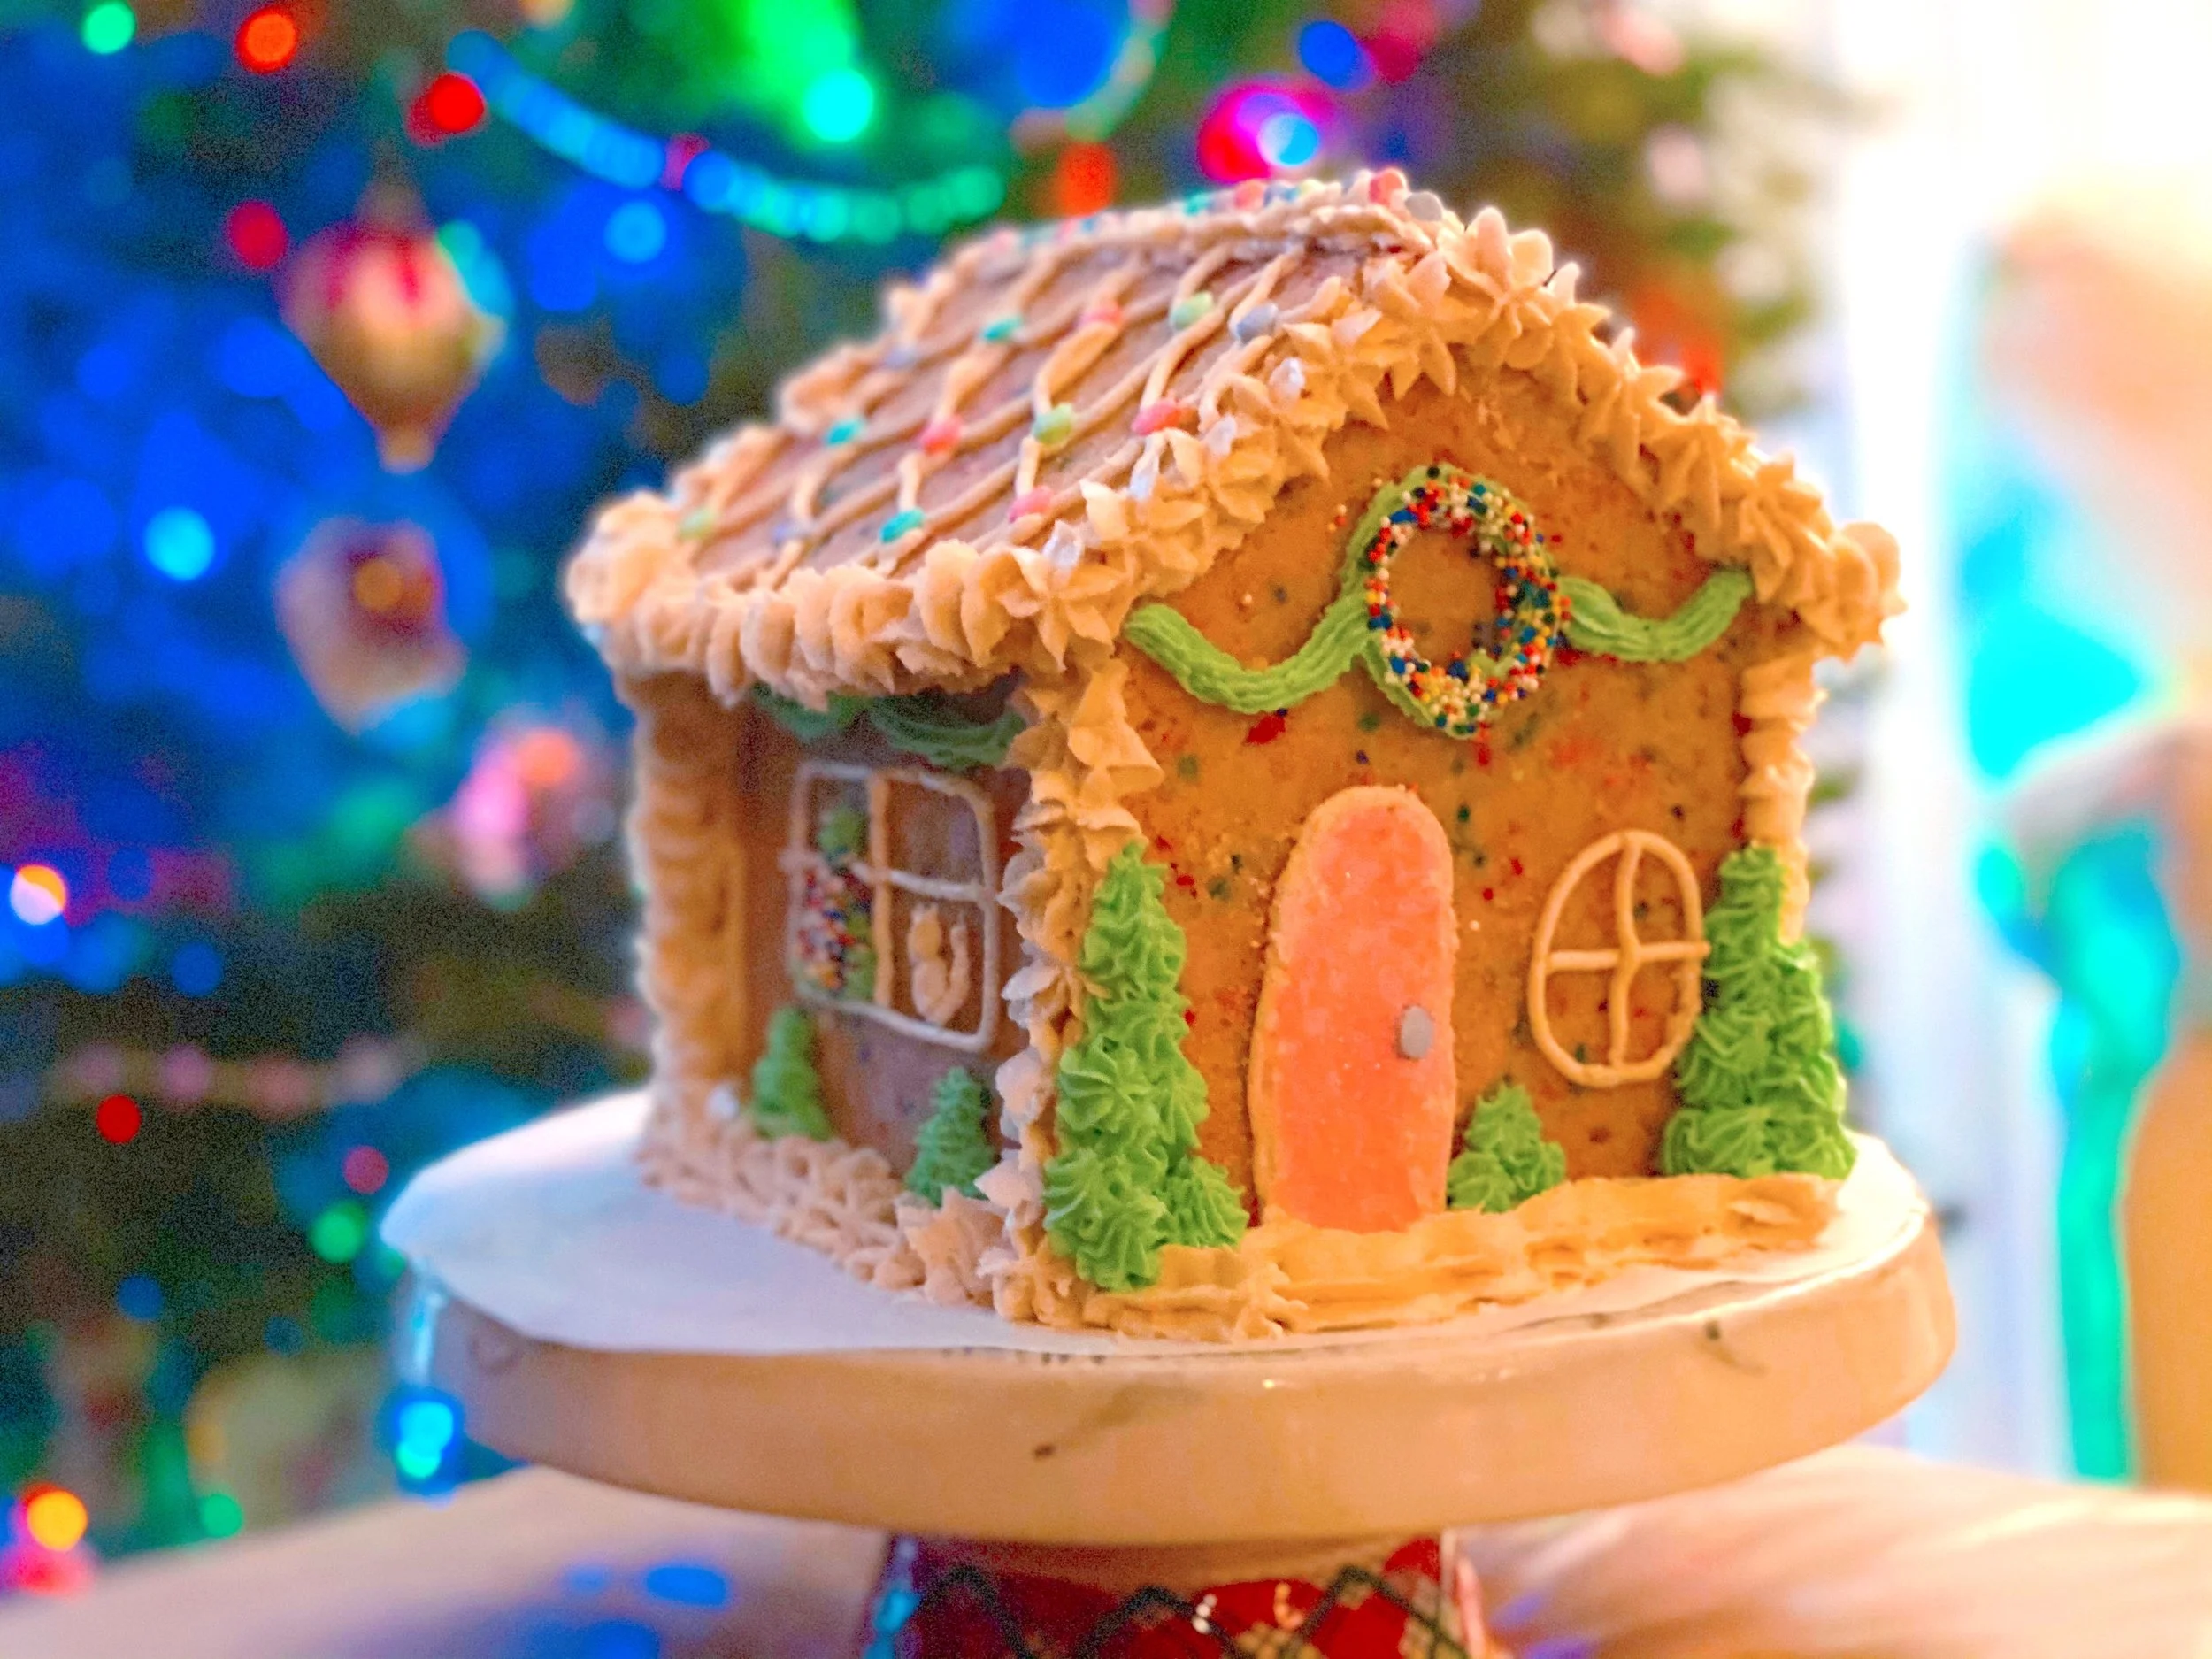
Christmas Sugar Cookie House Design - Cat in window
🎄 Christmas Sugar Cookie House
A Christmas sugar cookie house is perfect for family traditions and holiday parties. Think snowy roofs, festive sprinkles, and classic Christmas candy. And maybe a cat in a window? Why not?!
👉 Read the full tutorial here: Christmas Sugar Cookie House (Easy & Kid-Friendly)
Popular Christmas decorations:
Mini gumdrops
Peppermints
White frosting “snow”
Holiday sprinkles
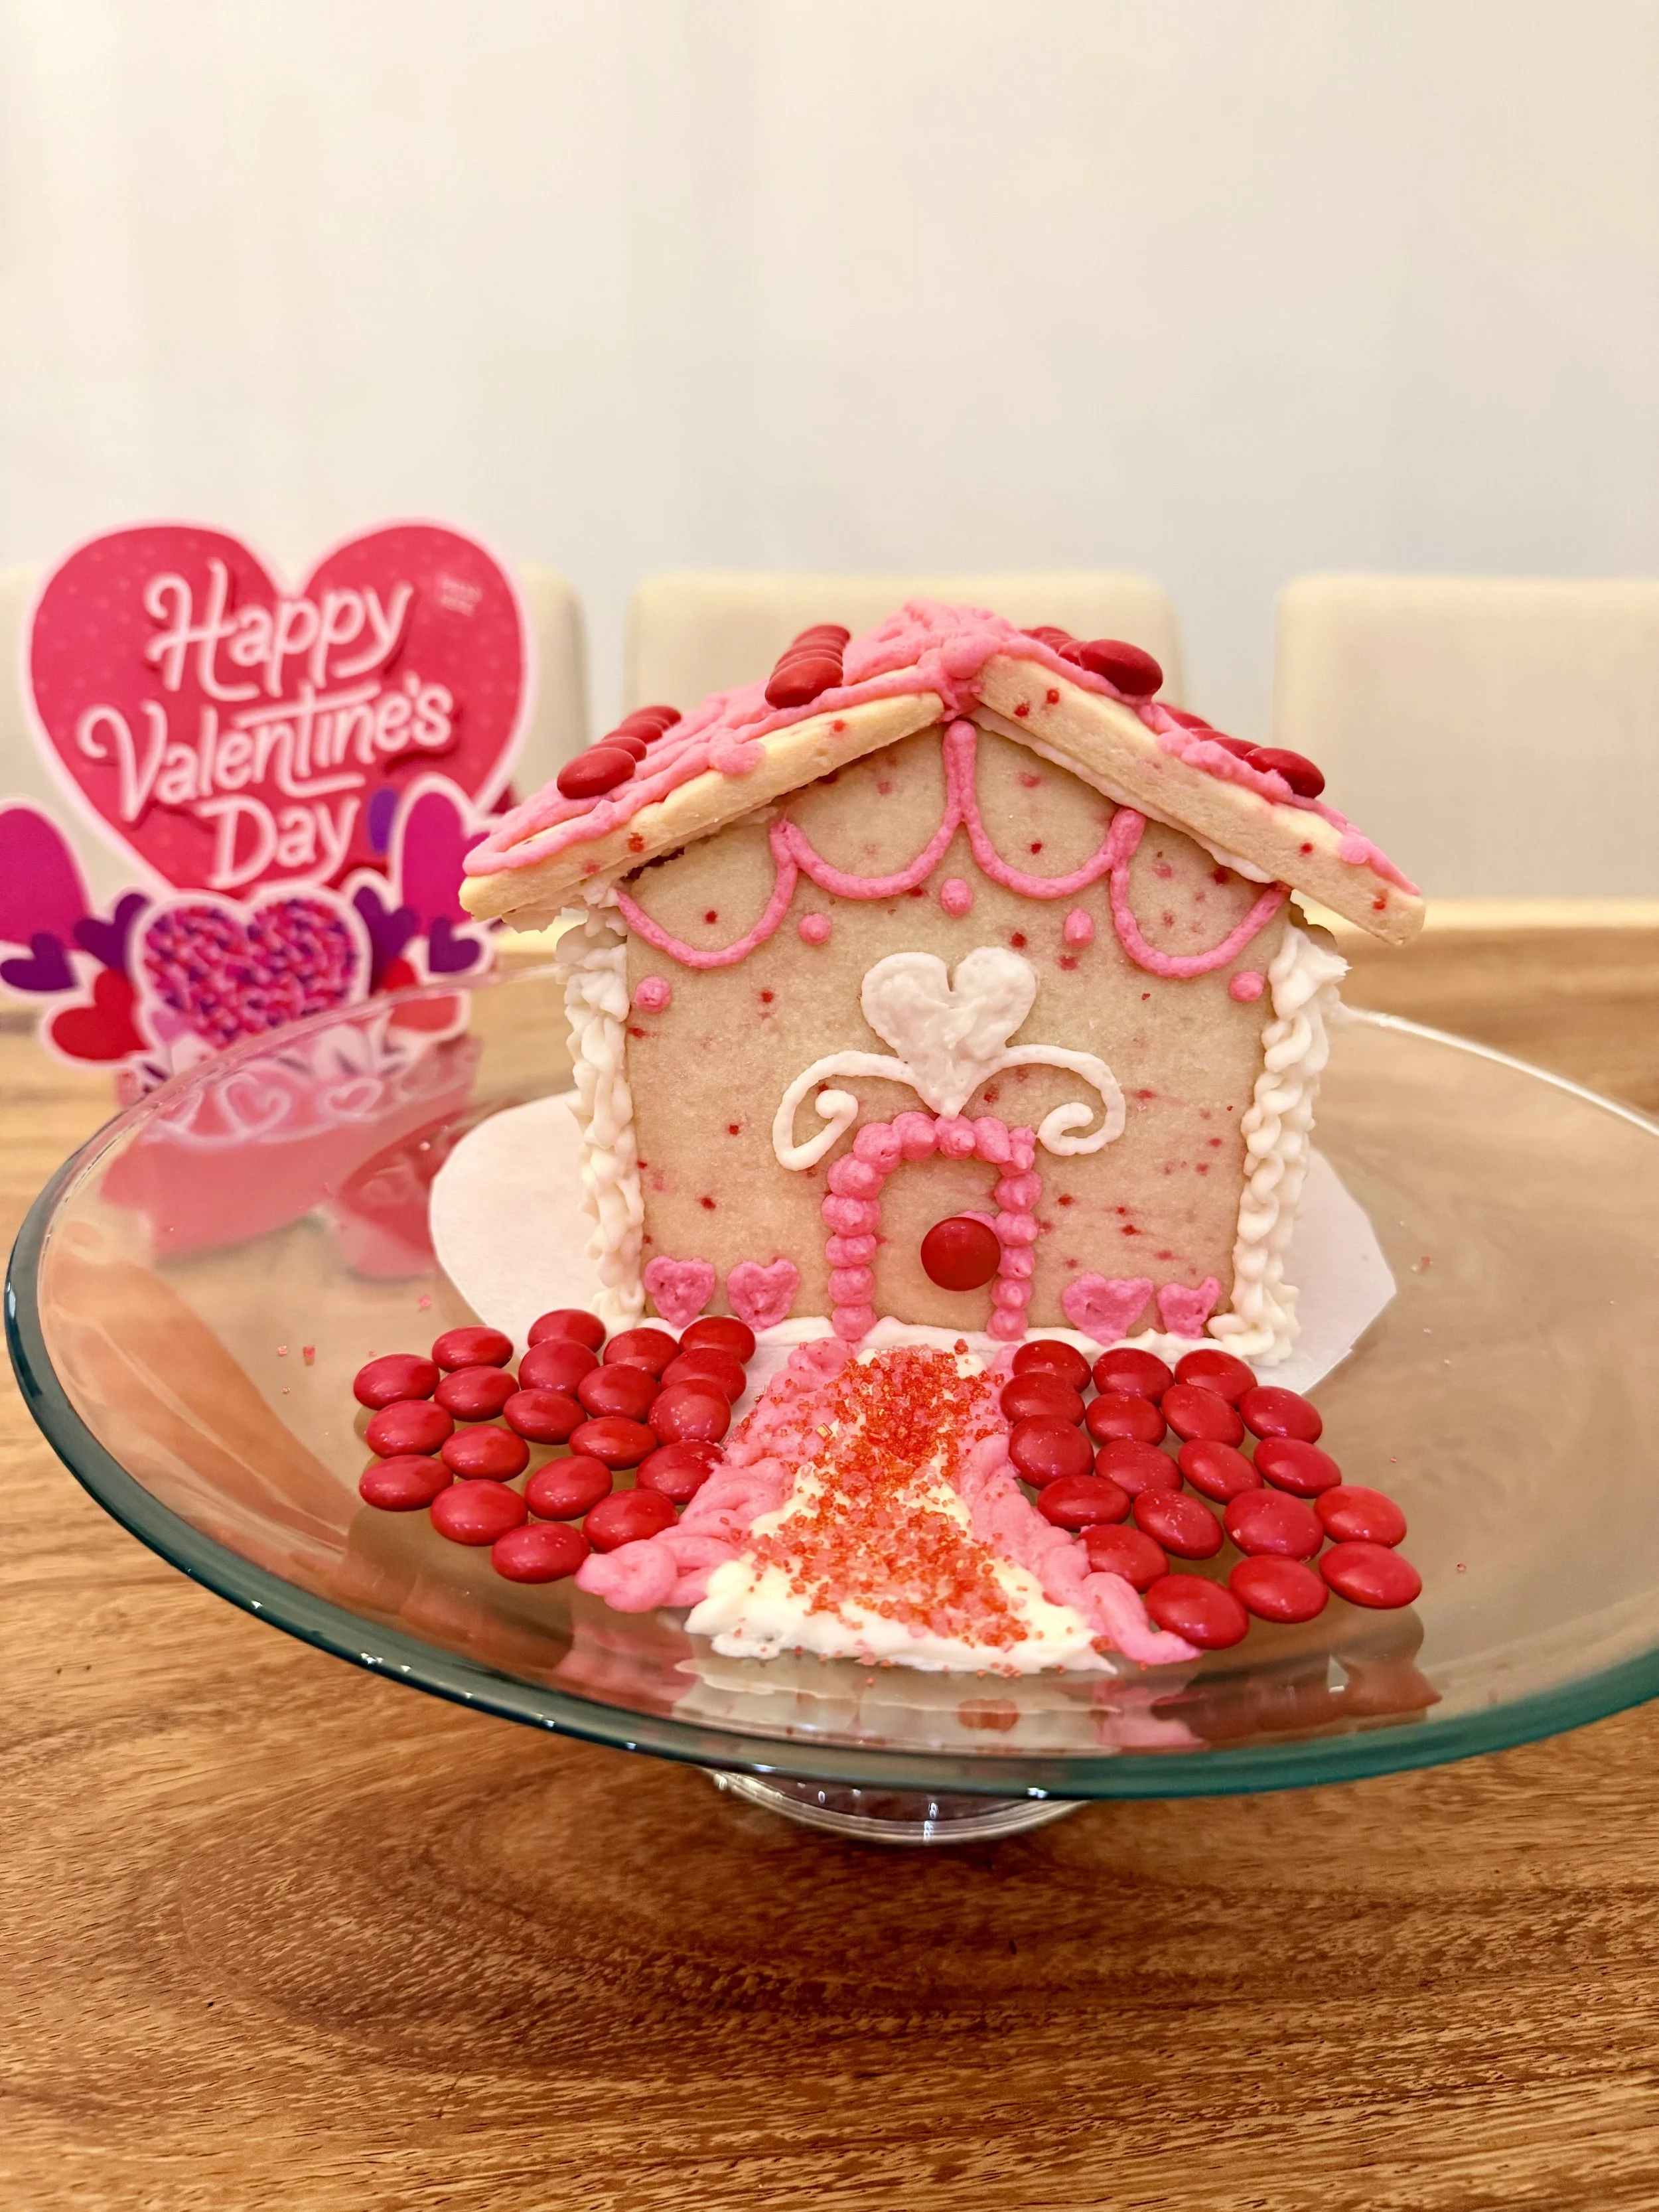
Valentine’s Day Sugar Cookie House with Lace Icing Details for Sugar Cookie Houses
💕 Valentine’s Day Sugar Cookie House
A Valentine’s Day sugar cookie house is a sweet winter activity that doesn’t feel like Christmas leftovers. Pink frosting, heart cookies, and pastel candy make this a fun February tradition. When you think there’s too much pink just add more! Never enough pink in my book.
👉 Read the full tutorial here:
Valentine’s Day Sugar Cookie House (No Gingerbread Required)
Valentine decorating ideas:
Conversation hearts
Pink and red icing
Heart-shaped cookies
Sprinkles and sanding sugar
💖 Lace-Inspired (Perfect for Valentine’s Day)
Uses piped icing to mimic lace patterns
Great for Valentine’s, weddings, baby showers
Elegant look without extra baking steps

St. Patrick’s Day Leprechaun Trap Sugar Cookie House
🍀 St. Patrick’s Day Leprechaun Trap
Turn your cookie house into an edible leprechaun trap!
Decorating ideas:
Rainbow path
“Free Gold” door
Gold coin bait.
See the full St. Patrick’s Day tutorial here.
🐰 Easter Sugar Cookie House Ideas
Spring is the perfect time to build a sugar cookie house. Instead of traditional gingerbread, decorate your cottage with:
Piped buttercream grass
Jelly bean eggs
Pastel icing details
A simple bunny silhouette
Tiny candy “tulips”
The same base template works beautifully for Easter — just swap the decorations for soft spring colors and playful details.
👉 See the full Easter Sugar Cookie House tutorial here.
Best Frosting for Sugar Cookie Houses
You have two great options:
Buttercream Frosting
Tastes better
Easy to make
Great for decorating with kids
No raw eggs
Royal Icing
Dries hard
Best for advanced builders
Less forgiving (and less tasty)
👉 Tip: For family builds, buttercream works surprisingly well when cookies are fully cooled.
My Favorite gingerbread house icing without eggs can be found on our Sugar Cookie Recipe Post
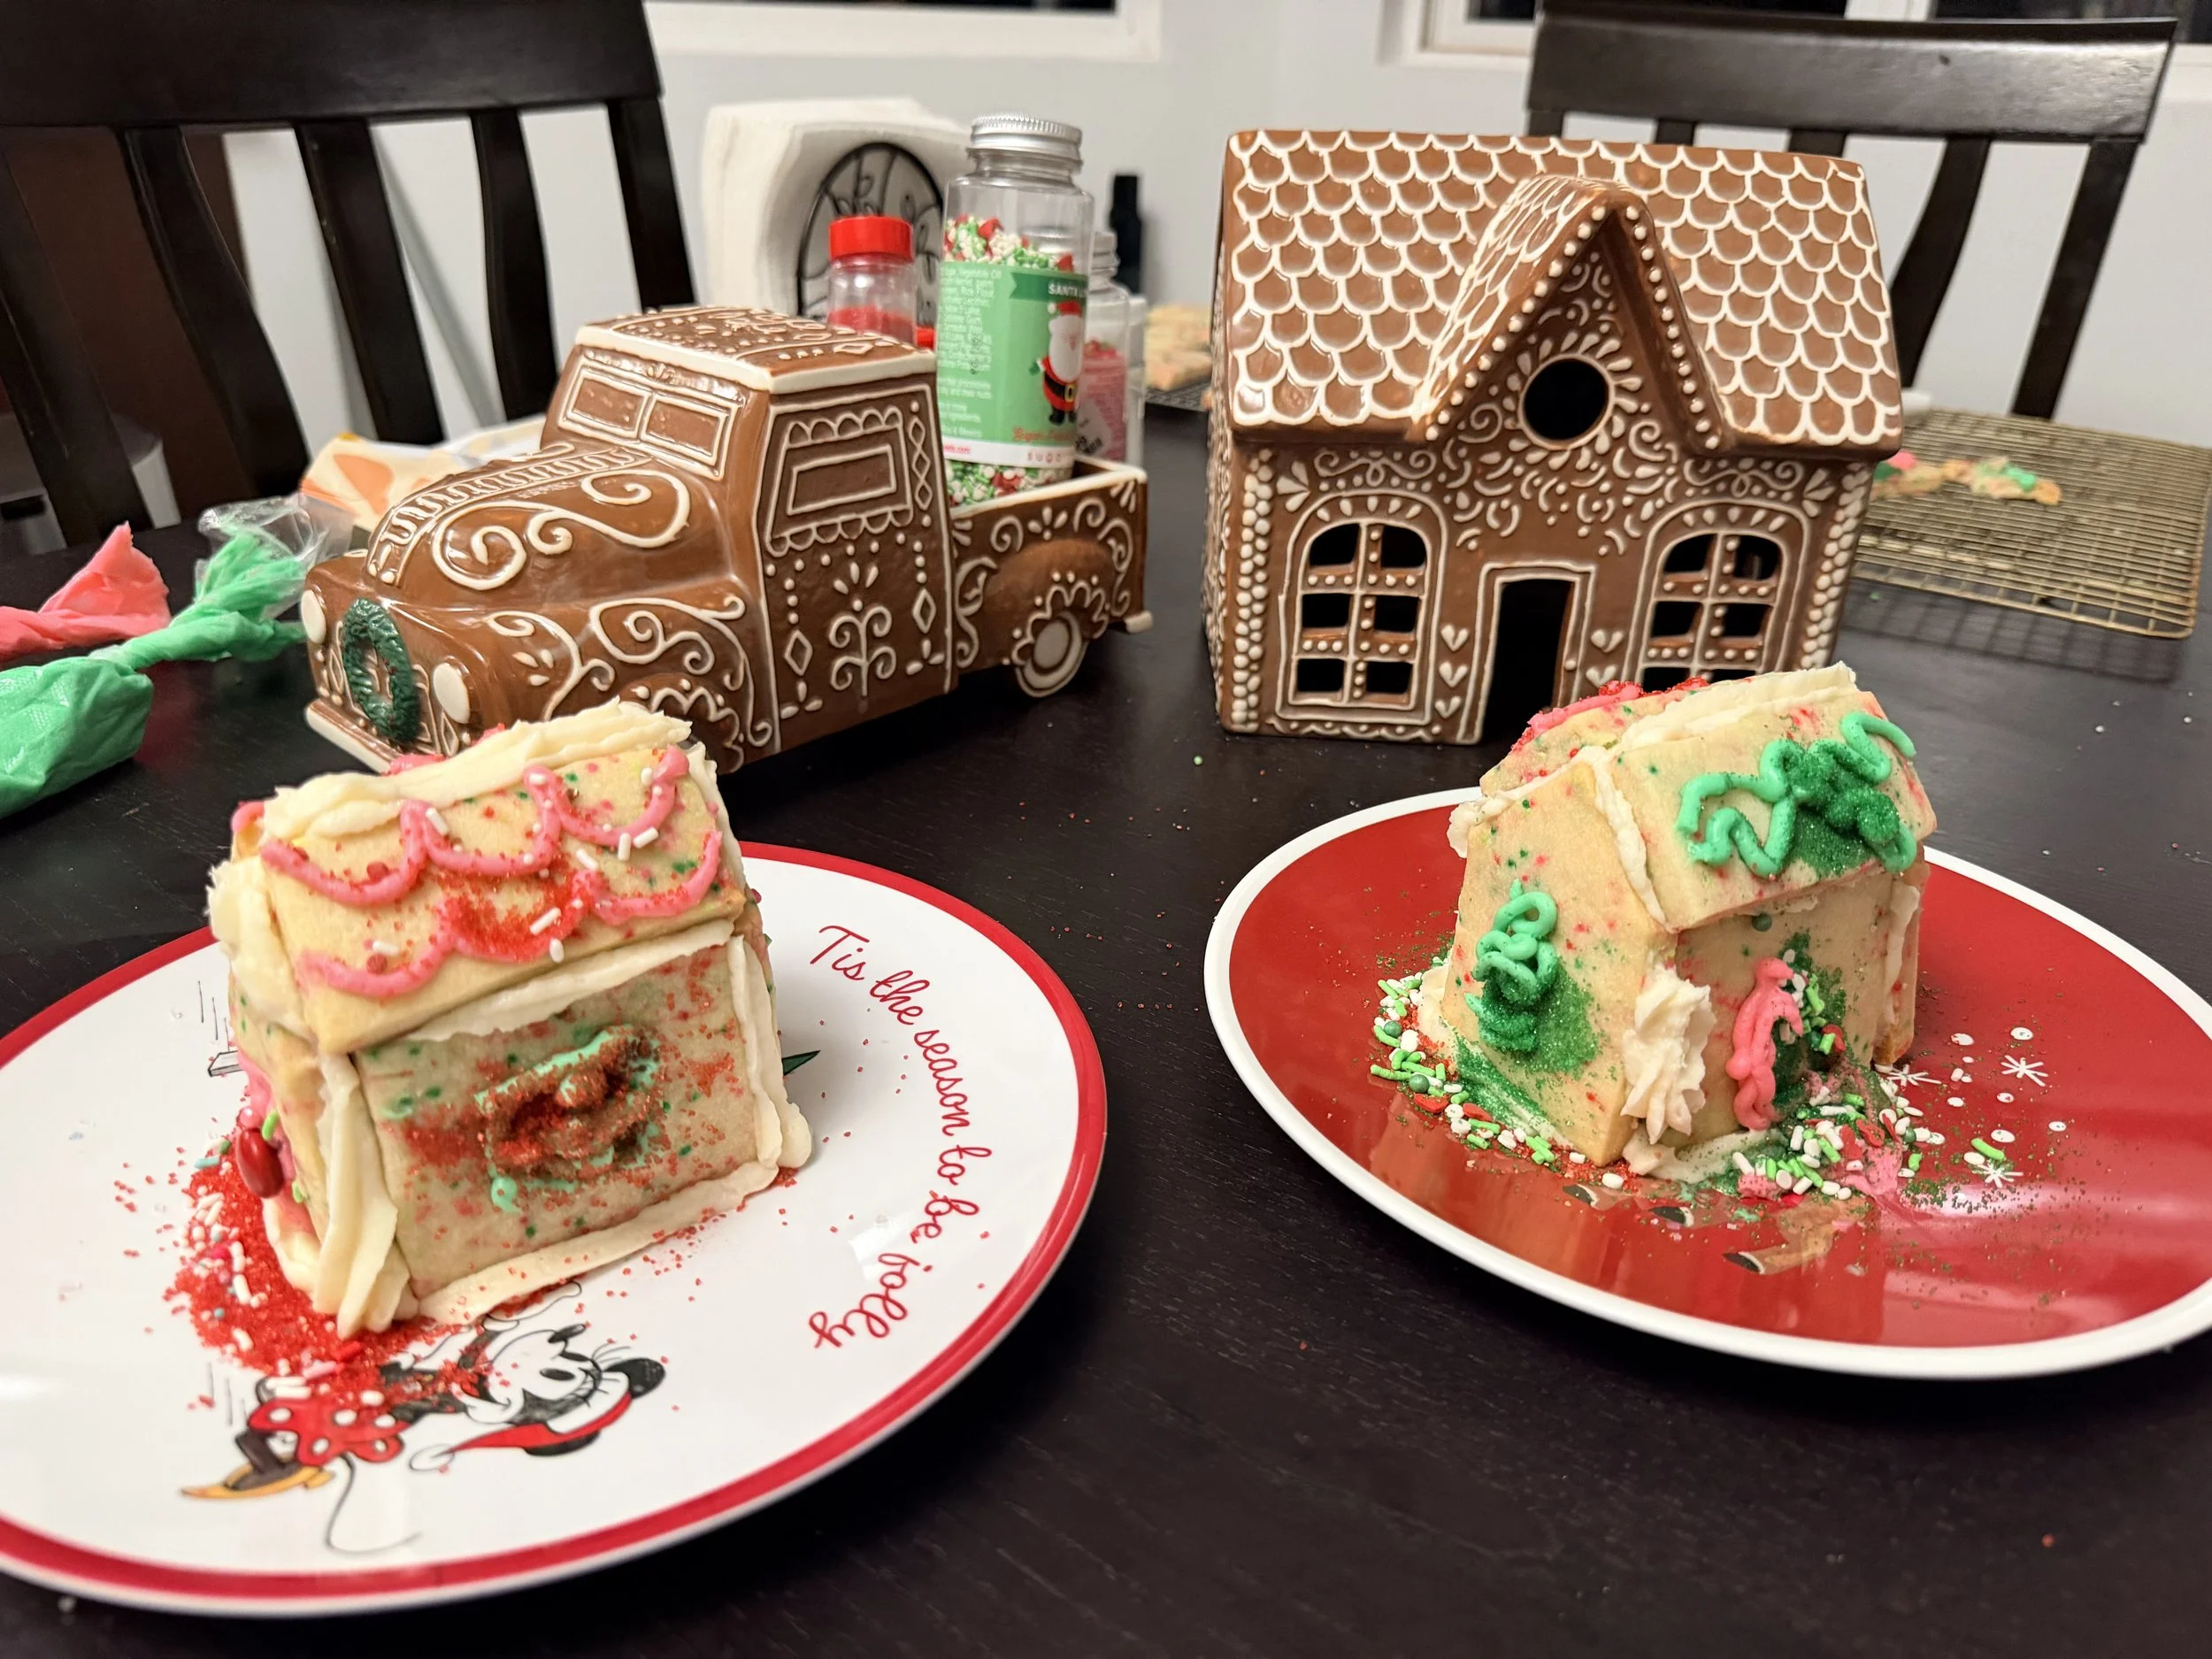
Kids Sugar Cookie Houses
Making Sugar Cookie Houses with Kids
Sugar cookie houses are much more forgiving for toddlers and young kids.
Kid-friendly tips:
Pre-bake all pieces
Let adults assemble the structure
Kids decorate once stable
Use squeeze bottles or zip-top bags for frosting
This makes it a fun, low-stress activity instead of a meltdown waiting to happen.
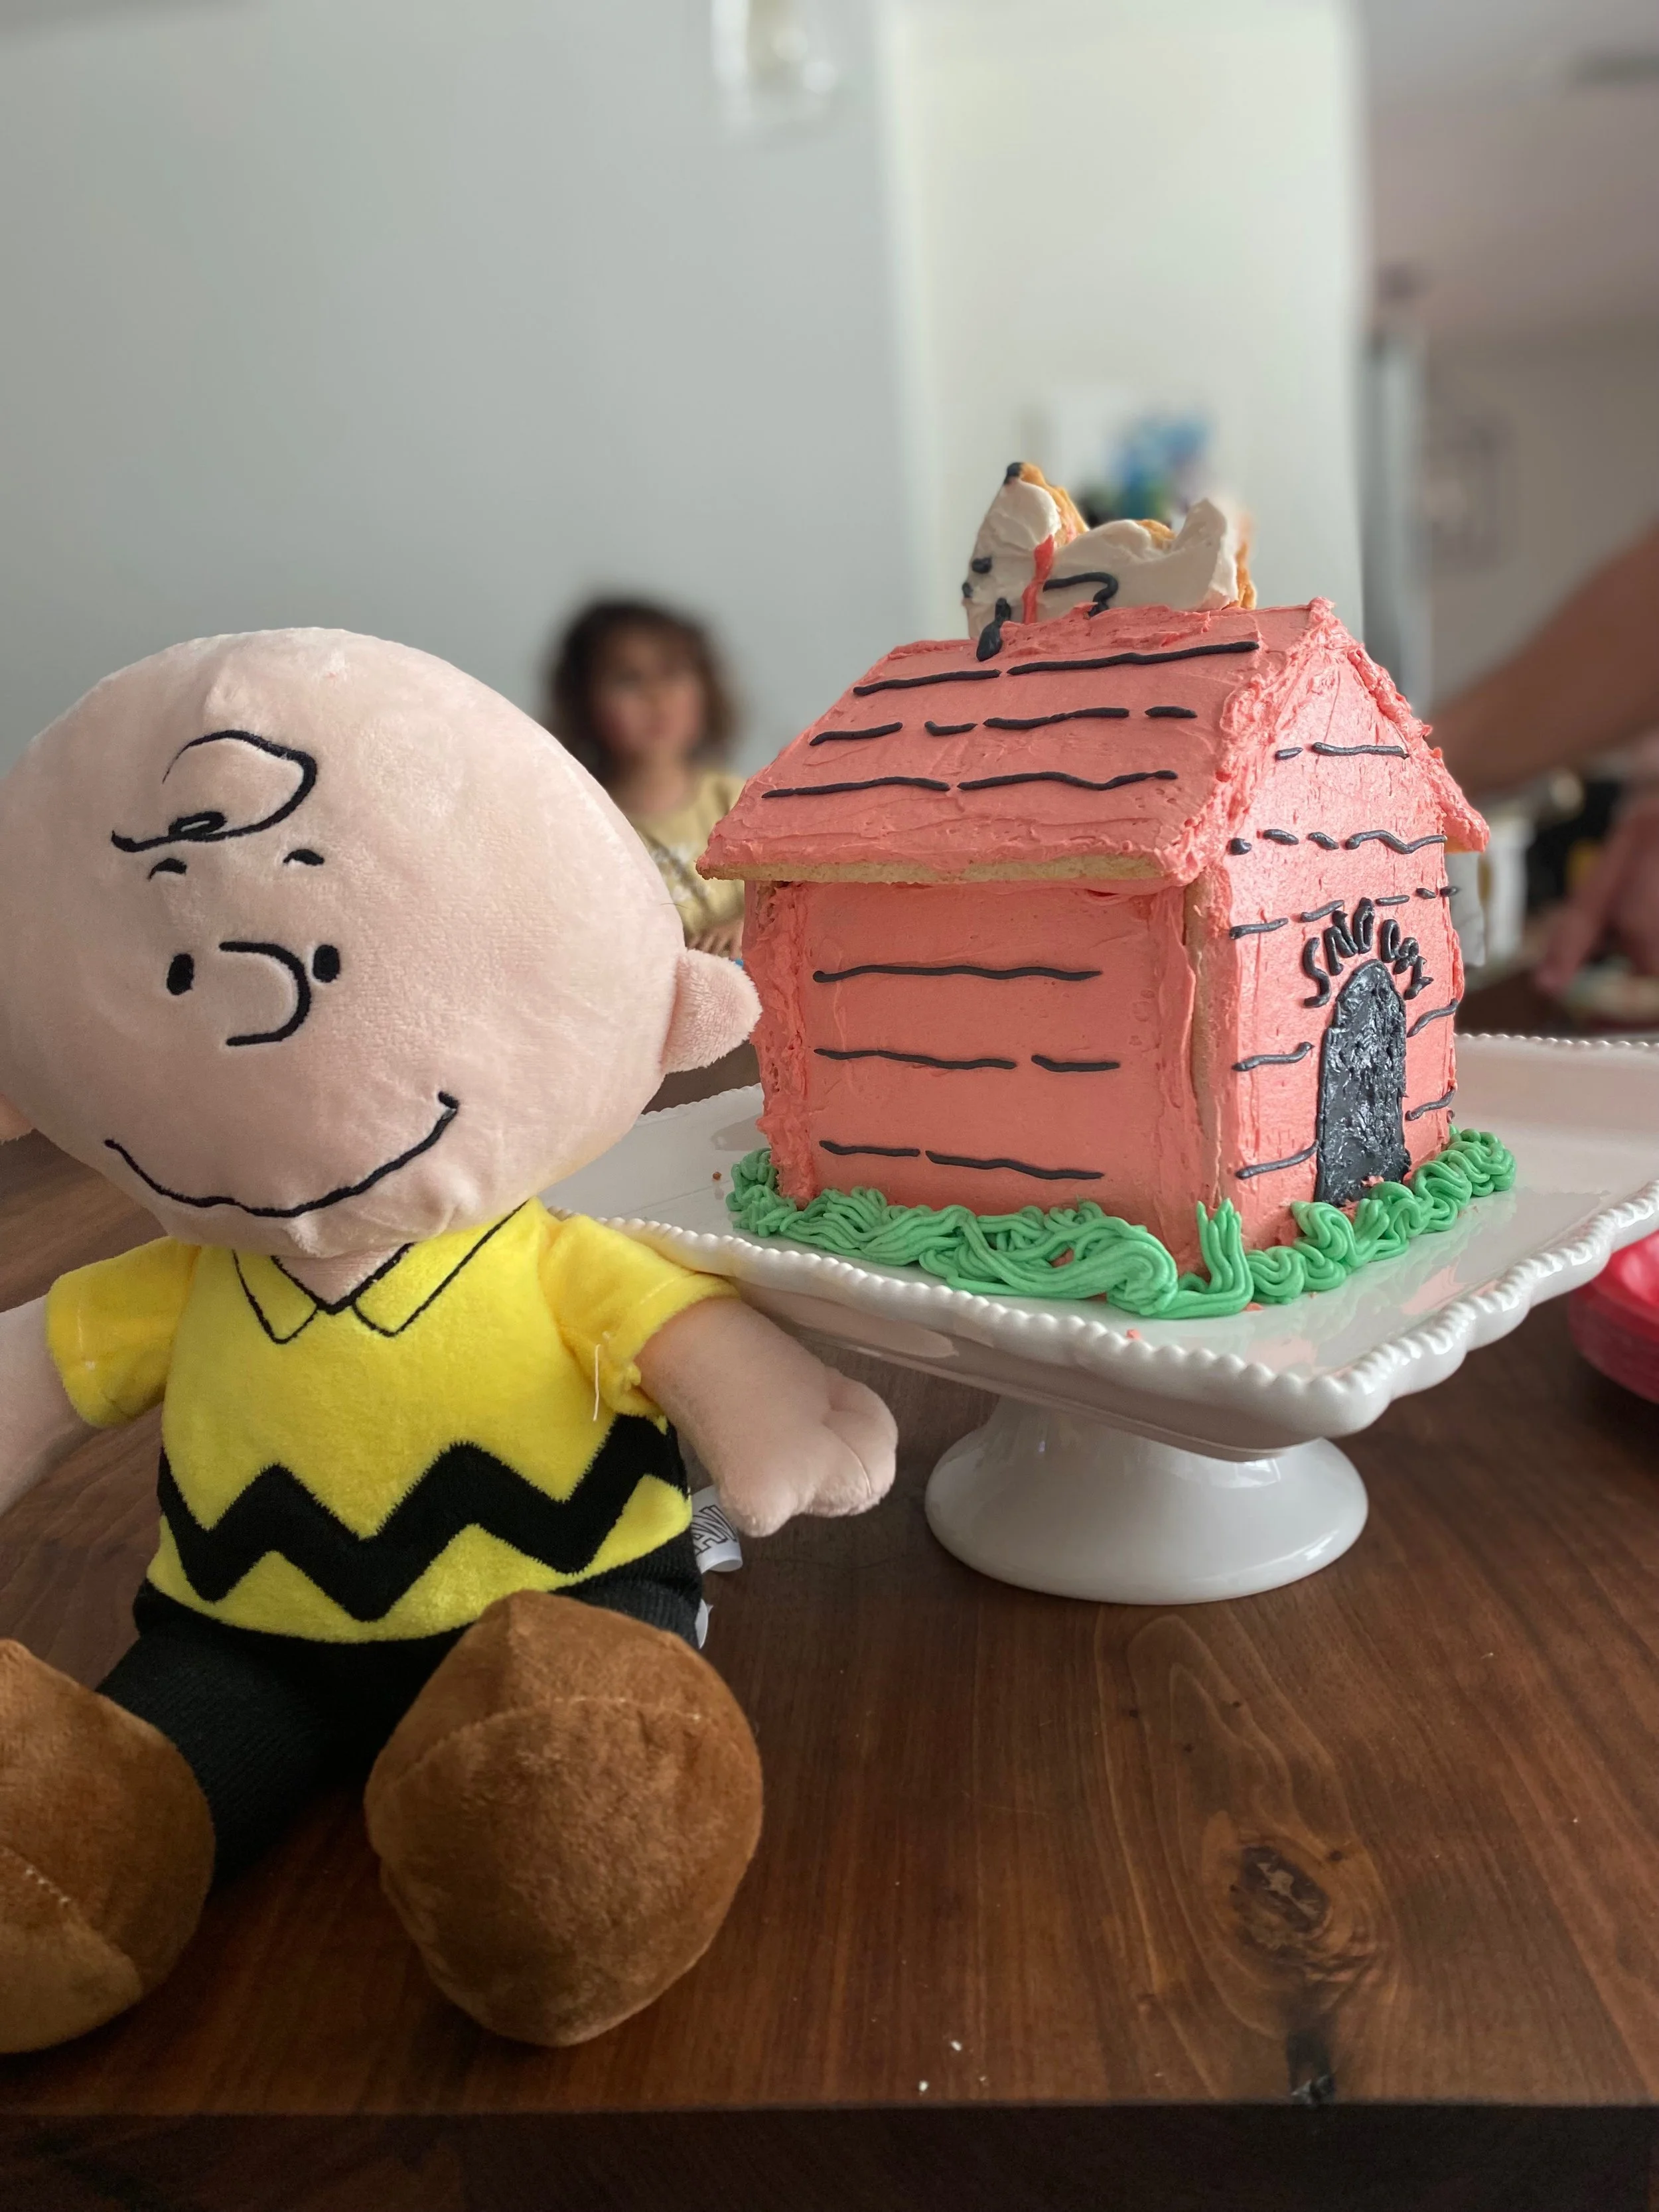
Snoopy Dog House Design - Sugar Cookie House
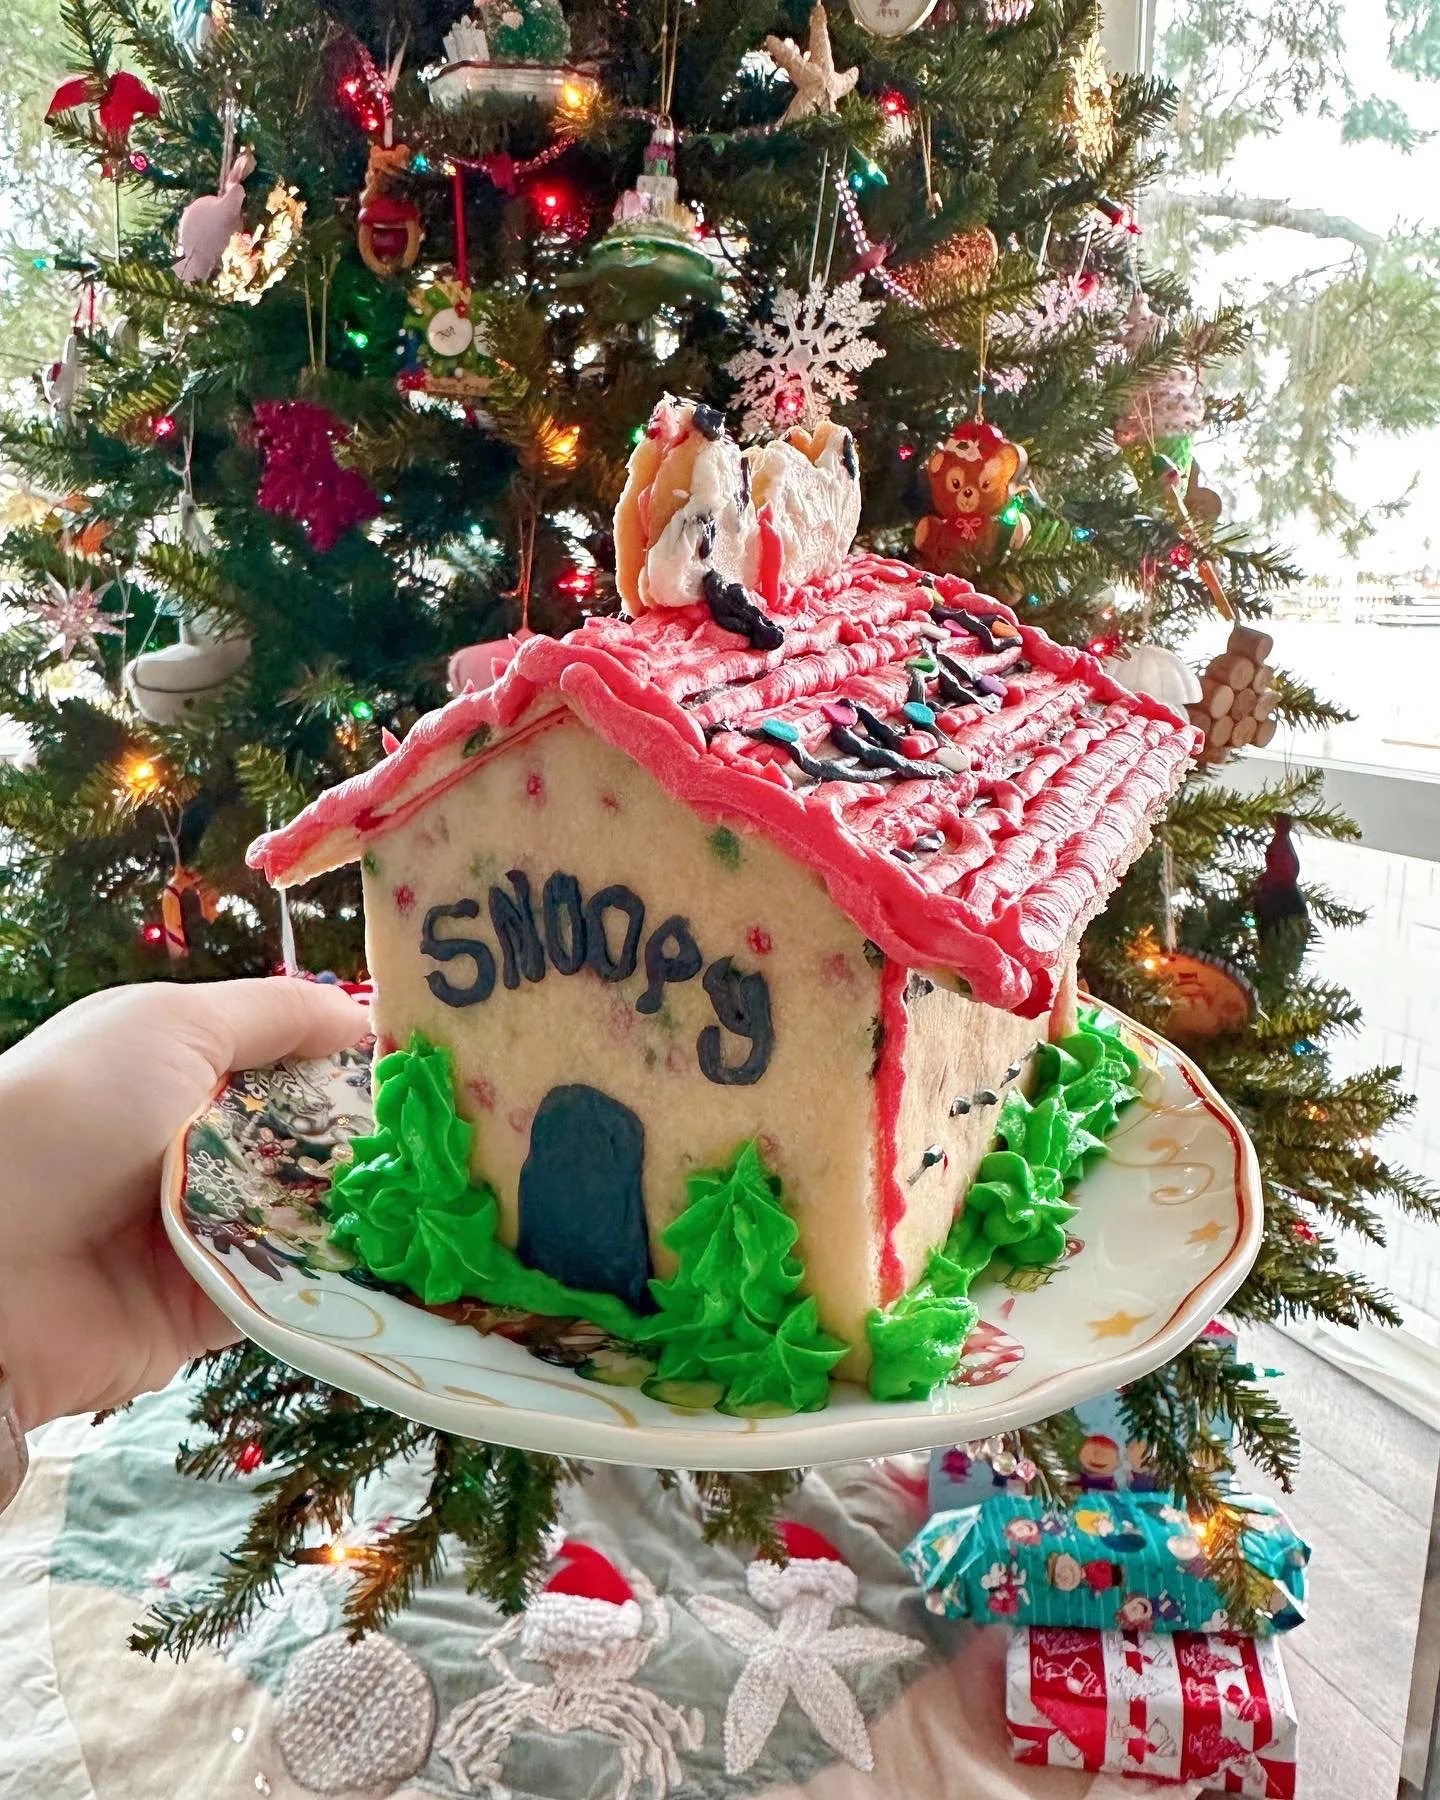
Snoopy Dog house Sugar Cookie House
Fun Themed Sugar Cookie Houses for Kids
If your kids love themed projects, a cartoon-inspired dog house sugar cookie house is a huge hit. We made a black-and-white dog house design that kids immediately recognized and loved decorating. It’s a great alternative to a traditional house and perfect for little hands that just want to frost, sprinkle, and have fun.
👉 This is a fun example of how sugar cookie houses don’t have to look like houses at all.
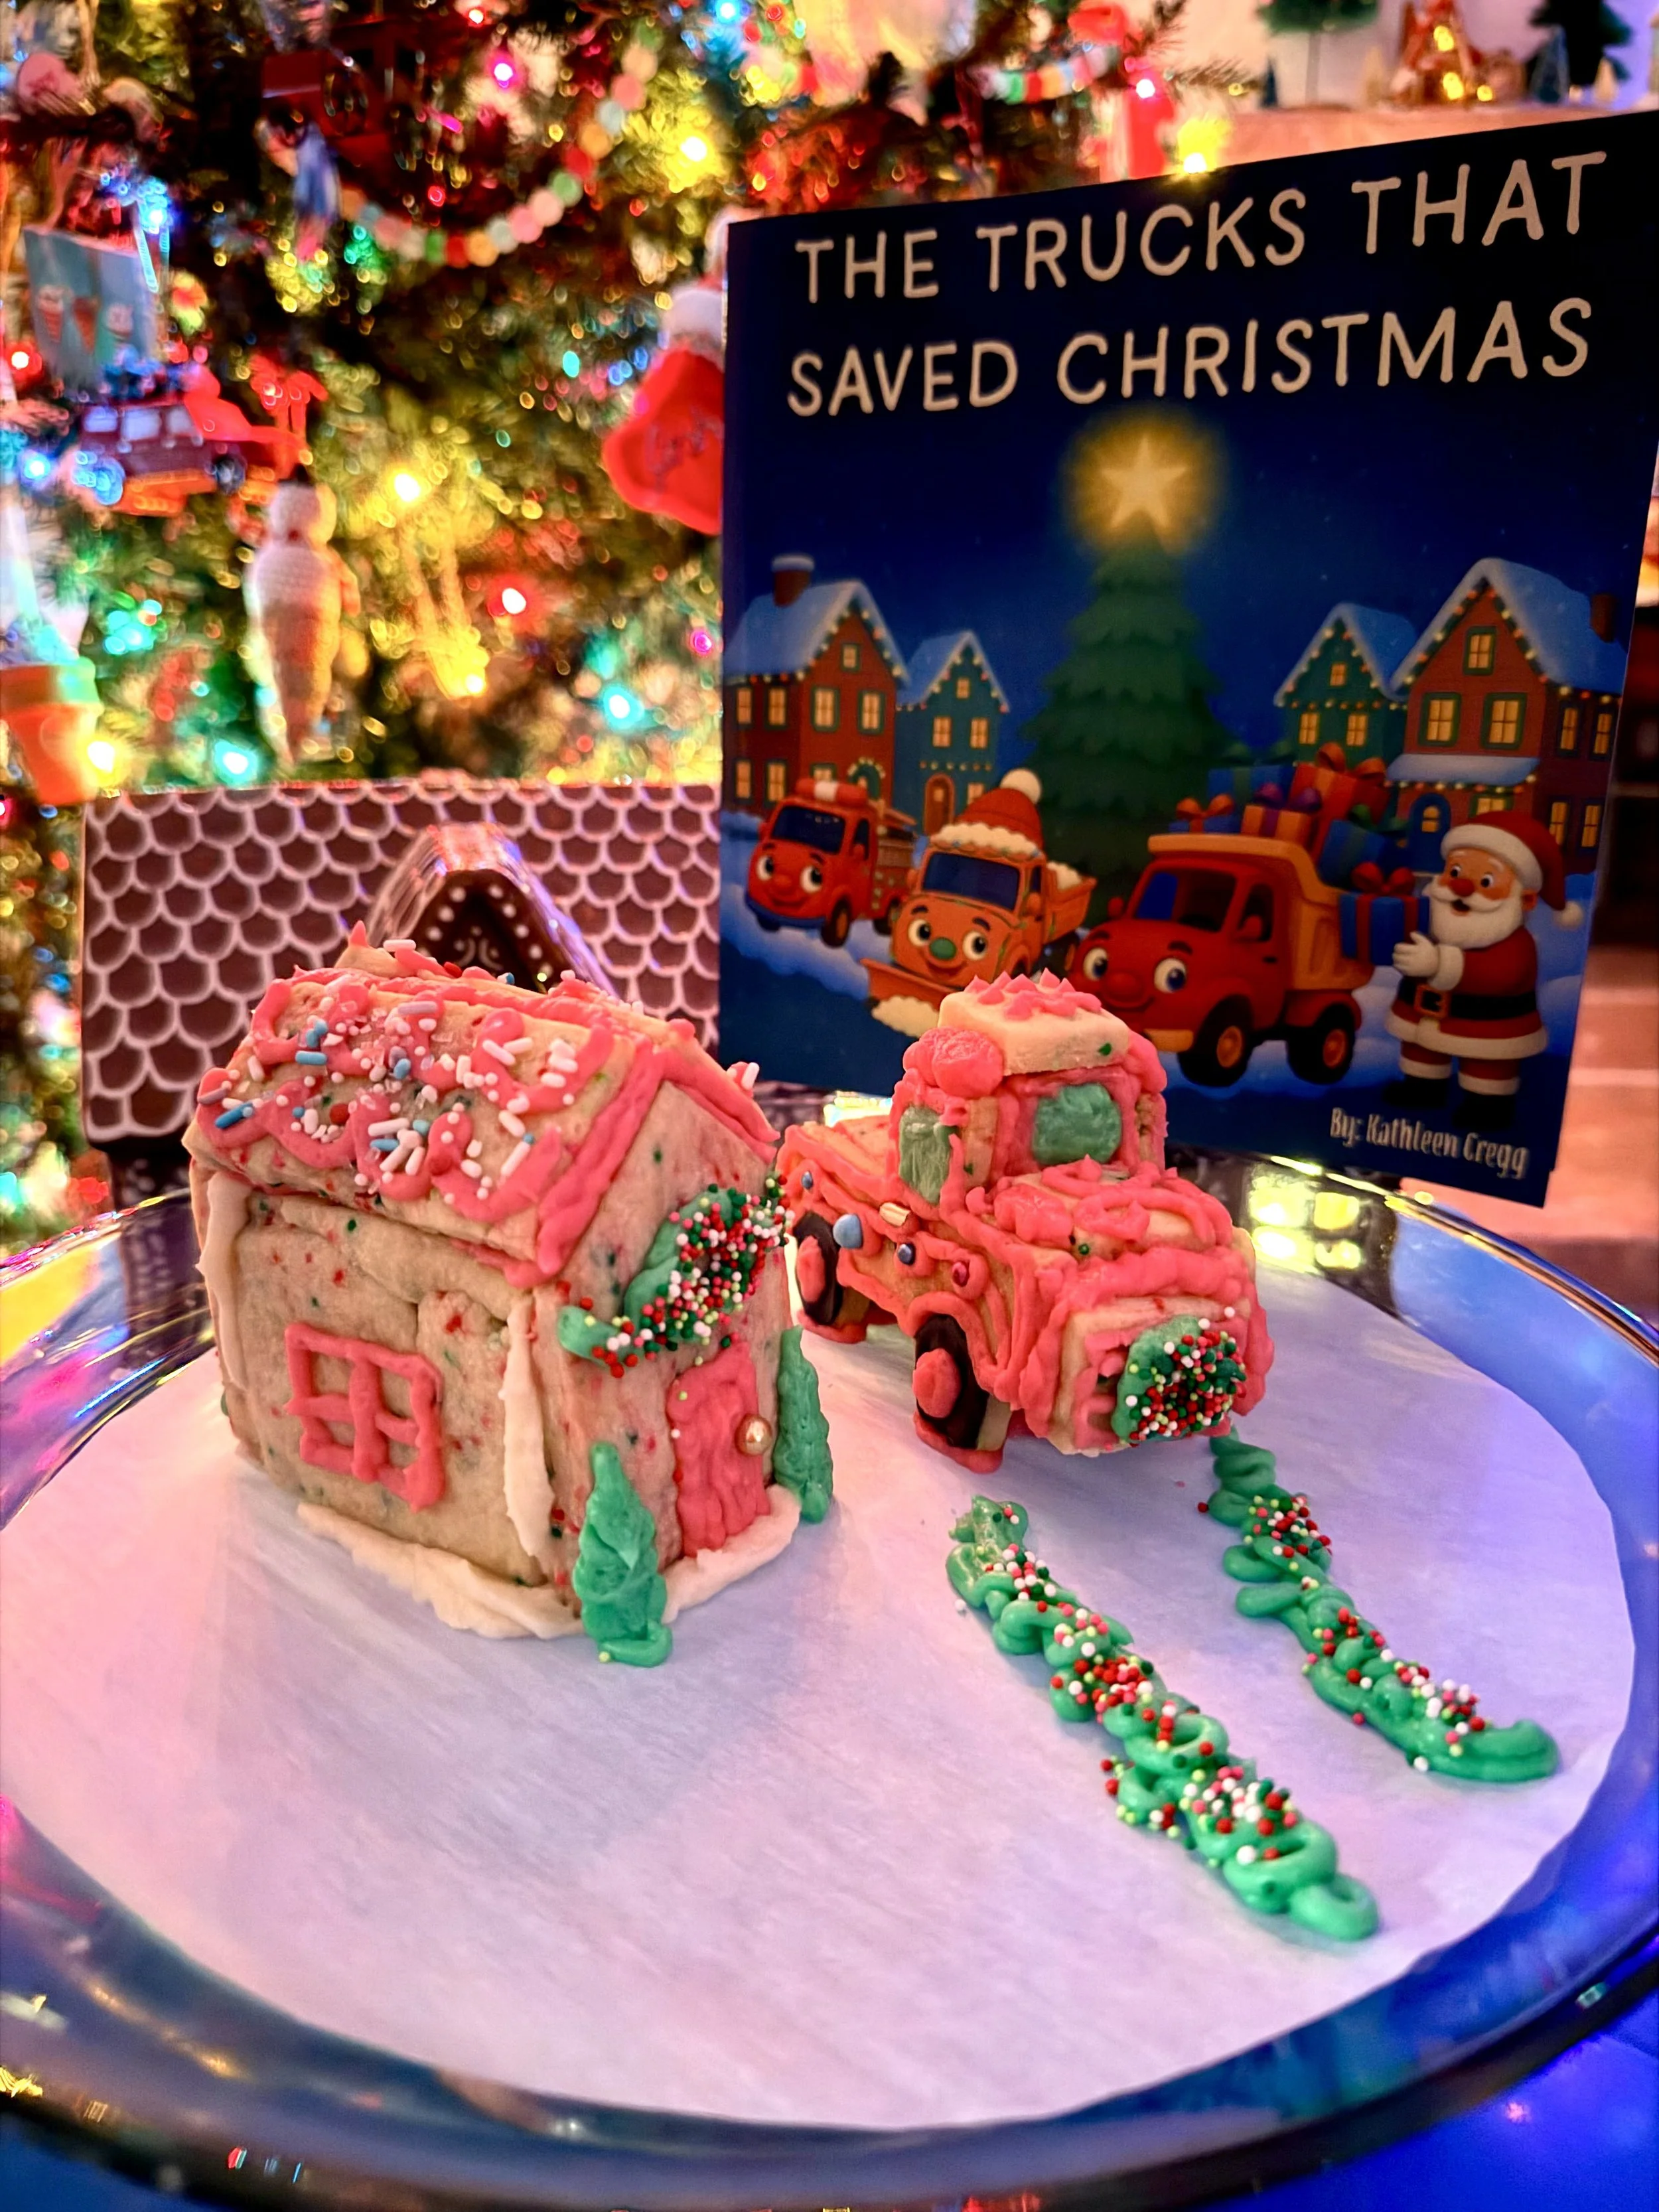
Sugar Cookie House and Truck - no gingerbread
Creative Sugar Cookie Builds for Kids
Sugar cookie houses don’t have to look like houses at all. One of our favorite kid-friendly builds was a sugar cookie truck, which was just as fun to decorate and even easier for little hands to work on. Flat shapes, bold outlines, and simple details make vehicle-style cookie builds a great option for younger kids who want to jump straight into decorating.
👉 This is a great example of how sugar cookie dough can be used for creative, kid-approved designs beyond traditional houses.
Also, add The Trucks that Saved Christmas to your collection!
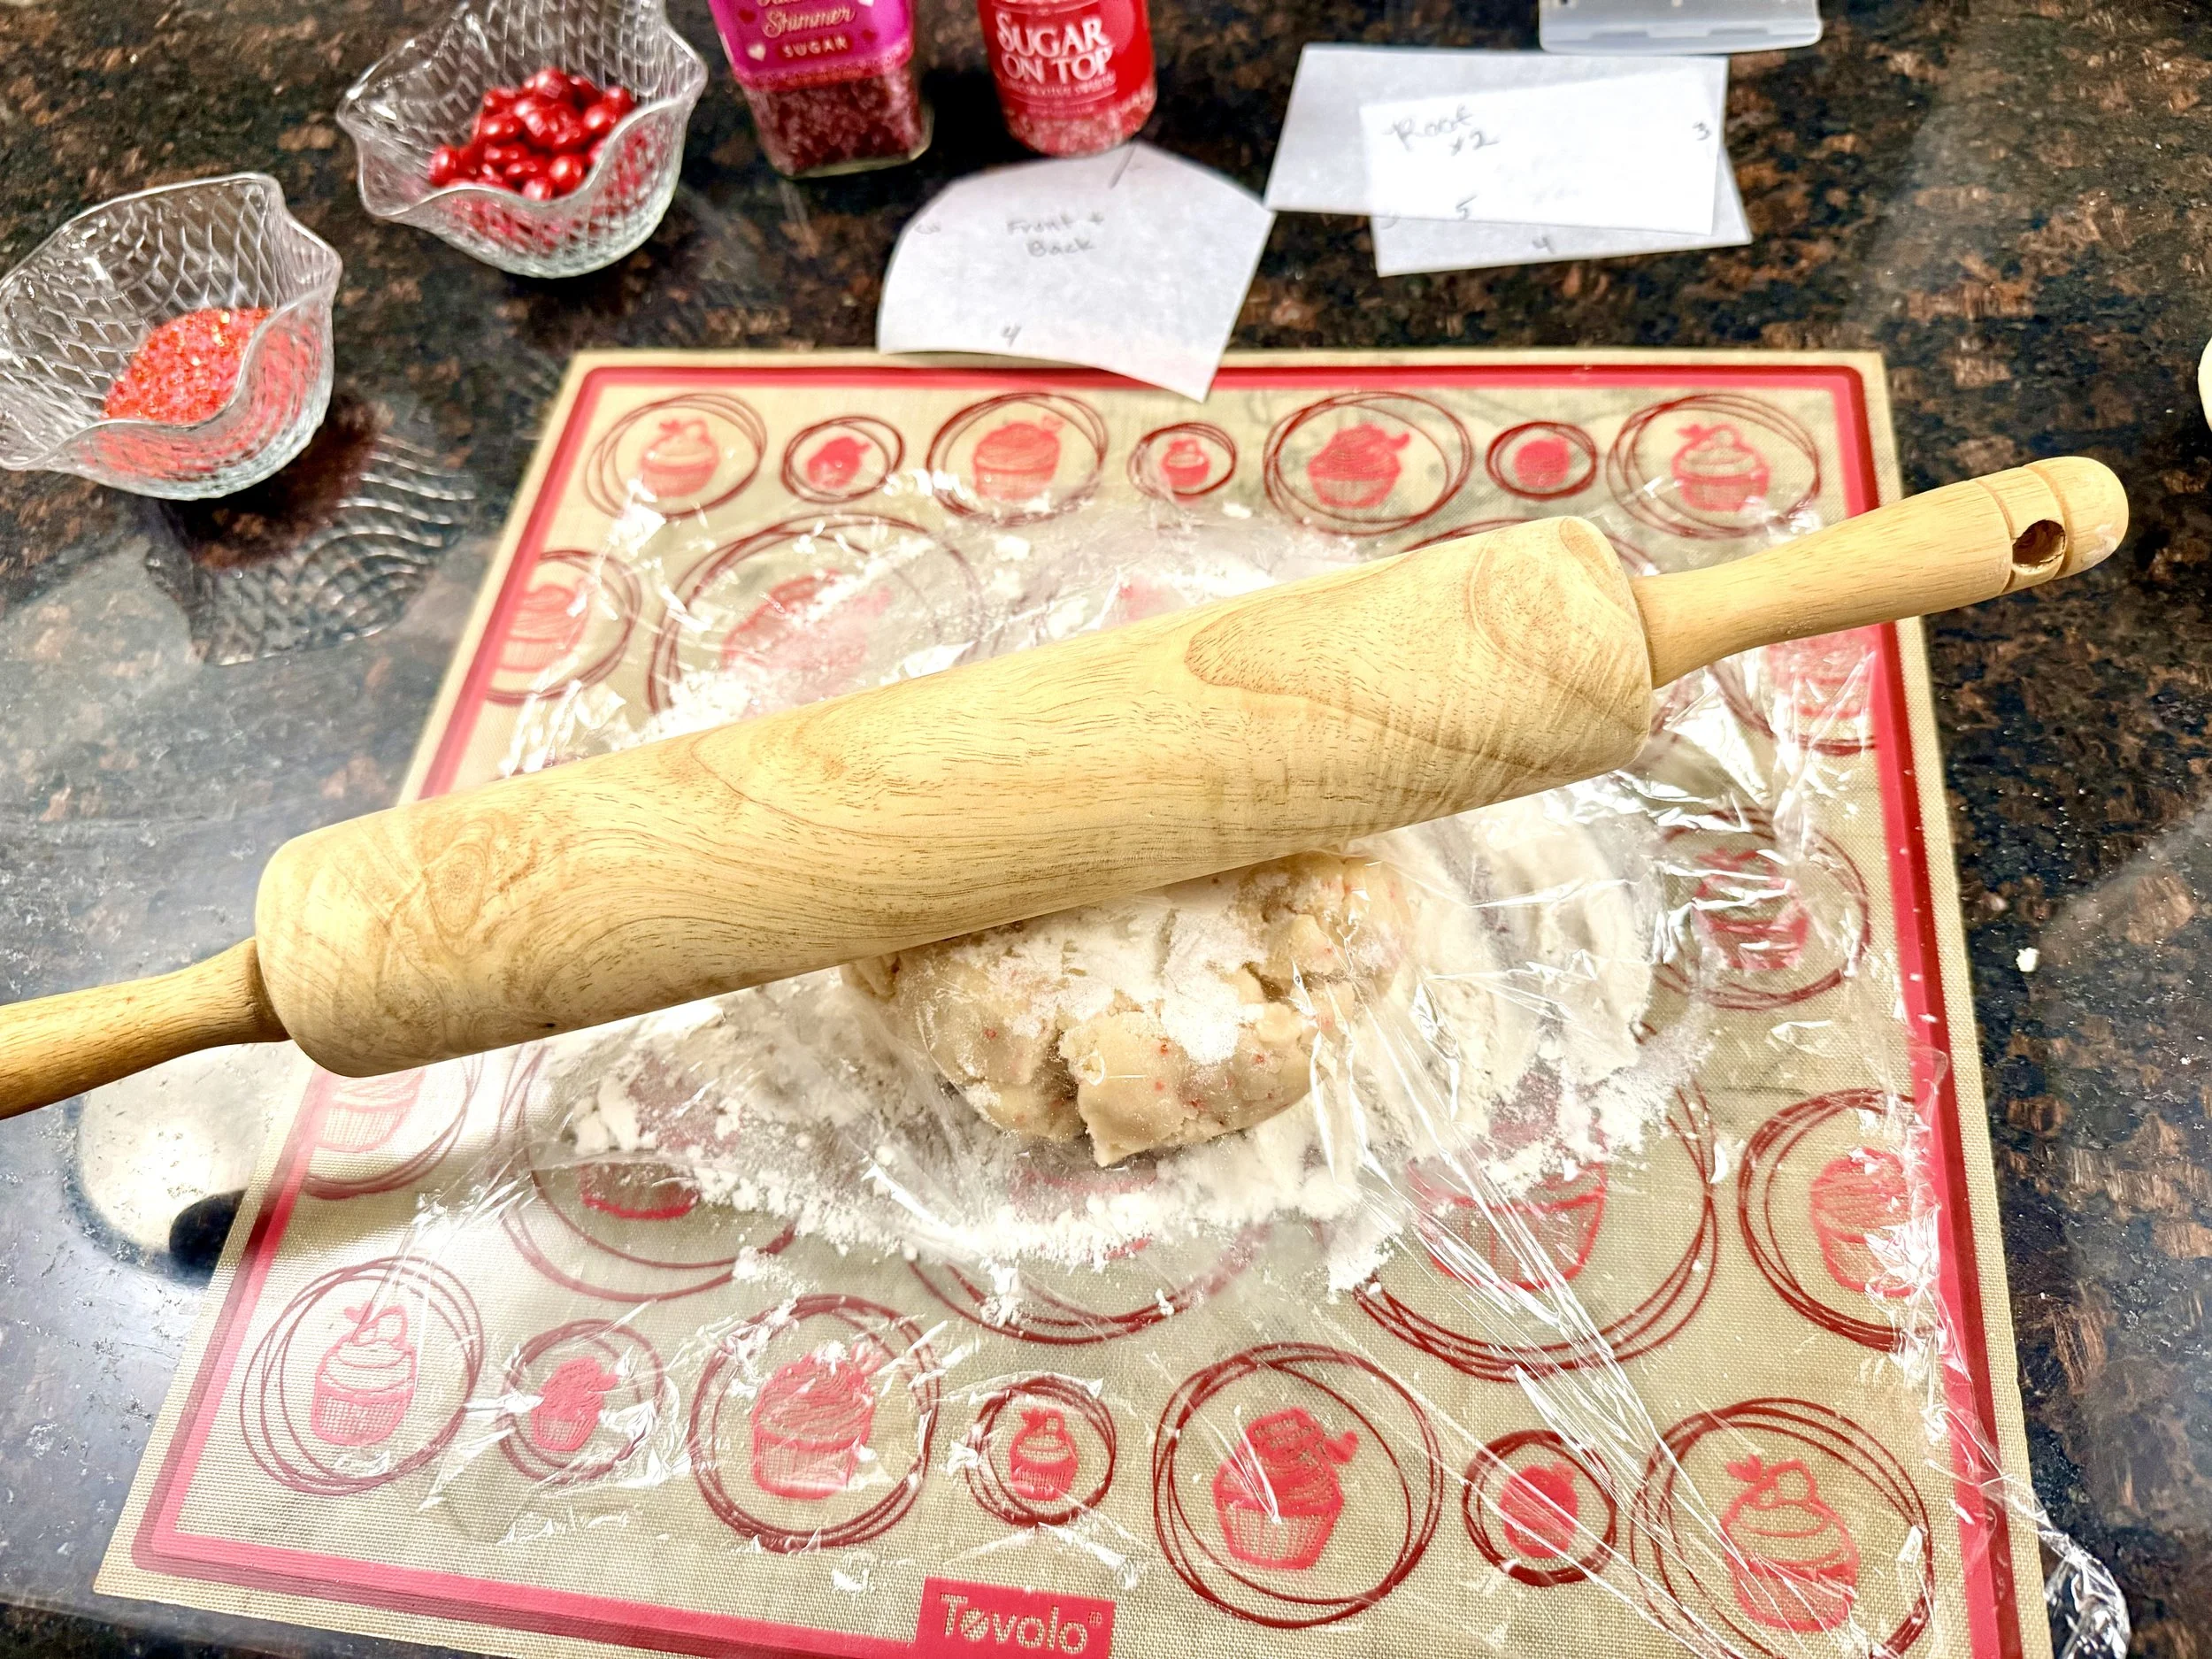
Sugar Cookie Prep Station
Can You Make Sugar Cookie Houses Ahead of Time?
Yes, in fact I HIGHLY recommend making the dough ahead of time.
Cookies: Bake 2–3 days ahead
Frosting: Make 1–2 days ahead and refrigerate
Assembly: Same day is best
Store cookies in an airtight container at room temperature.
More Sugar Cookie House Ideas Coming Soon!
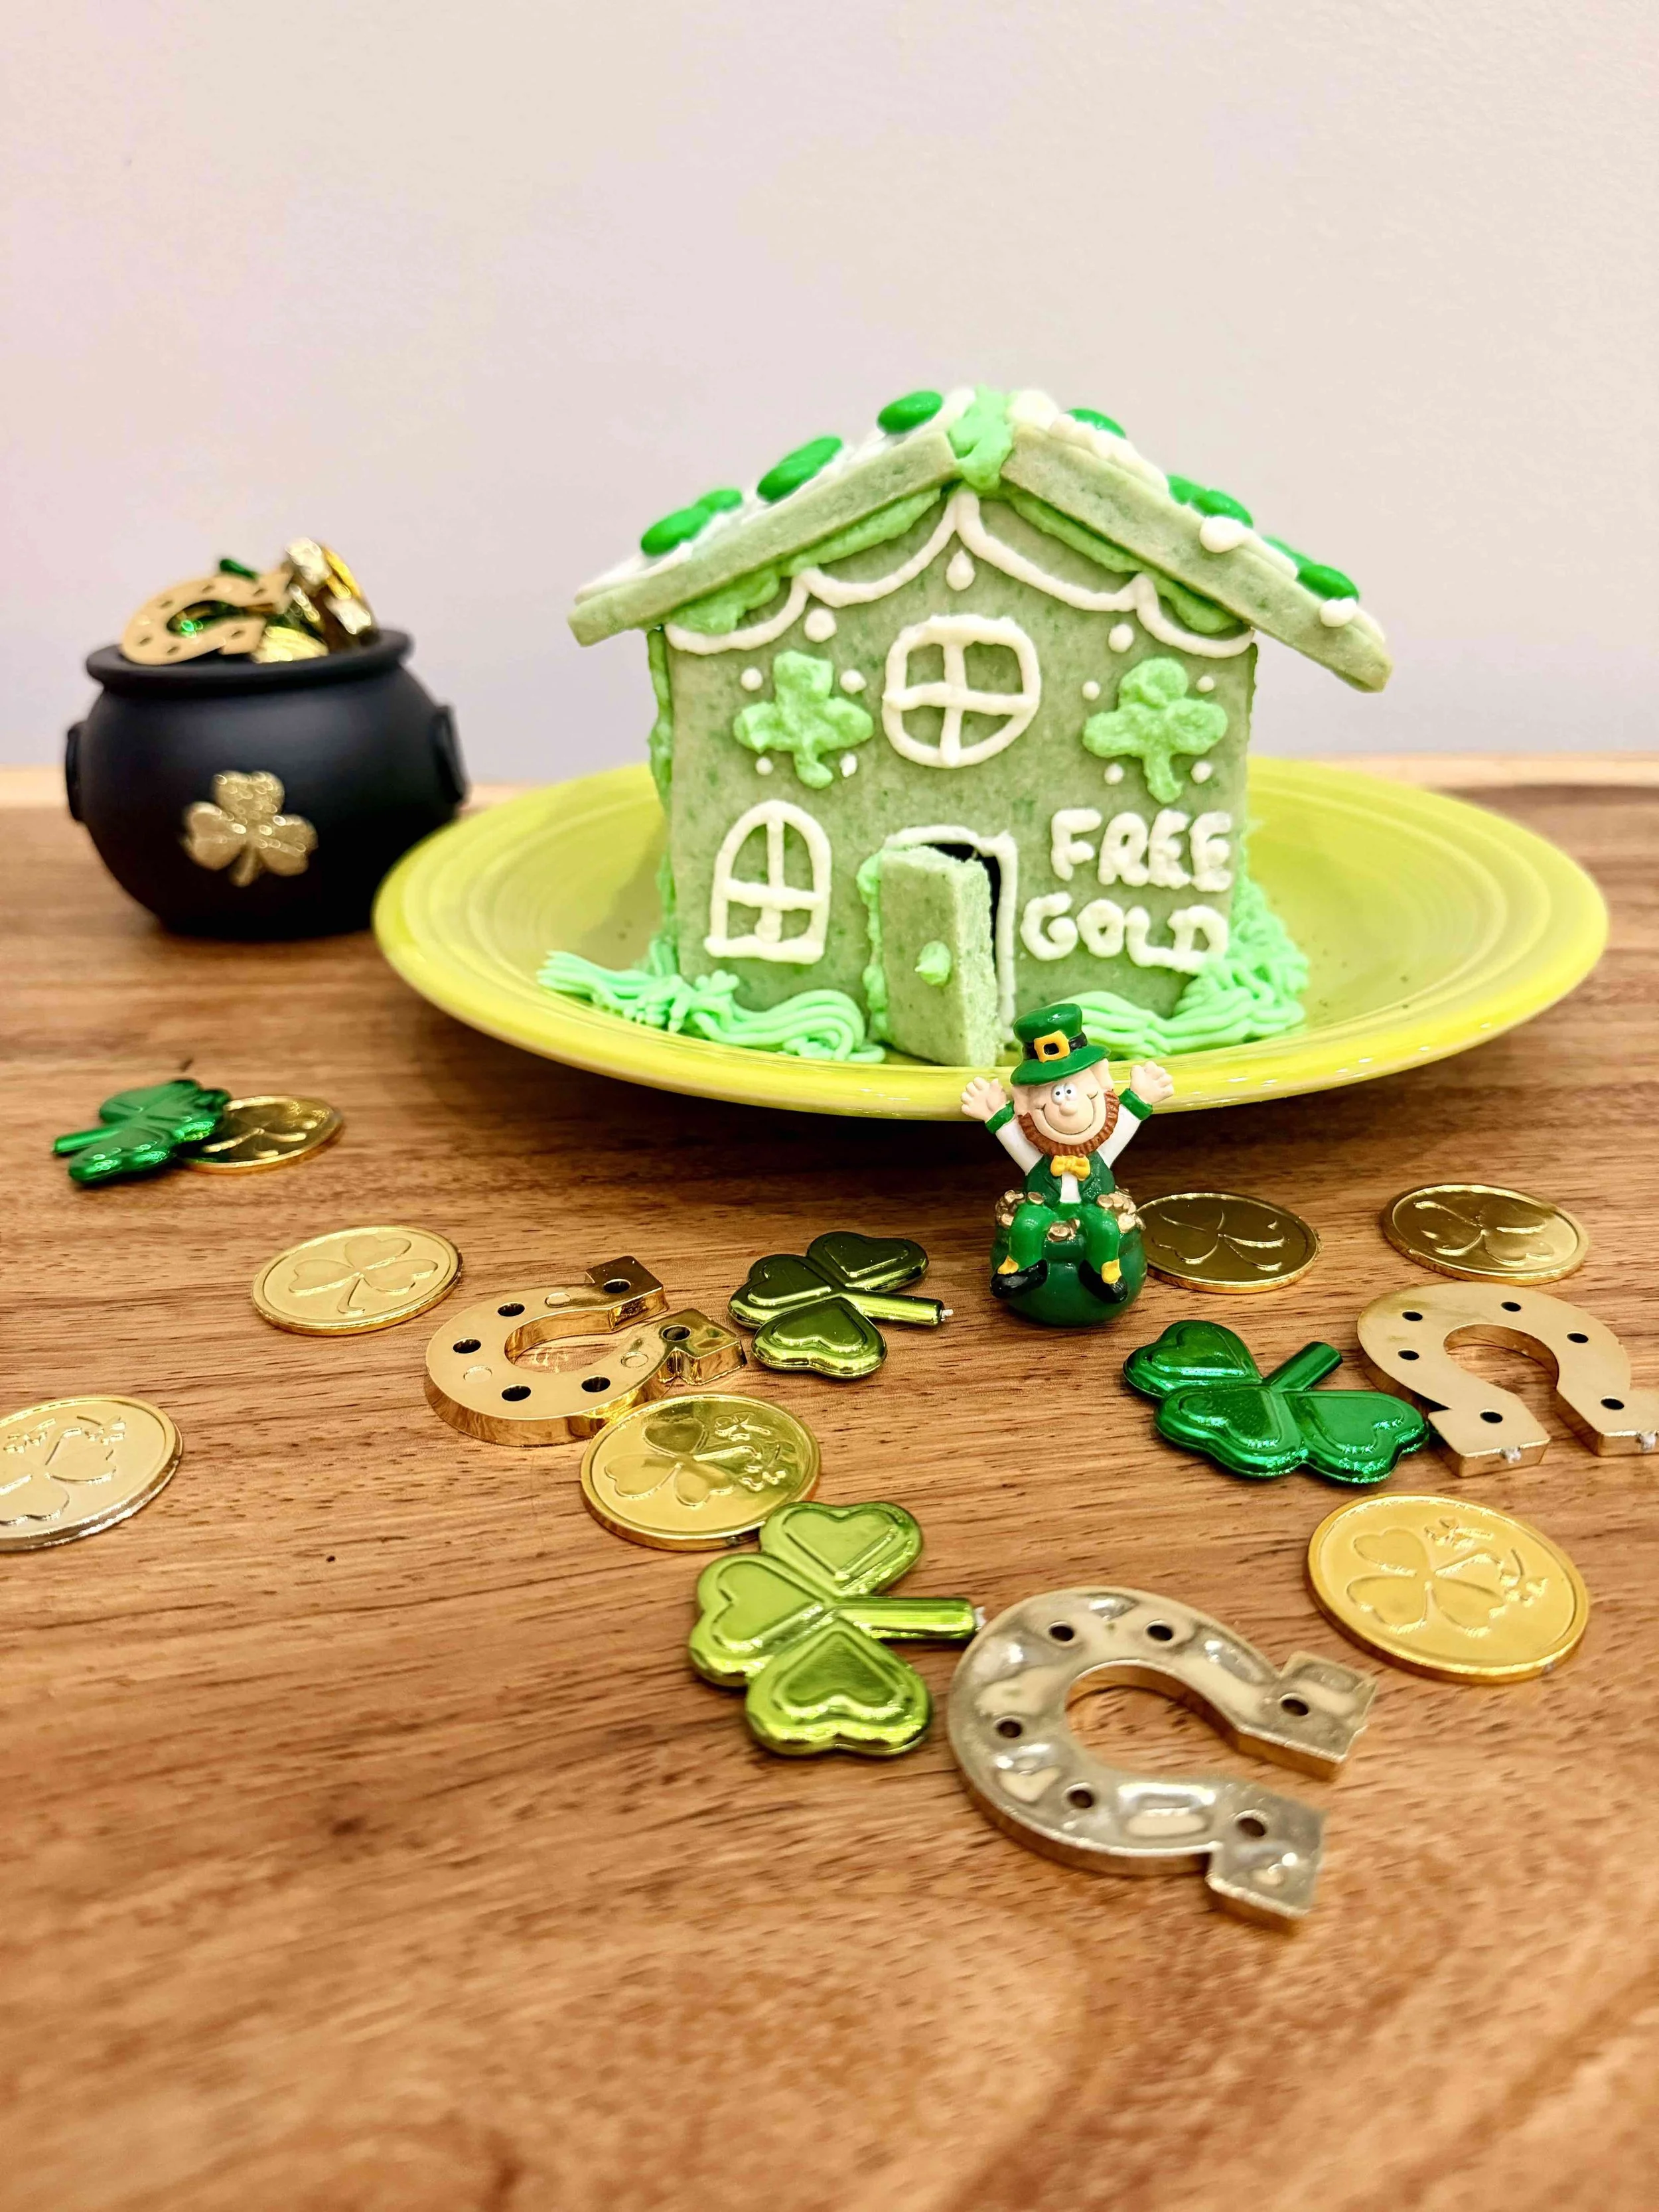
Chocolate gold coins placed outside a sugar cookie house leprechaun trap for St. Patrick’s Day.
Final Thoughts: The Best Sugar Cookie House for Any Season
A sugar cookie house is a fun, flexible tradition that doesn’t have to be limited to Christmas. With simple ingredients and endless decorating options, it’s an activity your family can enjoy all year long.
Start with one season—or build them all.
More baking posts:
Valentine’s Day Sugar Cookie House (Easy, No Gingerbread Required)
This Valentine’s Day sugar cookie house skips gingerbread and uses sturdy sugar cookies and buttercream frosting. A fun, kid-friendly Valentine baking activity. Perfect for kids, parties, and classroom treats.
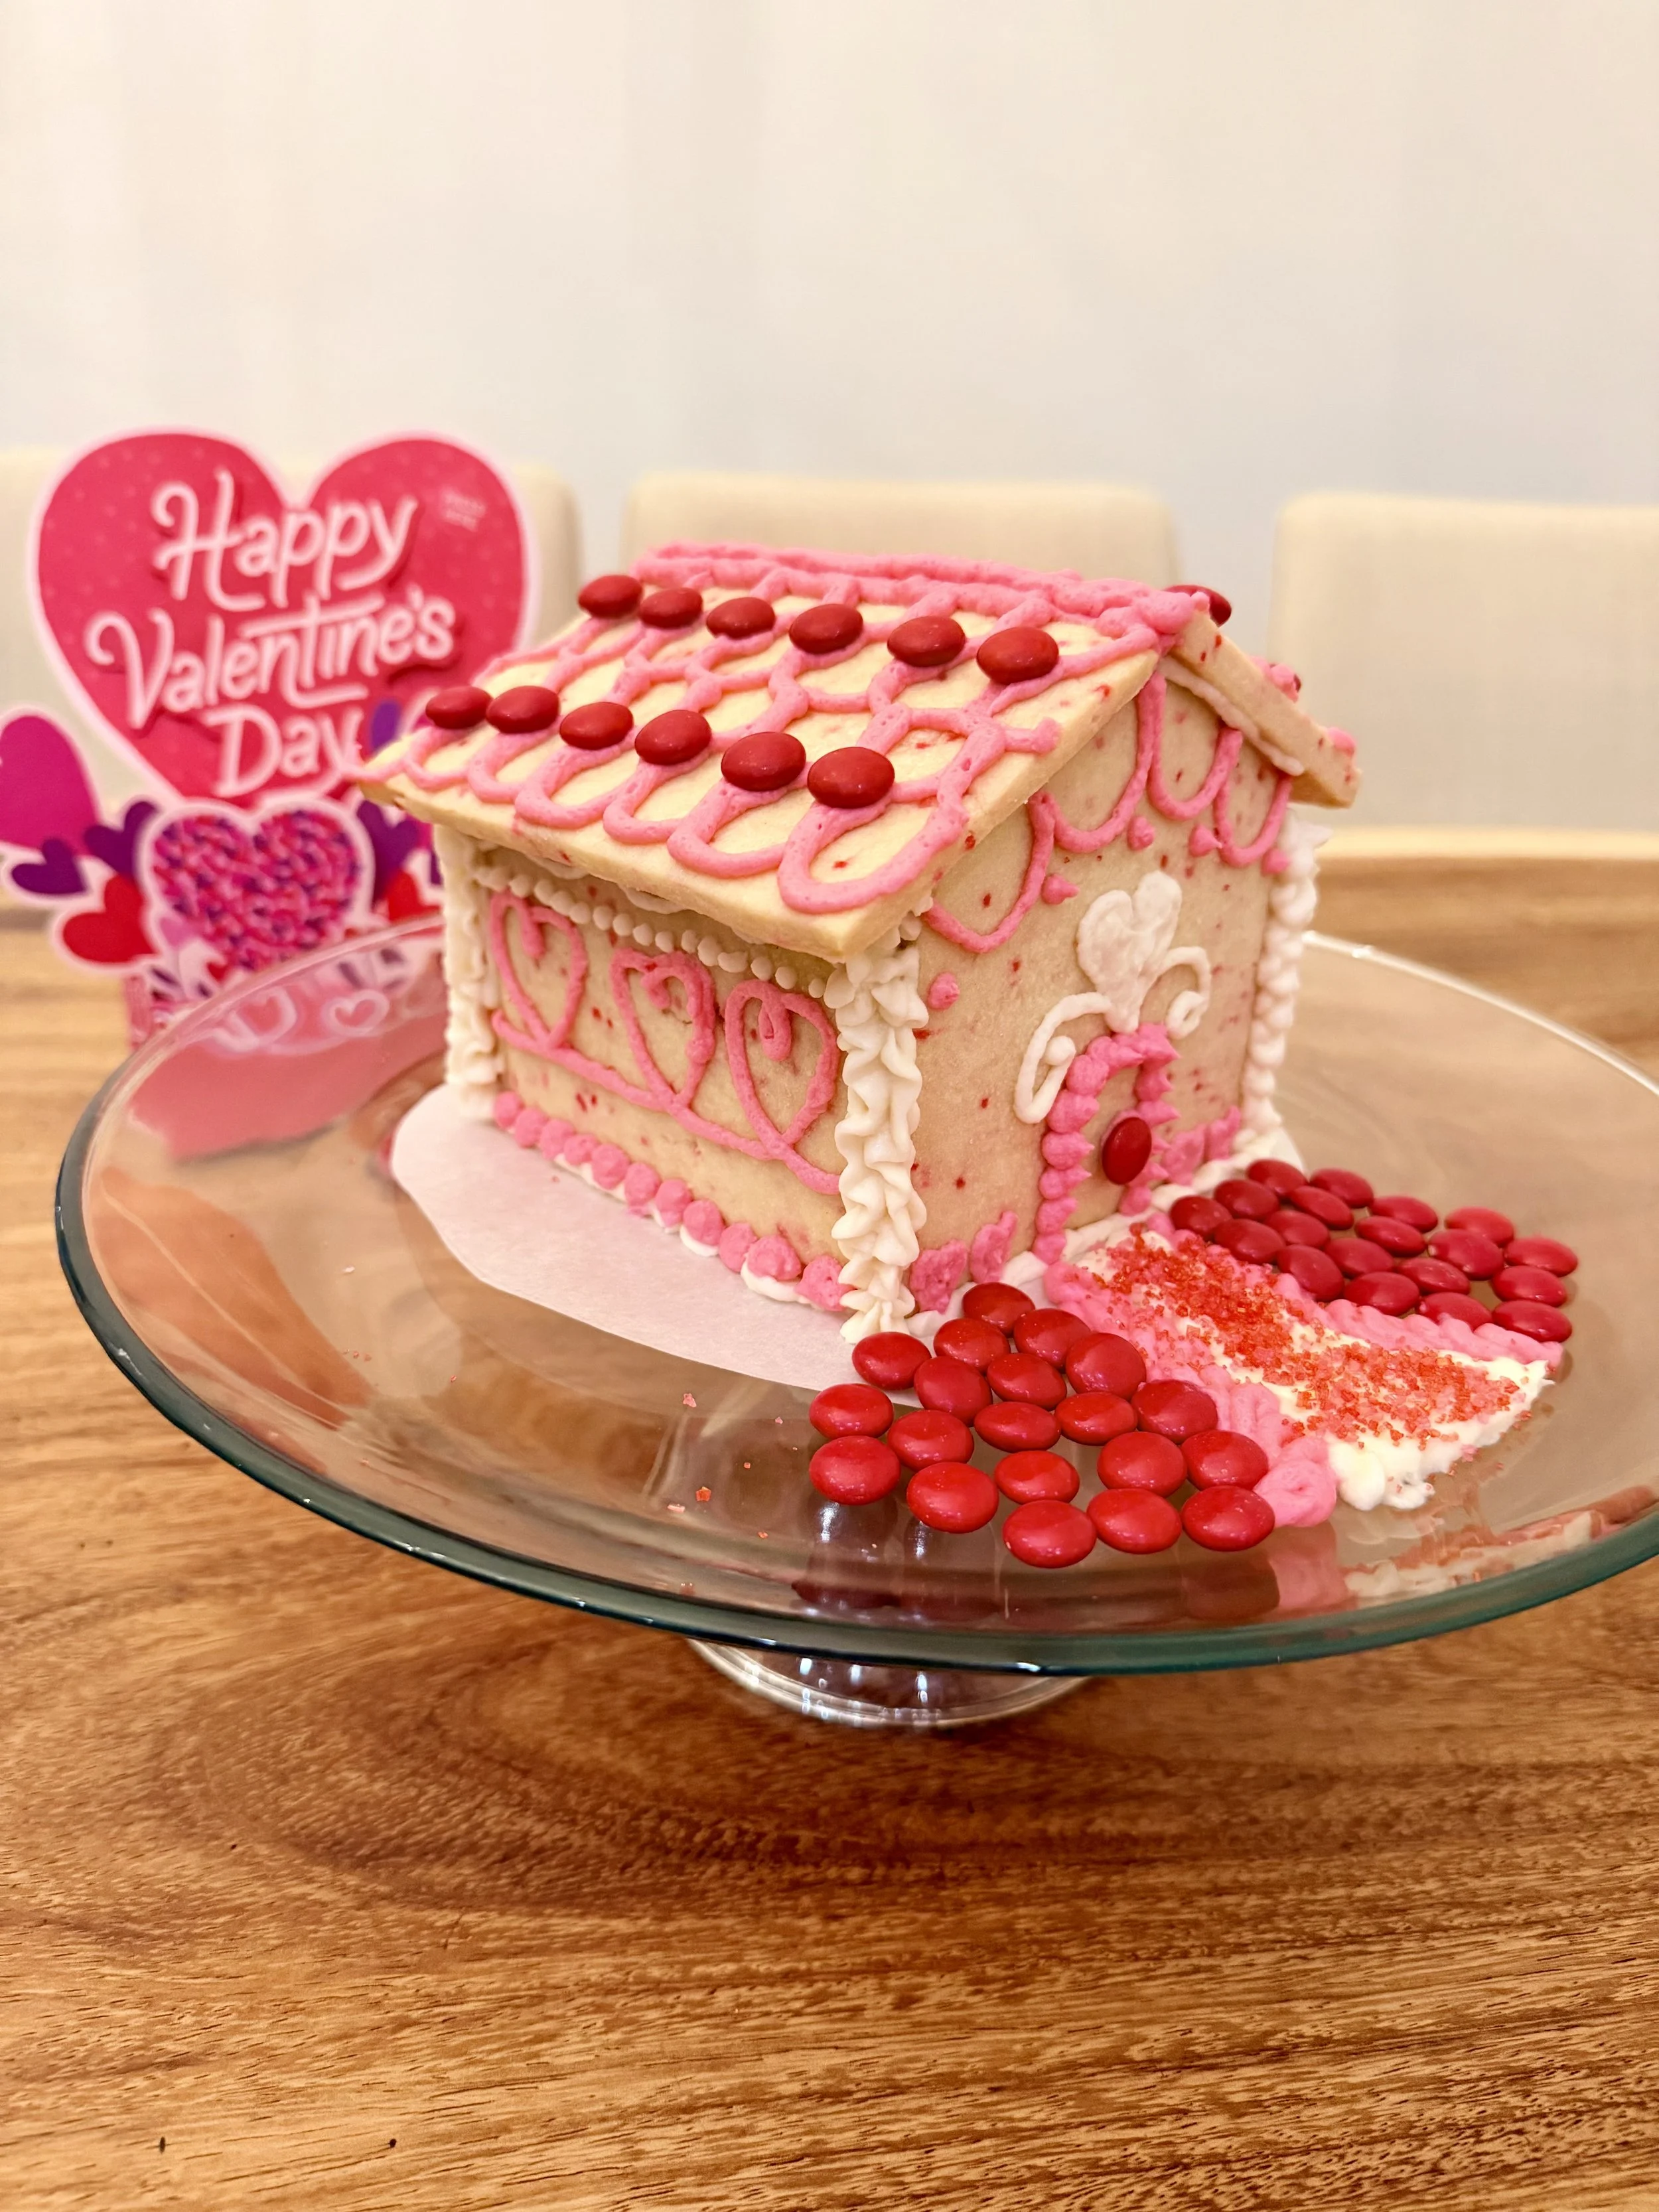
Valentine’s Day sugar cookie house decorated with pink buttercream and heart candies
How to Make a Valentine’s Day Sugar Cookie House Without Gingerbread
This Valentine’s Day sugar cookie house is a fun, festive twist if you love making a gingerbread house at Christmas, you’re going to love this Valentine’s Day sugar cookie house with no Gingerbread required. It’s a fun, festive twist on a classic holiday activity—made with soft sugar cookies instead of gingerbread, pastel icing, and Valentine-themed decorations that kids (and adults) can’t get enough of. Oh and pink… lots of pink! 💗
This sugar cookie house is perfect for Valentine’s Day baking with kids, classroom parties, or a cozy weekend activity at home. There’s no waiting for stiff gingerbread to cool, no rock-hard pieces to wrestle with—just an easy sugar cookie dough that bakes up sturdy enough to build, but delicious enough to eat.
Looking for more sugar cookie house ideas beyond Valentine’s Day?
See our complete Sugar Cookie House Guide for easy builds, kid-friendly designs, and creative ideas for every season.
What Is a Valentine’s Day Sugar Cookie House?
A Valentine’s Day sugar cookie house is a festive cookie house made from sturdy rolled sugar cookies instead of gingerbread. The cookies are baked flat, assembled with thick icing or buttercream, and decorated with Valentine-themed candies, sprinkles, and frosting. It’s easier to build, better tasting, and perfect for kids.
Why You’ll Love This Valentine Cookie House
No gingerbread required – softer, tastier sugar cookies
Kid-friendly – easy shapes, simple assembly
Customizable – pink, red, hearts, sprinkles, candies
Perfect Valentine activity – baking + decorating in one
Whether you’re looking for a unique Valentine’s Day tradition or just want a creative alternative to cupcakes and candy, this cookie house is guaranteed to be a hit.
What Is a Sugar Cookie House?
A sugar cookie house is built just like a traditional gingerbread house—but instead of gingerbread, you use rolled sugar cookie dough cut into house panels. Once baked and cooled, the pieces are assembled with icing and decorated with Valentine-themed candies, frosting, and sprinkles.
It’s easier for beginners, more forgiving for kids, and honestly… much better tasting. I love gingerbread houses- minus the gingerbread!
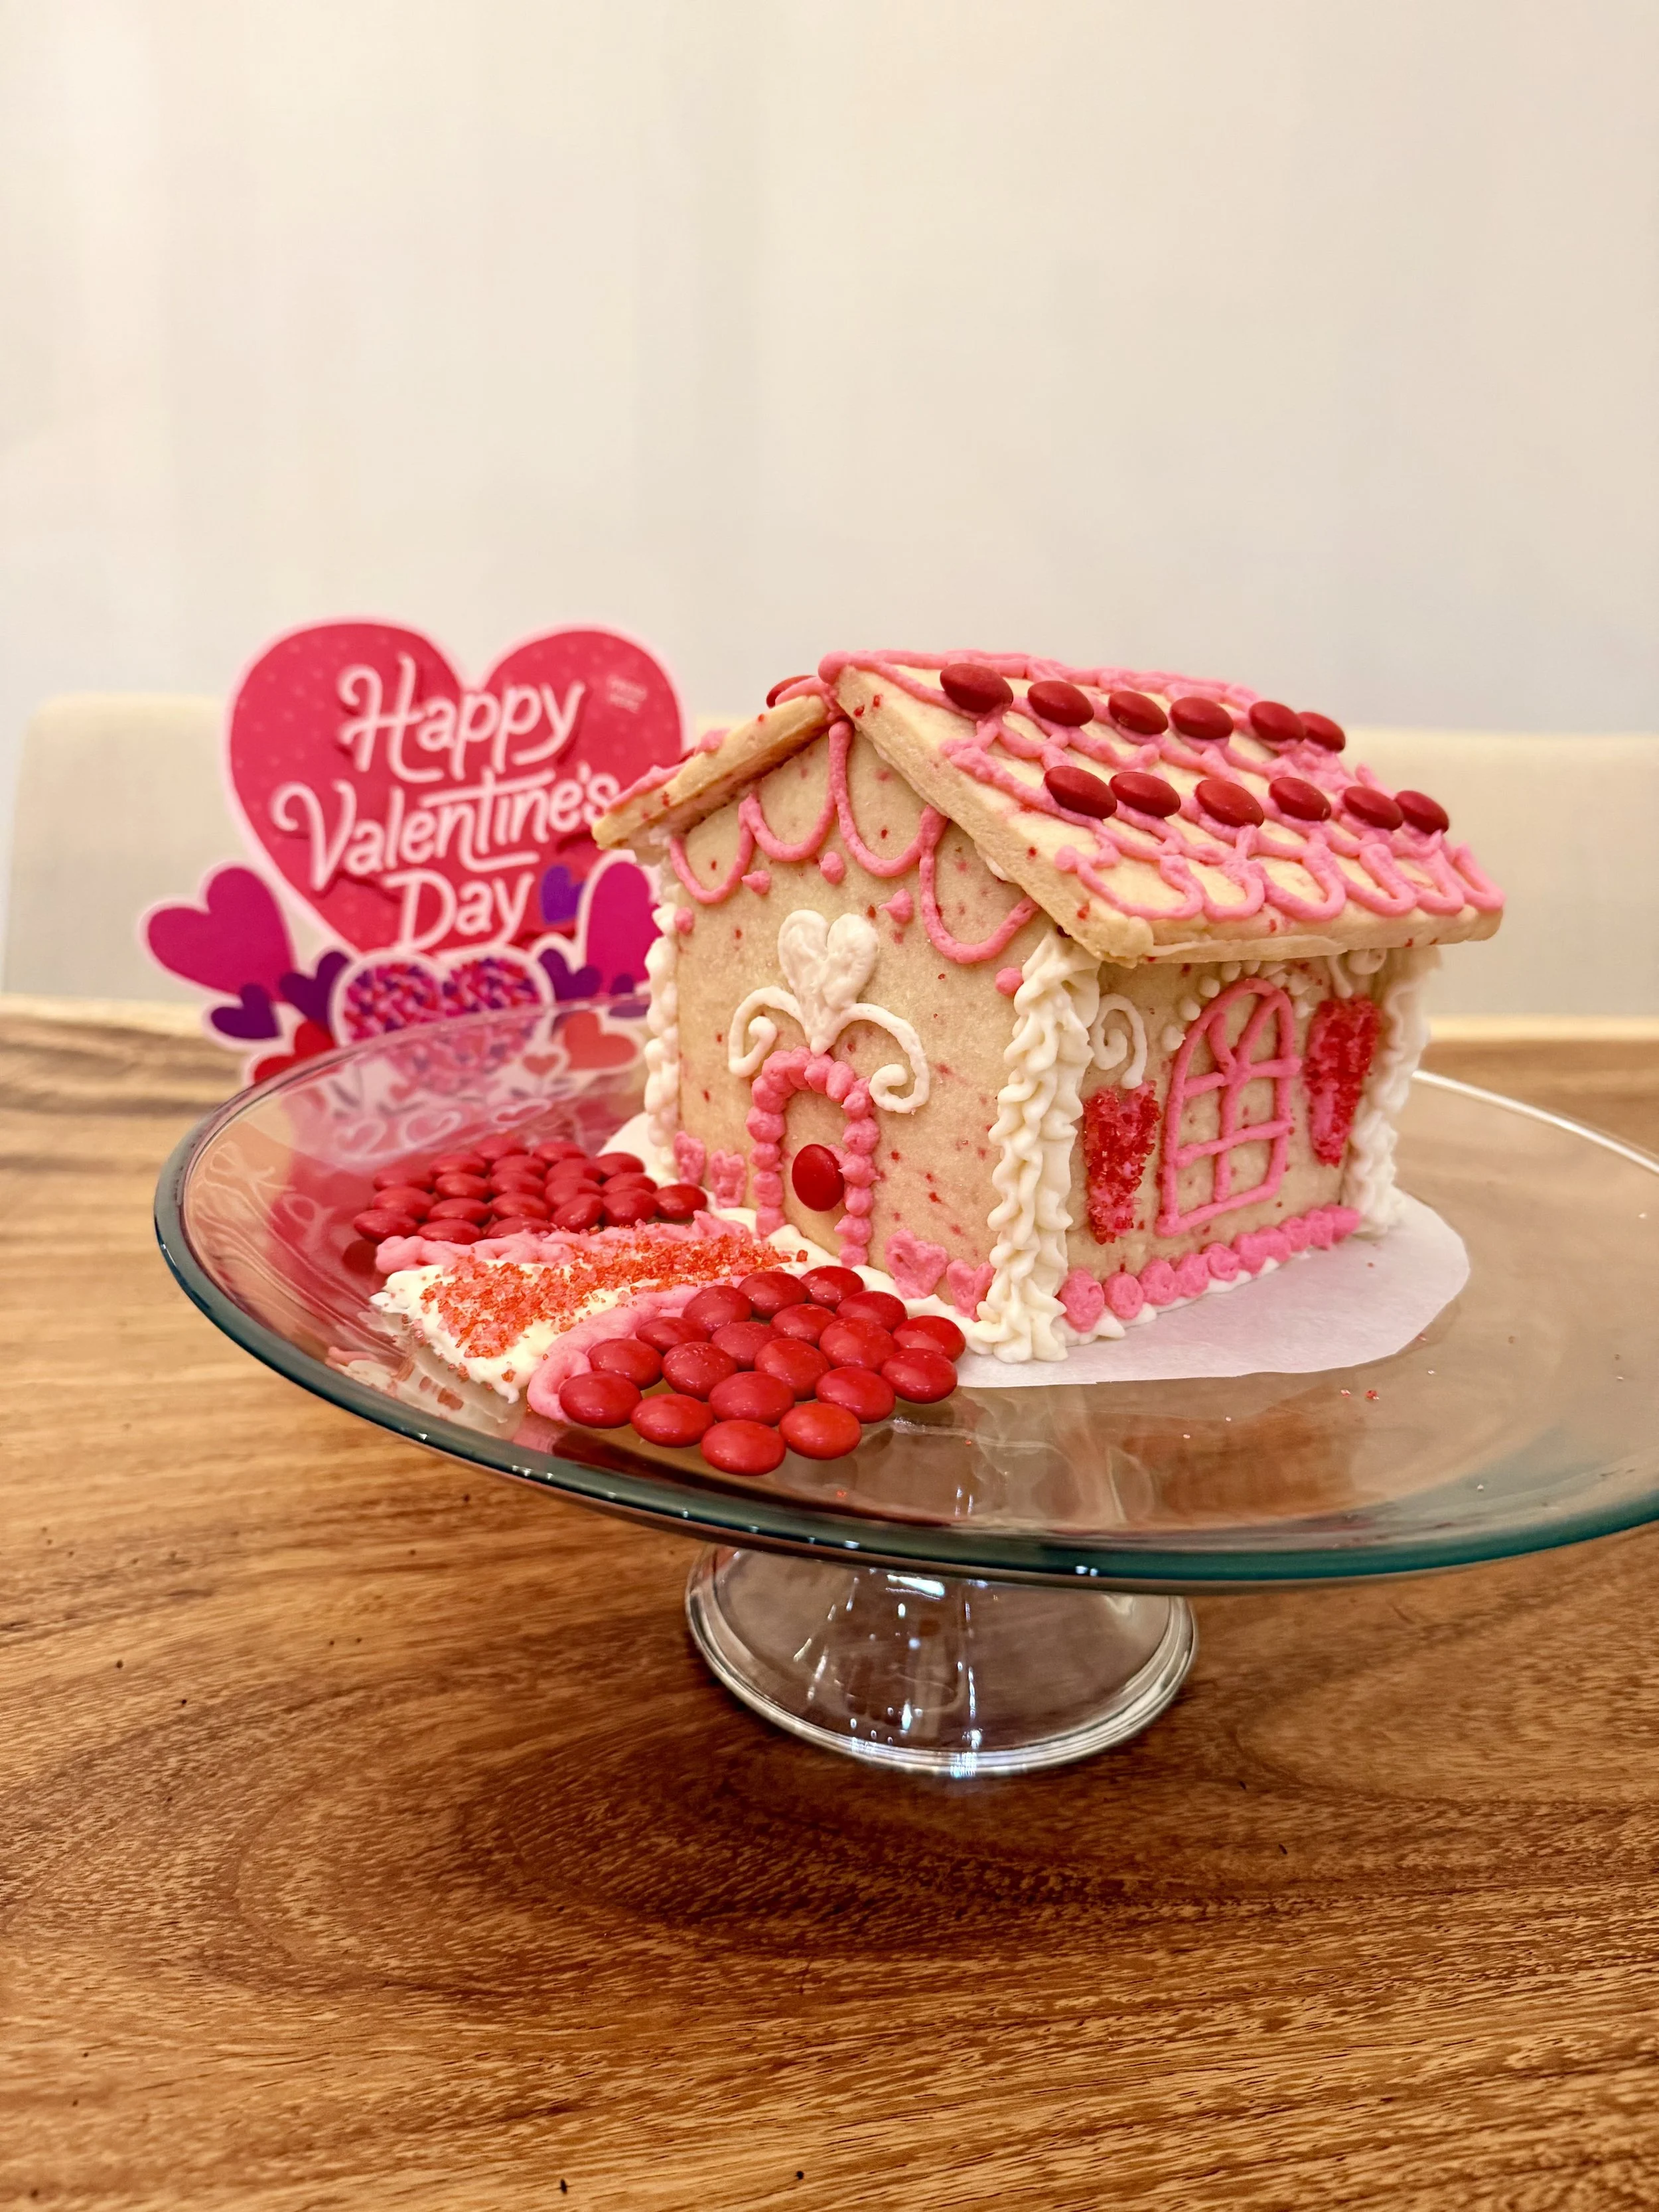
Valentine’s Day sugar cookie house decorated with pink buttercream and heart candies
Valentine Sugar Cookie House Shopping List
These tools make building a Valentine’s Day sugar cookie house easier—especially with kids. Shop our Amazon Favorite Baking List!
Baking Essentials
Rolling pin (use adjustable thickness rolling guides if you have one)
Silicone baking mats or parchment paper
Sharp knife or pizza cutter (for cutting house panels)
Baking sheets
Decorating Tools
Piping bags (reusable or disposable)
Round piping tips (or cut the tip off the bag)
Small offset spatula or butter knife
Reusable squeeze bottles (great for little hands)
Valentine Decorations
Valentine sprinkles (pink, red, white)
Conversation hearts
Mini marshmallows
Heart-shaped candies or chocolates
Optional (But Helpful)
Gel food coloring (pink, red, white)
Small bowls for sorting candy
Plastic knives or spoons for kids
Apron or parchment for easy cleanup
💡 Tip: If you already make sugar cookies at Christmas, you likely already have most of these on hand—this project just uses them in a new, festive way. I’m using red M&M’s from a leftover bag of red and green Christmas M&M’s!
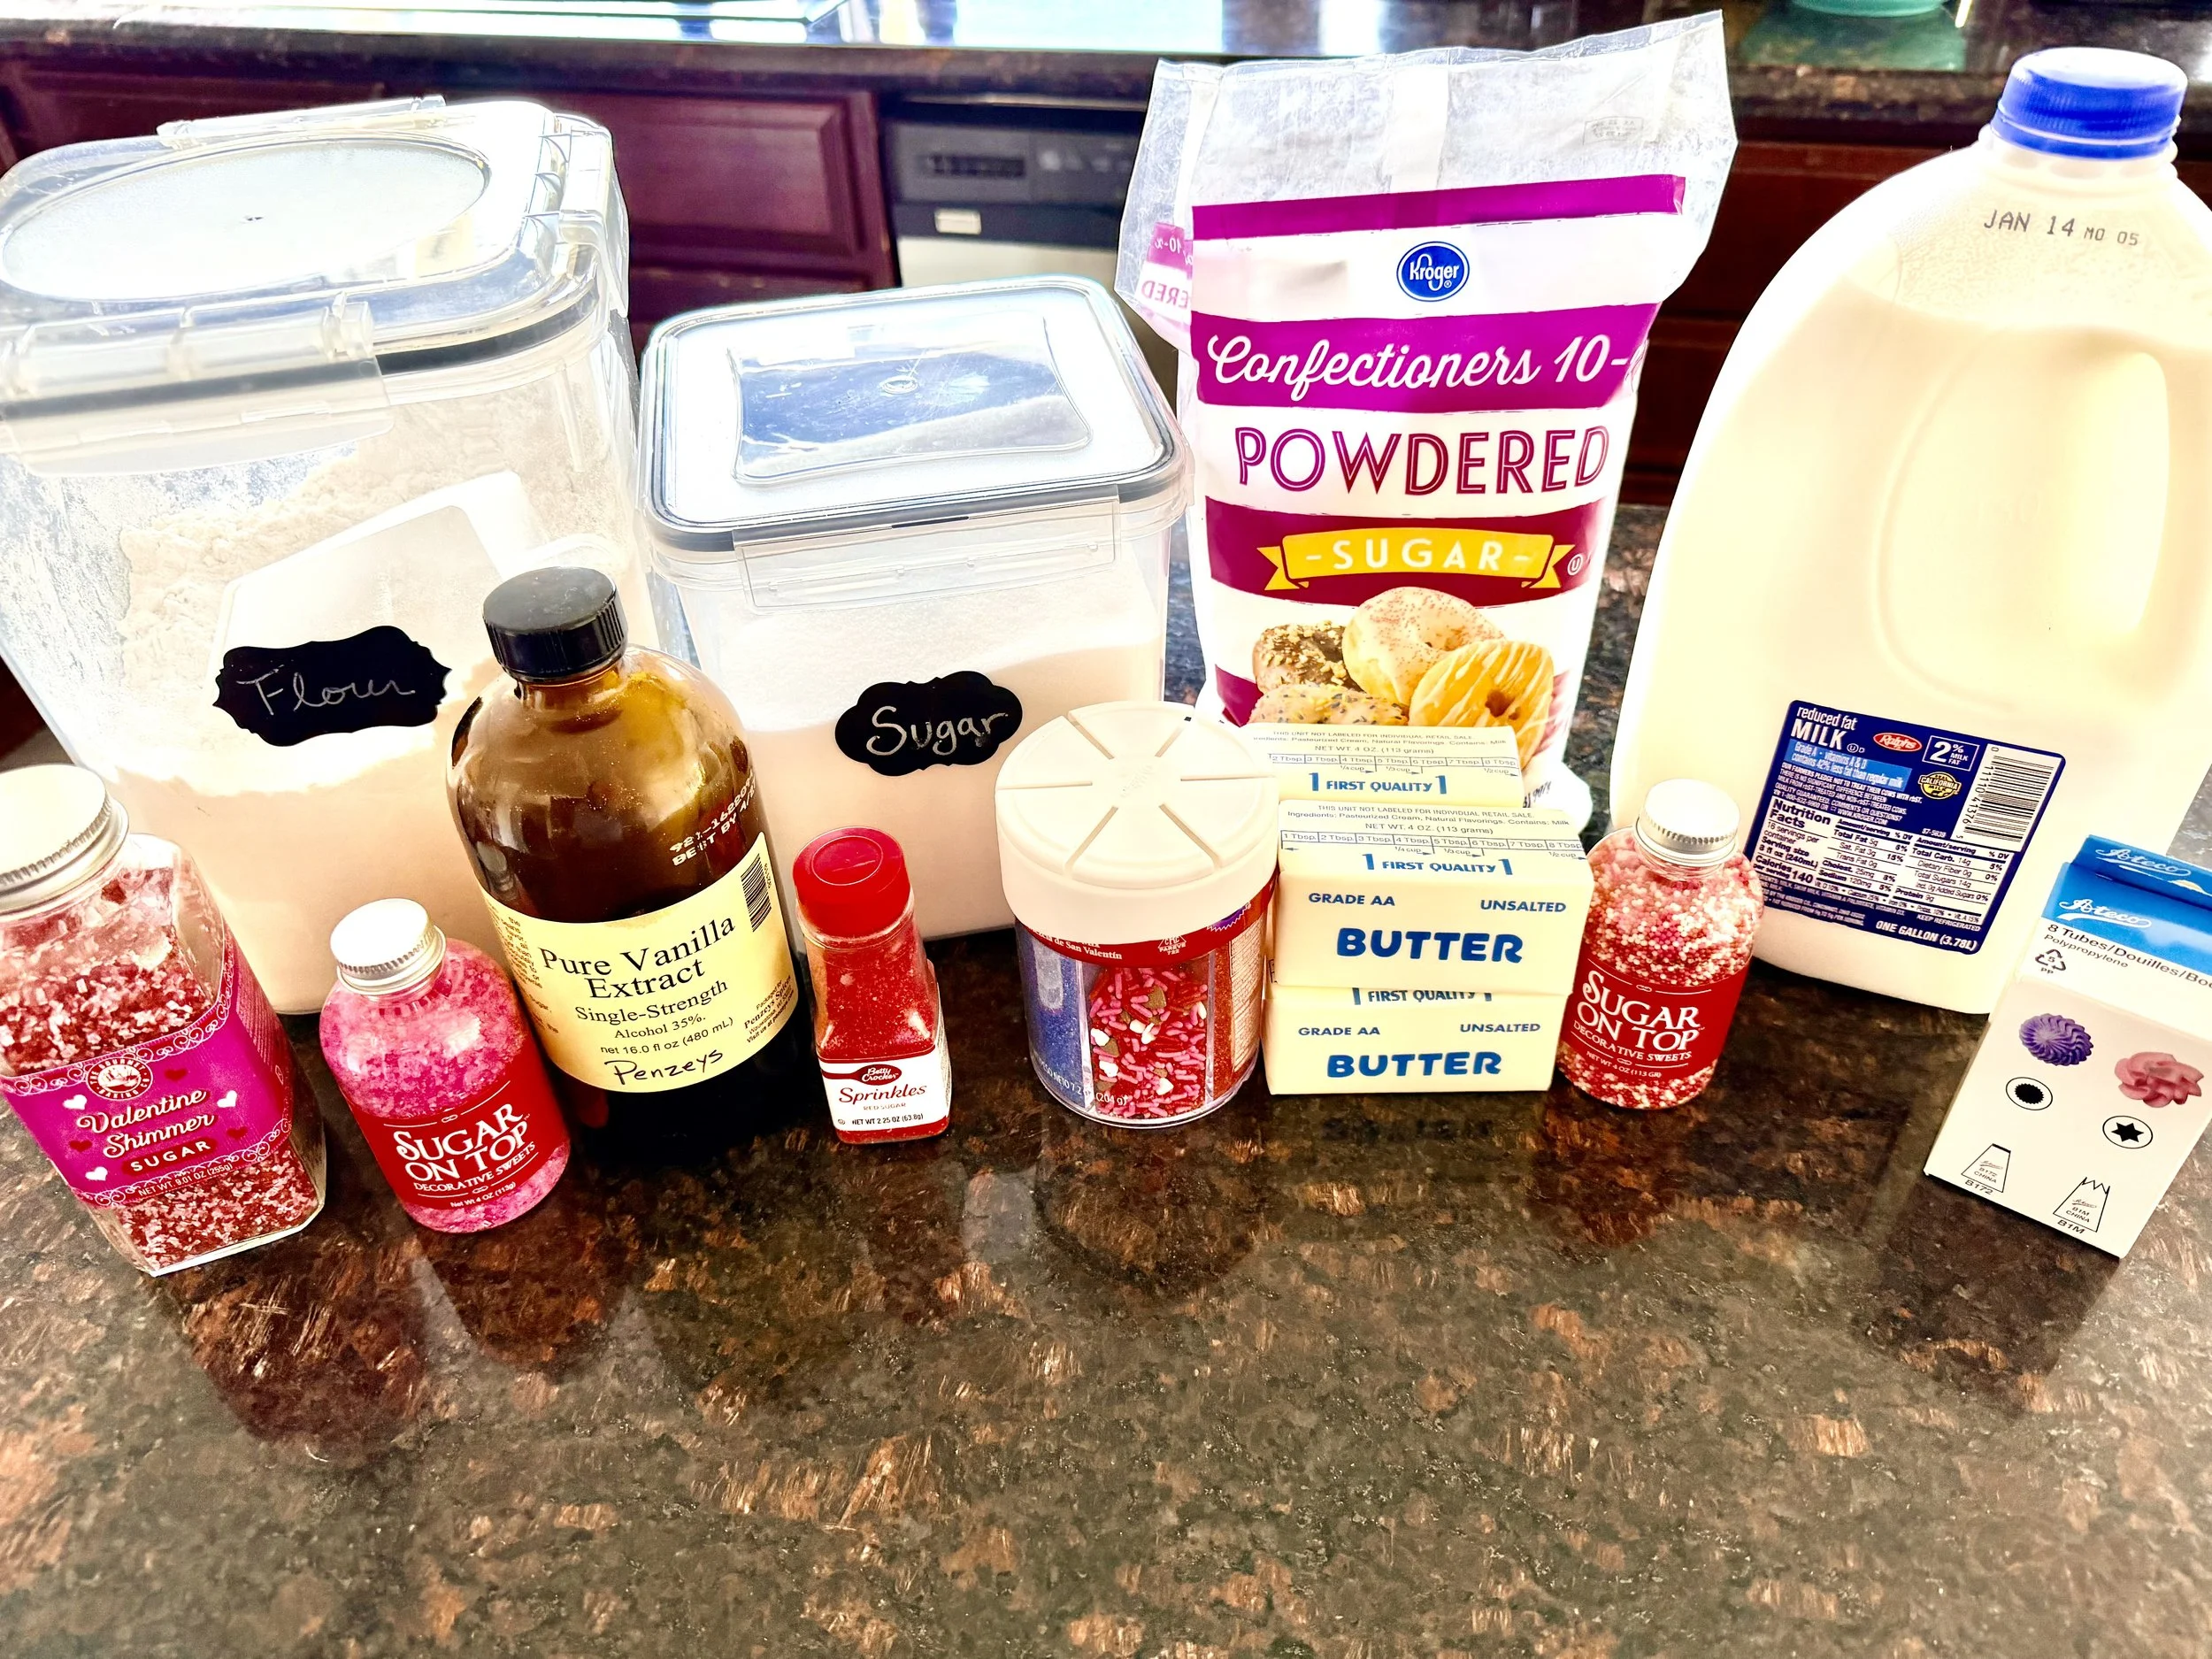
Ingredients for a Sugar Cookie House
Ingredients for a Sugar Cookie House
This Valentine’s Day sugar cookie house uses the same sturdy sugar cookie dough I rely on for our Christmas cookie houses. It’s specifically designed to hold its shape while baking, making it perfect for building—without sacrificing flavor.
Sugar Cookie Dough
Unsalted butter, softened
Granulated sugar
Vanilla extract
All-purpose flour
Milk
Sprinkles
💡 This is not a soft drop-cookie dough. It’s a rolled sugar cookie dough that bakes flat and sturdy enough to support walls and a roof. It tastes similar to shortbread cookies.
Buttercream Icing (for Assembly & Decorating)
Instead of royal icing, I use a simple buttercream frosting to assemble and decorate my sugar cookie houses—and I’ve never had an issue with them falling apart. It’s easier to make, tastes better, and uses ingredients you probably already have in your kitchen.
Buttercream Ingredients
Unsalted butter, softened
Powdered sugar
Vanilla extract
Milk or cream (as needed)
That’s it. No specialty ingredients, no meringue powder.
Valentine Decorations (Optional but Fun!)
Valentine sprinkles
Pink, red, and white candies
Conversation hearts
Mini marshmallows
Heart-shaped candies or chocolates
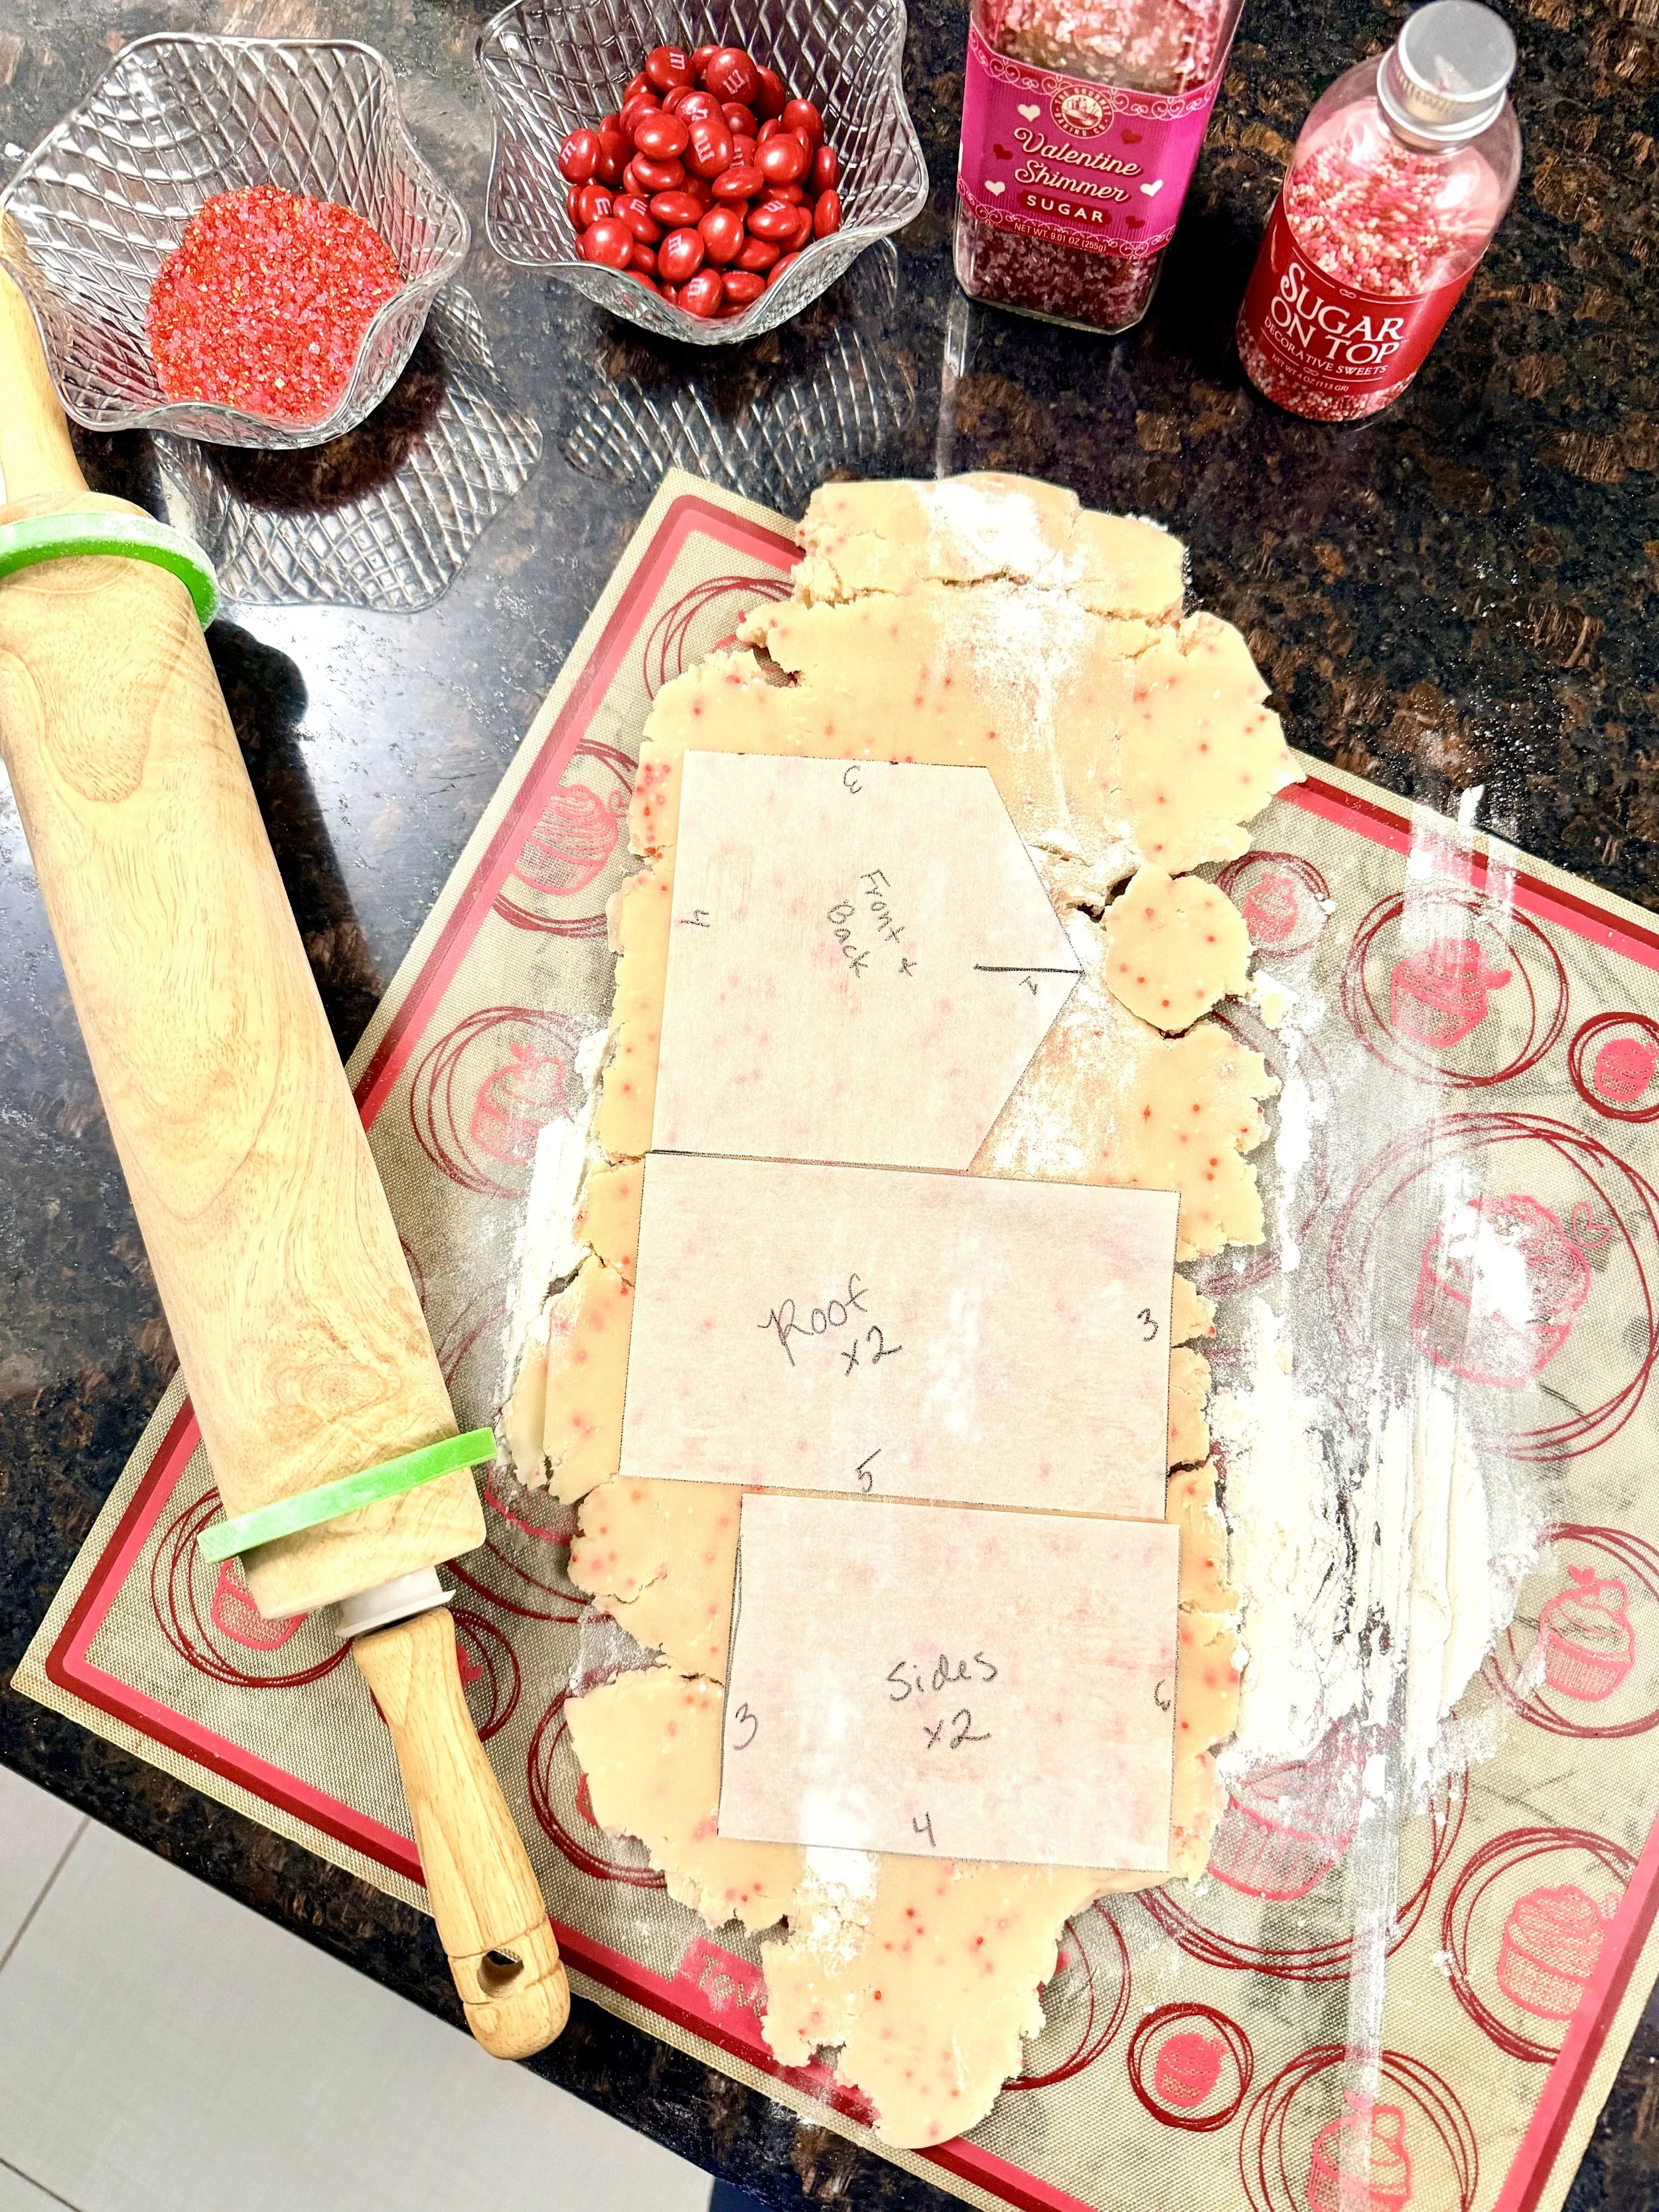
Sugar Cookie House Template
Sugar Cookie Dough Tips (Important!)
These tips are key to making sure your Valentine cookie house actually stands up:
✔ Use the Same Recipe + Method
I use the exact same sugar cookie dough and steps from my Christmas sugar cookie house—no changes needed. The dough is intentionally:
Firm
Easy to roll
Resistant to spreading
If you’ve made my gingerbread-style sugar cookie house before, you’ll feel right at home here.
✔ Chill the Dough
Chilling the dough before cutting helps:
Keep edges sharp
Prevent spreading
Ensure straight walls and roof pieces
If the dough becomes soft while working, pop it back in the fridge for 10–15 minutes.
✔ Roll Dough Evenly
Roll the dough to an even thickness (about ¼ inch). Uneven dough can cause warped pieces, which makes assembly harder.
✔ Bake Until Just Set
You want the cookies:
Fully baked
Lightly golden on the edges
Firm once cooled
Underbaked cookies will bend; overbaked cookies can crack.
✔ Cool Completely Before Building
Let all cookie pieces cool completely before assembling. Warm cookies are fragile and more likely to break when handled.
Free Valentine’s Day Sugar Cookie House Template
If you want perfectly sized walls and roofs without guesswork, we created a free printable sugar cookie house template that makes Valentine’s Day cookie houses even easier. The template works beautifully with sugar cookie dough and helps keep every piece uniform so assembly is simple and stress-free.
This printable is perfect for:
Valentine’s Day sugar cookie houses
Heart-themed or pastel designs
Decorating with kids
👉 Download the free sugar cookie house template here:
https://www.thesweetestescapes.com/shop/gingerbread-house
Tip: The same template can be reused for Christmas, Valentine’s Day, and any themed sugar cookie house you want to create.
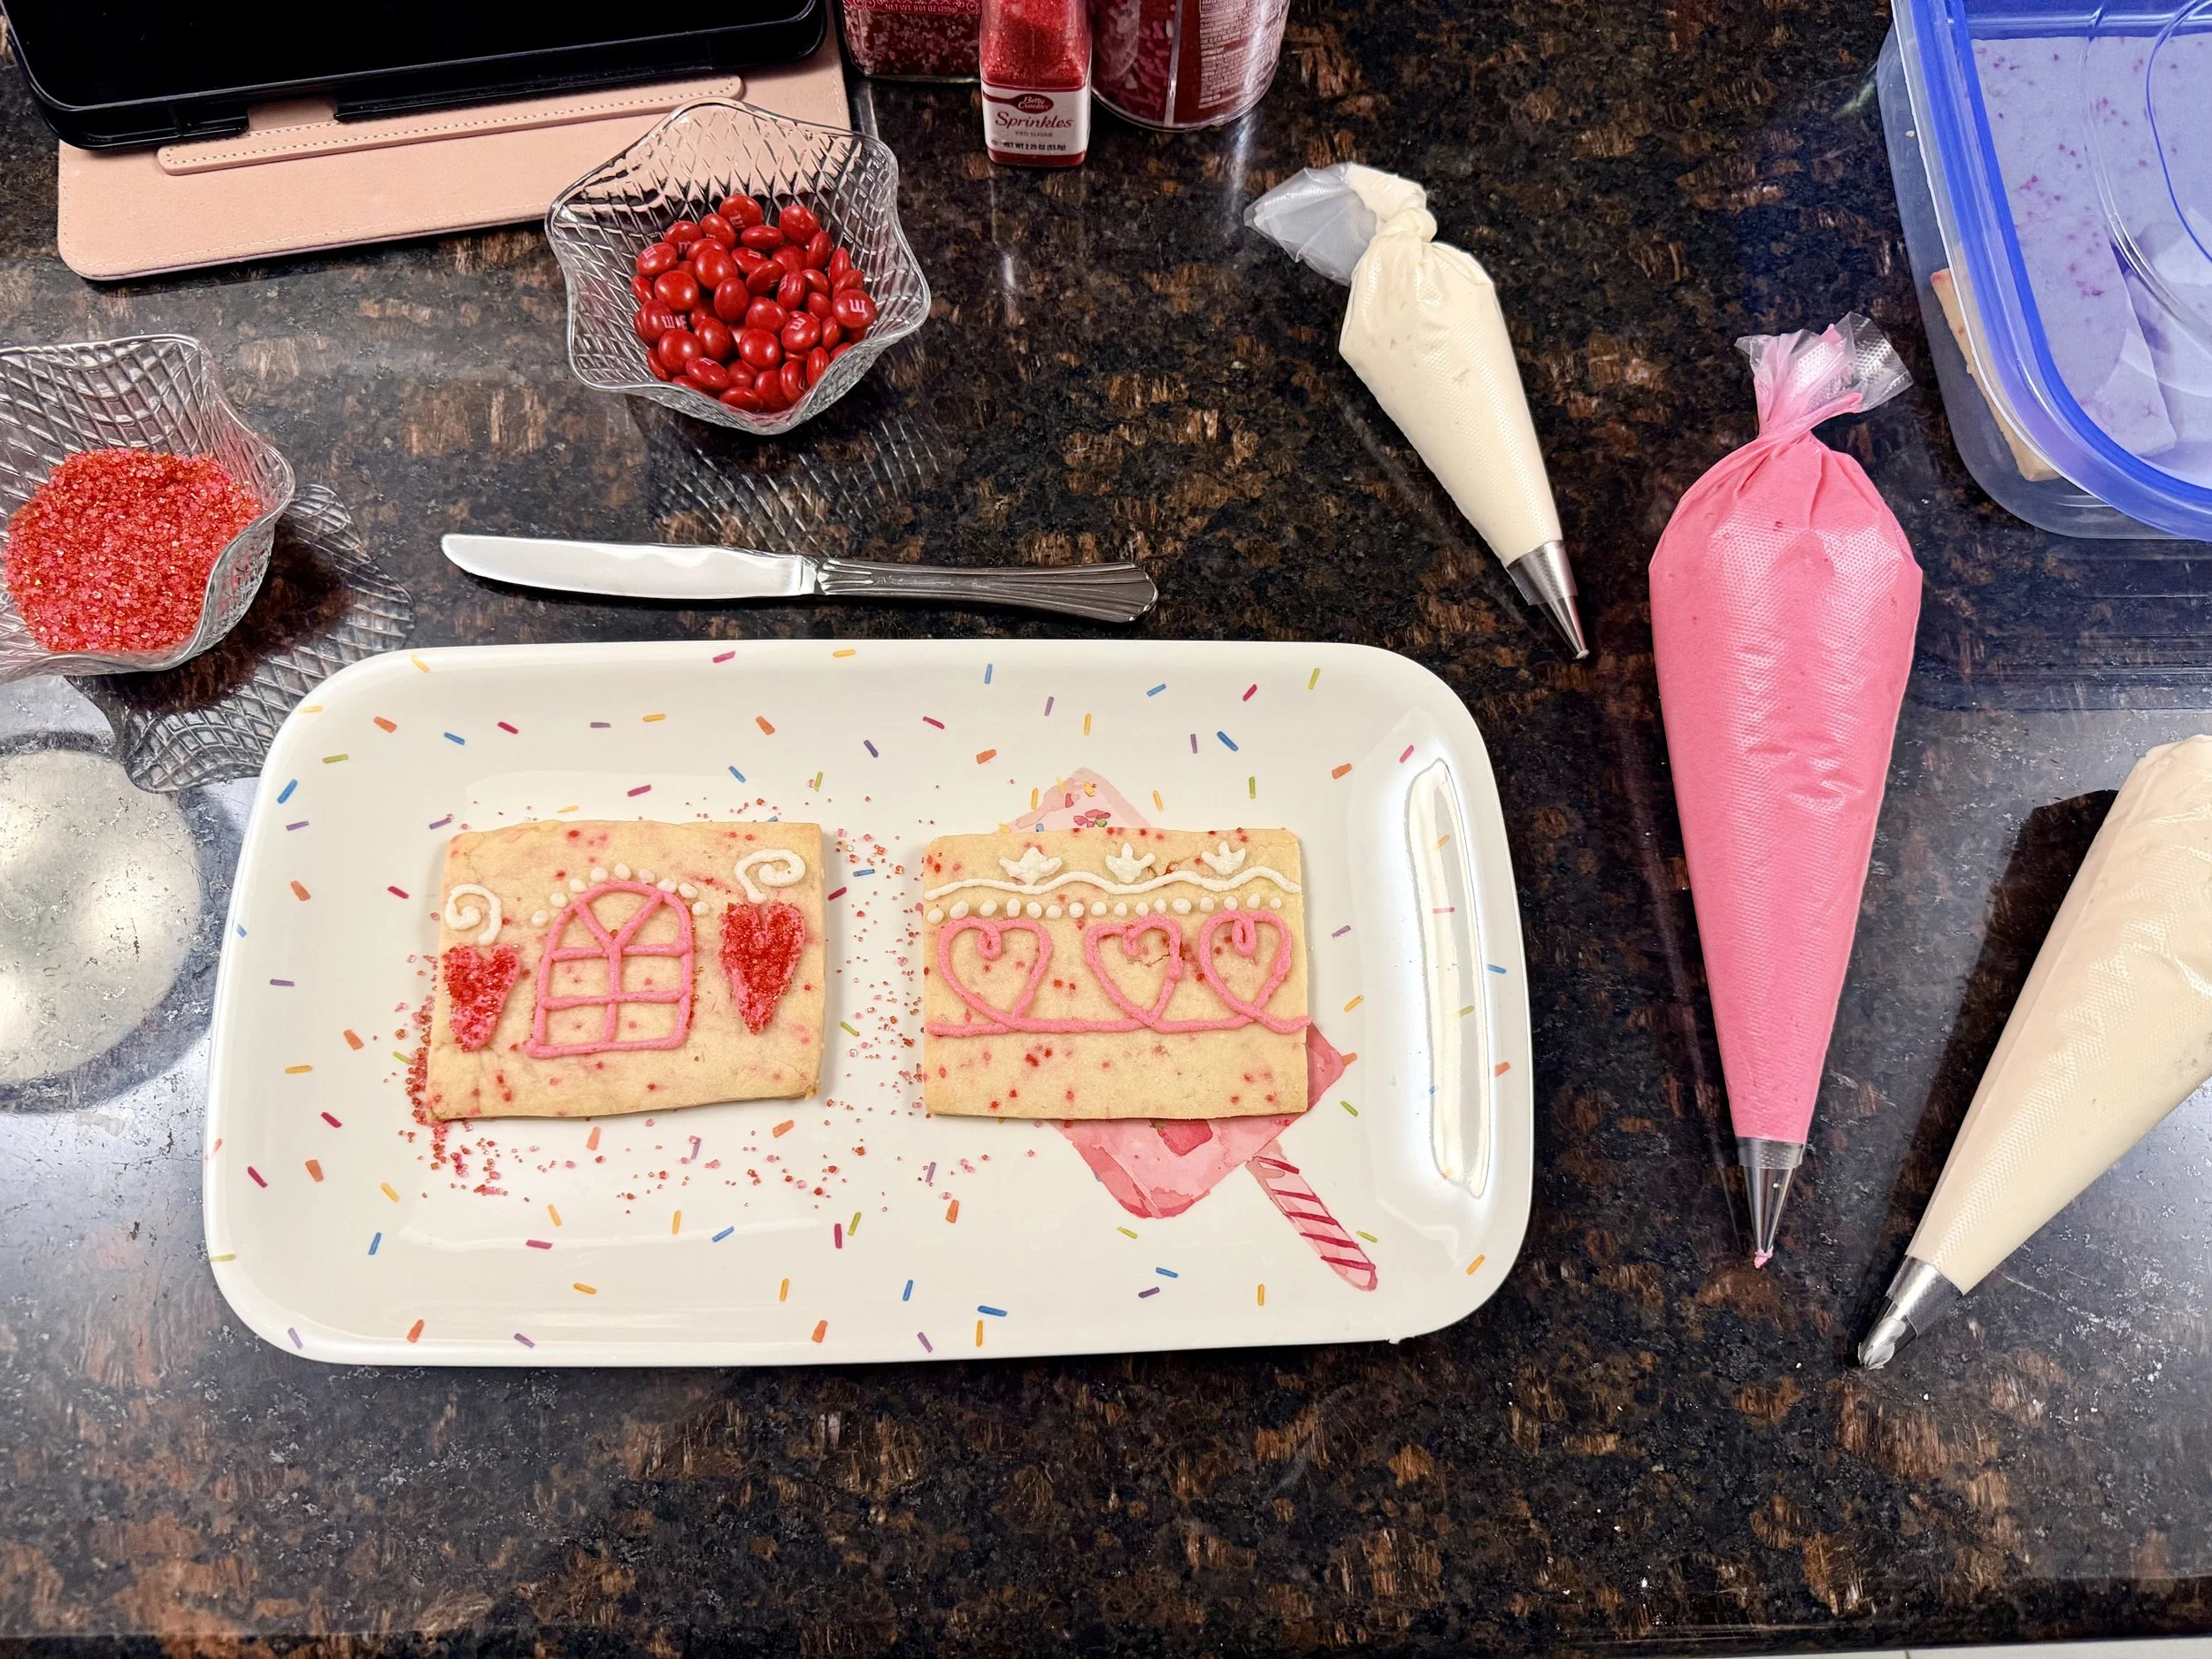
Buttercream Frosting Design for Valentine’s Day Sugar Cookie House
Buttercream Tips for Structure
To make sure your cookie house stays sturdy:
Make the buttercream very thick — it should hold stiff peaks
Use it generously where pieces connect
Let assembled sections sit for a few minutes before adding the roof
Decorate once the structure feels stable
If your frosting feels too soft, add more powdered sugar until it’s firm enough to act as glue.
Buttercream vs. Royal Icing for Cookie Houses (FAQ)
Can you really build a cookie house with buttercream?
Yes! A thick buttercream frosting works very well for sugar cookie houses. I’ve used buttercream for multiple cookie houses without any issues with them falling apart. As long as your cookies are fully cooled and your frosting is thick enough, buttercream provides plenty of structure.
Why do most recipes recommend royal icing?
Royal icing is often recommended because it dries rock-hard, which makes it ideal for gingerbread houses that need maximum stability or are meant to be displayed for long periods. However, it’s not the only option—especially for sugar cookie houses that are meant to be enjoyed and eaten.
Does buttercream taste better than royal icing?
In my opinion, yes. Buttercream has a richer, creamier flavor and is much more enjoyable to eat than royal icing, which can be very hard and dry once set. For cookie houses that double as dessert, buttercream is a big win.
Will buttercream hold up if kids are helping?
Absolutely. Buttercream is more forgiving than royal icing, which can crack or harden too quickly. It’s easier for kids to pipe, spread, and decorate with—making it ideal for family baking or classroom-style projects.
When is royal icing the better choice?
Royal icing may be a better option if:
You want a house to sit out for many days
You’re building a large or very tall structure
The house is mostly decorative and not meant to be eaten
For most home bakers and kid-friendly projects, buttercream works beautifully.
Can I use buttercream for both assembly and decorating?
Yes! Buttercream works for both building and decorating your cookie house. You can tint it pink, red, or white for Valentine’s Day and use it to attach pieces, pipe details, and secure decorations all in one step.
Why Buttercream Frosting Works for Cookie Houses
While royal icing dries rock-hard, a thick buttercream icing works surprisingly well for sugar cookie houses when used correctly.
Here’s why I prefer it:
Better flavor – everyone actually wants to eat it
Easier to work with – no precise mixing ratios
Pantry-friendly – no special ingredients required
More forgiving – great for baking with kids
As long as the frosting is thick and your cookies are fully cooled, buttercream holds the house together just fine.
Lace-Inspired Cookie Details (Valentine’s Day Touch)
Lace-style baking details are trending right now, and they’re a beautiful way to give your Valentine’s sugar cookie house a soft, romantic look. You don’t need special tools — simple royal icing techniques can create a lace-inspired effect that feels elegant without being fussy.
Ideas that work especially well on cookie houses:
Piped “lace” trim along roof edges
Heart-shaped windows with lace-style icing borders
Delicate icing patterns on doors or balconies
Light dusting of edible pearls or sanding sugar for texture
💡 Tip: Keep lace details minimal so the house still feels fun and kid-friendly.
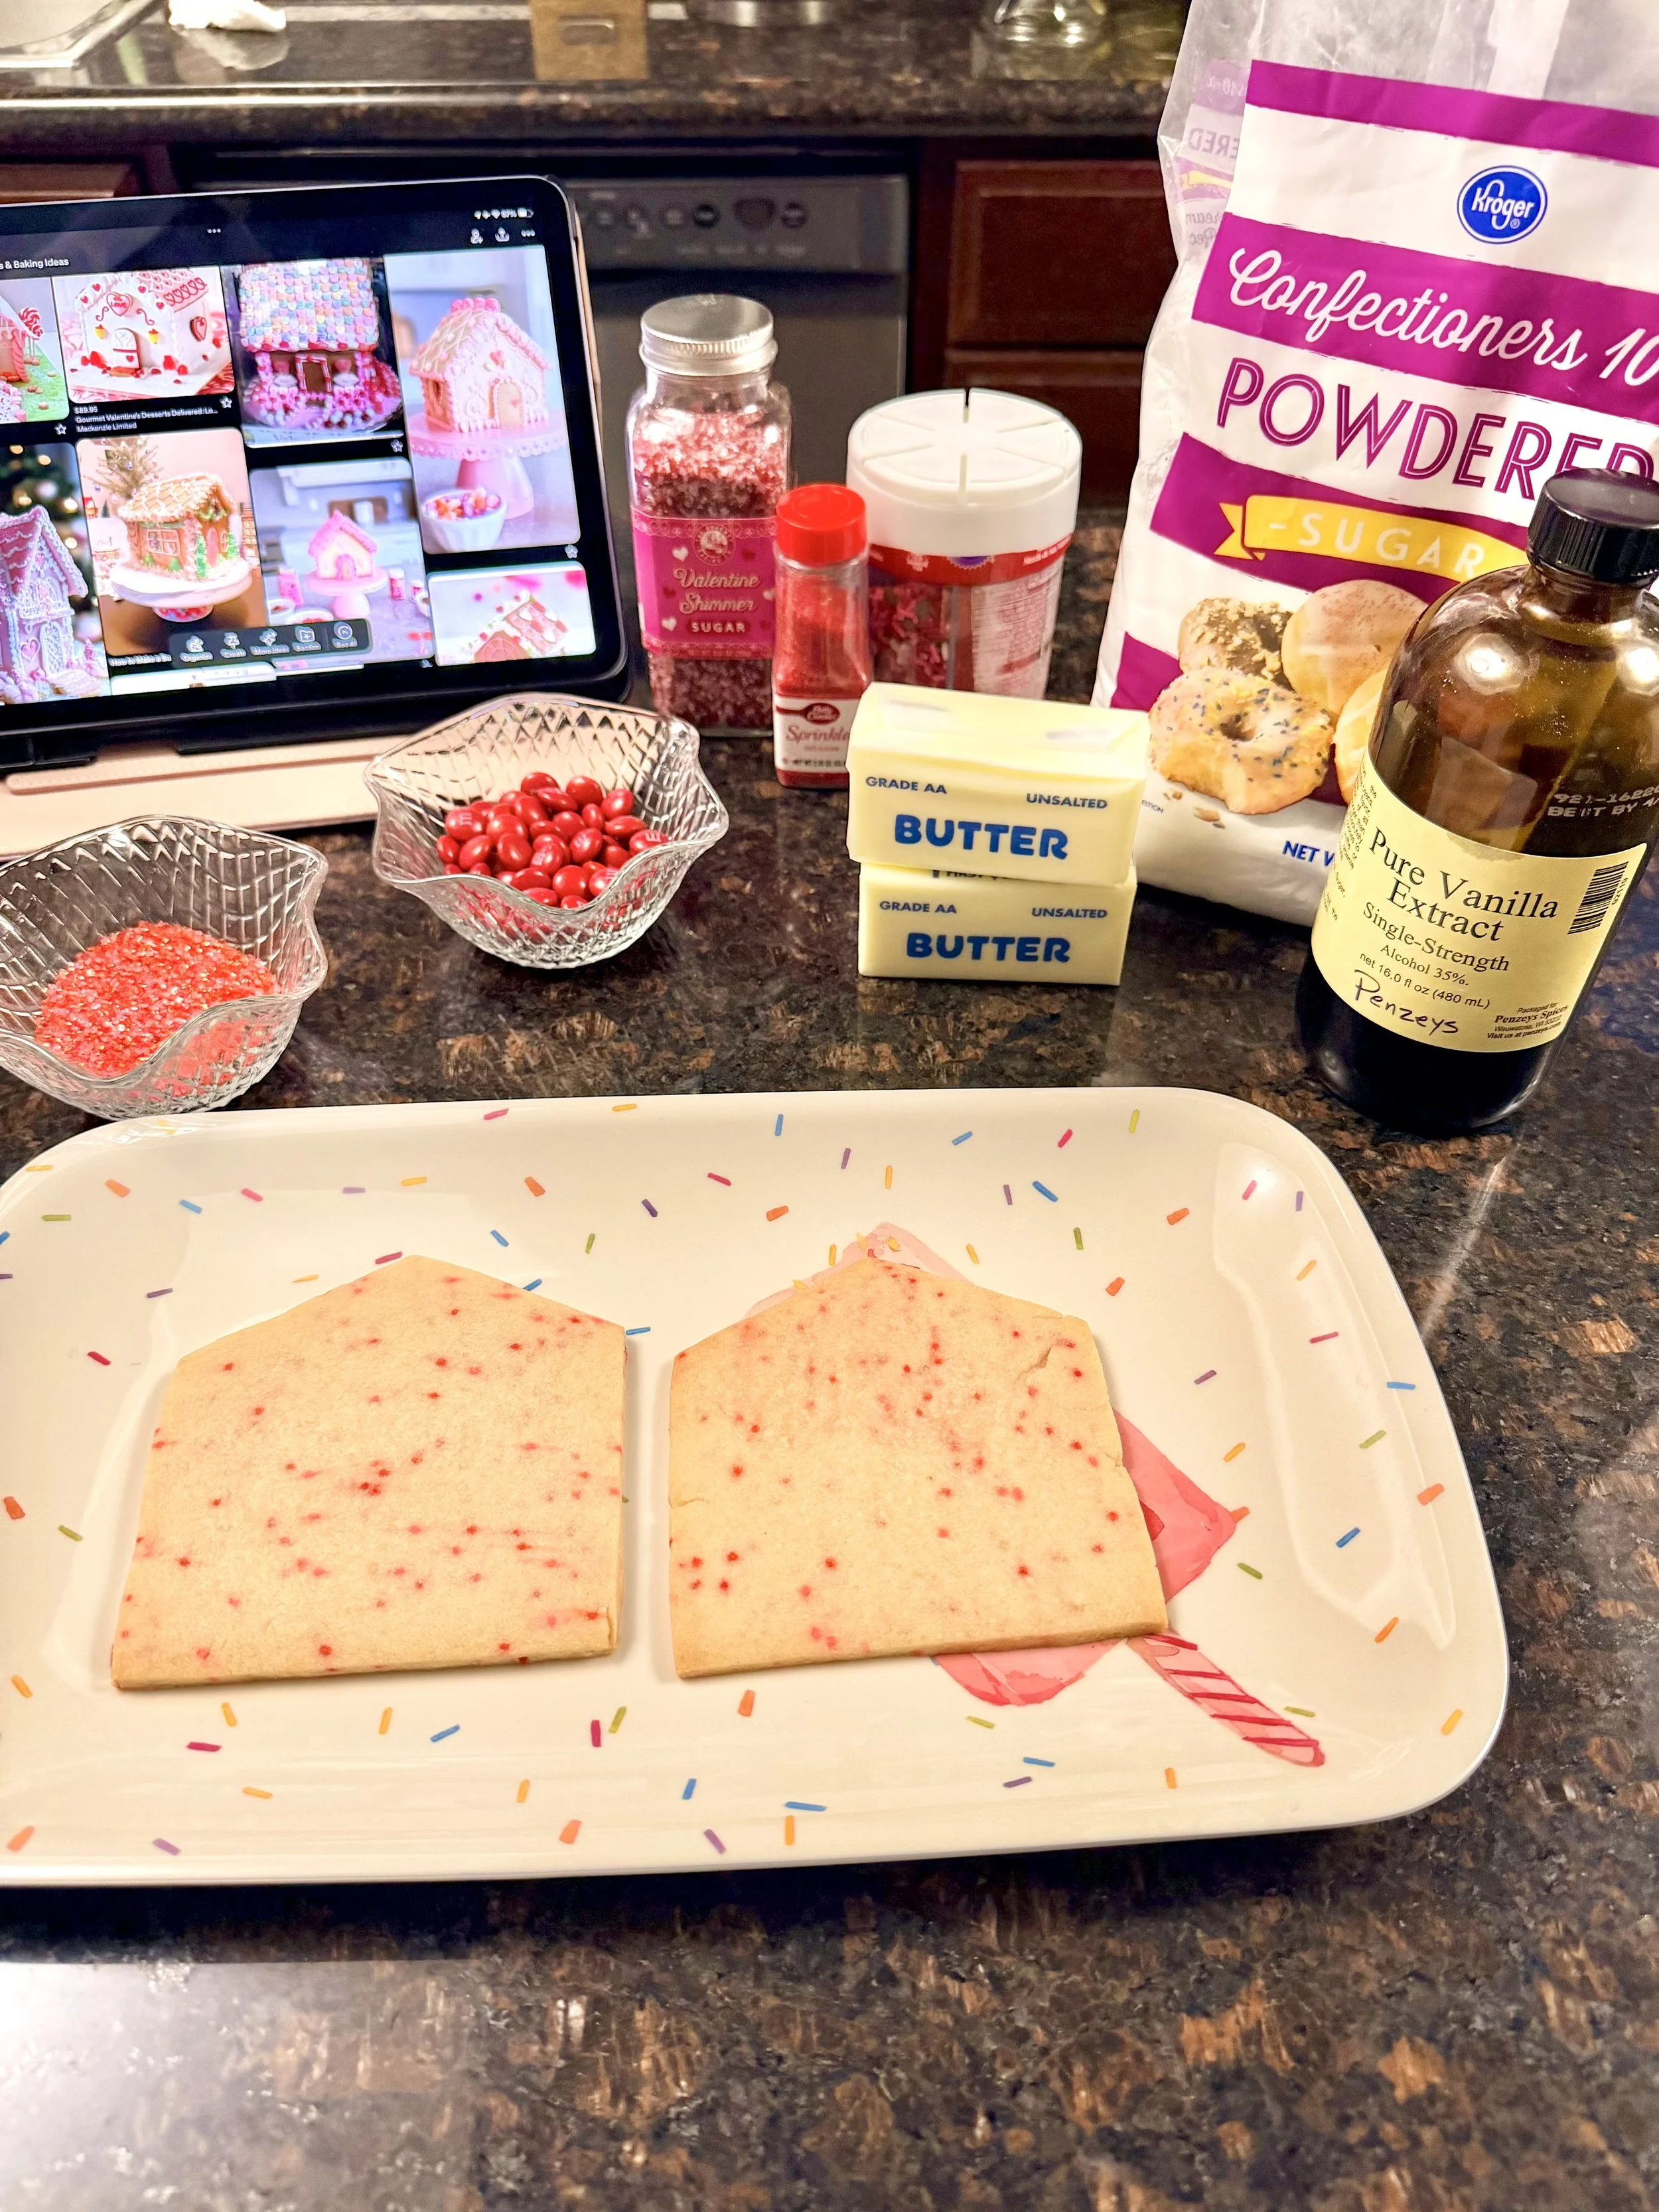
Frosting and decorating ideas for Valentine’s Sugar Cookie House
Kid-Friendly Valentine Cookie House Decorating Ideas
Decorating is the best part—and this Valentine’s Day sugar cookie house is meant to be fun, low-pressure, and kid-friendly. With soft sugar cookies and easy buttercream frosting, kids can help decorate without worrying about pieces breaking or icing hardening too fast.
Set Up a Decorating Station
Before you start, lay everything out so kids can decorate their Valentine Cookie House independently:
Bowls of Valentine sprinkles
Pink, red, and white buttercream
Small candies and heart-shaped decorations
Plastic knives or spoons for spreading frosting
This keeps things organized and lets kids focus on creativity instead of waiting for help.
Let Kids Decorate Flat Pieces First
For younger kids, it helps to:
Decorate the cookie panels before assembling the house
Keep designs simple—dots, hearts, stripes, and swirls
Avoid heavy candy on roof pieces
Once the pieces are decorated, you can assemble the house for them or let older kids help. I always decorate the pieces before assembling!
Easy Decorating Ideas Kids Love
These simple ideas are perfect for little hands:
Heart windows using conversation hearts
Sprinkle roofs pressed gently into buttercream
Polka dots made with candy melts or mini candies
Frosting swirls piped along edges and seams
See my Pinterest board for decoration inspiration
There’s no “right” way—every cookie house turns out different, and that’s part of the fun.
Decorating Tips for Success
Use thick buttercream so decorations stay put
Work slowly and take breaks if kids get overwhelmed
If something falls off, just add more frosting and try again
Remember: this is about fun, not perfection.
Make It a Valentine Tradition
Turn decorating into a yearly tradition by:
Letting kids choose the candy colors
Writing names or hearts on the house with frosting
Taking photos before it gets eaten
These cookie houses make sweet Valentine memories—and a dessert everyone actually wants to eat.
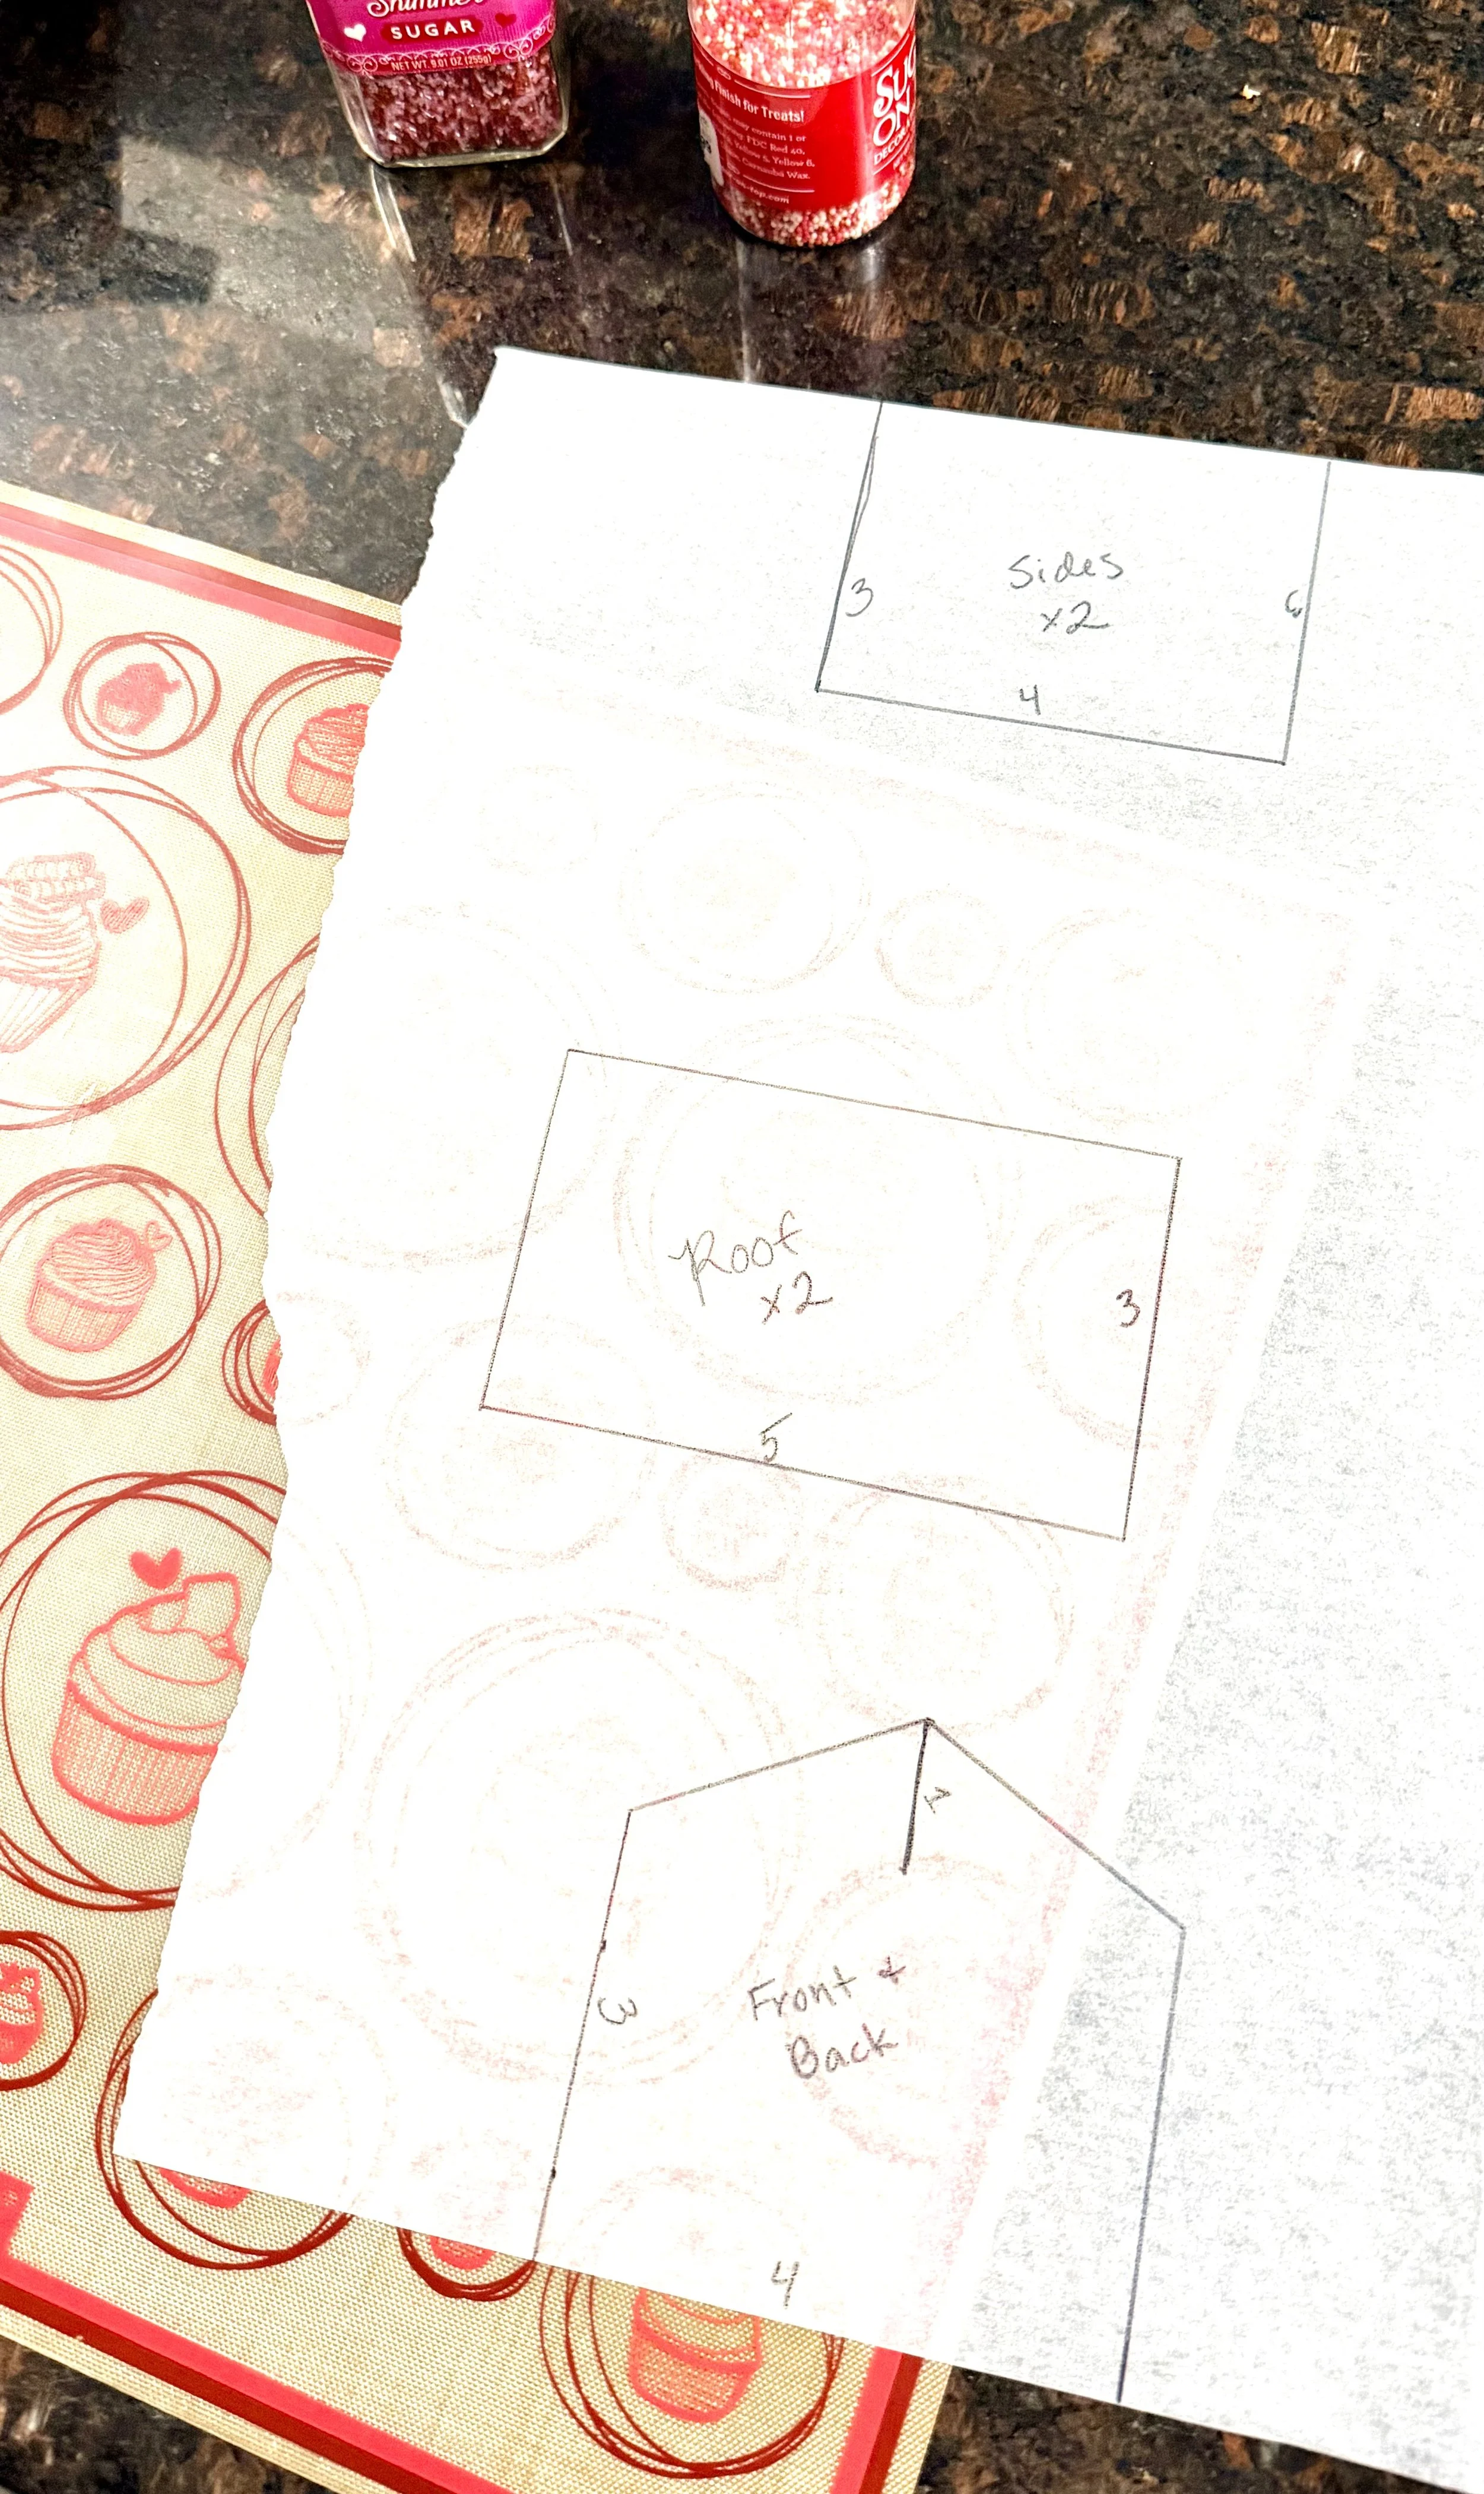
Sugar Cookie House Template
Valentine’s Day Sugar Cookie House Recipe (Easy & Kid-Friendly)
Making a Valentine’s Day Sugar Cookie House, requires a little homework and preparation! I made my own template - Gingerbread House blueprint template.
Prep Time: 30 minutes
Chill Time: 1 hour
Bake Time: 12–15 minutes
Total Time: ~2 hours
Yield: 1 Valentine’s Day sugar cookie house
Ingredients
2 cups butter, softened
1 1/4 cup sugar
2 tablespoons milk
2 teaspoons vanilla extract (I love Vanillas of the World)
4 ½ cups all-purpose flour
3/4 cup rainbow sprinkles
1 – 2 cup buttercream icing (see recipe in next section below)
Directions - Sugar Cookie Dough That Holds Its Shape
Step 1 - Preheat oven to 325F.
Step 2 - In a large mixing bowl beat butter with an electric mixer on medium to high speed for 30 seconds. Add sugar; beat until combined, scraping sides of bowl occasionally. Beat in 2 tablespoons milk and 2 teaspoon vanilla. Beat in as much of the flour as you can with the mixer. At first it may look dry but after adding the liquids it comes together. With a wooden spoon (or cute spatula), stir in sprinkles and any remaining flour.
Step 3 - Divide dough in half. Cover and chill about 1 hour or until dough is easy to handle (or 15-20 mins in the freezer if you run out of time). You can refrigerate the cookie dough for up to 2 days. On large sheets of parchment paper roll out dough portions to 1/8- to 1/4-inch thick. Lightly flour the top of the dough (put cling wrap between) as necessary to keep it from sticking to the rolling pin. Pro Tip: I lined my cookie sheet with parchment paper so I could cut the excess dough and throw them in the oven!
Step 4 - Using my gingerbread house template, set pattern pieces on the dough; use a sharp knife (or roll a pizza cutter) to cut around each pattern piece. Remove excess dough. Remove pattern pieces; set aside.
Step 5 - Transfer cookie dough cutouts on parchment paper to a large cookie sheet. Bake in the preheated oven for 12 to 15 minutes or until edges are lightly browned. Cool 2 minutes on pan. Remove to wire racks and cool completely. Use a knife (or pizza slicer) to cut edges evenly, if necessary. Use excess to make different heart shapes, if desired.
NOTE: Some of my pieces were pretty thick, so when I put them in the oven, I baked more on the 15-20 min side. It might have been too long because the edges were dry and would kinda crumble when I went to cut them evenly.
Step 6 - Decorate as desired with buttercream icing (see recipe below), candies, and decorative sprinkles. Refrigerate for 20 mins. Assemble cookie house, using buttercream icing as glue. Let stand until firm.
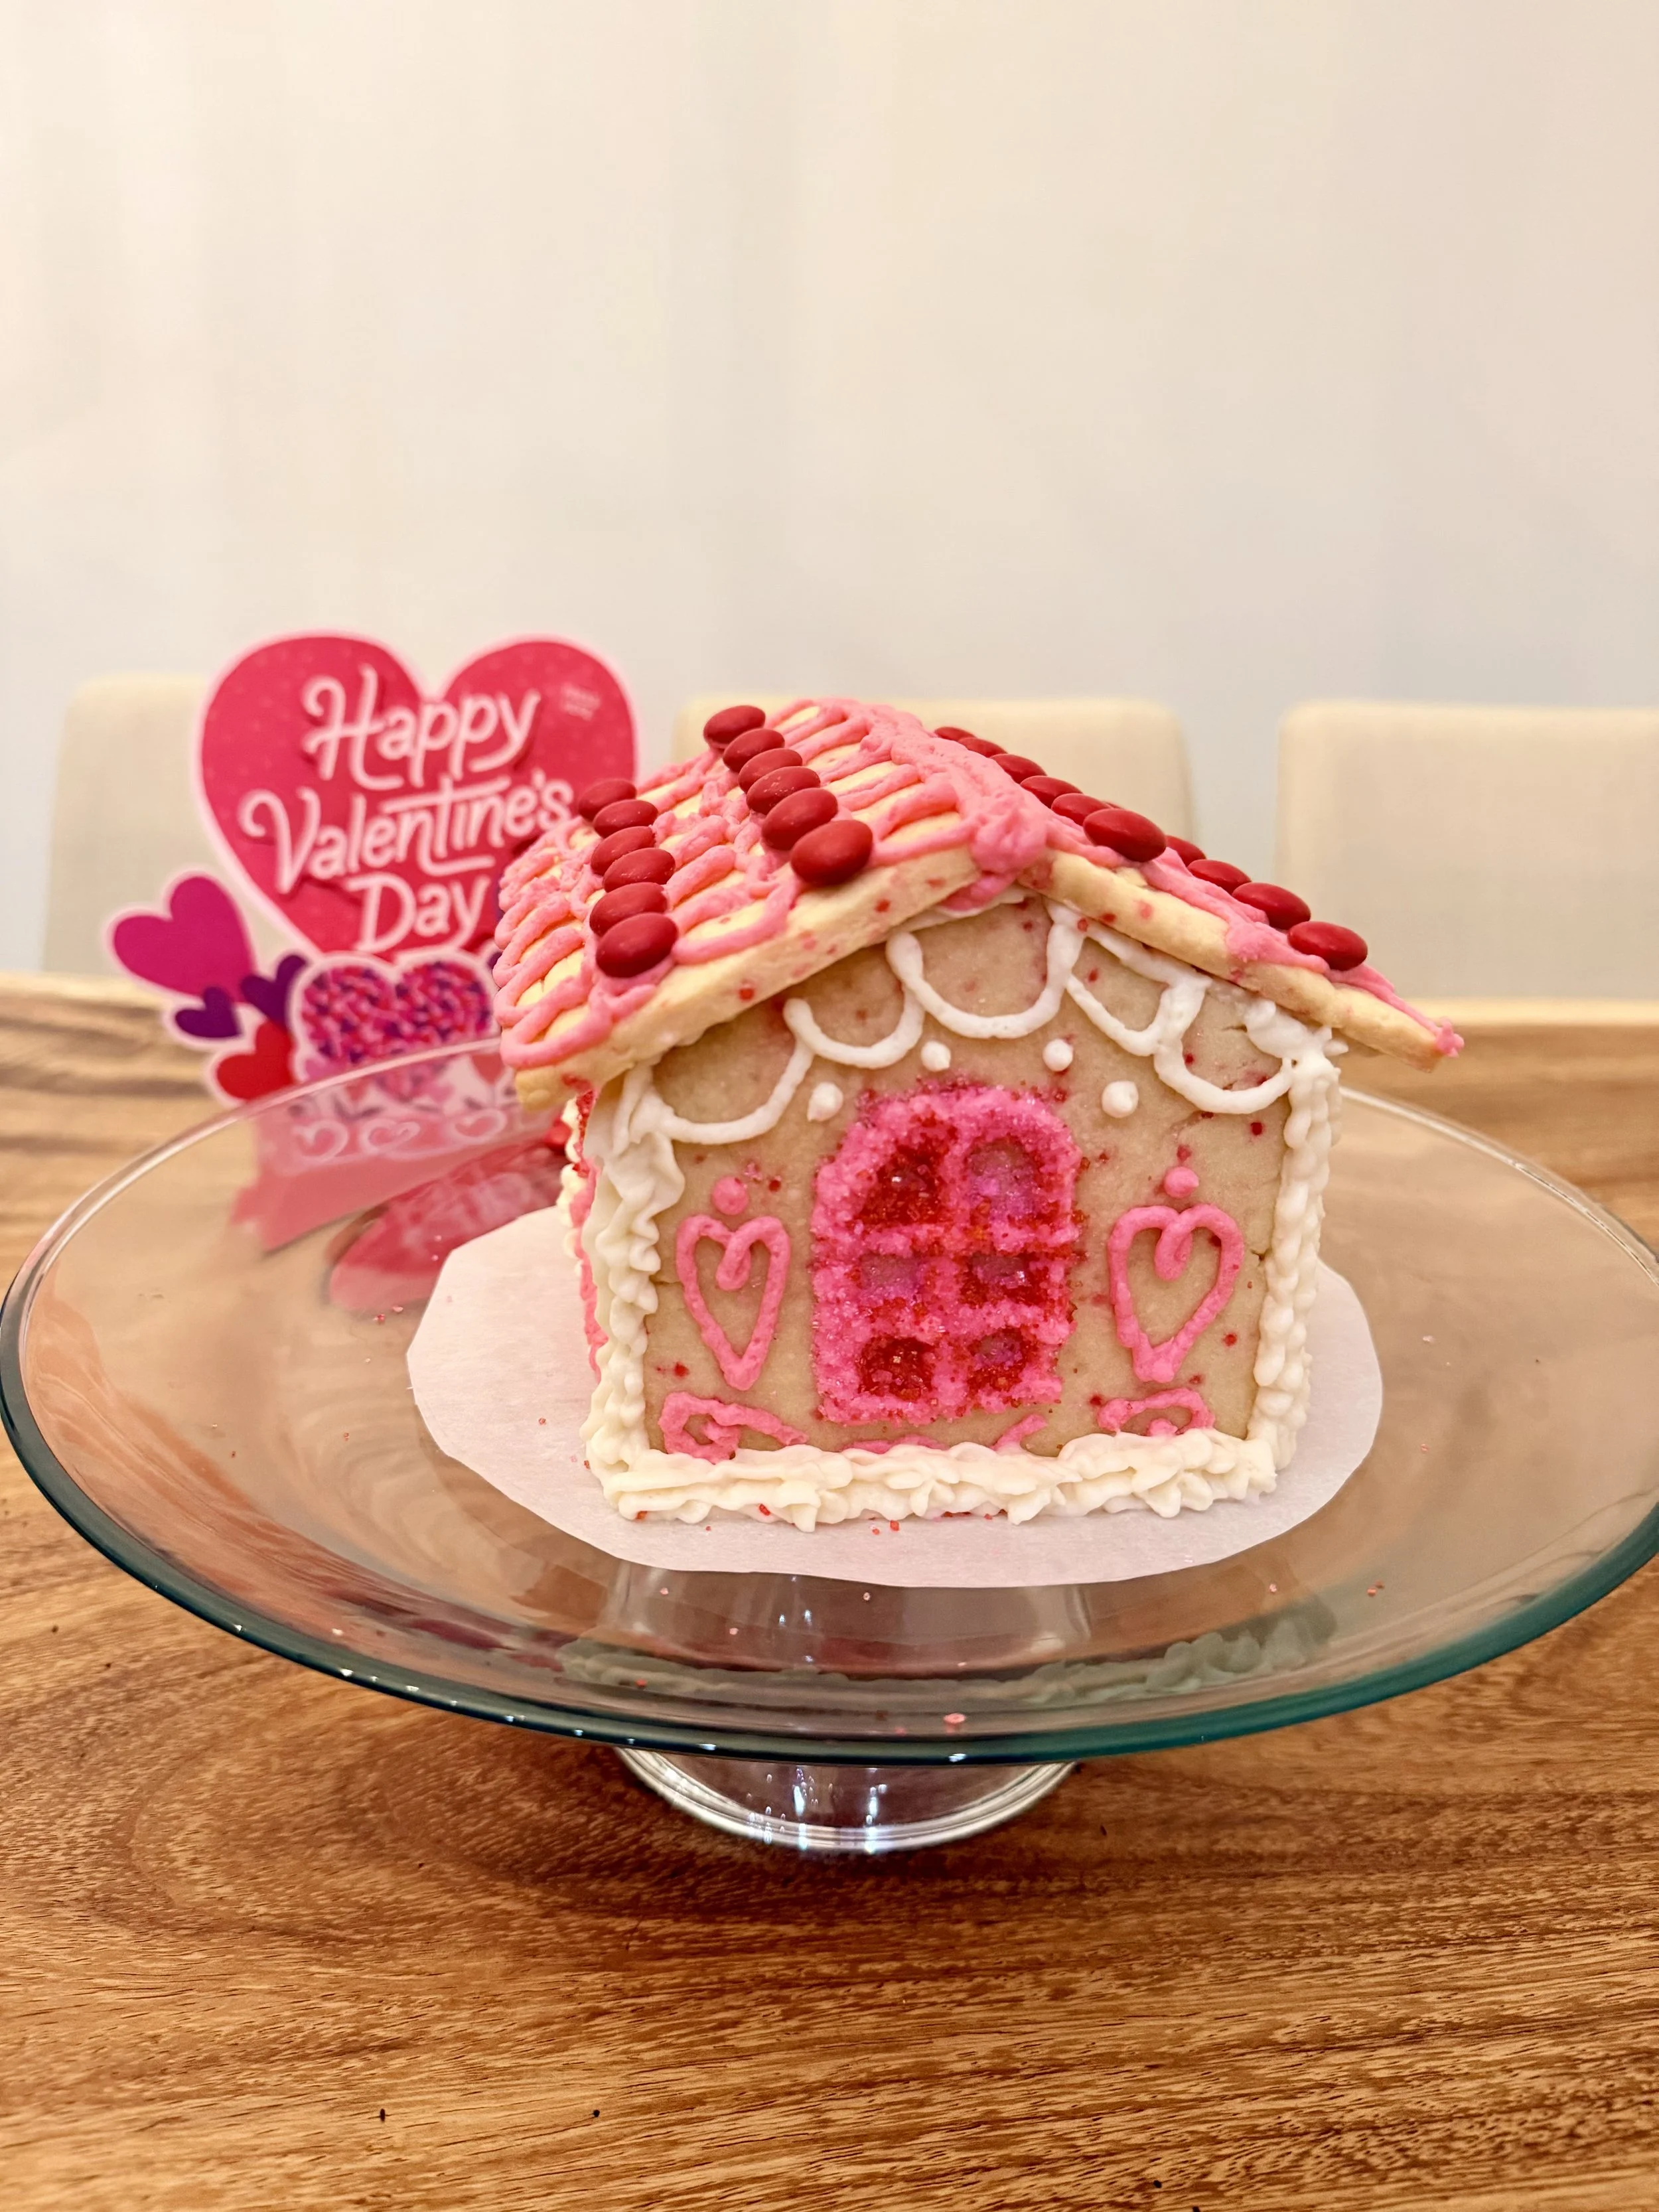
Back of Valentine’s Day sugar cookie house decorated with pink buttercream and sprinkles
Best Frosting or Icing for Valentine’s Day House
The best frosting for Valentine’s Day Sugar Cookie House construction is buttercream frosting. Most use Royal icing but Buttercream frosting also works and tastes much better.
Ingredients
1 cup unsalted butter, softened
3 teaspoons vanilla extract
4 cups confectioners' sugar, sifted if possible
1-2 tablespoons milk
Divide and add food coloring
Directions
Cream room temperature butter with a hand mixer, the paddle attachment of a stand mixer, or a wooden spoon until smooth and fluffy. Gradually beat in confectioners' sugar cup by cup until fully incorporated. Beat in vanilla extract.
Pour in milk and beat for an additional 3-4 minutes. Add food coloring, if using, and beat for thirty seconds until smooth or until desired color is reached.
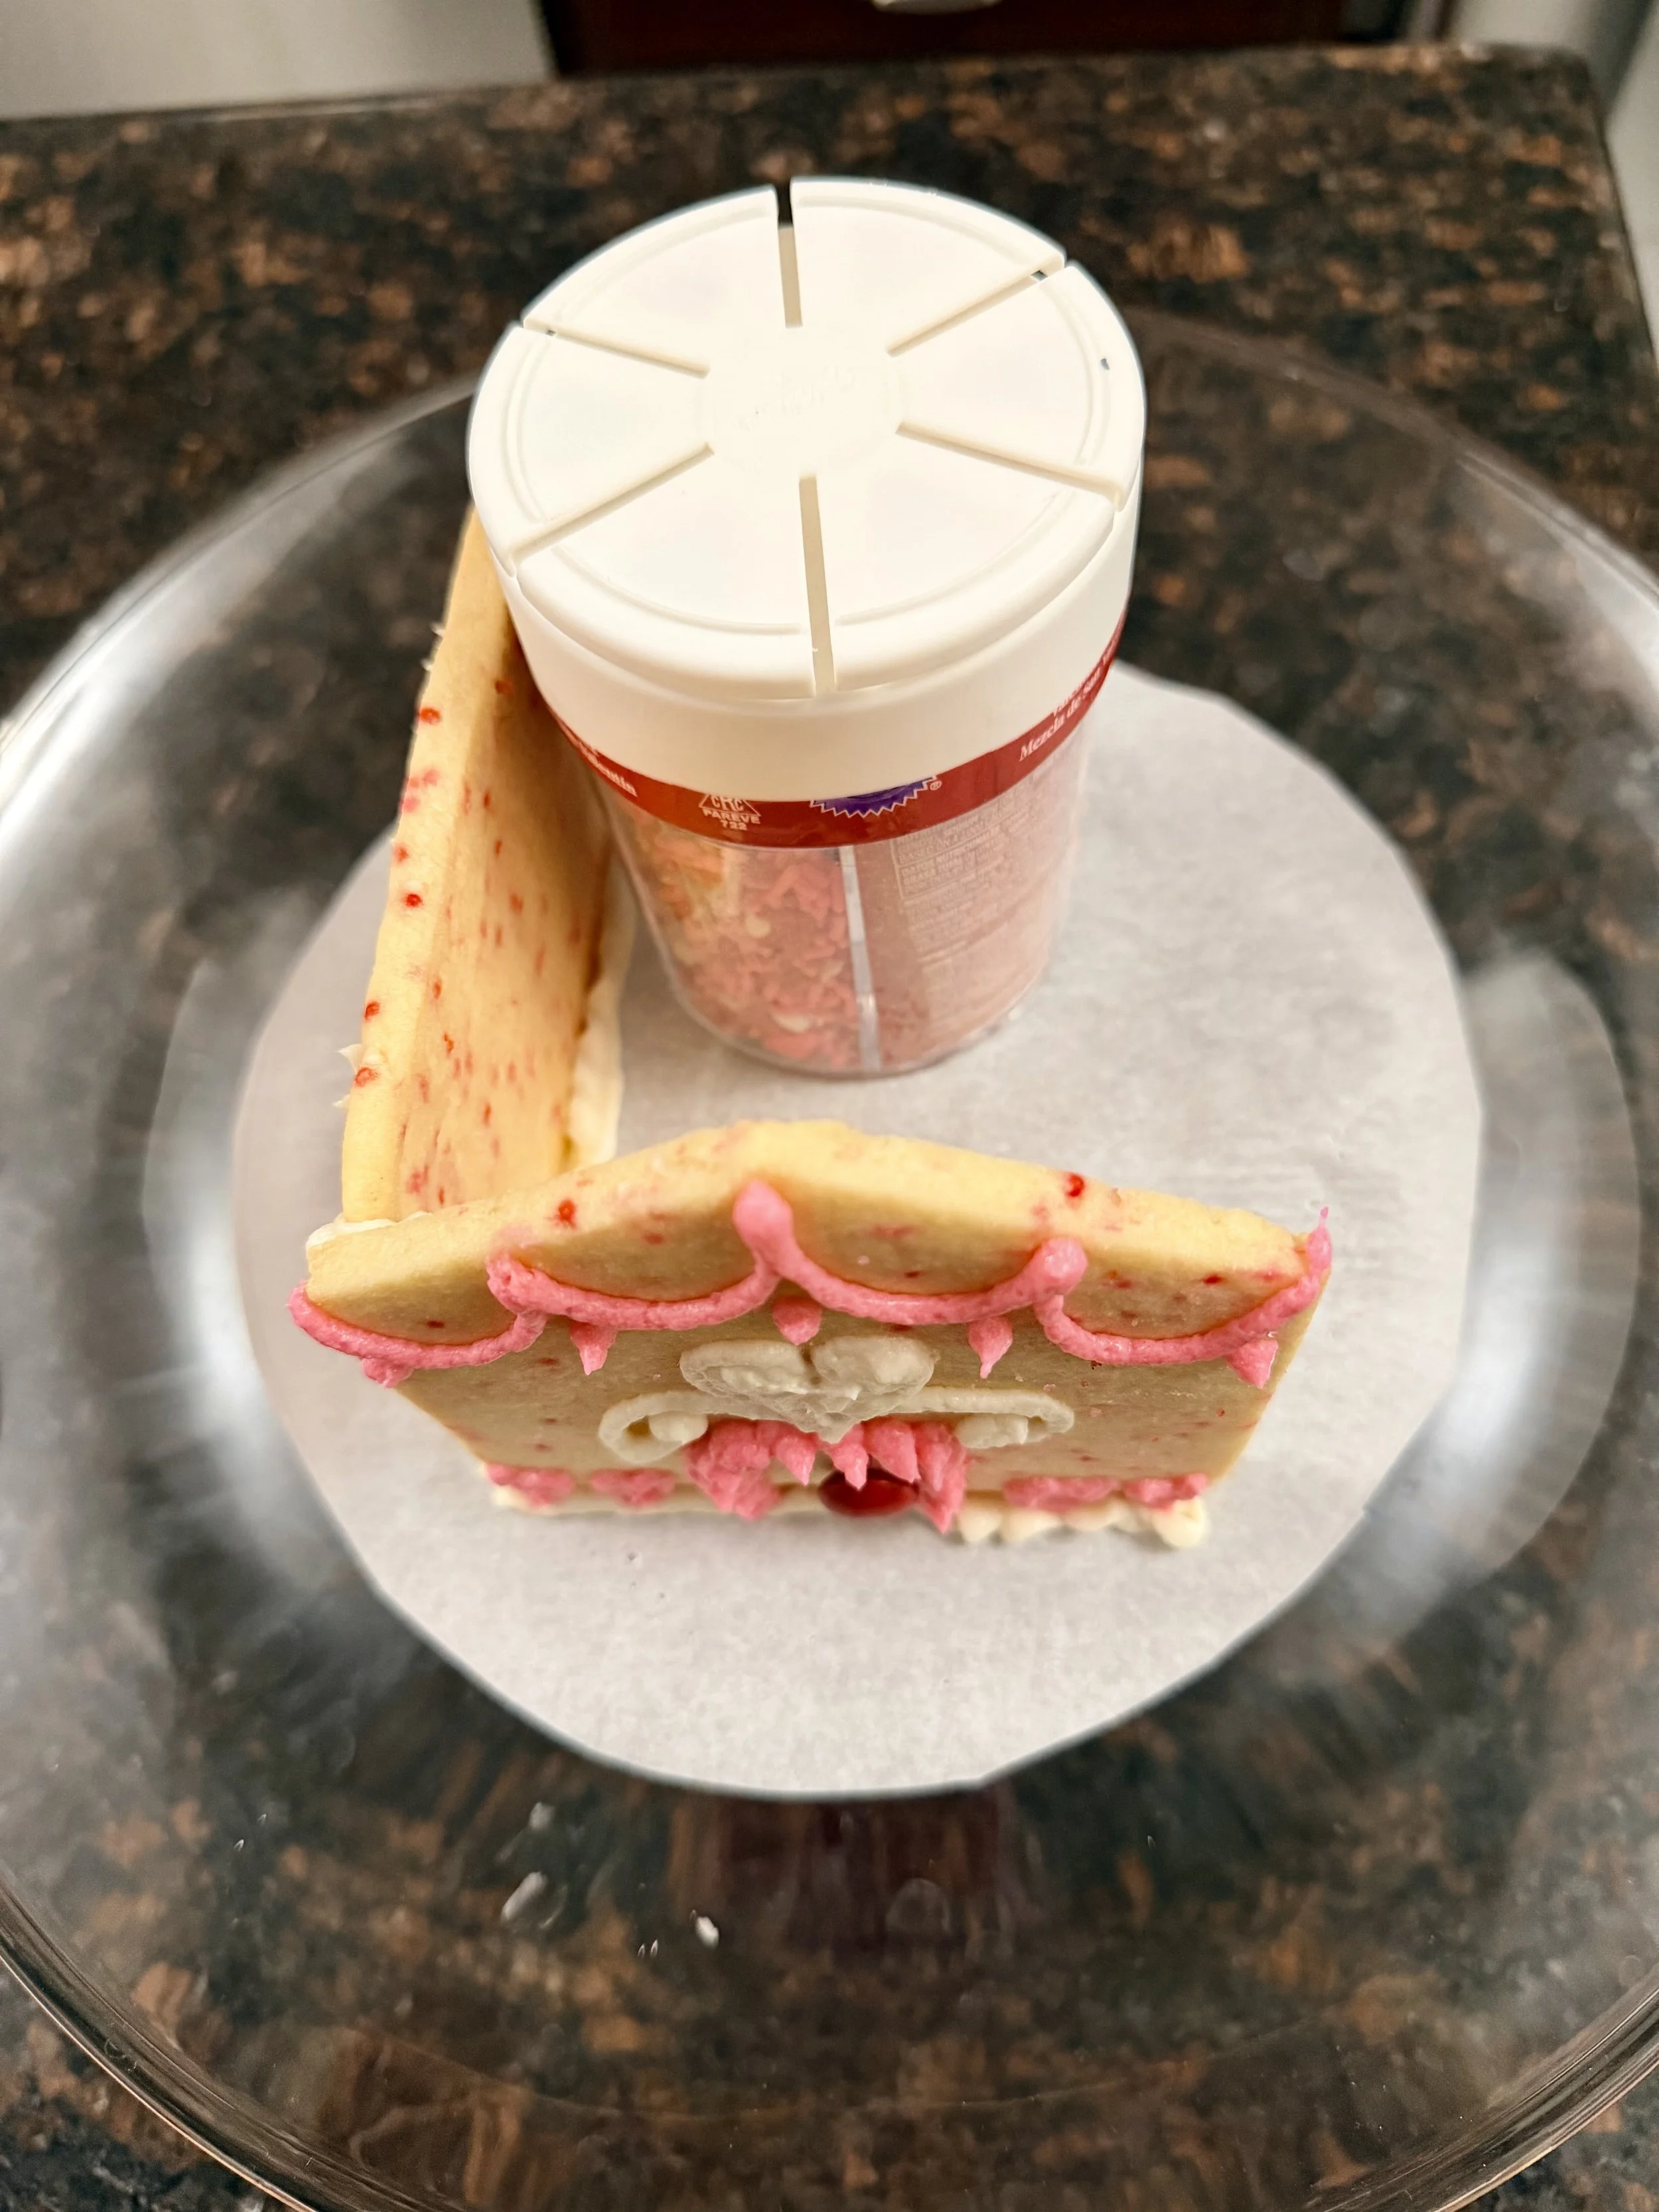
Sugar Cookie House Assembly - use Sprinkle container to help construct
10 Easy Step by Step Instructions of Valentine’s Day Sugar Cookie House Construction
To build and construct a Valentine’s Day Sugar Cookie House, follow these easy step by step instructions:
Make the dough ahead of time - you need it to chill in the refrigerator at least an hour before making (or the freezer for 20 mins).
While you’re waiting, make a plan for the sizing of your pieces. Check out my Gingerbread House blueprint template if you need one!
Preheat your oven to 325F after your chill time is complete.
Roll the dough 1/4” thick, I use these rolling guides for my rolling pin so I know it’s the right size. Pro-tip: I roll on the baking mat so it doesn’t slip. To prevent the dough from sticking to the pin, put extra flour on the top and bottom of the dough and put a layer of cling wrap on top, then roll over the dough! Mess free!
Place your blueprint pieces on top of the dough and cut around them with a knife or pizza cutter!
Transfer dough cutouts to a cookie sheets and bake in the preheated oven for 12 to 15 minutes or until edges are lightly browned. Cool 2 minutes on pan then move to wire racks and cool completely. Use a knife (or pizza slicer) to cut edges evenly, if necessary.
While the cookies are cooling, make your frosting and check Pinterest for design inspiration, like my Valentine’s Day Treats and Baking Ideas board.
Decorate your heart away (pun intended) with buttercream icing (see recipe below), candies, and decorative sprinkles. Refrigerate for 20 mins.
Assemble cookie house using buttercream icing as glue. Start with the front and a side piece of the house, first. Pro-tip: Use a soup can or sprinkle jar to help support the house while the frosting firms up. Then apply the second side and back of the house.
Decorate around the house and take a few pictures before indulging!
For more sugar cookie house ideas and holiday designs, visit our Sugar Cookie House Guide.
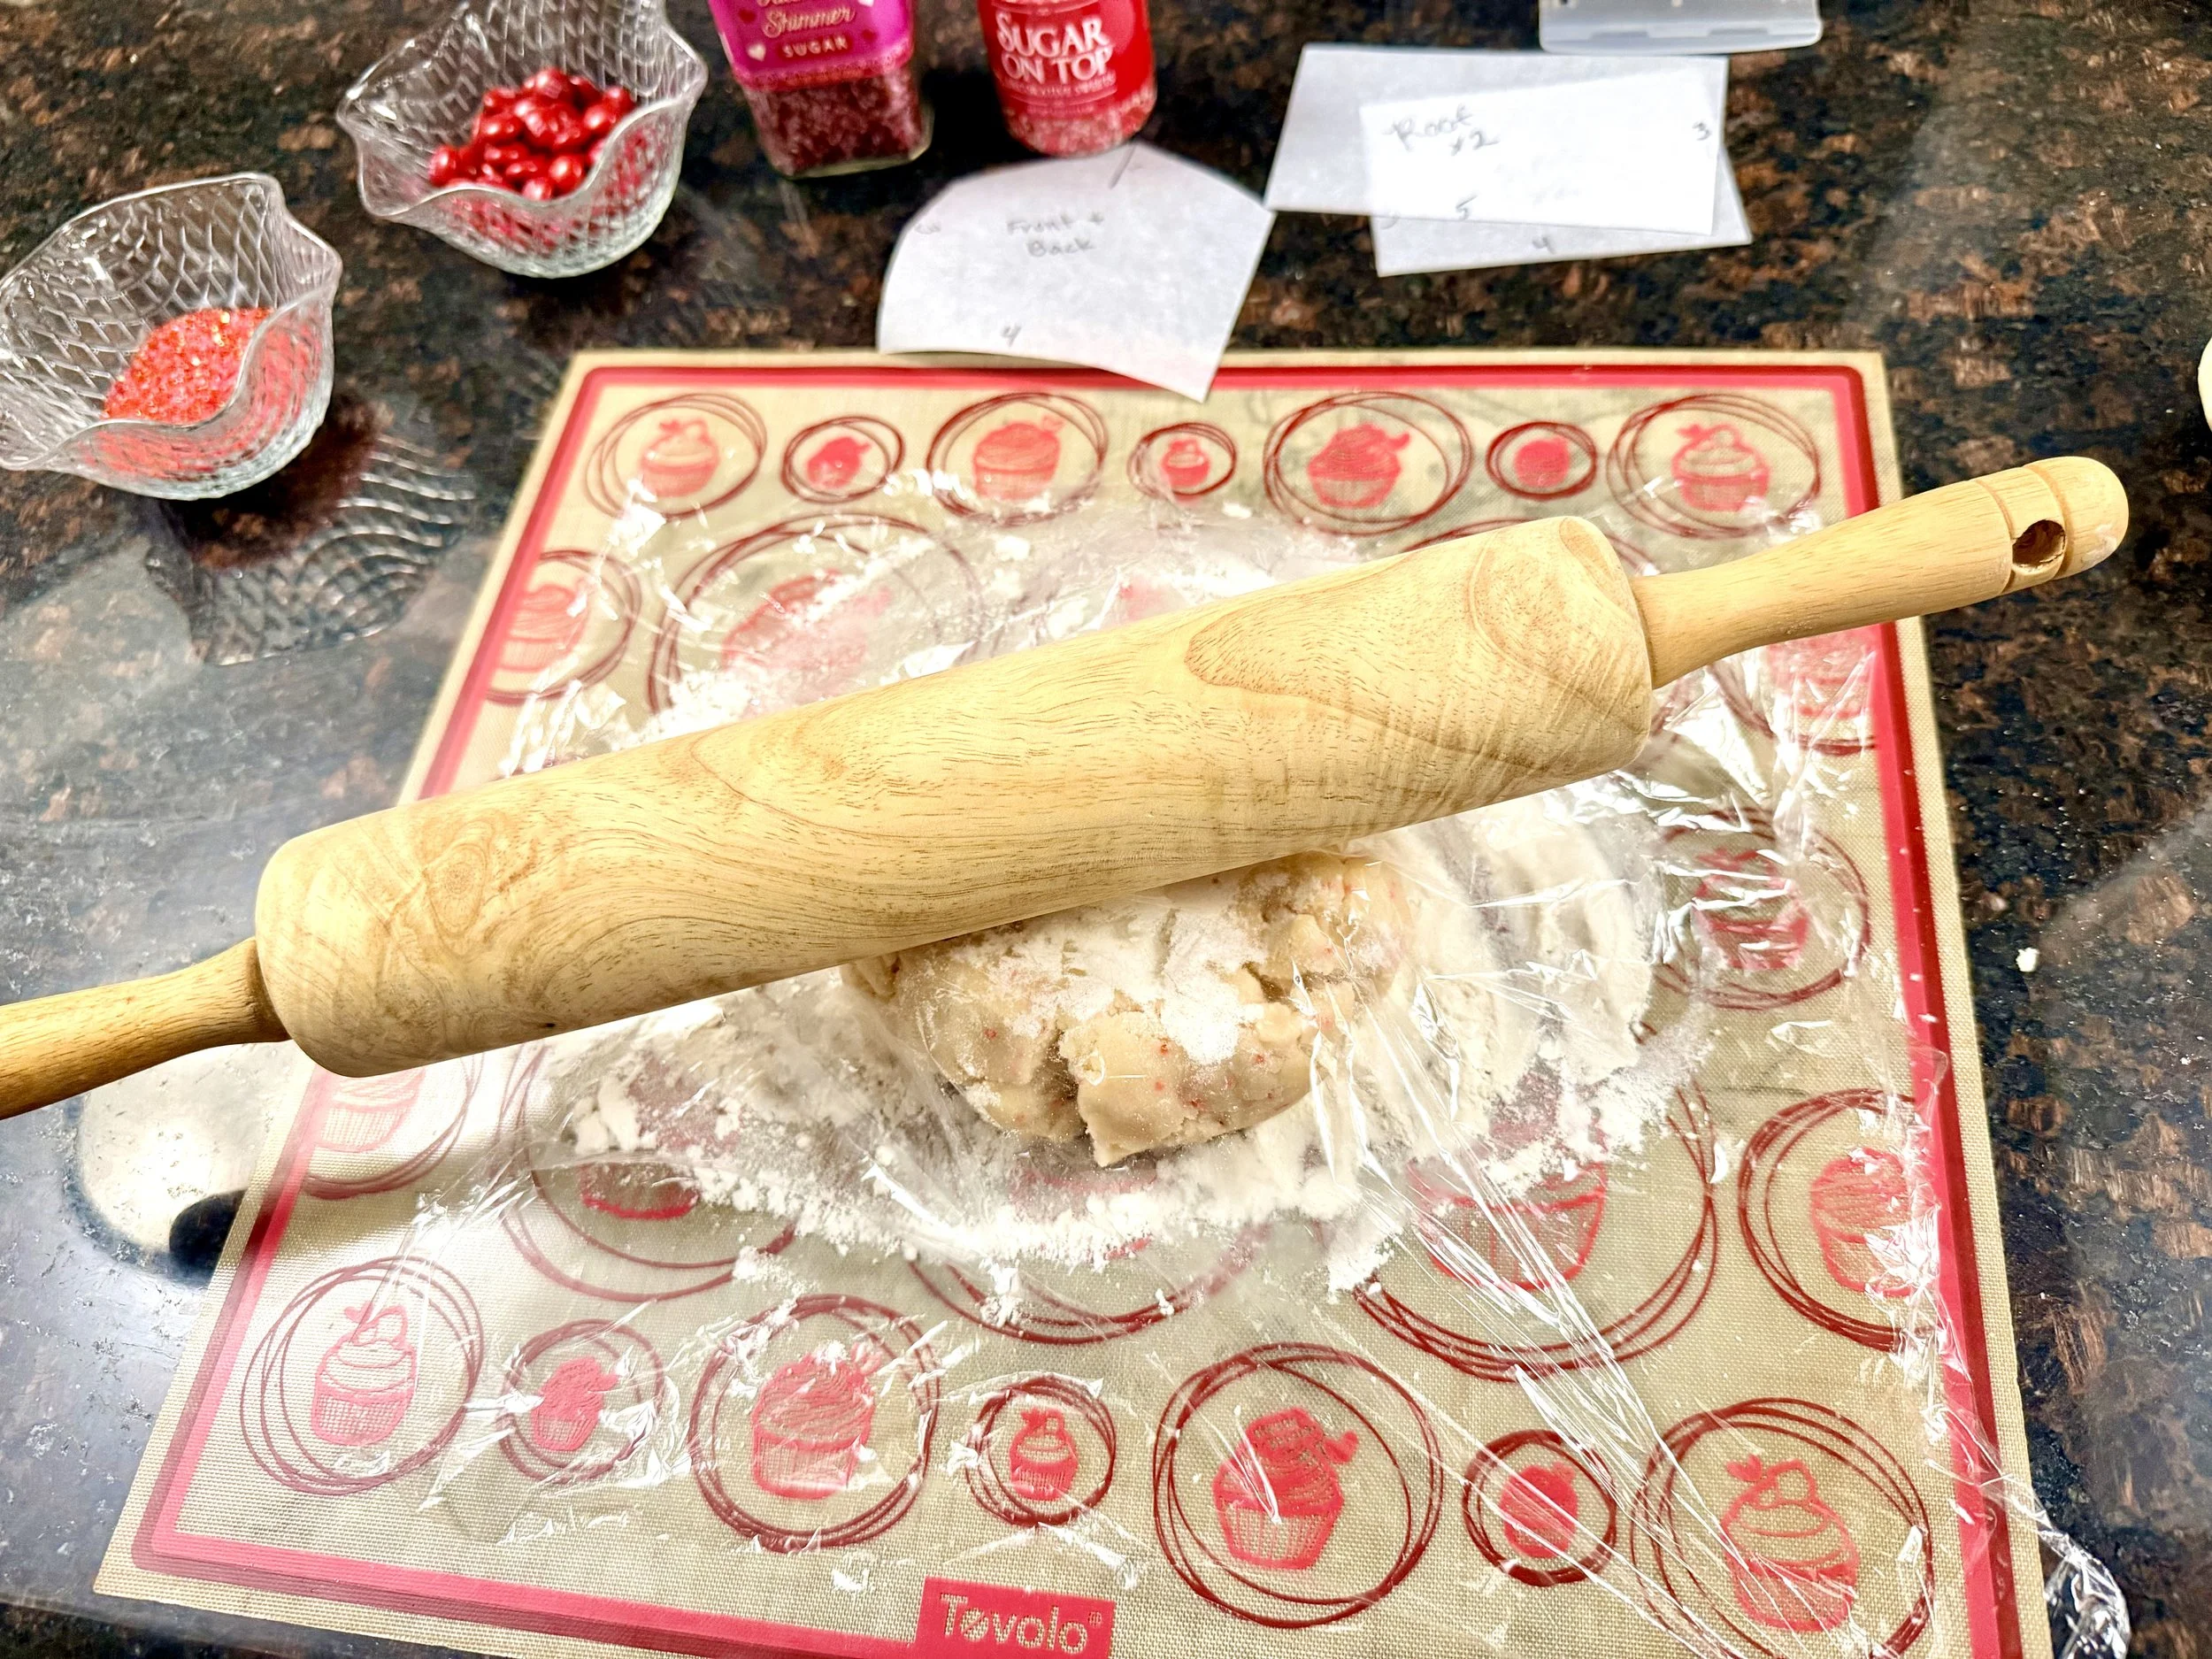
Valentine’s Day Sugar Cookie House dough
Valentine’s Day Sugar Cookie House FAQ
Can you make a sugar cookie house without gingerbread?
Yes! A sugar cookie house is built using sturdy rolled sugar cookie dough instead of gingerbread. The cookies bake flat, hold their shape well, and are much easier to work with—making them perfect for Valentine’s Day cookie houses.
Is a sugar cookie house easier than a gingerbread house?
Yes, sugar cookie houses are easier than gingerbread houses. The dough is softer to roll, doesn’t need long cooling times, and is more forgiving during assembly, especially when kids are helping.
What frosting works best for a sugar cookie house?
A thick buttercream frosting works very well for sugar cookie houses. When made stiff, buttercream acts as glue to hold the cookie pieces together while also tasting better than traditional royal icing.
Can you really build a cookie house with buttercream?
Yes, you can build a cookie house using buttercream frosting. As long as the cookies are fully cooled and the frosting is thick enough to hold stiff peaks, buttercream provides plenty of structure for assembling and decorating.
Does buttercream hold up when baking with kids?
Absolutely. Buttercream is easier for kids to pipe, spread, and decorate with compared to royal icing. It’s more forgiving, doesn’t harden too quickly, and allows kids to fix mistakes easily.
Do you need to chill sugar cookie dough for a cookie house?
Yes, chilling the dough is very important. Cold dough holds its shape better during baking, prevents spreading, and helps create straight, sturdy walls and roof pieces for your cookie house.
How thick should sugar cookies be for a cookie house?
Sugar cookies for a cookie house should be rolled to an even thickness of about ¼ inch. This thickness provides enough strength for building while still baking evenly.
Can you decorate a sugar cookie house before assembling it?
Yes! Decorating the cookie pieces before assembling the house is especially helpful when baking with kids. Flat pieces are easier to decorate, and you can assemble the structure once the frosting has set slightly.
How far in advance can you make a Valentine’s Day sugar cookie house?
You can bake the cookie pieces 1–2 days in advance and store them in an airtight container. The assembled cookie house is best enjoyed within 1–2 days for freshness.
Is a Valentine’s Day sugar cookie house good for classroom parties?
Yes, Valentine’s Day sugar cookie houses are great for classroom parties. You can pre-bake the pieces, provide buttercream and decorations, and let kids decorate without worrying about hard gingerbread or stiff icing.
Whether you’re starting a new Valentine’s Day tradition or just looking for a fun baking project to do with kids, this Valentine’s Day sugar cookie house is a sweet way to celebrate. With soft, sturdy sugar cookies, easy buttercream frosting, and endless decorating options, it’s a festive activity that’s just as enjoyable to make as it is to eat. Save this recipe for later, pin it for Valentine’s Day inspiration, and come back to it year after year for a cozy, creative holiday treat everyone will love.

Valentine’s Day Sugar Cookie House (Easy + no Gingerbread and no eggs)
More Posts:
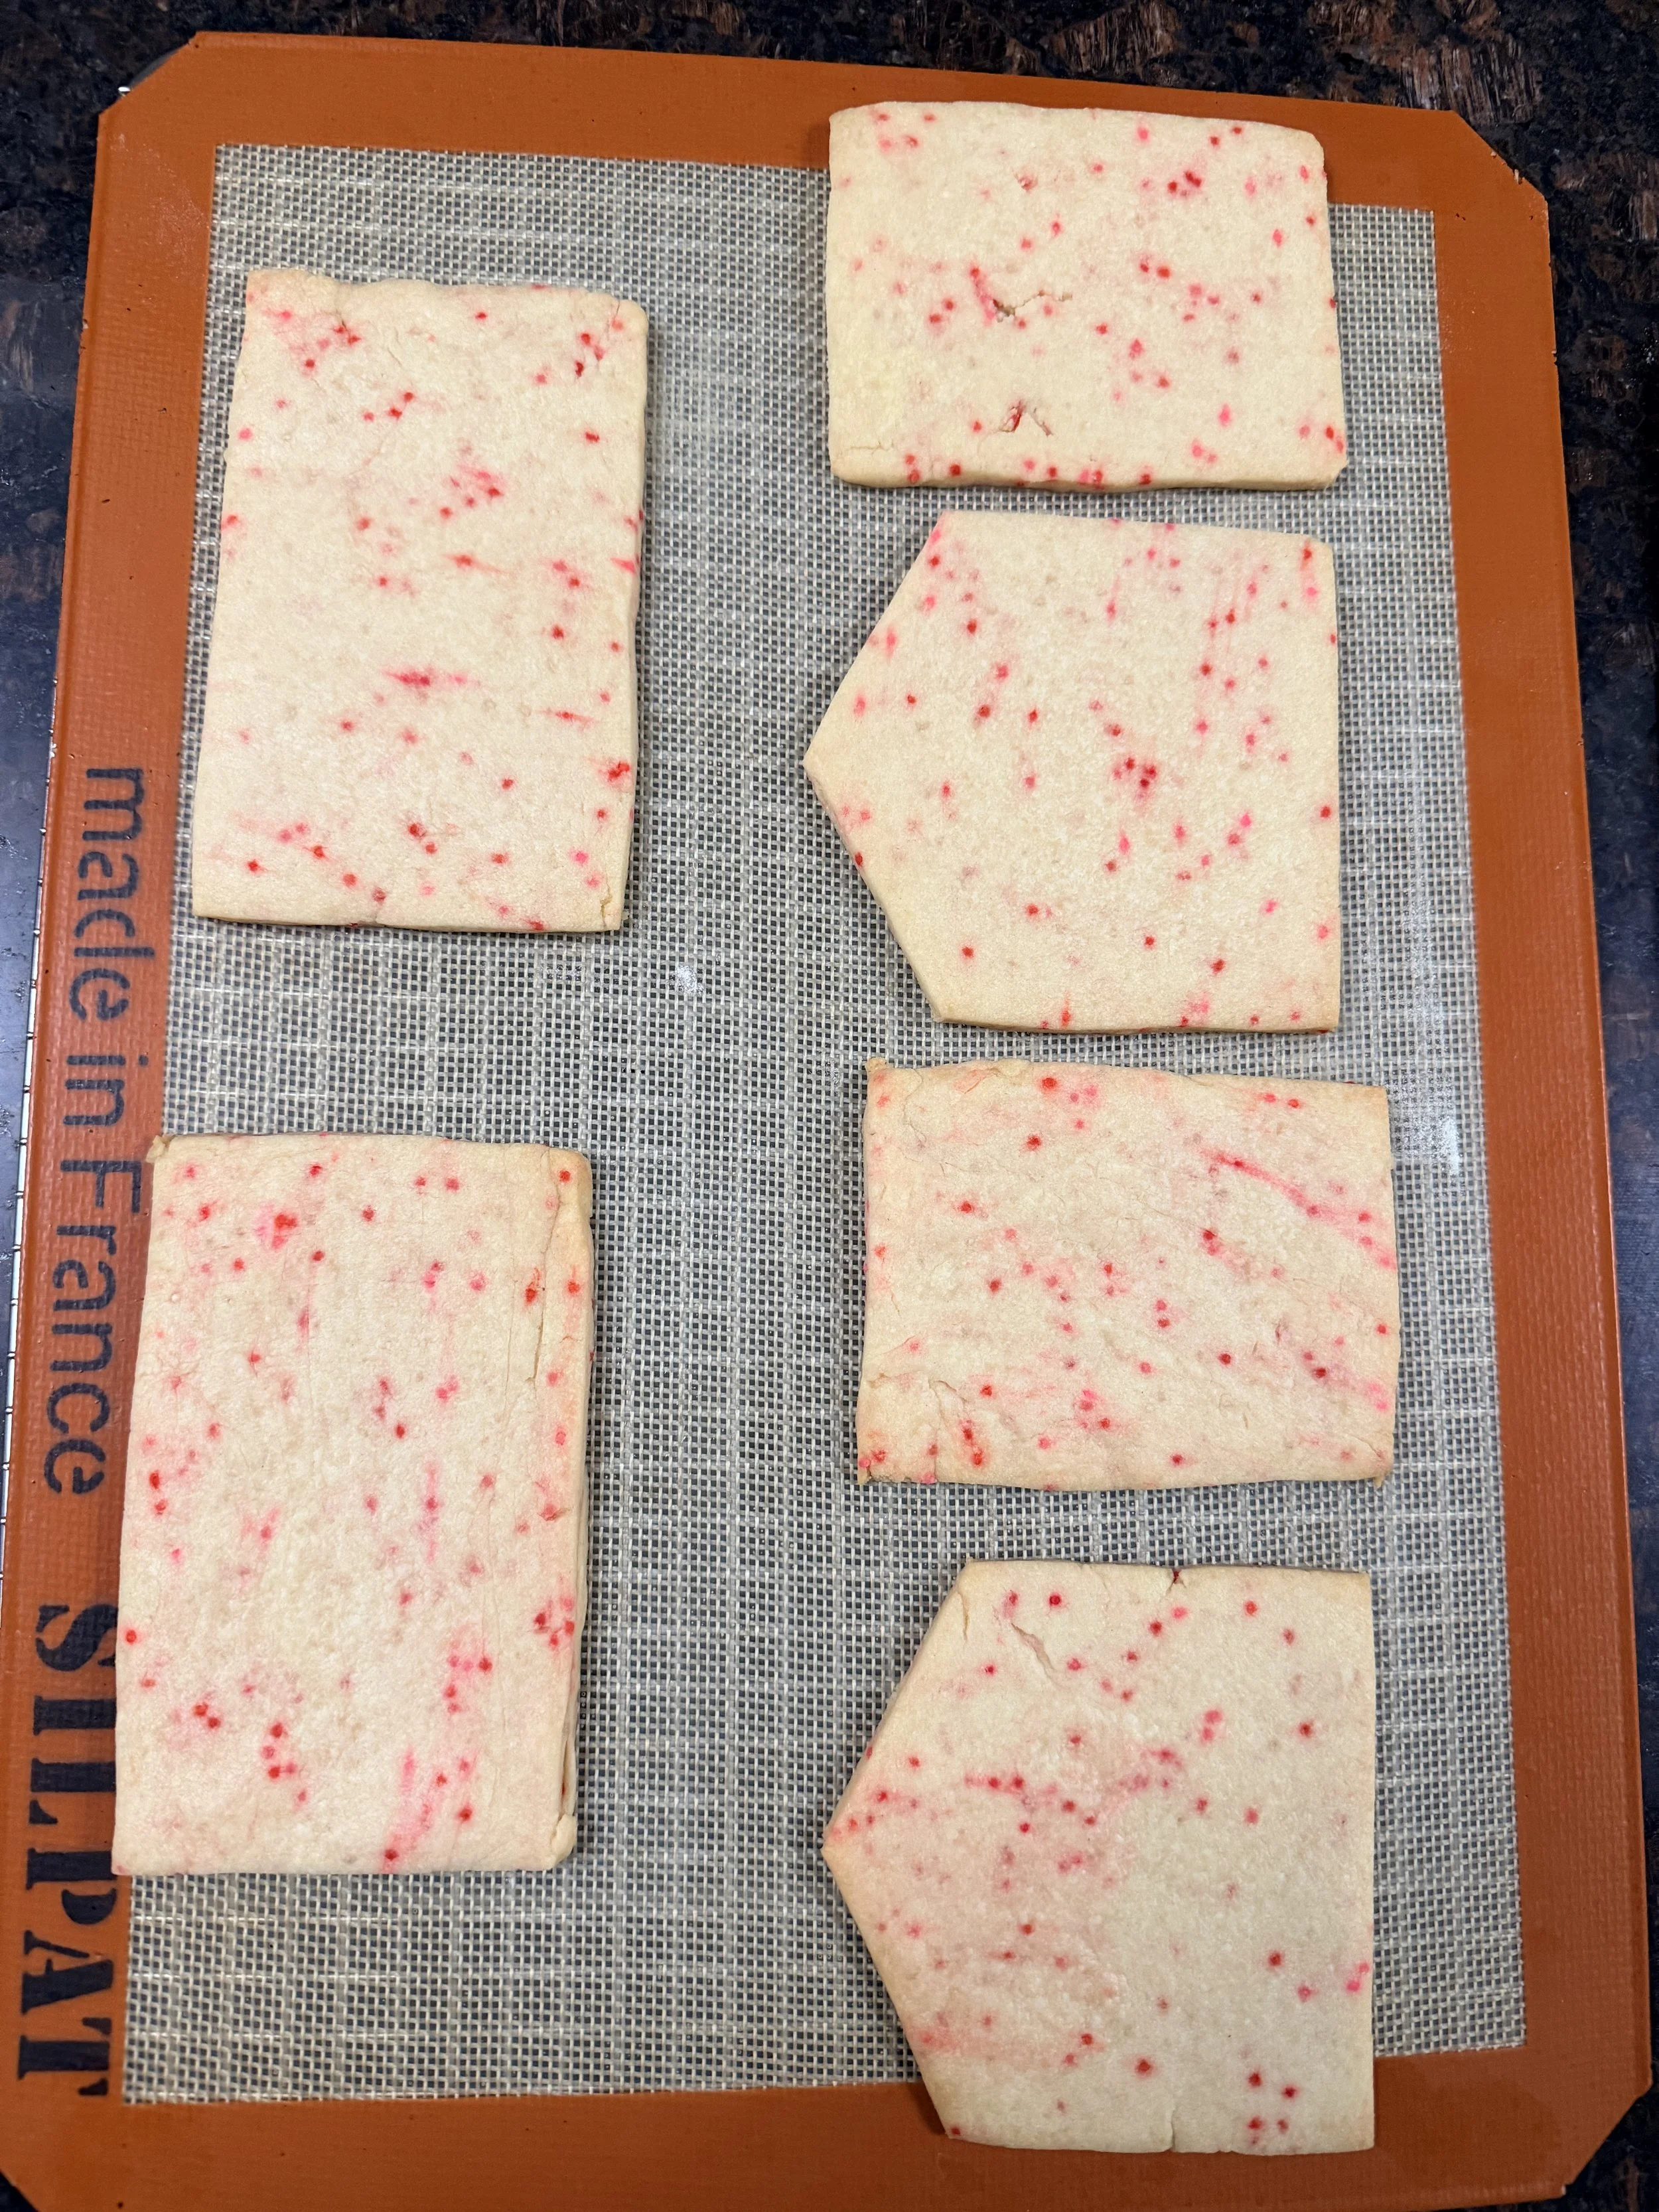
Sugar Cookie House cutouts

Maui With Kids: The Ultimate Family Travel Guide 2026
Maui is one of the easiest and most rewarding Hawaiian islands to visit with kids. From calm, swimmable beaches and walkable resort areas to family-friendly hotels, restaurants, and activities, this guide shares everything you need to know to plan a smooth, memorable Maui vacation with toddlers and young kids—based on real family experience.
This is what "Blue Health" looks like! There is a scientific reason why our kids are so much happier by the ocean—the coastal air and water actually boost creativity and calm. We chose Honua Kai for its perfect balance of shared family space and easy beach access, making it the ideal home base for our latest world-schooling adventure.
Is Maui Worth It With Kids? A Real Family-Friendly Travel Guide
Yes — Maui is absolutely worth visiting with kids. From calm beaches and stroller-friendly resort areas to kid-loving restaurants and flexible activities, Maui is one of the easiest Hawaiian islands to enjoy as a family — even with toddlers.
Our kids don’t understand how lucky they are for the amount of times they have gone to Hawaii! Maui is our favorite destination for traveling as a family. There is so much to do and the island has so much to offer for everyone. We have made some sweet memories together from having an infant to toddler and kid years.
We have learned to have a successful trip you need the balance of snacks, naps, and fun! therefore, we have recommendations for accommodations, restaurants, and things to do to entertain (and hopefully tire out) your tot!
Related Post: Don’t miss our ULTIMATE MAUI GUIDE
Honokōwai Beach Park with a playground in Maui
🌴 Is Maui Safe to Visit Right Now? (Updated March 25, 2026)
If you’re planning a Maui trip with kids and wondering about recent weather updates, I completely understand — it’s something I would be thinking about too! 🤍 See our weather post on Instagram!
We were actually in Hawaii during the recent Kona Low storm, and it was a little scary at times (especially when even locals were saying they hadn’t seen weather like that before). That said, situations like this are temporary, and Maui continues to be a beautiful and welcoming place to visit.
Most family-friendly areas like Wailea and Kaanapali are open and operating as usual. Weather can always impact plans a little, so having a flexible itinerary (especially with kids!) can make everything feel much smoother.
When we travel with our boys, I always like to have a few backup options — whether that’s a relaxed beach day, a pool afternoon, or an easy activity nearby. We hung out in the pool and at the beach a lot because they were near the hotel and we were wet from the rain anyway. Please use caution and check reports, the ocean might not be safe to swim in due to run-offs or strong currents.
I also had books and coloring books for the room, stock up on our favorite: The Trucks that Saved Series for rainy days with kids!
As always, it’s a good idea to check current conditions during your stay and use caution, especially with ocean conditions, which can change quickly.
Maui is such a special place for families, and this guide is here to help you plan a trip that feels fun, easy, and low-stress no matter what!

Honua Kai is a great place to stay with kids - multiple room option configurations, water slides, and a full kitchen, what else do you need?!
Best Places to Stay in Maui for Families
After many hotel and condo stays around Maui, let’s break up the island to compare which areas are best for your family!
🏝️ Best Areas to Stay in Maui With Kids
| Area | Best For | Walkability | Beach Type |
|---|---|---|---|
| Kā‘anapali | First-timers, toddlers | ⭐⭐⭐⭐ | Sandy, swimmable |
| Wailea | Luxury, older kids | ⭐⭐ | Resort beaches |
| Napili / Kapalua | Quiet stays, babies | ⭐ | Calm coves |
These are the best areas to stay in Maui with kids based on walkability, beach conditions, and family-friendly amenities.
Kaanapali vs Wailea vs Kapalua with Kids
Kaanapali is much more kid friendly, as well as budget friendly, than Wailea. Both areas of the island have family friendly hotels but Kaanapali has a long stretch of them! There is a great beach and tons of hotels and shopping along Kaanapali with a long walk way to connect everything together.
Wailea has more high end hotels that are more geared towards adults, such as the Four Seasons or the Andaz. The Grand Wailea has an awesome pool with lots of water slides but you can also get similar pools in Kaanapali.
Napili and Kapalua are further North and rockier than the previous areas discussed. It’s not as walkable as the hotel resorts are more spread out, which makes it less crowded and quieter. Kapalua bay has a great beach that doesn’t have big waves but also has a coral reef that is great for snorkeling! The Kapalua coastal trail is great for strollers or walking with a carrier.
🏨 Condo Resorts vs Hotels
Depending on your length of stay, if it’s more than 5 days, you might be more comfortable trying a condo like Outrigger’s Honua Kai! You can pick your room layout (Studio, One Bedroom, Two Bedroom or Three Bedrooms) so that you have plenty of space especially when babies or toddlers are napping and you need another room to hang out in!
Condo Rental Wins:
Pools are like resort pools! Honua Kai has one of our favorite pools complete with water slides, splash pad, and kiddie pool! You can even get food and drink poolside service from Duke’s restaurant!
My favorite feature is having a full kitchen with the little ones so you can make pancakes or have fresh fruit and milk available in a full sized refrigerator as opposed to a mini fridge.
We book through Maui Resort Rentals and they have cribs/pack n plays so you don’t have to bring a bed!
The Trucks that Saved the Park story book and coloring book are NOW available!
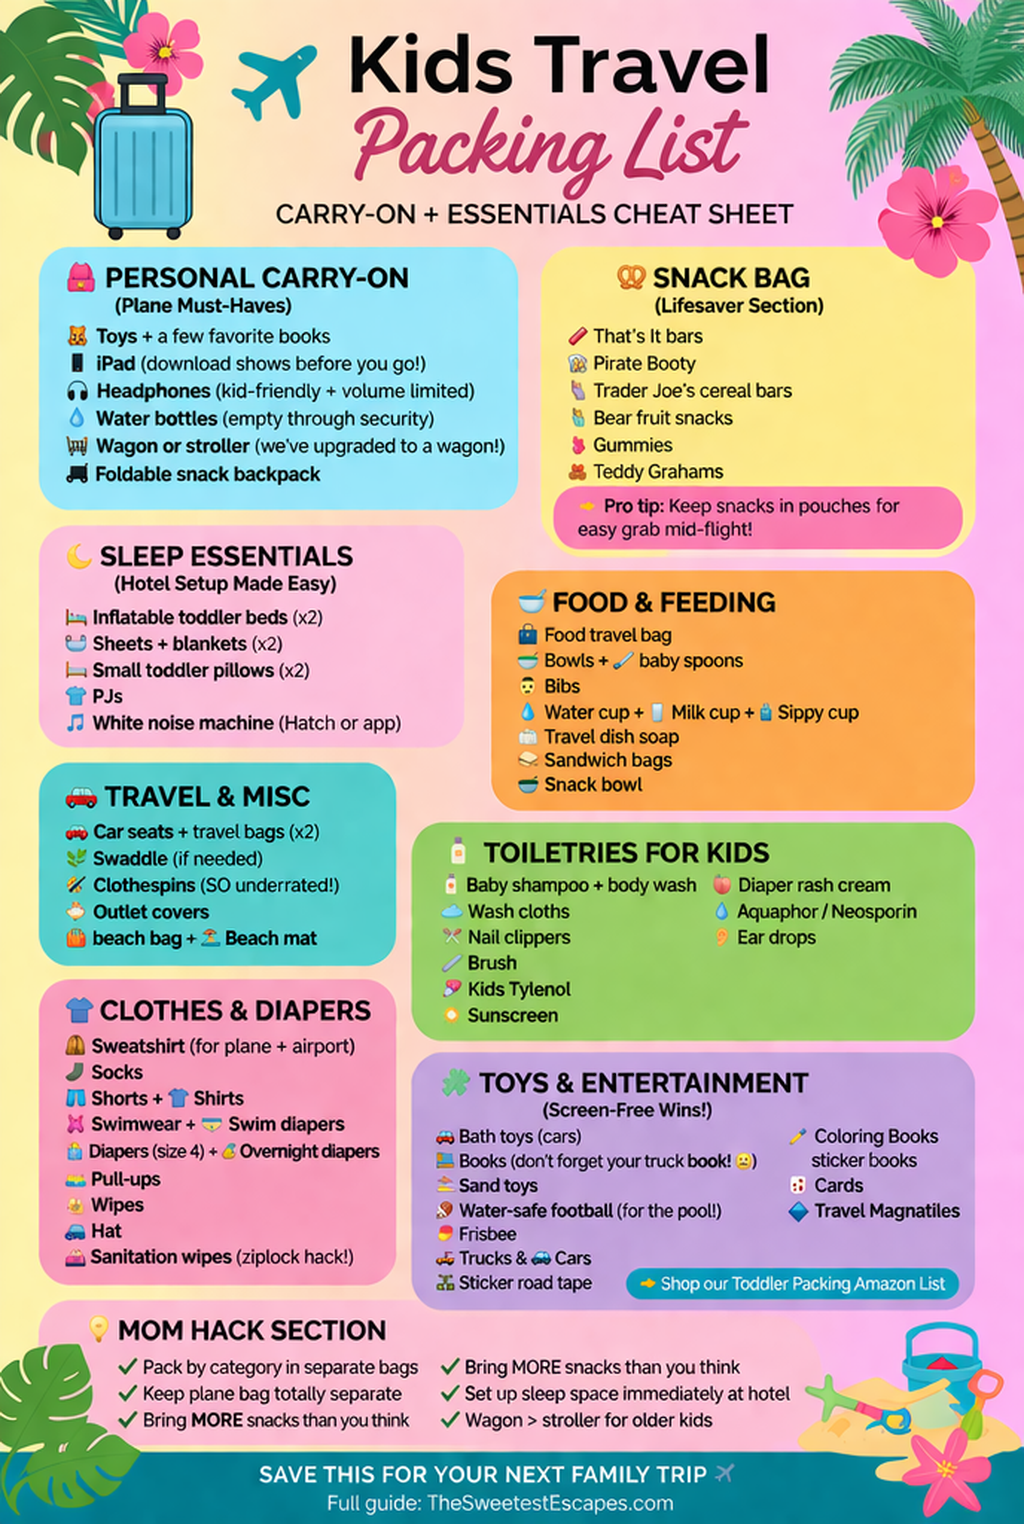
🧳 Planning a Hawaii trip with kids?
I made a free family packing list with carry-on essentials, beach must-haves, snacks, sleep items, and toddler travel favorites.
Taking first steps on a Little Beach bridges in front of Honua Kai
Best Resorts for families
Don’t get me wrong, the resort hotels are wonderful too! If you have kids that are 4+, traveling is a bit easier since you don’t have to bring diapers, strollers, pack n play, etc!
Kaanapali has a few great hotel resorts:
Westin Kā‘anapali Ocean Resort Villas
The Westin in Kaanapali has an amazing pool area with slides, fountains, and one especially parent-friendly feature: our 3-year-old could climb up to the slide on their own and land in a shallow pool (about 1.5 feet deep). This setup was a huge win for us—it gave our toddler independence while giving us a much-needed break from constant stair climbing.
The Westin also has great restaurants, a Starbucks, and an ARCADE!
Other activities include feeding the flamingos and birds in the morning. Ask the front desk about the times for daily feedings. We were even able to hold the birds too!
Hyatt Regency Maui Resort and Spa
The pool at the Hyatt Regency Maui is a kid’s tropical playground that feels more like a mini-waterpark than a hotel pool. Between the sandy lagoons, waterslides, swinging rope bridge, hidden grottos tucked behind rushing waterfalls, and the legendary Ululani’s Shave Ice located right on the pool deck, it provides enough adventure to keep children entertained from sunrise to sunset.
The Hyatt Regency Maui resort has a resident colony of African Black-Footed Penguins. Located right in the atrium lobby, these charismatic birds are a must-see, especially during the daily 9:30 AM feedings where children can watch them waddle, swim, and dive for their breakfast while learning about conservation from the wildlife team. It’s essentially a mini-zoo experience without leaving the hotel, featuring not just the penguins but also flamingos, swans, and talking parrots scattered throughout the lush grounds.
Has a game room/arcade area geared toward kids and teens.
African Black-Footed Penguins at the Hyatt Regency Maui
Wailea also has a family friendly hotel:
Grand Wailea
Though there isn’t an arcade, the Grand Wailea offers a kids club and teen lounge including video games and indoor activities— which is more structured and supervised than the Hyatt or Westin Arcades.
The Grand Wailea pool is widely considered the heavyweight champion for kids on Maui. The massive Wailea Canyon Activity Pool is a sprawling 25,700-square-foot playground that is actually nine individual pools connected by a network of lazy rivers and whitewater rapids.
Children can choose from five different waterslides, including the three-story Lava Tube for the brave and gentler interconnected slides for the younger ones. Between the Tarzan rope swing, the hidden caves behind waterfalls, and a dedicated Baby Beach with a sandy bottom and zero-entry slope, it essentially functions as a private, world-class waterpark that keeps kids engaged for days on end.
See our full review of The Grand Wailea.
Multi-Gen Logistics: Finding the "Middle Ground"
What are the best multi-generational resorts in Maui for kids and seniors?
The Sheraton Maui Resort in Kaanapali is ideal for families because it offers multiple room types and towers, making it easy to request adjoining rooms or stay close together.
Accessibility with Dignity: Multiple elevators and card-access doors make the property easy to navigate for those with strollers or limited mobility.
The Shared Experience: Kaanapali Beach is a great stretch for walking, and the resort's location near Black Rock provides world-class snorkeling that every generation can enjoy together.
A "Helper" Moment: As the kids watch the tour boats and beach equipment being moved, it's a perfect time to talk about how different "helper machines" make vacation fun—just like in The Trucks That Saved. My littles are excellent at pointing out all trucks, even in Maui!
The Grand Wailea is another top pick, featuring a massive pool area that functions like a water park for the kids, while grandparents can enjoy the Wailea Beach Path. This 1.5-mile concrete paved trail is perfect for a morning stroll with a stroller and a grandparent who prefers level ground (or walking a sleeping baby in a stroller! 😉).
Maui 2-Bedroom Condos for Families: The "Shared Space" Strategy
For families looking for communal living with private retreats, Honua Kai is unbeatable.
The Condo Advantage: These 2- and 3-bedroom units include full kitchens for slow breakfasts together, but offer enough separate bedrooms for a "quiet escape" when the kids have their high-energy "bursts of excitement" or early bedtimes.
Skip-Gen Potential: Booking through Maui Resort Rentals often includes beach gear like coolers and chairs. Help set up a base camp for the grandparents and kids on the beach while you and your husband enjoy a solo lunch nearby (Duke’s Beach-house) —a classic "skip-gen" bonding moment.
Literary Travel Tip: Pack your favorite book from the series to read by the pool; the "helper" themes of cooperation are great for teaching kids how to be good travelers alongside their extended family.

Honokōwai Beach Park
🏝️ Best Beaches in Maui for Kids
One of the biggest reasons we keep coming back to Maui is the beaches. We've been visiting the island every year since 2013 (and even spent a month here in 2021), so we've had plenty of time to find the beaches that actually work well with young kids.
Not every beach in Maui is toddler-friendly. Some have large shore breaks, rocky entries, or limited parking. When we're traveling with little ones, we're always looking for:
Calm water
A gradual, shallow entry
Easy parking
Nearby bathrooms
Space for kids to safely run and play
Some of our family favorites include:
🏖️ Honokōwai Beach Park – Our top pick for toddlers thanks to the protected water and playground.
🐢 Kapalua Bay – Calm water that's perfect for swimming and snorkeling, plus sea turtles often rest nearby.
🌊 Airport Beach (Kahekili Beach Park) – Gentle waves and a gradual shoreline make it a favorite for younger kids.
🏄 Kāʻanapali Beach – Ideal for older kids who love jumping waves or trying a boogie board.
🖤 Waiʻānapanapa State Park – One of Maui's famous black sand beaches and a must-see stop along the Road to Hana.
For our complete guide—including photos, parking tips, bathrooms, toddler recommendations, and the beaches we return to year after year—read our full guide to Best Beaches in Maui for Kids.

Look Closely for the Sleeping Green Hawaiian Sea Turtles in Kapalua Bay
Best Things to Do in Maui With Kids
Some of the best things to do in Maui with kids include beach days in Wailea, snorkeling in calm coves, easy Road to Hana stops, shave ice tastings, scenic hikes, and sunset walks along the coast. Maui makes it easy to mix adventure with relaxation for the whole family.
🌊 Snorkeling
Snorkeling is one of the best family-friendly activities in Maui. Head to calm beaches like Kapalua Bay, Black Rock, or Ulua Beach in Wailea where the water is typically gentle and clear. Kids love spotting colorful fish right off the shore, and many beaches have lifeguards and easy entry points.
Pro tip: Go early in the morning for the calmest water conditions.
🍧 Shave Ice Tasting
You can’t visit Maui with kids and skip shave ice. It’s practically a family tradition. Try tasting your way through different spots across the island — from classic rainbow flavors to fresh fruit syrups with ice cream at the bottom. It’s the perfect cool-down treat after beach time or a hike.
(We have a full list of our favorite shave ice spots in Maui here!)
🥾 Easy Hikes
ʻIao Valley is great to wander around and has different hiking levels for all ages. There’s also a stream to swim in, which makes it extra fun for kids.
Kapalua’s Coastal Trail is even stroller-friendly with stunning beach views and plenty of spots to stop and explore.
See our full breakdown in our Maui Hiking Trails Post!
🚜 Farm Visits
Kula Ranch is a great place to visit — especially in October! They have a full pumpkin patch as well as animals to look at and pet. Kula is above Wailea, but you’ll need to drive around the island to reach it.
And don’t leave without grabbing pumpkin bread from the little roadside stand!
🚗 The Road to Hana for All Ages: A Slow-Burn Itinerary
The Road to Hana is one of the best ways to experience how gorgeous Maui truly is—filled with waterfalls, black sand beaches, and famous banana bread stops. To make this an "ALL-day" success for three generations, prioritize a strategy that balances quality over quantity.
The ultimate "helper truck!" Stopping at Coconut Glen’s for their famous vegan ice cream is a Road to Hana tradition. Our kids loved seeing this real-life version of the hard-working vehicles in our book series, The Trucks That Saved.
A Sweet "Helper" Stop: Coconut Glen’s Ice Cream Truck
Don't forget to look for the whimsical, colorful ice cream truck at Mile Marker 27.5. While the famous gong may be gone, the magic is now served straight from a real-life "helper vehicle!"
The Experience: This is the perfect "Middle Ground" stop to stretch your legs in a Woodstock-like jungle setting.The kids will be mesmerized by the vibrant truck, and even the grandparents will be shocked by how creamy the organic, vegan coconut milk ice cream is.
Literary Travel Tie-In: As your kids watch the ice cream truck "help" hungry travelers, it’s the ultimate real-world connection to the characters in The Trucks That Saved.
Book Sales Bridge: "If your kids love seeing 'helper trucks' like this in the wild, they’ll recognize the same spirit of teamwork in our book, The Trucks That Saved the Park. It’s a great story to read aloud during your next beach picnic!"
What are the best low-impact stops for seniors and kids?
Waiʻānapanapa Black Sand Beach: This iconic stop offers a high-visual impact for everyone.
Multi-Gen Pro-Tip: The overlook provides a stunning view for grandparents who prefer to avoid the steep stairs, while the kids can enjoy a "burst of excitement" exploring the black sand below. Note: Reservations are now required for out-of-state visitors!
Wailua Falls (Mile Marker 45): One of Maui's most photographed waterfalls, visible right from the parking area with zero hiking required.

The Ohe’o Gulch (Seven Sacred Pools) is a masterpiece of natural engineering. While the pools are often closed for swimming due to safety, the paved Kuloa Point Trail offers an easy, half-mile loop that is perfect for strollers and grandparents to see the waterfalls meeting the ocean. We loved watching the Park Rangers—the ultimate 'helpers'—working to keep this beautiful, sacred area safe for families to enjoy.
Road to Hana Educational Adventure: Hiking and "Helper" Machines
Driving to the Kipahulu District of Haleakalā National Park is the ultimate reward at the end of the road. Here is how to handle the two very different experiences found here:
Haleakalā National Park (Pipiwai Trail + Bamboo Forest): This 4-mile round-trip hike is a world-schooling highlight featuring a massive banyan tree and a "Zen-like" bamboo forest.
The Skip-Gen Strategy: This is a perfect "Skip-Generation" opportunity. The trail can be muddy and steep, so let the grandparents enjoy a slow lunch at a nearby lookout or the visitor center while the parents take the kids on the hike.
Ohe’o Gulch (The Seven Sacred Pools): If you are looking for high-visual impact with low effort, this is your stop (pictured above).
Accessibility with Dignity: Unlike the Pipiwai Trail, the Kuloa Point Trail is a short, 0.5-mile loop that is much flatter and manageable for strollers or grandparents. It leads you right to the edge of the ocean to see the dramatic tiered pools.
The "Helper" Connection: While you explore, keep an eye out for the Park Rangers. Just like the team in our book series, The Trucks That Saved, these real-life helpers work around the clock—monitoring water levels and maintaining the trails—to keep the land and the families visiting it safe.
Ke’anae Arboretum (Mile Marker 16): A must-visit for a short, flat walk to see the famous Rainbow Eucalyptus trees.
See our full list of Road to Hana Stops for more!
Planning to visit other islands? Check out our Multi-Gen Guide to Oahu to see more real-life helper trucks at Pearl Harbor!
📸 Professional Maui Family Photos
Maui provides the perfect backdrop for family photos — think Christmas card “Mele Kalikimaka” vibes.
Our favorite local photographer, Tracy Leboe at Baby Hawaii Photography, is incredibly talented. She captures gorgeous maternity and family sessions. Be sure to book ahead of time — sessions fill quickly!

Maui Family Portraits taken by Baby Hawaii Photography
Don’t forget to print our favorite Coloring Pages to take on the plane!
🍽️ Best Kid Friendly Restaurants in Maui
Monkeypod is a very toddler friendly restaurant with crayons and free butter noodles for kids 3 and under. It also has great happy hour and my favorite Mai Tai! There are two locations on Maui - Kaaanapali and Wailea!
Barefoot Bar is a fun restaurant where you can eat with your toes in the sand! It is part of Hula Grill but has a separate entrance on the South side of the restaurant. They also have crayons and some good kid food options. Our kid claimed, “it was the best restaurant ever!”
The Ritz’s Burger Shack is a toddler approved restaurant located outside with a big grassy area for kids to run around. It’s also parent approved if you want to hang out and have a boozy milkshake or just watch the waves crash on the shore for a few minutes!
🧃 Easy Snacks for Kids in Maui (That Don’t Melt)
When you’re exploring Maui with kids, having the right snacks on hand can make all the difference. Between beach days, car rides, and long sightseeing stops, you’ll want options that hold up in warm weather and are easy for kids to eat on the go.
These parent-approved snacks travel well around the island and won’t melt or turn messy in your bag:
Gummies
Gummies are lightweight, easy to portion, and a favorite with kids of all ages. They’re ideal for beach bags, stroller pockets, and plane rides since they don’t melt like chocolate snacks.Fruit Snacks
Fruit snacks are great for quick snack breaks while sightseeing or driving around the island. Look for resealable packaging so you can spread snacks out throughout the day without waste.Pouches
Fruit and veggie pouches are especially helpful in Maui’s heat. They’re refreshing, mess-free, and easy for kids to eat while walking or riding in the car. Many are shelf-stable, so refrigeration isn’t an issue until they’re opened.
Love this idea but don’t want to pack all of this? I don’t blame you! Good news is that you can get these as soon as you land at the Target or Costco by the Maui OGG Airport!
💡 Parent Tip: Pack snacks in a small insulated pouch or shaded backpack pocket to keep them out of direct sun, especially during beach days or long drives.
We bring our Wagon instea of a Stroller
Traveling to Maui With Toddlers
Nap-friendly days
With toddlers down to one nap, we would try and get out early, because they were up early anyway, and make it back before naptime or time it where we would be in the car so they could nap. See our packing checklist for our sleep setup!
Stroller walks
There were a lot of stroller walks up and down Kaanapali beach when we had infants and toddlers! We would bring our beach wagon and put both toddlers in for a walk!
Pool days vs adventure days
We would typically alternate pool days and adventure days but most days involved a splash in the pool regardless.
We would even use a night swim as an incentive to eat their dinner.
What to skip with toddlers
The Road to Hana is great but is a longggg day for little ones. It’s essentially a 5 hour (or more) drive so you must plan accordingly to be on the road ALL day. You can break it up with stops but getting to the furthest point is a three hour drive straight there. Even the first stop from Kaanapali or Wailea is about a two hour drive. If you’re only in Maui for a few days this might be a good one to skip unless your kids are a bit older. If you’re pregnant and have nausea, don’t attempt it. I speak from experience.
Haleakala sunrises and sunsets are breathtaking, but don’t go with toddlers or younger.
Sunset cruises are fun but stressful with younger kids that like to run around.

Walking along the kid and stroller friendly Kapalua Coastal Walk in Maui
5-Day Maui Itinerary with Kids
Day 1 Arrival
12p Arrival into OGG, pick up rental car
1p stop at Target, Costco, then pick up Tin Roof
3p Check into Honua Kai Condo
4p 🛍️ Head to Whalers Village for shopping and dinner at Monkeypod (get extra food for fridge). Must order: Chicken Wings, Kalua Pork Pizza, Free Butter Noodles for kids, pie slices to go to eat in room after kids go to bed. Don’t forget to order the best Mai Tai on the island! All of this is on the Happy Hour menu!
6p Back to hotel for bedtime - Read The Trucks that Saved the Park for a sweet bedtime story
Day 2 Pool-time and Burgers
5a Kids wake up, make pancakes (and coffee) in room
7a Adult Breakfast pickup (or dine in) at Duke’s
8a Pool opens!
11a Back to room for lunch
12p Naptime
2:30p Drive to Ritz in Kapalua and have Linner at Burger Shack (it’s a big meal to fill up on). Must order: burger and milkshake
4p Explore Ritz and Kapalua or go to DT Fleming beach
6p Back to Hotel for Bedtime
Pipiwai Trail With Baby in Carrier
Day 3 Road to Hana Adventure
5:30a Kids wake up - make more pancakes for everyone (and another pot of coffee)
6:30a Drive the Road to Hana
8a Stretch legs at Banana Bread Stop
9a Arrive at Kīpahulu Visitor Center which is part of Haleakala National Park where you can explore the Oheo Gulch Pools, Pipiwai Trail (Bamboo Forest), and Waimoku Falls
11a Eat a packed lunch or drive to the Food Trucks in Hana
1p Stop at Wainapanapa Beach (Black Sand Beach) - make a reservation ahead of time.
3p Drive back to hotel
5p Dinner at hotel or pick up something on the way back
6p Bedtime
Day 4 - Pool and Luau
6a Kids wake up
7a Breakfast at Slappy Cakes or The Gazebo
8a Kapalua Bay for beach time, maybe try the coastal walk
11a Back to room for lunch
12p Naptime
2:30p Quick Pool Play
7p Bedtime
Day 5 - Last Swim and Depart
6:30a Kids Wake Up
7:30a Breakfast at Duke’s
8:30a Take turns with your partner packing
10:30a Drive to Airport (and cry the whole way)
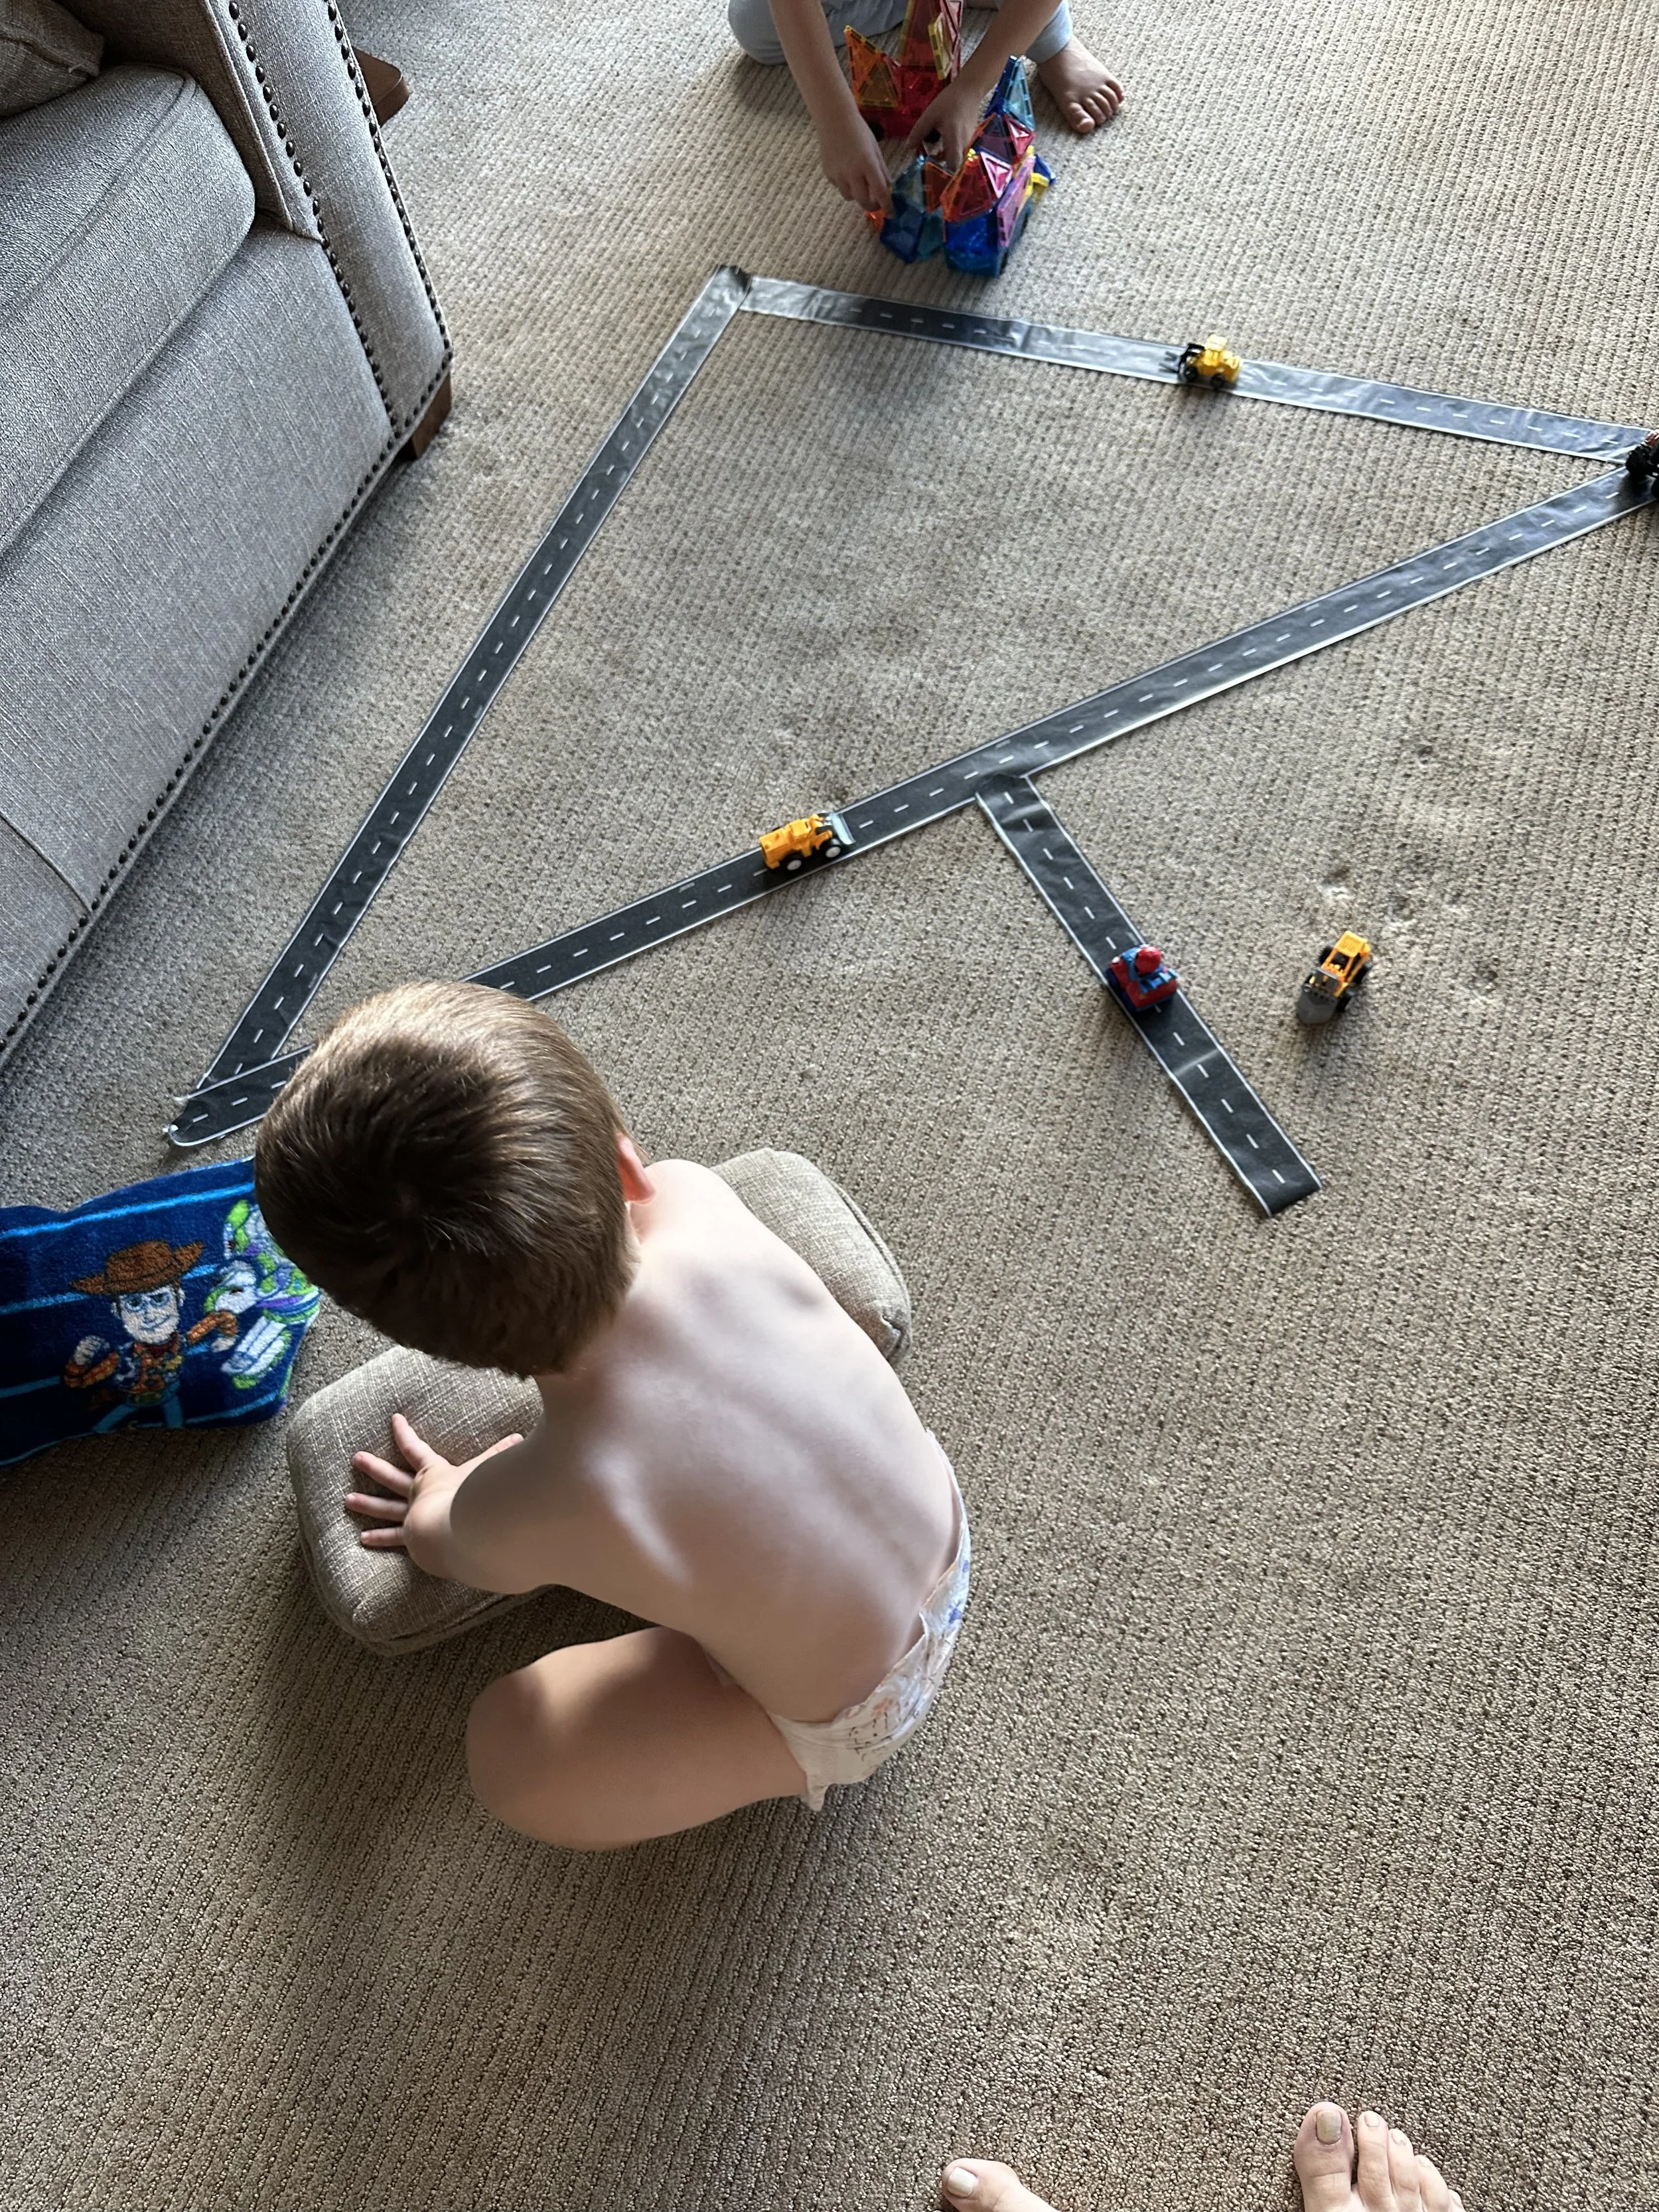
Sticker Tape Road and Travel Magnatiles keep them entertained in the hotel room
What to Pack for Maui With Kids
I think giving a list of what not to pack is a shorter list because we bring almost everything! One thing I will advise is there is a Costco and a Target by the airport so make your Target order for pickup before your flight takes off so it’s ready for you when you land. You can always Instacart Costco or just head in for free snacks.
🏖️ Download our FREE Packing Checklist and below is a copy paste of what I packed for my 2 and 4-year-old on our last trip.
➡️ Shop our Toddler Packing Amazon list.
✈️ Carry-on List for the Plane
Personal Carry-on:
Toys & some books 📚
iPad
Headphones 🎧
Waterbottles
Wagon - We bring a wagon instead of a stroller these days now that the kids are older. Though we loved our travel stroller for when we had babies!
Snack Bag - Dedicated light weight backpack that folds up into a pouch
Pouches
That’s it bars
Pirate booty
Cereal Bars from Trader Joes
Bear Fruit Snacks
Gummies
Teddy Grahams
Here is the full list of everything else that scatters into checked bags:
Sleep
Inflatable beds
Sheets x 2
Blanket x 2
Small Toddler pillow
PJs
White noise / Hatch
Food Things
Food bag
Bowls 🥣
Baby Spoons 🥄
Bibs
Water cup/bottle
Milk cup
Sippy cup
Safe dish soap 🧼
Sandwich bags
Snack bowl
Travel and Misc
Car seat x 2
Car seat bags x 2
Swaddle
Clothes pins
Outlet covers
Beach bag
Beach blanket mat
Toiletries for Kids
Baby shampoo
Baby body wash
Soft Wash Cloths
Nail clippers
Brush
Kids Tylenol
Kids Sunscreen
Diaper rash cream
Baby Aquaphor/neosporin
Ear drops
Clothes and diapers
Sweatshirt for plane & Mainland airport travel
Socks
Shorts
Shirts
Swimwear
Swim diapers
Size 4 diapers
Pull ups
Overnight Diapers
Wipes
Hat
Multipurpose Sanitation wipes in ziplock bag
Toys and Entertainment - Shop our Toddler Packing Amazon list
Bath Toys - Cars 🚗
Books 📚 - Especially The Trucks that Saved the Park book 😘
Sand toys 🏖️
Football 🏈 - Water safe recommended for the pool!
Frisbee
Trucks 🛻
Cars 🚙
Sticker Road Tape
Plane toys - coloring book, sticker book
Cards 🃏
Travel Magnatiles
🛏️ Toddler Travel Sleep Hack (Game-Changer for Maui Trips!)
If you’re traveling to Maui with a toddler, let’s talk about sleep… because it can make or break your trip 😅
One of our absolute must-haves now is a toddler travel bed for hotel rooms, and I can’t recommend this enough.
Instead of trying to figure out where your toddler will sleep (or dealing with rolling out of a big hotel bed 🙃), this creates a cozy, familiar space just for them—no matter where you’re staying.
We’ve used this on our trips, and it makes bedtime SO much easier, especially after long beach days.
This toddler travel bed makes hotel sleep so much easier when traveling with kids.
How to Set Up a Toddler Travel Bed in a Hotel Room
Setting up a toddler travel bed in your hotel room is quick and easy—and makes bedtime so much smoother when traveling with kids.
Here’s how we do it:
• Inflate the toddler travel bed using the included pump (it takes less than a minute!)
• Add a twin bed sheet over the top to make it feel soft and familiar
• Layer with a blanket + their favorite stuffy for comfort
• Pack a toddler pillow — standard hotel pillows are usually too big and can be uncomfortable for little necks
This simple setup helps create a cozy, familiar sleep space—so your toddler can settle in easier, even in a brand new place
👉 You can see the exact one we use here: https://amzn.to/4bHtOv3
Why we love it:
• Perfect size for hotel rooms and condos
• Helps toddlers feel comfortable in a new space
• Easy to set up and pack
• Makes travel routines feel more like home
It’s one of those things you don’t think you need… until you use it once and never travel without it again!
Is Maui Worth It With Kids?
Yes—Maui is absolutely worth it with kids, especially for families traveling with toddlers and young children. The island offers calm, swimmable beaches, family-friendly resorts, walkable areas like Kā‘anapali, and activities that don’t require long drives or packed schedules. With the right balance of pool days, beach time, and nap-friendly outings, Maui is one of the easiest Hawaii islands to enjoy as a family. If you plan intentionally—choosing the right area to stay and skipping overly long excursions—Maui can be both relaxing and unforgettable with kids.
See all MAUI POSTS or here are our latest:








Is LEGOLAND California worth it with preschoolers? After visiting when our kids were 1 and 2 and returning at ages 3 and 4, the park felt completely different. Here are the rides they loved, what we’d skip, our favorite LEGO Galaxy attractions and the tips that helped us make the most of one full day.